
Field guide
Guide to drip irrigation
Drip irrigation supplies deliver water through tape, dripline or individual emitters near the crop root zone. This category brings together line materials, drippers and supporting parts; it is a component shelf, so check each listing before assuming it forms a complete system. Drip irrigation for vegetables often uses row spacing and emitter spacing to guide the tape or dripline choice.
Start with the planting layout and the number of watering points. Then compare tubing diameter, emitter flow, operating pressure and filtration needs. Match connectors to the actual line dimensions and review each product's available options before ordering.
Where and when to use it
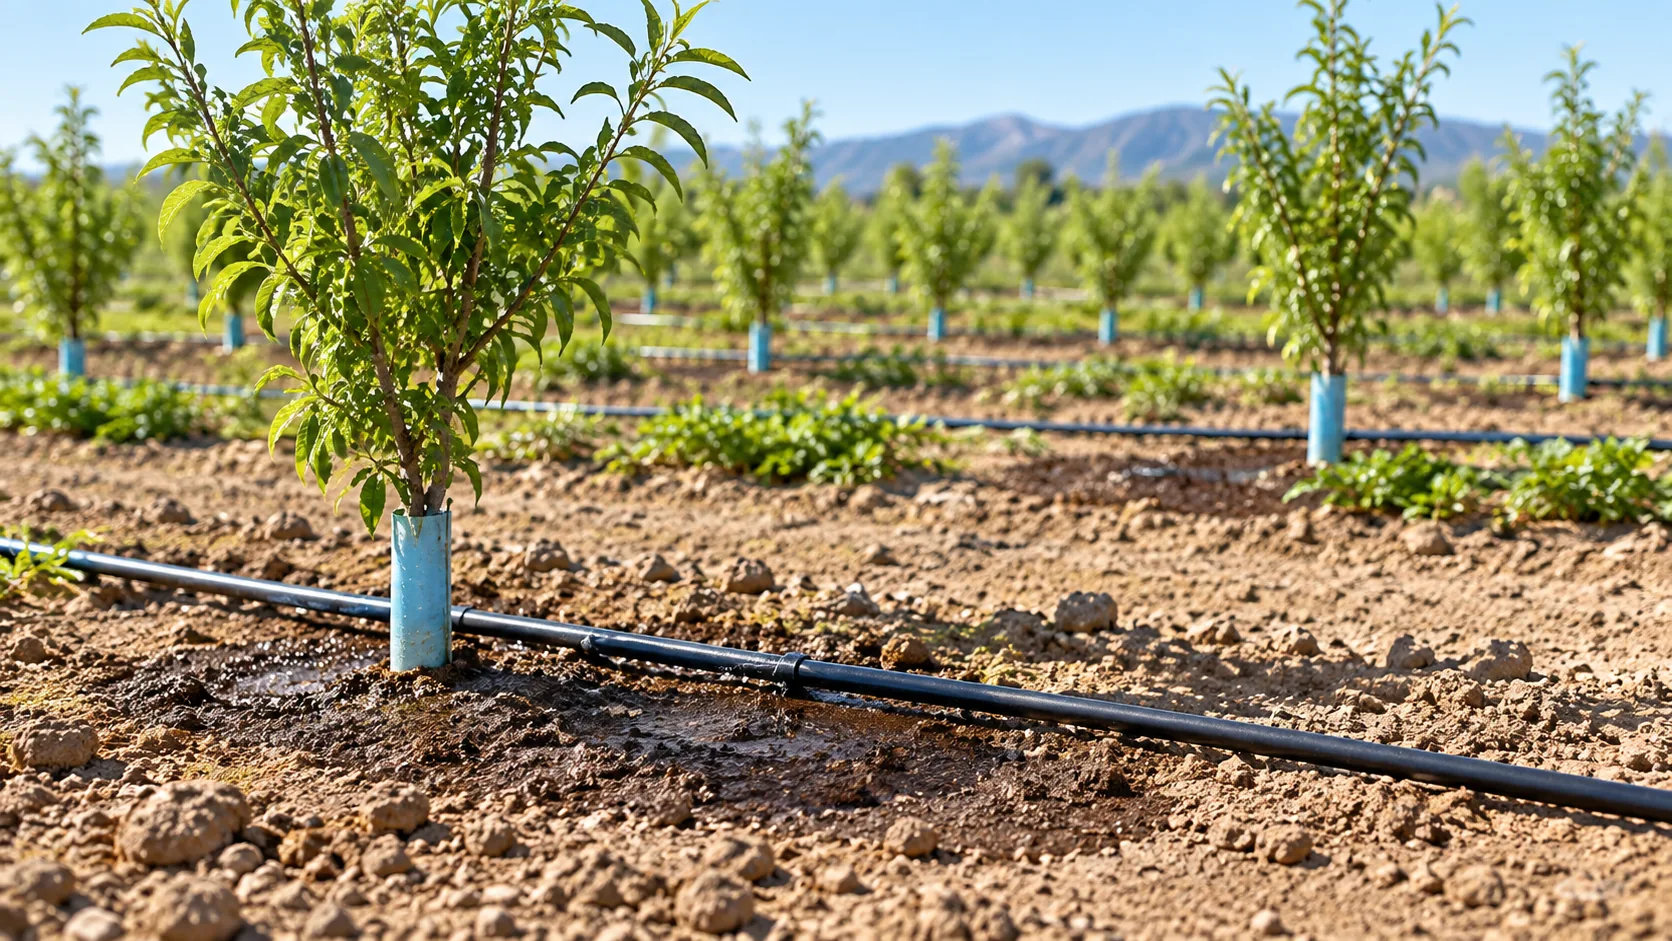
A drip irrigation system is useful when vegetable beds, orchard rows or greenhouse crops need water delivered close to their roots. Start by drawing the crop rows and dividing the site into zones that can be watered at the same time. A short greenhouse bench and a long field row may both use drip irrigation supplies, but their line lengths, flow demand and access for maintenance differ. This shelf contains components rather than a guaranteed complete system.
How it works
Water passes from the source through filtration and pressure control, then through a mainline and laterals to emitters. Each outlet releases a specified flow at its rated pressure; the soil spreads that water around the root zone. Drip irrigation for vegetables can reduce leaf wetting, but the actual wetting pattern depends on soil texture, emitter spacing, run time and placement. Uniformity comes from sizing the whole hydraulic path, not from the emitter alone.
For agricultural drip irrigation, map the water source, filter, pressure control, mainline and each crop zone before counting emitters. A field layout should be checked at the farthest outlet, where elevation and pipe friction can leave less pressure than at the pump.
How to plan and install it
- Map rows, plant spacing, water source and the number of zones before buying line materials.
- Check source flow and pressure; select a filter and regulator compatible with the smallest downstream opening.
- Lay out mains and laterals, add correctly sized takeoffs and place tape, dripline or point emitters beside the crop rows.
- Flush each line before closing its end, run one zone at a time and inspect pressure and discharge at distant outlets.
Operation and maintenance
At start-up, compare inlet and downstream pressure, clean the filter and look for leaks or plugged outlets. Keep line ends accessible for flushing; record changes in zone flow rather than guessing from surface appearance. Irrigation duration should follow crop demand and a check of moisture in the actual root zone. Repair punctured line with fittings made for its diameter and wall type.
Common questions
How to install a drip irrigation system?
Draw the zones and calculate their flow first. Add source protection, filtration and pressure control as required, run a mainline and laterals, then connect compatible emitters. Flush each line before closing its end and measure pressure and discharge at near and far outlets.
Does drip irrigation work without a filter?
Small emitter passages can clog from particles. Select filtration to the water source and emitter maker's recommendation, then include a way to clean the filter and flush the line.
Technical reference: USDA NRCS, National Engineering Handbook: Microirrigation. Use the selected product manual and local requirements for final design.