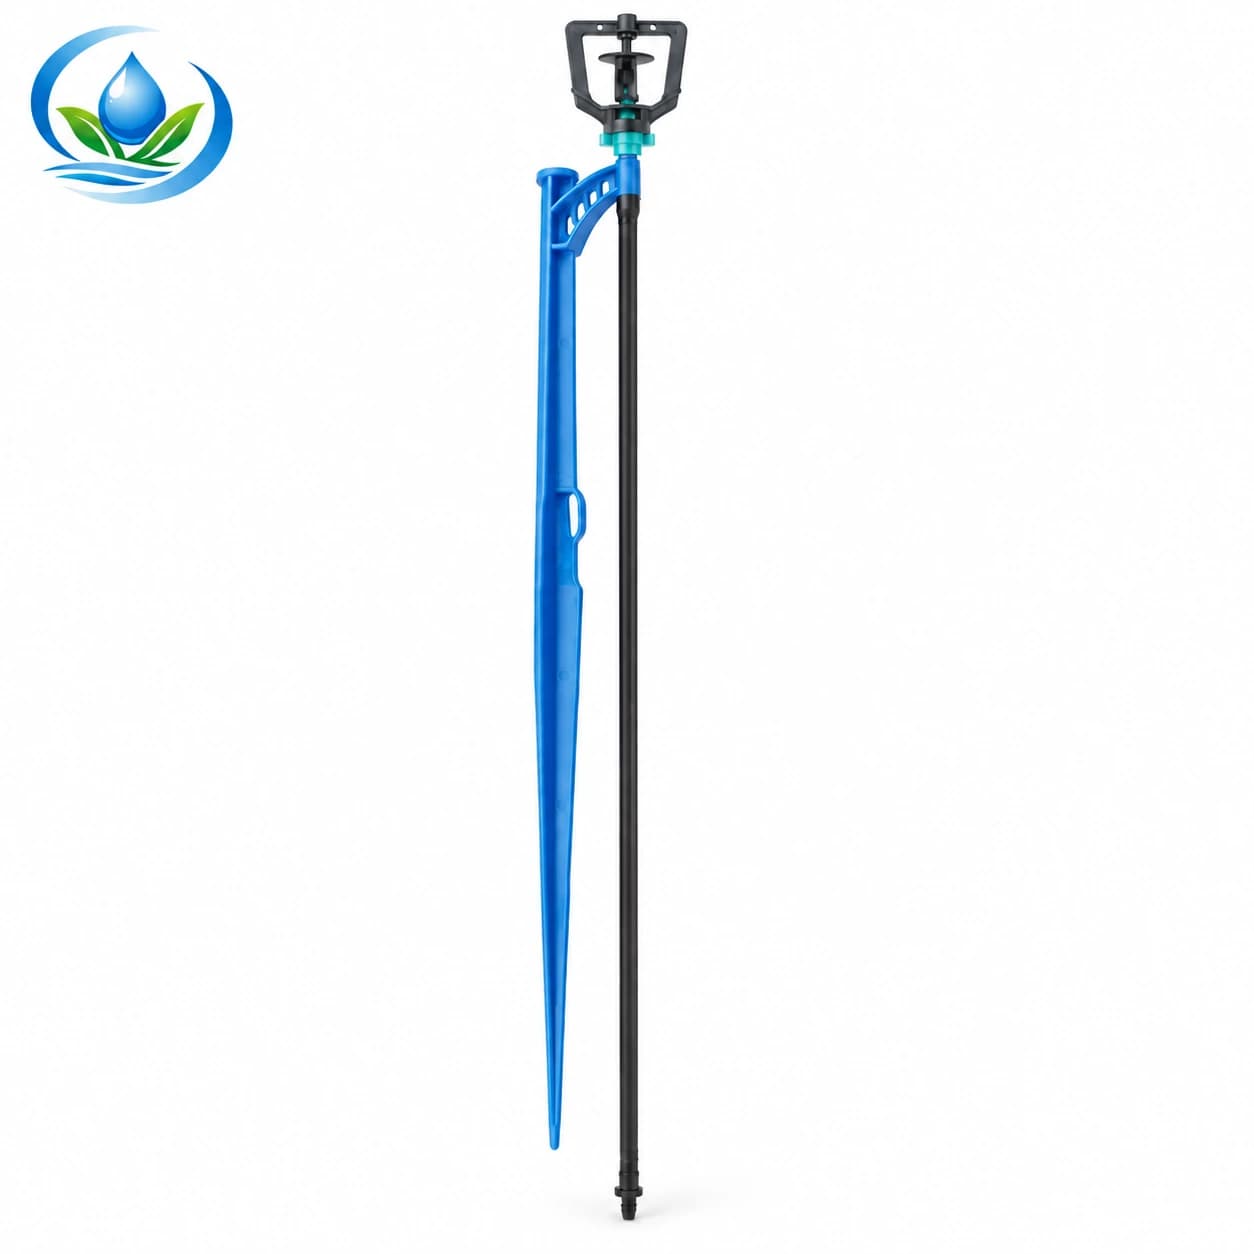
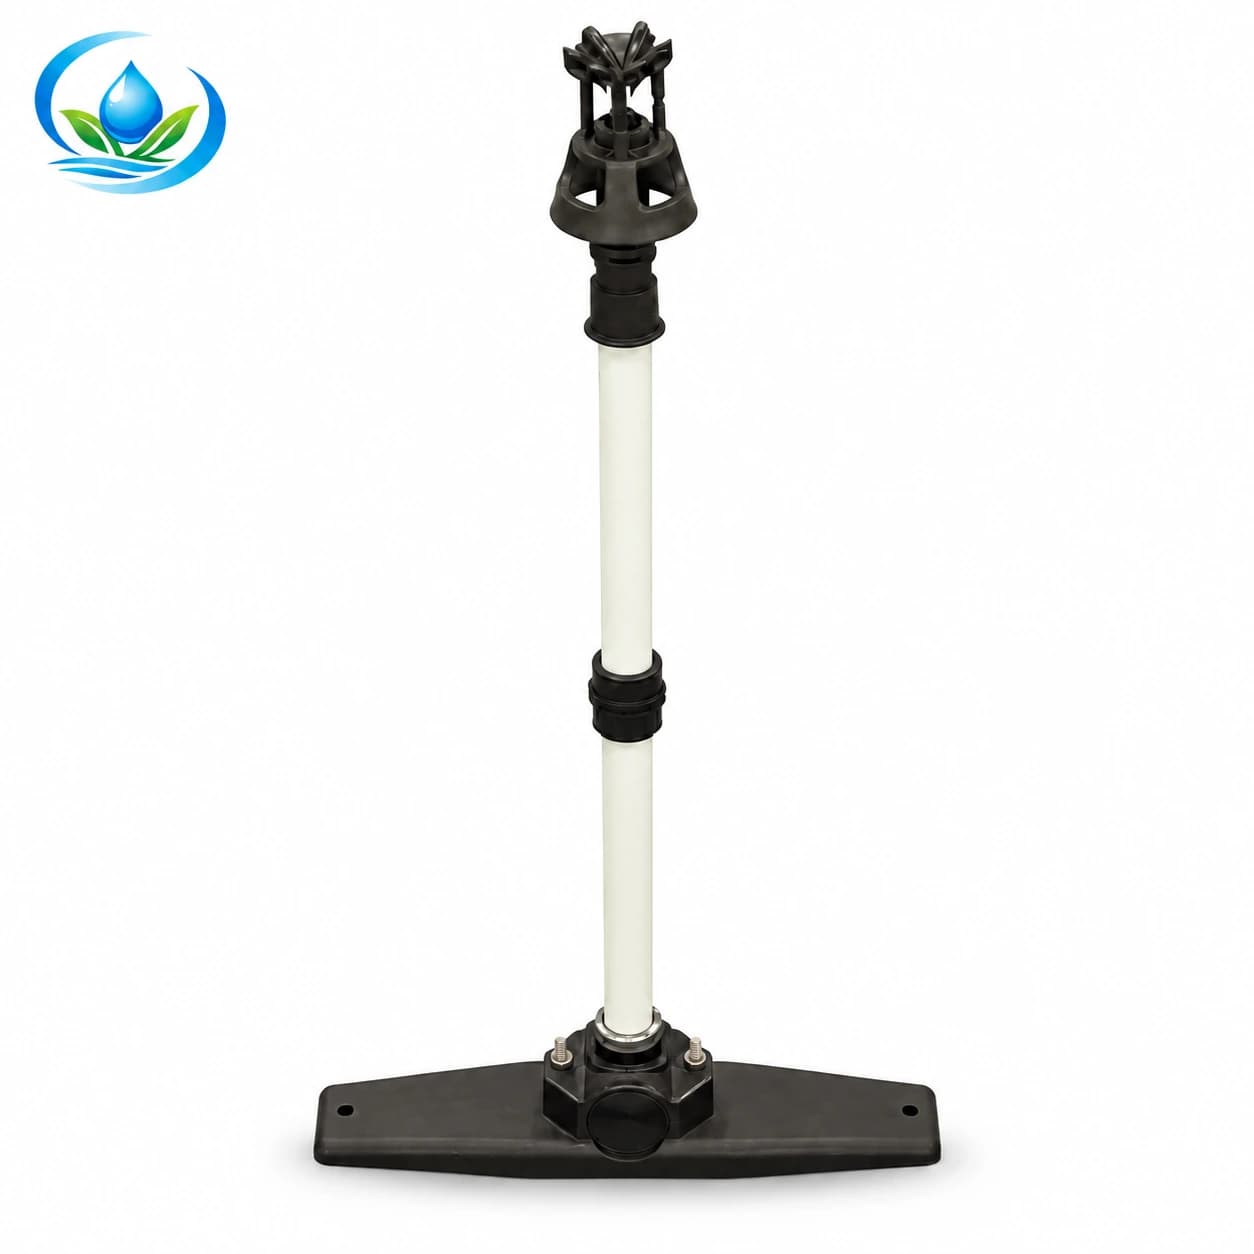
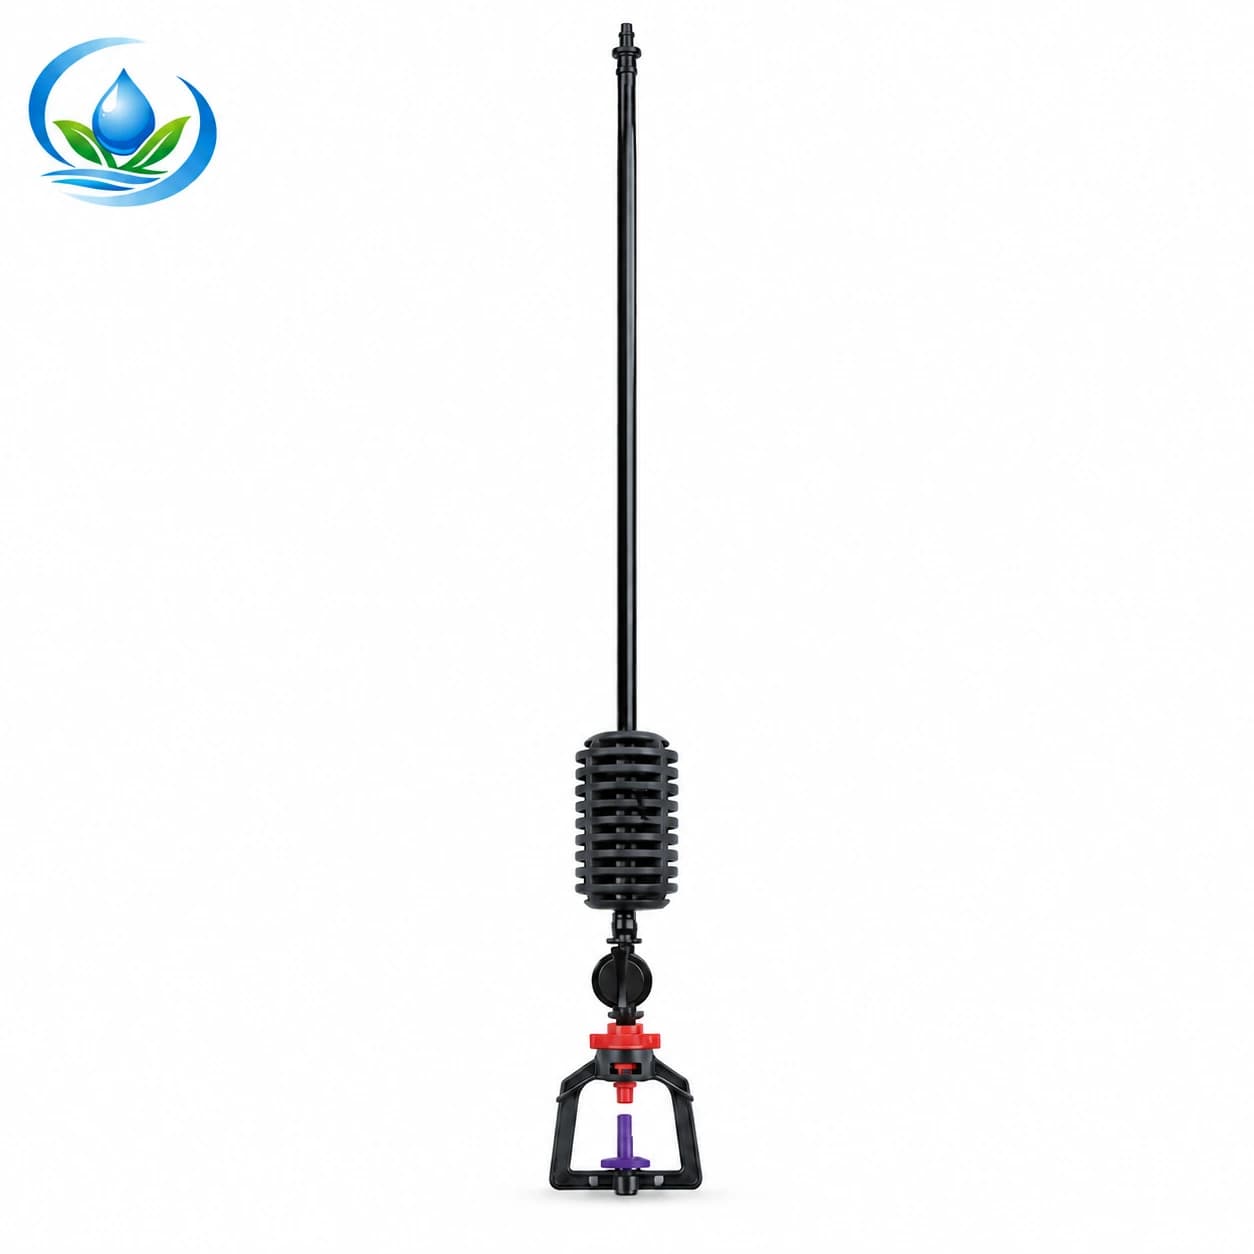
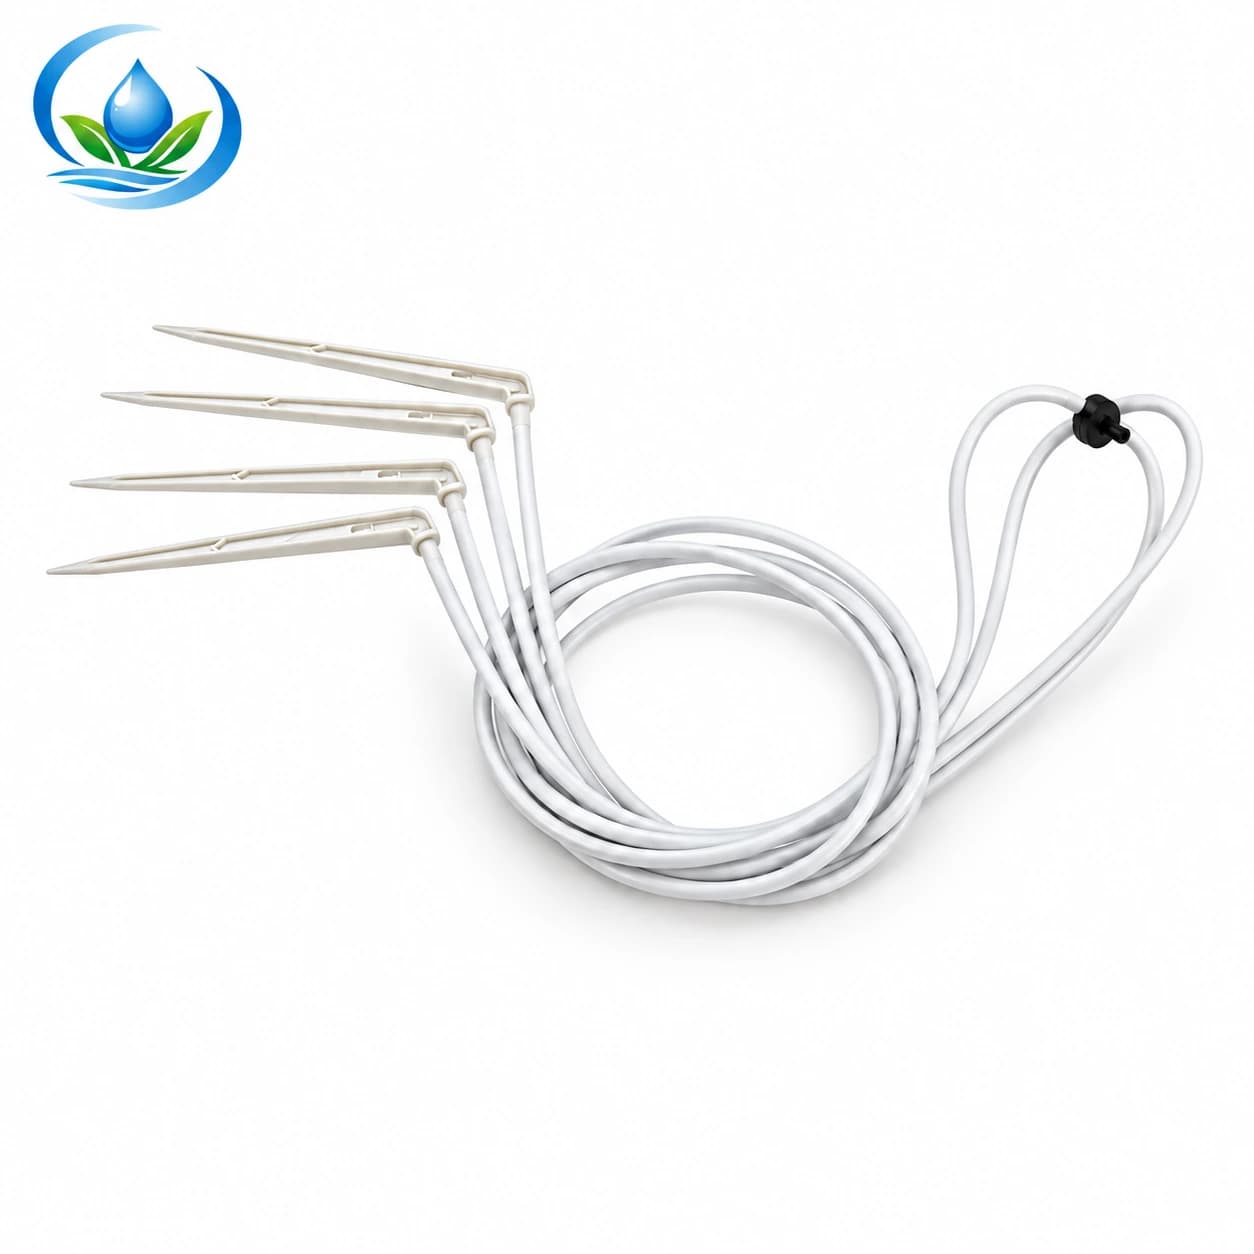
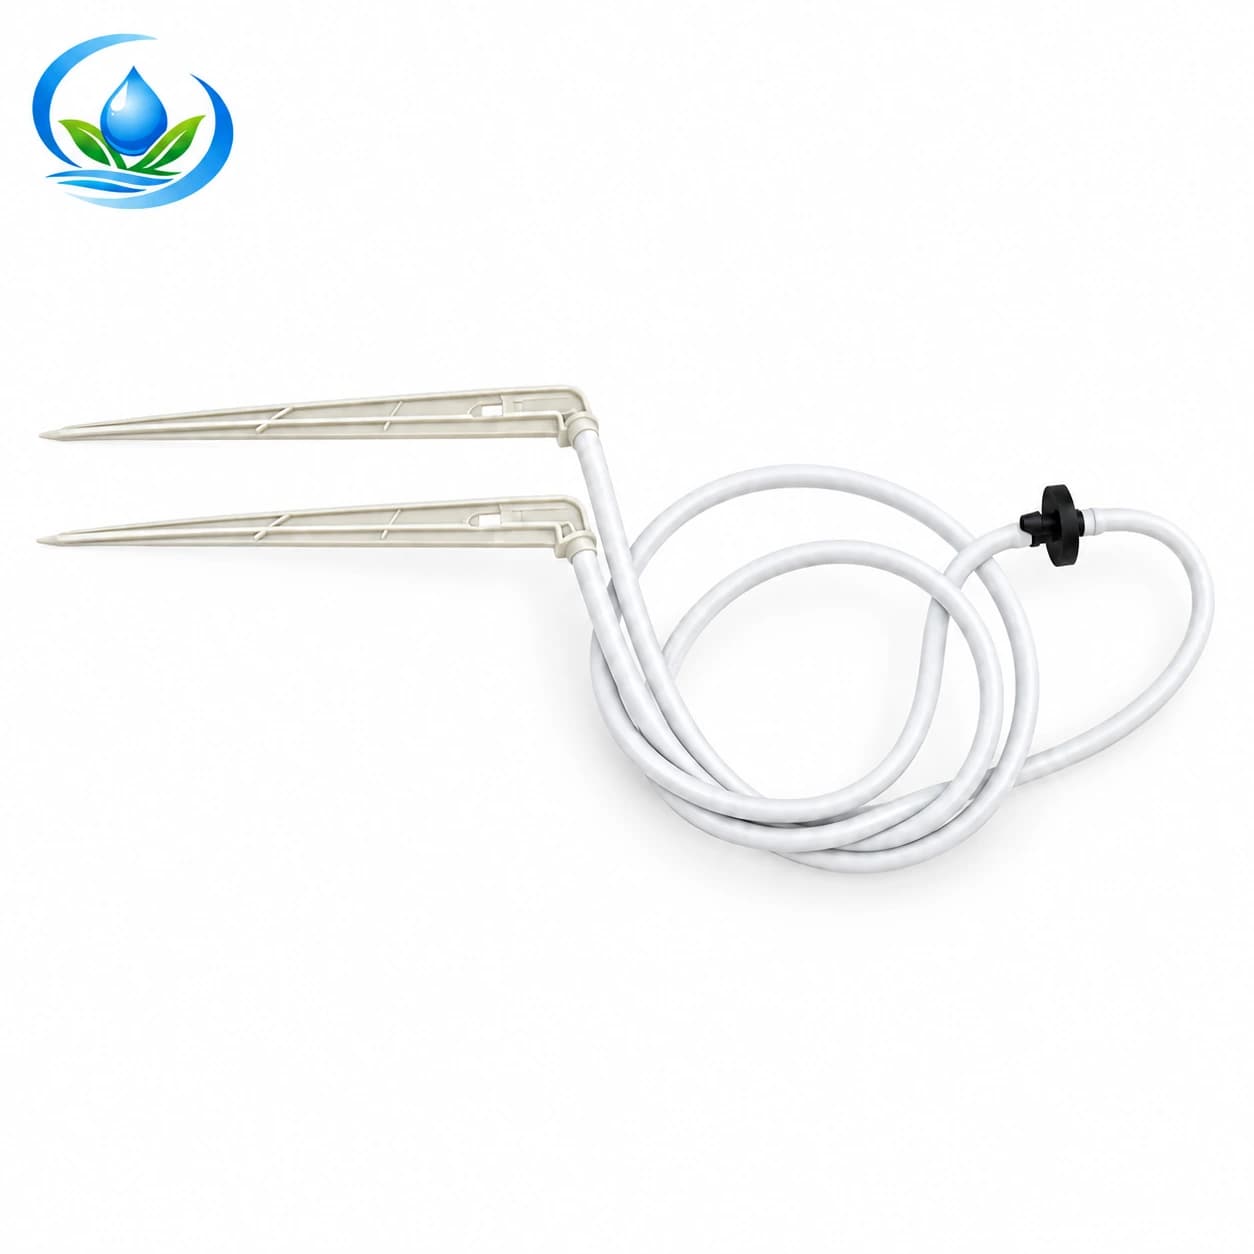
Position a micro sprinkler at a planting bed or nursery row with a ground-insertion stake assembly. This mounting style places the outlet at the crop rather than suspending it from an overhead support.
Select a stake length and head
The 40 cm option shows a blue stake with a dark sprinkler head; the 60 cm option shows a blue stake with an orange head. Compare the selected option image and its listed length with the clearance needed above plants. The length label describes the pictured assembly; actual outlet height after insertion also depends on how deeply the stake is set.
Set up the irrigation branch
Choose a firm placement point, route compatible microtubing to the assembly and check the selected head's connection and operating requirements. Keep the head clear of leaves and test delivery at the farthest stake after flushing the branch. Do not assume the two pictured heads have the same flow or spray pattern.
Check the watering layout
Choose the sprinkler head for the area you want to wet, then choose the assembly length for its position. Head style and mounting length answer different questions: the head controls delivery, while the support determines where it sits. Leave room for plant growth so that leaves do not block the spray as the crop develops.
Before watering a full row, run a short test and watch the spray at the first and last outlets. Reposition any assembly that leans, catches on tubing or sprays into an obstruction. Check connections again after moving pots or servicing the bed.