
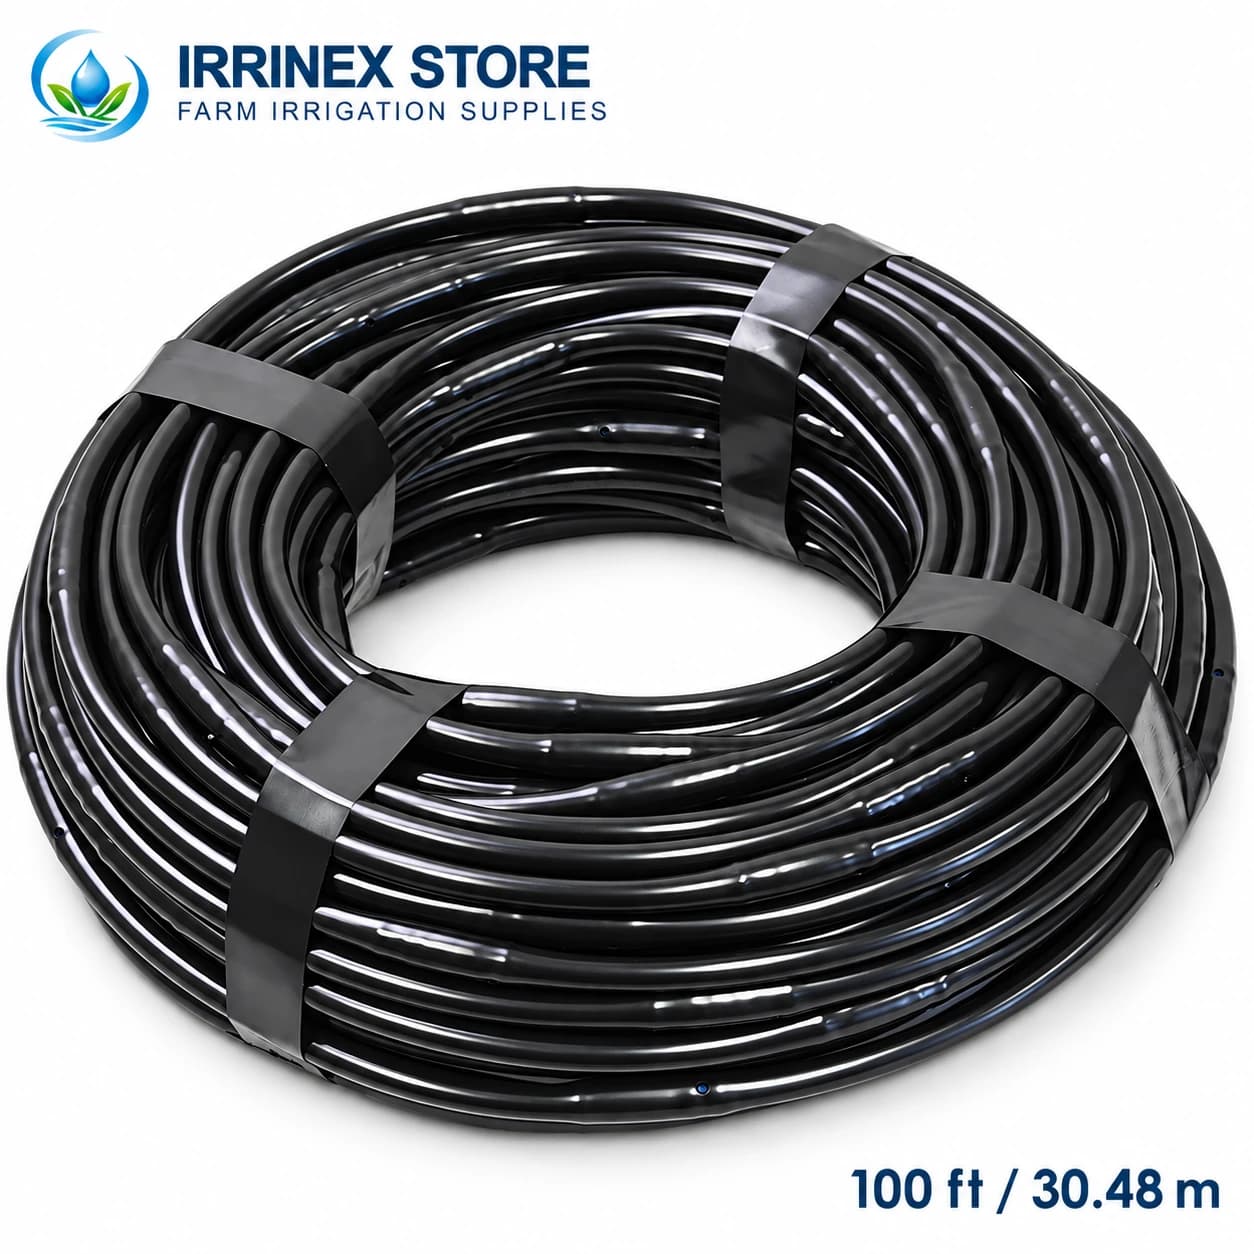
dripline drip tape
1/4-Inch Drip Emitter Tubing with 6-Inch Spacing
1/4 inch nominal; 50 / 100 / 500 ft rolls
From$19.99
Choose optionsAgricultural irrigation, direct to you
Compare drip irrigation line components for row and container systems. Choose dripline irrigation by emitter spacing, flow and tubing size.
4 products
Showing 1–4
dripline drip tape
1/4 inch nominal; 50 / 100 / 500 ft rolls
From$19.99
Choose options
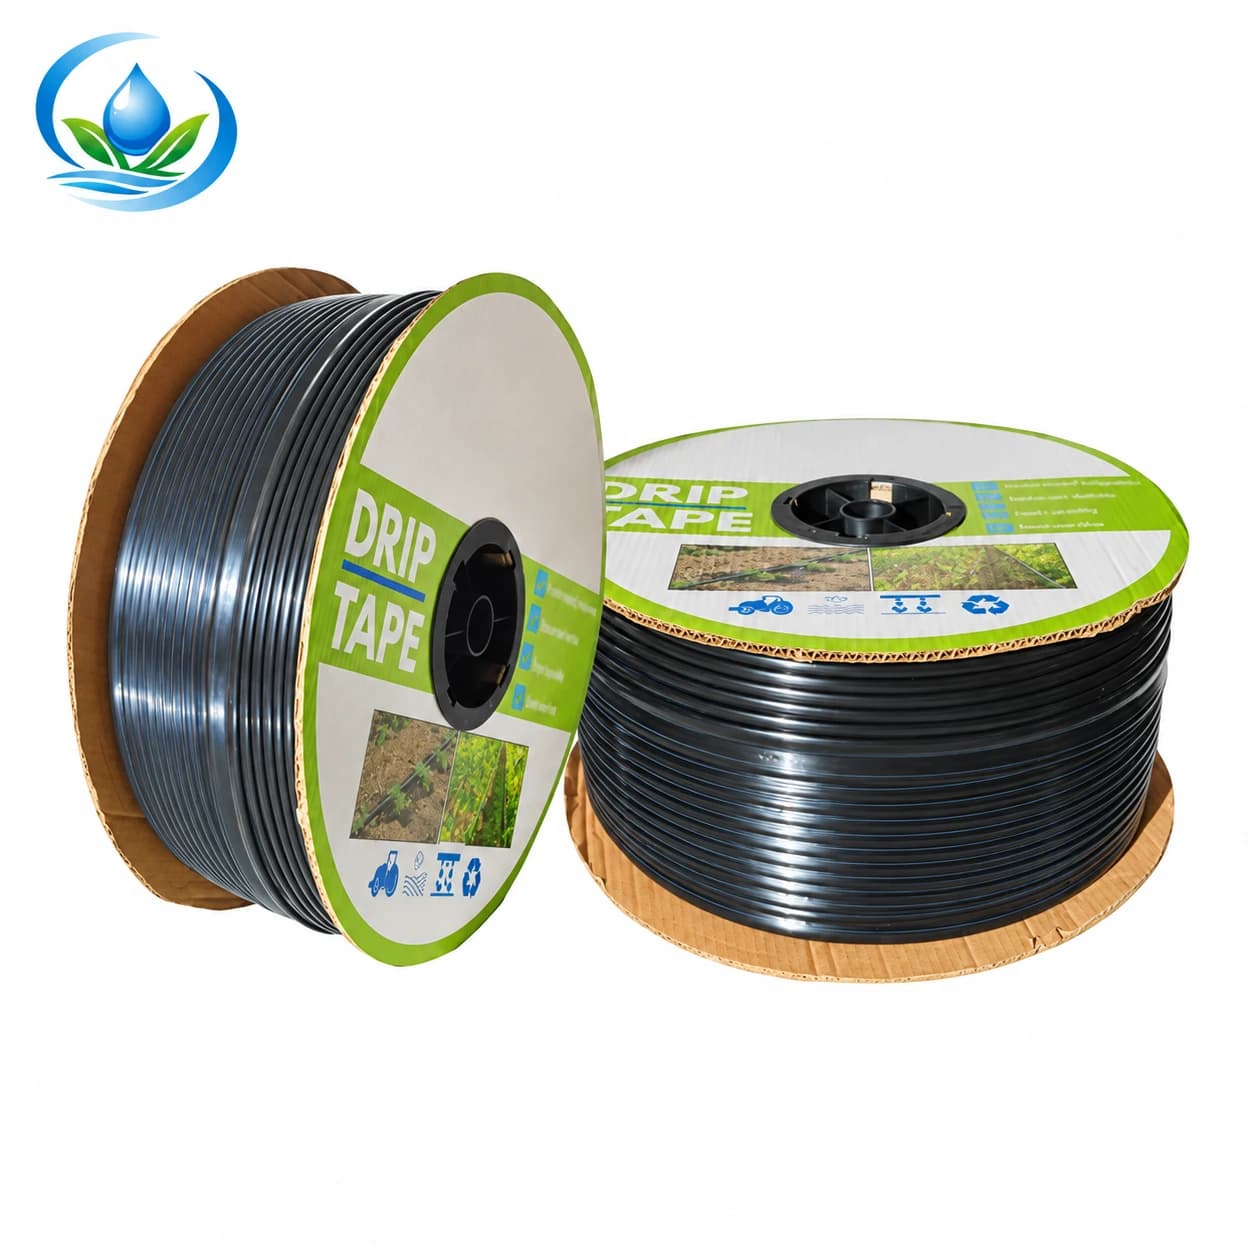
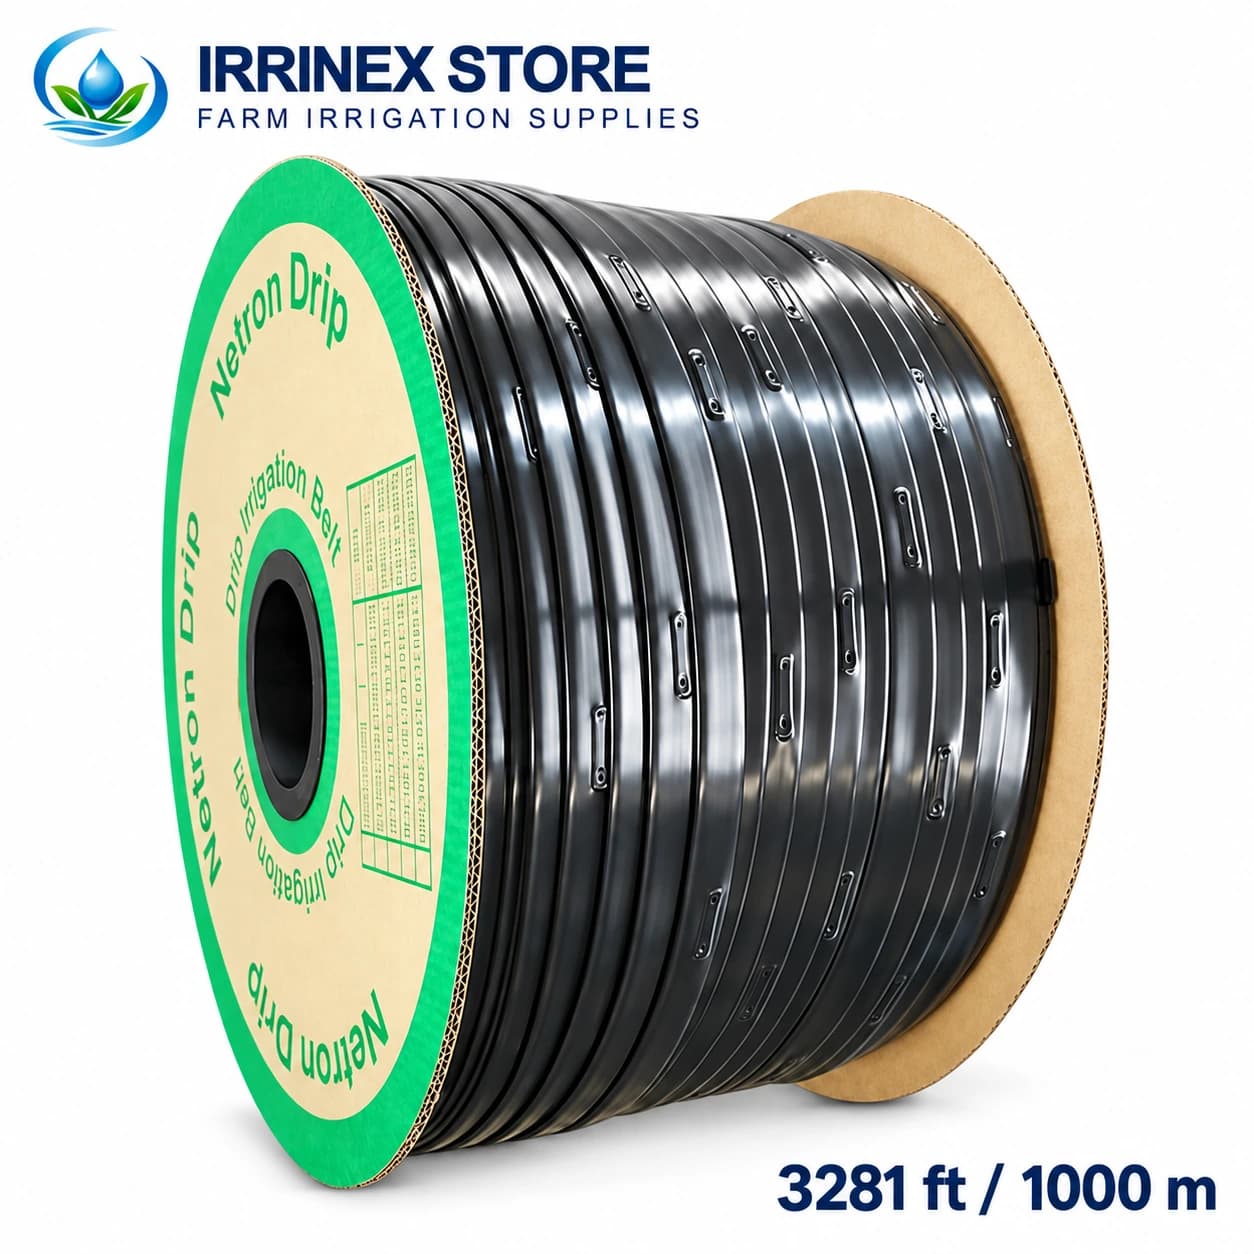
dripline drip tape
5/8 inch (16 mm) nominal; 3281 ft roll
$149.99
Match your tubing diameter, connector type and water pressure before you add the finishing touches.
Field guide
This diagram component shelf focuses on the drip irrigation line that carries emitters through a growing area. It can use inline emitters, drip tape or smaller drip irrigation tubing, depending on the crop spacing and how the line will be supported.
Compare line diameter, emitter interval, flow per outlet, pressure range and filtration requirements on the listed products. Plan enough length for each row or bench and match takeoffs, end closures and repair parts to the selected line.
In a system diagram, the drip irrigation line is the crop-side lateral carrying water from a submain toward planted rows. This route includes line-related components, so check each listing for actual length and emitter configuration. Vegetable beds may use closely spaced outlets; orchard laterals may place water at wider intervals or feed individual emitters. A line drawing should show row length, end access and where repairs can be made.
Drip irrigation tubing transports water along the row; inline emitters or attached outlets release it at measured points. Pressure falls along the lateral because of friction and outlet discharge. The resulting wetting pattern depends on soil and run time, so line spacing cannot be chosen solely from a keyword. A filtered, regulated supply upstream matters as much as the tubing itself.
Walk rows for punctures, kinks and dry spots; repair with couplers sized to the actual line. Clean the filter and flush line ends when sediment appears. At the end of a season, inspect reusable tubing before reinstalling it rather than assuming it retains the original rating.
Plan the crop rows and simultaneous zone flow, then match the source, filter, pressure control and lateral line. Lay and connect the lines within the maker's length limit, flush before end closure, and test pressure and emitter output at the nearest and farthest points.
Use crop placement, product emitter spacing and a soil wetting test, then confirm zone flow and pressure.
Technical reference: Penn State Extension, Drip Irrigation for Vegetable Production. Use the selected product manual and local requirements for final design.