Agricultural Irrigation Fittings: Compare PE Pipe Branches and Repair Parts
Compare compression elbows, female-branch tees, isolation valves and pipe take-offs; check every port and count the parts before ordering.
Published by IrriNex Store
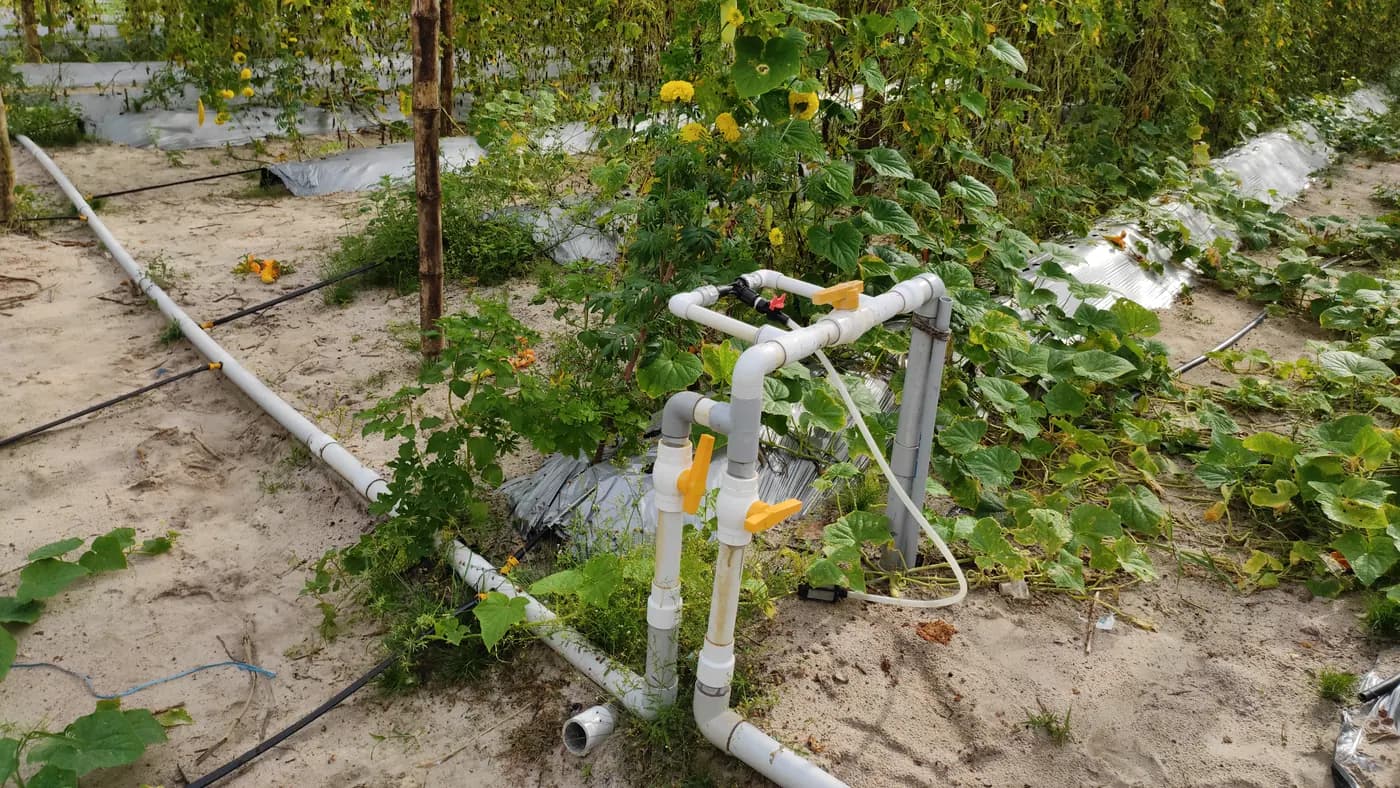
Choose agricultural irrigation fittings by the connection you need to complete: a bend, a branch, an isolation point or a change from pipe to thread. For a farm PE supply line, the right shape is only the beginning. Pipe outside diameter, connection type, thread details, operating limits and space for assembly all determine whether the part belongs in your basket.
This buying guide focuses on small repairs and additions to agricultural water-distribution pipe. It compares currently listed elbows, tees and take-offs, and uses a separate isolation-valve example to explain piece and port counts. Confirm each selected option’s dimensions, thread details and operating limits. A photographed shape or broad family label does not prove that a component will fit your existing installation.
Measure the existing connection before choosing a shape
Take a photograph of the whole junction and another of any markings on the pipe and old fitting. Record the pipe material, outside diameter and condition near the proposed joint. For a compression connection, the outside of the pipe is the important mating surface. An approximate hose label or a measurement across a flattened end is not enough to select the replacement.
Measure an undamaged, round part of the pipe. If the end is scratched, oval or split, identify how much material must be removed before estimating the replacement length. A new fitting cannot restore a damaged sealing surface simply by being tightened harder. Also check whether the pipe can move enough to accept the replacement; a confined repair may need a different joining method from an exposed connection.
Write both ends in plain language, for example “measured PE outside diameter to confirmed male-threaded equipment port”. Record the actual measurements when you have them. Do not turn that description into a claimed store variant until the selected product supplies the matching information.
Photograph the installation from the side as well as above. A pipe can appear aligned from one angle while pulling sideways on a threaded component. Include room for the nut, tool access, handle movement and removal of nearby equipment. These dimensions can change which shape is practical even when the pipe size stays the same.
Match the fitting's job to the correct product
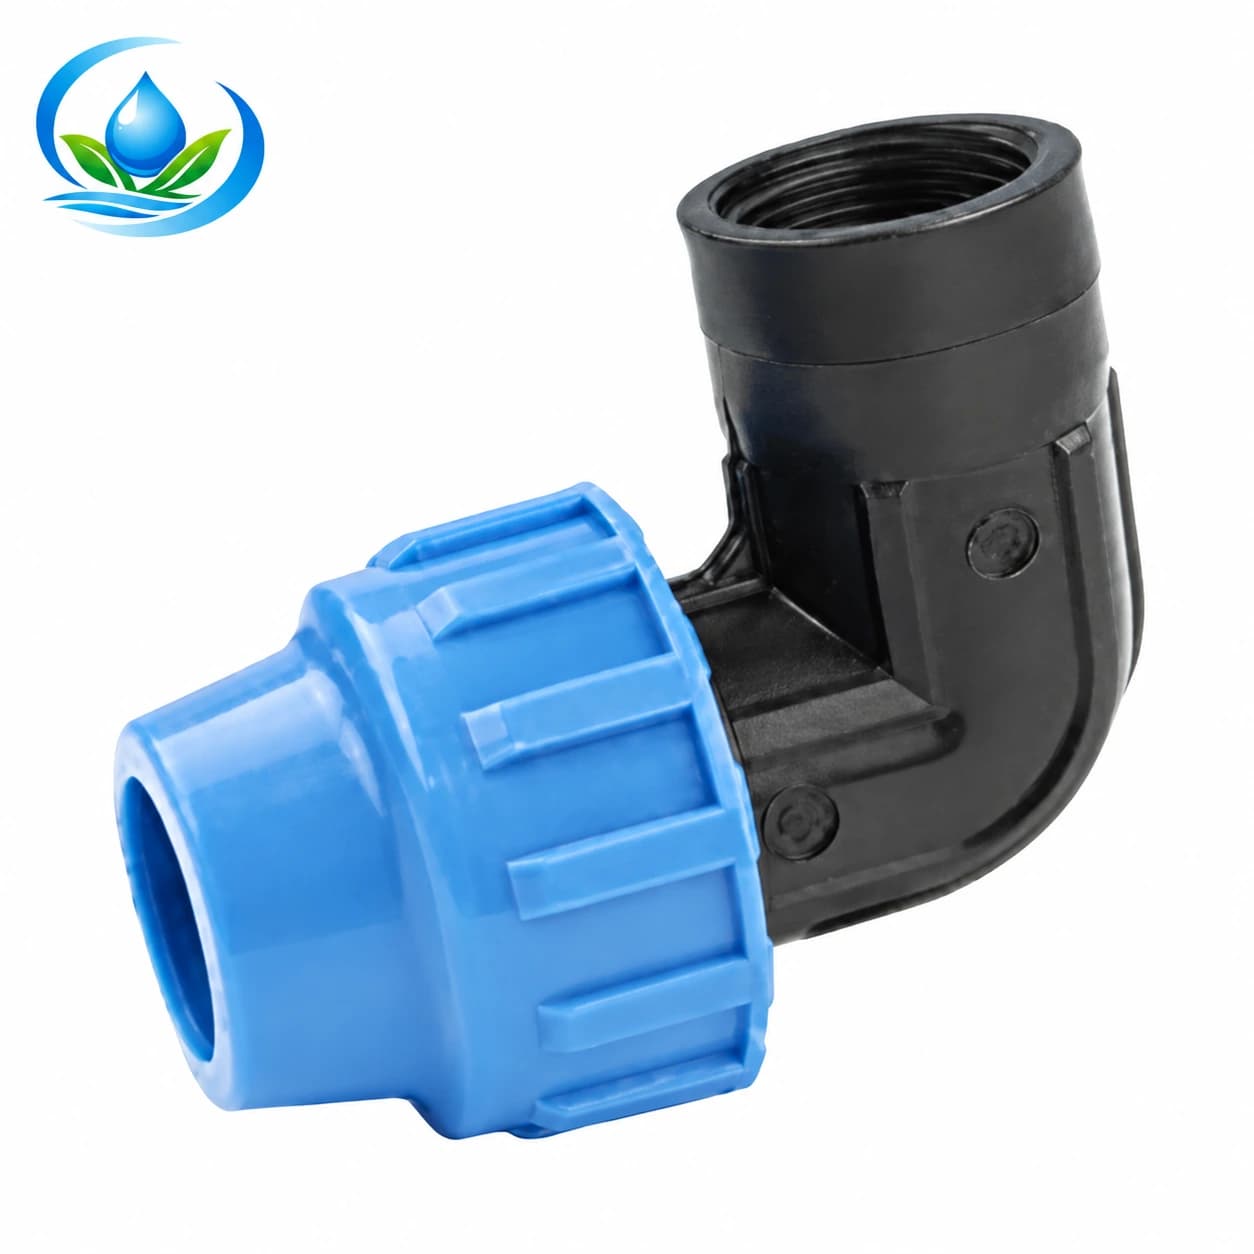
A currently listed H-compression elbow with female thread changes direction while changing connection style. One side accepts compatible pipe and the other receives a matching male-threaded component. Listed option 708020 is 20 mm × 1/2 inch, while 708021 is 20 mm × 3/4 inch. These are distinct current choices, not proof of compatibility with an unidentified older elbow. Confirm pipe suitability, thread standard and operating limits before selecting one.
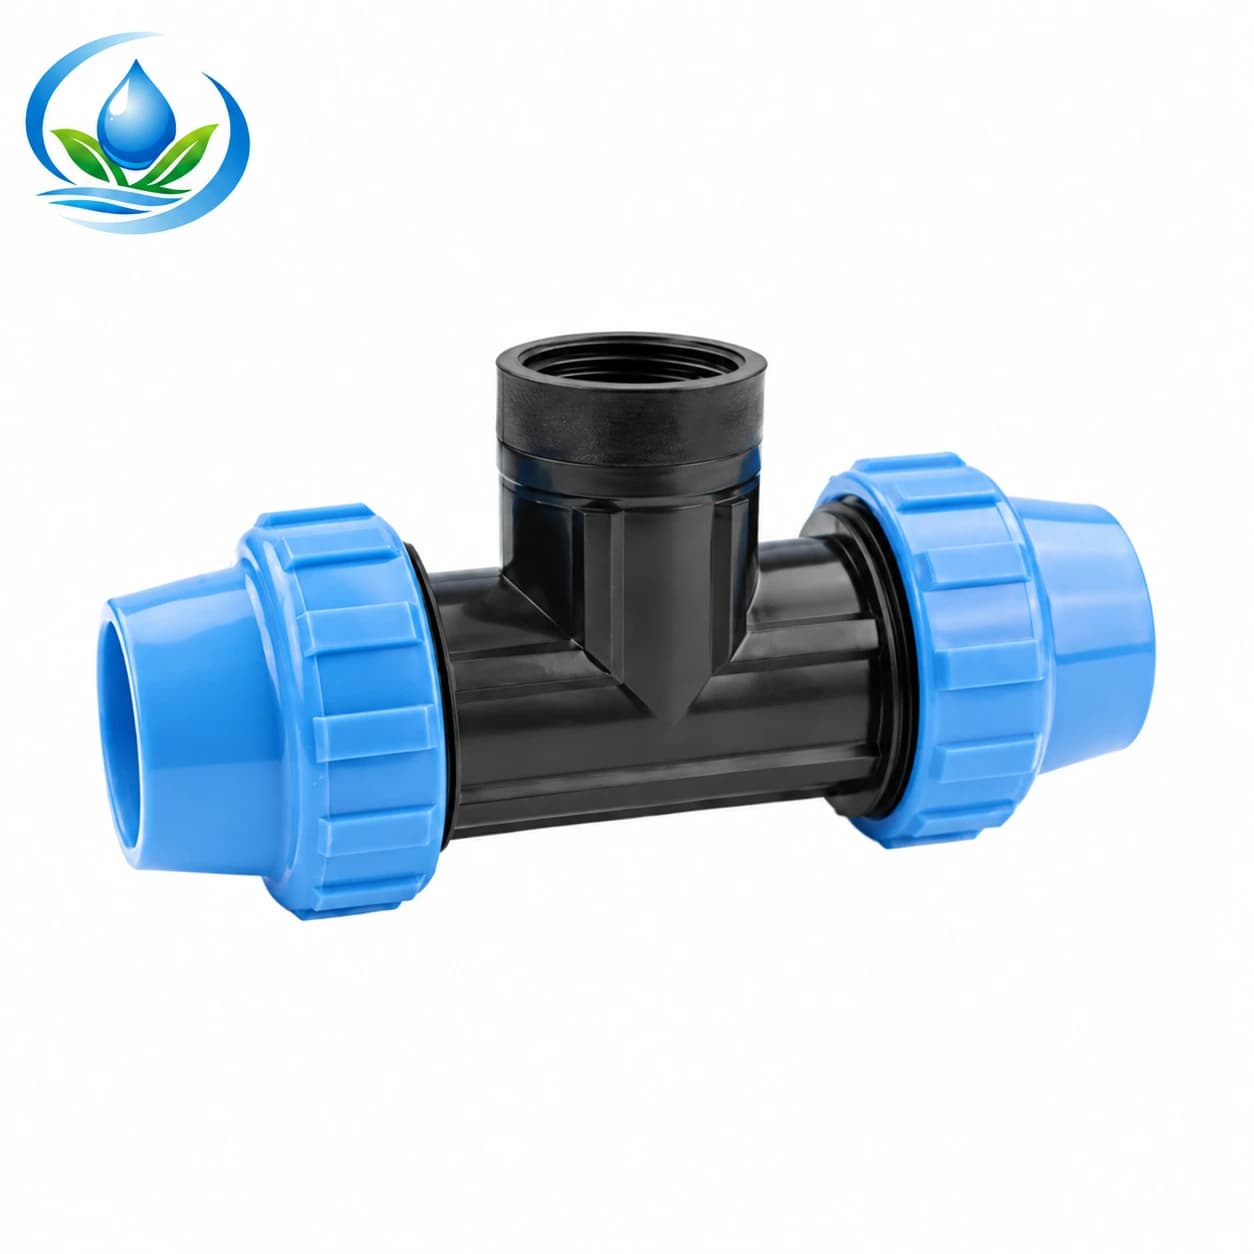
The currently listed H-compression tee with a female-thread branch adds a threaded outlet while continuing the pipe route. Option 710020 is labelled 20 mm × 1/2 inch; 710021 is 20 mm × 3/4 inch. Check both through ports and the branch independently, including how the printed dimensions apply to each port. The label does not establish the thread standard, pressure class or compatibility with an unidentified existing tee.
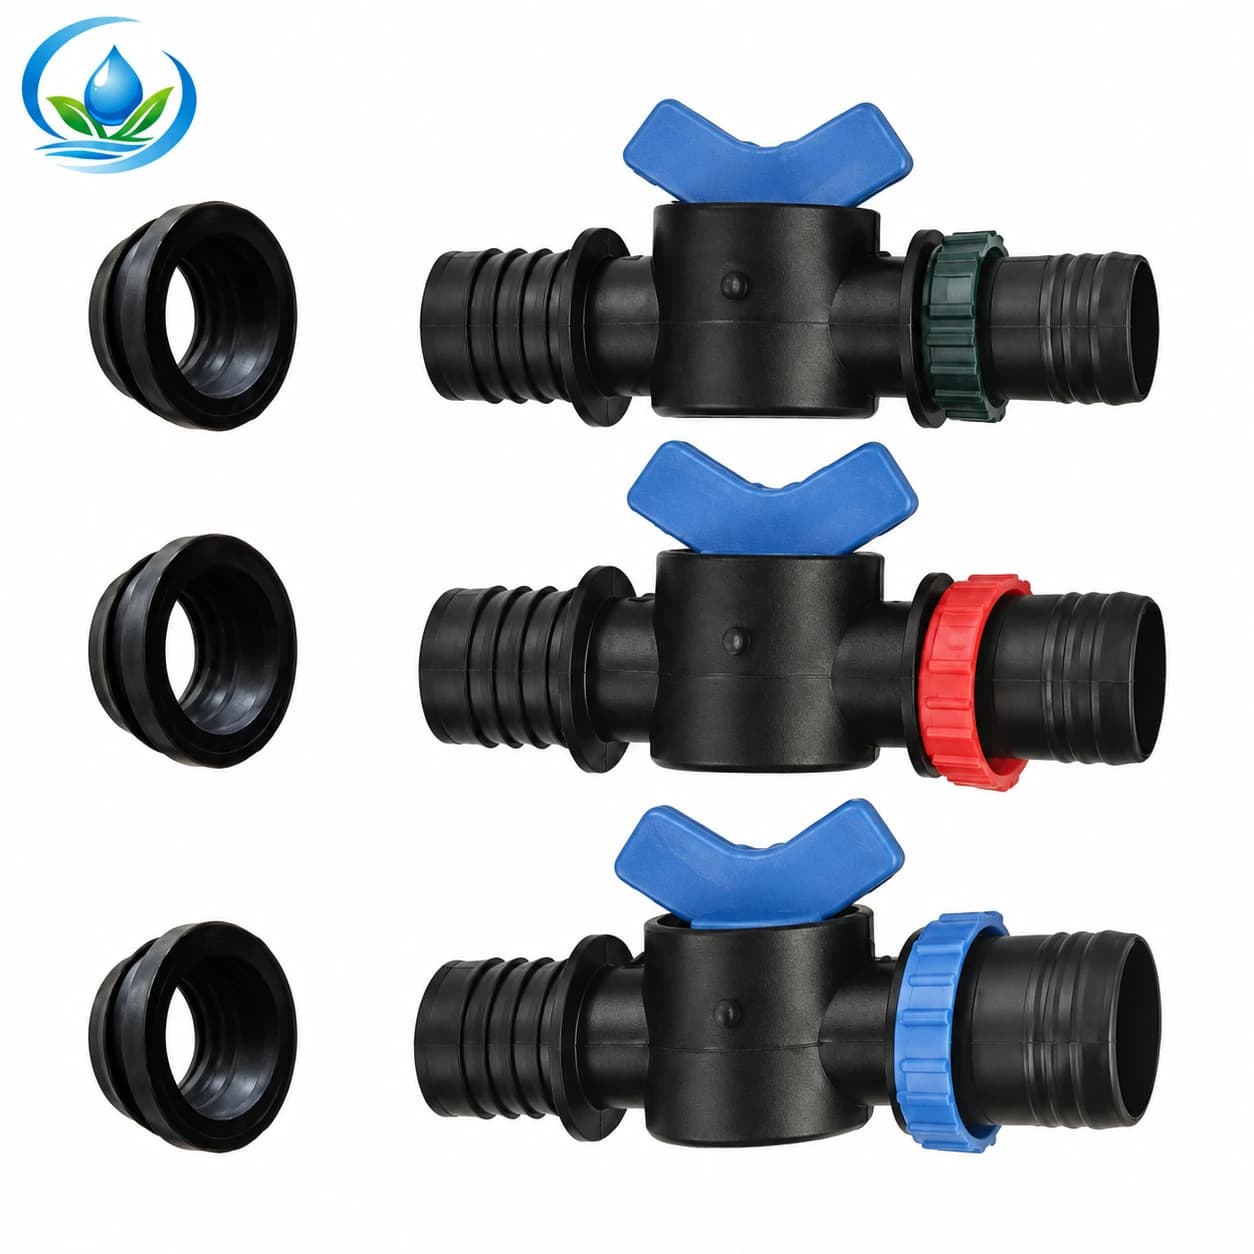
A compression ball valve can add manual isolation where a pipe section must be shut off for maintenance. No matching compression ball valve is currently listed in this store; this connection remains a planning example. Confirm an independently sourced valve’s exact pipe size and operating rating. A manual shut-off does not automatically regulate the pressure of downstream equipment.
| Job | Candidate | Purchase detail to establish |
|---|---|---|
| Turn toward a male-threaded item | Female-thread compression elbow | Pipe OD, female thread size and standard |
| Add a threaded branch | Female-branch compression tee | Both through sizes and complete branch specification |
| Isolate a PE pipe section | Compression ball valve | Exact diameter, operating rating and handle clearance |
Read every PE fitting port before choosing a branch shape
An elbow has two connection jobs; a tee has three. List all of them on the order worksheet. A pipe diameter written in millimetres and a thread size written in inches describe different interfaces. Do not convert one number arithmetically and assume the converted number is the correct thread designation. A PE irrigation branch-fitting order should list the size and interface of each port, then count the complete pieces needed at every mapped junction.
Thread gender is separate from thread standard. A female opening receives a compatible male thread, but gender alone does not prove that the pair fits. Confirm nominal thread size, whether the thread is parallel or tapered, and the applicable standard. A garden-hose connection is not automatically interchangeable with a pipe-thread connection carrying a similar inch label.
Also establish where the seal is made. Some connections seal at a gasket or face, while others use an approved thread-sealing method. Follow the selected fitting's instructions rather than applying a single technique to every joint. More sealing tape cannot correct incompatible threads, and forcing a misaligned thread can damage the part before water ever reaches it.
Assembly order matters at a tee. A threaded accessory may need room to rotate before the two pipe ends are secured. Check whether you can assemble and later remove it without twisting the pipe or disturbing an adjacent filter. Put that clearance requirement beside the branch specification in your shopping notes.
Compare pressure and material without borrowing another product's rating
Where a fitting is marked PP, that mark identifies polypropylene. It does not, by itself, establish a pressure class, allowable temperature, seal material or suitability for a chemical mixture. Similarly, PE identifies the pipe material family rather than every detail of the connection. Use the actual product and pipe documentation to complete the comparison.
For any compression ball valve, obtain the exact size and operating rating before treating it as suitable for the supply. A valve labelled PN10 or PN16 does not give the same rating to an unverified elbow or tee. The permitted conditions of the assembled route depend on every component and its operating circumstances; one robust-looking part does not rate the entire installation.
Record normal operating pressure and any known changes when the pump starts, stops or another section closes. Include the water temperature and any dosing materials you intend to use. If a product does not document the relevant conditions, leave that selection unresolved. Comparing the valve catalogue can help you identify a different connection family, but each candidate still needs its own compatibility check.
Consider a pipe take-off only when its base matches the job
A PE pipe take-off valve offers another way to isolate a branch at the supply pipe. The current options include V25E at 25 mm, V28E at 28 mm and V32E at 32 mm. These are the listed connection sizes; do not interpret them as a required drill diameter or as proof that the valve mounts to any pipe with that outside diameter.
A take-off requires its insertion base, sealing arrangement and outlet to match the intended pipe opening and branch. Confirm the pipe-wall requirements and the preparation method for the selected model. A threaded-branch tee and a take-off are different connection routes. Choose one appropriate route instead of buying both because each product mentions a branch.
Keep the valve handle reachable after crops grow or nearby hoses move. Check that the branch does not pull on the base when the line fills with water. If the outlet needs an additional adapter, count it separately unless the selected option explicitly includes it. An accessory shown in an installation photograph is not a contents list.
Count mating ports and complete fitting pieces separately
For a simple example across several maintenance points, suppose your drawing needs two female-branch tees, two female-thread elbows and one compression ball valve. That is five main pieces. Assuming the described connection layouts, the tees contribute four compression ports and two female-thread ports, the elbows add two compression ports and two female-thread ports, and the valve adds two compression ports.
The total is eight compression ports and four female-thread ports. This does not mean you need twelve fittings. It means eight pipe ends and four matching male connections must be accounted for. Some male connections may already be on the equipment. Count missing adapters only after marking what is already present.
| Order item | Example count | Check before purchase |
|---|---|---|
| Female-branch tees | 2 pieces | Two pipe interfaces and one threaded branch each |
| Female-thread elbows | 2 pieces | Pipe interface, threaded interface and orientation |
| Compression ball valve | 1 piece | Both pipe interfaces and the selected rating |
| Missing male adapters | Count after checking existing equipment | Exact matching thread and opposite connection |
| Replacement pipe | Measure after allowing for damaged material | Pipe specification and insertion allowance |
| Seals and spares | Only required or deliberately chosen items | Exact model and package contents |
This is a counting example, not a prevalidated assembly or a packaged set. If you replace one tee route with a take-off route, revise the ports and adapters as well as the main-piece count. A spare should be identified by the exact model and size you use, not by a generic label such as “farm connector”.
Inspect the delivery and test an accessible connection
Before cutting pipe, match the delivered model codes, dimensions and quantities to your worksheet. Check that nuts and sealing parts belong to the same fitting model. Similar colour or appearance does not prove interchangeability. Keep labels with the spare parts so a later repair does not depend on remembering which bag supplied which ring.
Isolate the water and release pressure before dismantling a connection. Remove damaged pipe, prepare a clean square end and follow the selected fitting's insertion and tightening instructions. Some compression designs have different assembly procedures from others. Do not borrow another manufacturer's turn count, nut position, disassembly method or reuse promise.
Keep the new joint aligned and supported. Open the water gradually, then inspect the connection during normal operation. Check both visible leakage and the outlets served by the repaired section. If the joint moves, leaks or places the pipe under strain, shut the water off and establish the cause before continuing.
Record what changed and check again after operating the relevant valve. An accessible first test is more informative than covering the fitting immediately. A successful connection should fit its intended task without improvised wedges, forced threads or a pipe bent sharply to make up a missing length.
Finish the basket with a clear record of the selected parts
Save a short record for each purchase: job location, model code, pipe outside diameter, every thread detail, operating rating, quantity and required seals. Mark anything still unknown. The current H-series listings provide model-and-size options, but the thread standard, pressure class and exact mating arrangement still require confirmation before you treat them as matches for the existing installation.
Compare the final sale unit and total basket cost, including any missing adapters, pipe and delivery. A single item and a pack of several items are different quantities. Check current selected-option availability in the store product catalogue; a published page is not a promise that every possible size is available to ship.
Keep the measured sketch and product labels after installation. They make the next repair simpler and help you order a matching spare. A useful agricultural irrigation fittings purchase ends with a known connection at every port, a deliberate count of pieces and a practical way to inspect the completed joint.
Before you order
Compare this guide with the specifications for your exact product, selected option, water supply and field conditions. Your equipment requirements take priority over a general example.
Compare irrigation products