How to Find a Leak in Irrigation System Pipework Before Buying Parts
Trace where water escapes, compare operation and shutdown, and record the tube and connection before choosing compatible irrigation repair parts.
Published by IrriNex Store
This guide explains how to find a leak in irrigation system pipework before buying replacement parts. Begin with an observable escape point, or a clearly documented area that needs further investigation. A wet patch, weak emitter or changed pressure is a reason to inspect; each can have explanations other than a damaged tube. The useful result is a precise record of where water leaves the intended path, under which operating condition, and what connection or material is involved.
For agricultural drip rows, this means tracing accessible pipework, comparing operation with shutdown, and narrowing the affected branch through the system's existing approved controls. Once the fault is identified, choose the compatible repair family. Buying a familiar coupler before locating the problem can leave the actual source of water untouched.
Describe the symptom without naming the failed part
Write what you can see: water beads around a joint while the row runs, a spray crosses the aisle, a low spot becomes wet after shutdown, or several outlets deliver less than usual. Include the row identifier, date, recent rain, duration already elapsed and which zones are operating. These details make the observation repeatable.
A statement such as “water emerges from the upstream side of this connector while zone B is open” is stronger than “the connector is bad”. Water may travel along the outside of a tube and collect at a fitting below its origin. Keep your first explanation provisional until you have traced the fresh water to its starting point.
Take a wide photograph showing the row and a close photograph showing the suspected location. Mark it on a sketch so another person can return to the same point. Keep crop vigour, sound and surface wetness as supporting observations; none identifies a failed component by itself.
Trace a wet irrigation route beyond the visible puddle
Inspect the route uphill or upstream from the visible wet area, as well as nearby emitters and adjoining rows. Water can follow a furrow, mulch surface, buried channel or the exterior of a pipe. The centre of the puddle is therefore a search location, not necessarily the hole. A farm irrigation pipe leak trace should follow the water path to the actual escape point before naming the replacement fitting.
Where the line is already accessible, look for the first fresh bead or moving film of water while maintaining a safe viewing position. Compare the upper and lower sides of a connection. A photograph of a wet exterior without the origin visible should be labelled “suspected area”, not “confirmed split”.
If soil or covering hides the route, mark its position before disturbing it. Use installation records to identify buried pipe and other services. Arrange suitable access with the supply isolated and pressure released before exposing or dismantling components. An uncertain buried route is a reason to obtain a proper location check, not to probe blindly toward the wet spot.
Walk the operating path in a fixed order
Start at the accessible supply assembly, then follow the header, branch connections, row starts, lateral joints and line ends. Inspect while the intended zone operates under its usual conditions. Record which locations are dry, where water appears and whether discharge comes from a designed outlet or an unintended interface.
At a filter or valve, distinguish water emerging at a connection from water coming through the housing or a designated port. Copy the component model and the exact location. Interpretation of a vent, relief outlet or shutdown discharge depends on that device's instructions; an unfamiliar port should not be treated like a tube puncture.
Keep backflow protection installed and keep regulator vents unobstructed. Never remove a protective device or cover a vent to see whether a symptom disappears. Observe and document the condition, then use the manufacturer's service procedure or a qualified service provider for the affected assembly.
Narrow the branch using approved isolation
A drawing of the valves and branches helps separate a local row fault from a shared supply problem. Use only existing isolation points intended for that task, following the operating procedure for the pump and irrigation system. A valve sequence that leaves a pump running against closed discharge is not a diagnostic test.
Change one permitted operating condition at a time and record it. For example, note whether fresh water at the marked location continues when the relevant branch is isolated according to the system procedure. Return other settings to their recorded state before comparing another branch. Changing several valves together makes the result difficult to interpret.
A symptom that disappears after isolation helps locate the affected water path, but it does not identify the defective part. The leak may lie anywhere downstream of that control, and operating pressure elsewhere may also have changed. Do not clamp, fold or cap arbitrary lines to create makeshift test boundaries.
Compare shutdown behaviour with active leakage
Record what happens after the normal shutdown sequence. Note where water continues to emerge, whether its rate decreases, and whether the observed point is below other parts of the line. Water already held in the pipe can drain toward low outlets after the source stops supplying that section.
Finite drain-out is different from continuing supply through an incompletely isolated path. There is no universal number of minutes that separates them for every layout. Pipe volume, elevation and outlet arrangement affect the observation. A valve handle's position alone does not prove that the downstream section has been fully isolated.
If continued supply is suspected, keep the observation separate from the diagnosis and have the isolation arrangement checked. Buying a tube coupler will not correct an upstream valve that fails to close, and buying a device described as pressure compensating does not establish an anti-drain function.
| Observation | What it supports | What still needs checking |
|---|---|---|
| Fresh water visibly exits a tube split during operation | A localized wall fault | Sound material, line identity and operating conditions |
| Water appears around a joined interface | A connection needs inspection | Exact origin, mating dimensions and component condition |
| Low outlets drip after shutdown and then diminish | Residual drain-out is plausible | Isolation, elevation and the complete shutdown pattern |
| Several emitters are weak without visible escaping water | Delivery needs investigation | Supply, valves, filter loading, kinks and outlet condition |
Use pressure and flow as clues with a baseline
Where suitable measuring points already exist, compare operating readings with a known healthy record using the same zone arrangement. Label the gauge location and note other open branches. A lower pressure reading alone does not prove a leak: source changes, filter loading, valve position and additional demand can also affect it.
A meter total can help reveal a change in the operating case, but a total without context cannot locate the escaping water. Compare like with like and record measurement uncertainty. Do not invent a pressure threshold or a fixed percentage increase that classifies every irrigation installation.
Use the drip irrigation pressure checklist when readings need further investigation. This article does not require buying a new gauge, meter or acoustic locator, and those tools are not assumed to be included with the repair fittings.
Check other causes when no escape point is found
Weak delivery at the far end can occur without a visible leak. Check the recorded valve arrangement, source condition, accessible kinks and the filter's indicated service condition. Several poor outlets may also need a separate discharge comparison. Record each finding instead of ordering a connector simply because the plants look dry.
If filter loading or repeated blockage is suspected, follow the filtration selection and service checks. Keep this investigation separate from a confirmed pipe-wall escape. A repair coupling changes a connection; it does not remove deposits from an emitter or increase the source's capacity.
If the route remains hidden and observations are inconclusive, preserve the map, operating record and photographs for a competent irrigation technician. A clearly documented unresolved location is more useful than a confident but unsupported parts order. Specialist location work may be appropriate before further excavation.
Record the leaking pipe or fitting interface before replacement
After isolation and pressure release, inspect the identified area according to the equipment procedure. Describe whether the problem concerns tube wall, a tube-to-fitting interface, a full-bore line ending, a threaded connection or an equipment housing. Photograph identifying marks before removing anything that could erase them.
Copy the line's construction and size information: blank PE tube, integrated dripline, thin-wall tape or another specified material, together with diameter and wall details where known. A shared nominal diameter does not establish interchangeability. For a thread, record the standard and sealing arrangement rather than assuming that matching inch labels are sufficient.
Keep the old part or a labelled sound sample when practical. Do not force damaged material onto an unknown fitting to test whether it “feels right”. The record should make clear which dimensions are measured, which come from a label, and which still need confirmation.
Match the documented fault to the fitting family
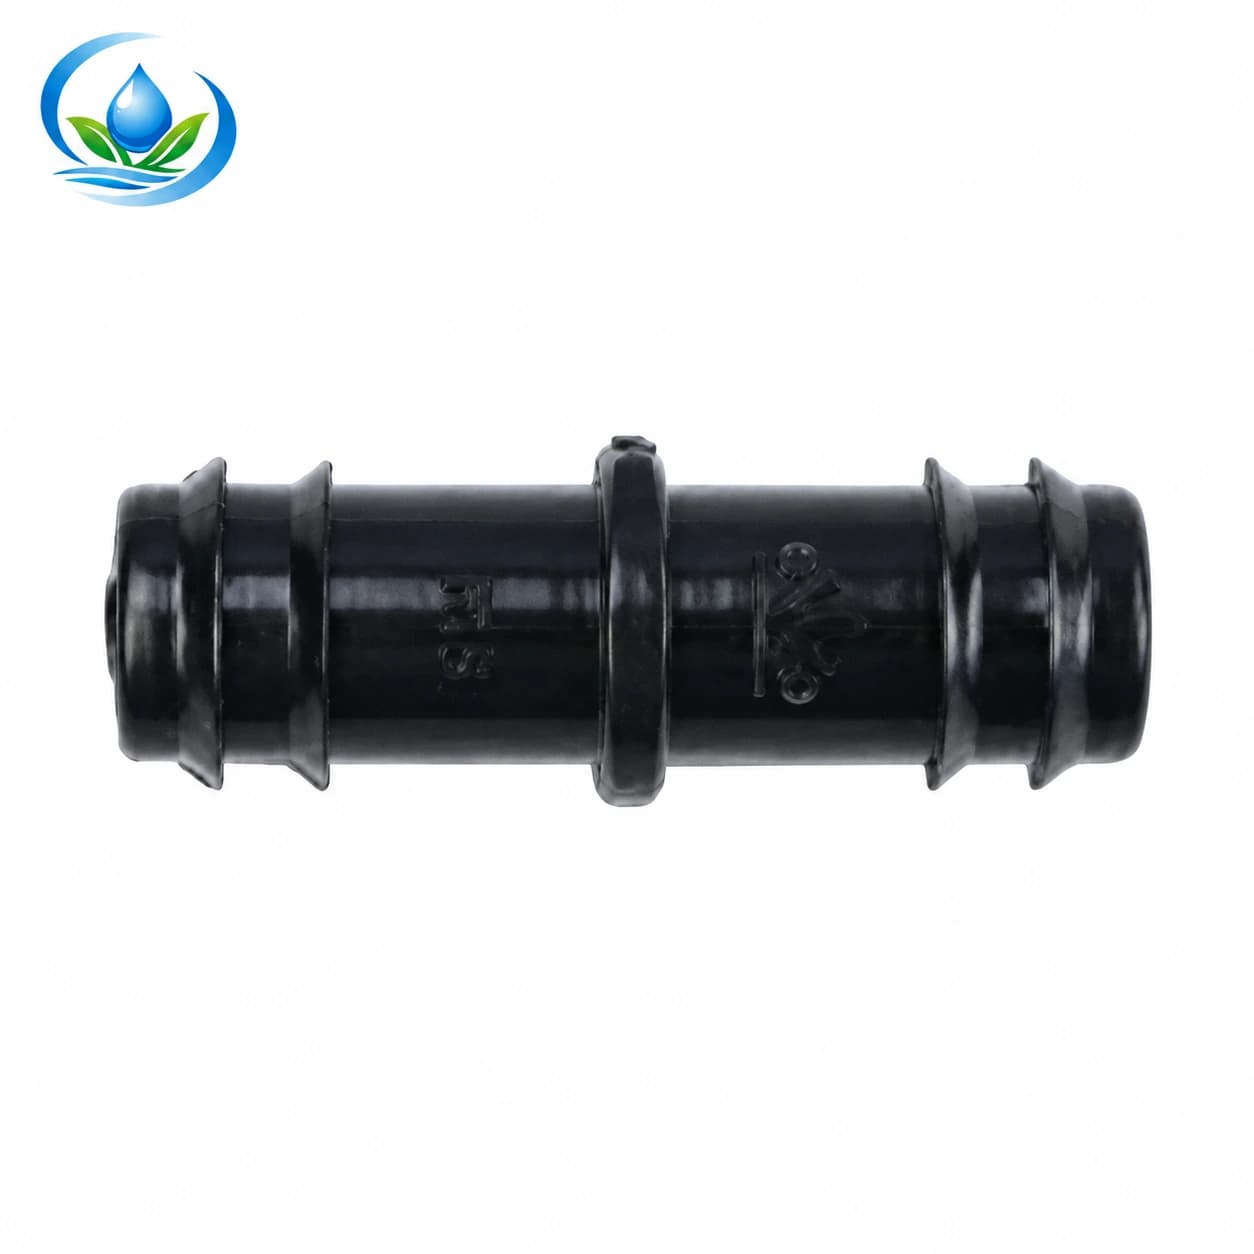
For a confirmed repair joining compatible tube ends, the barbed straight coupling offers SC0116, SC0120, SC0125 and SC0132, corresponding to 16, 20, 25 and 32 mm options. These identify separate sizes. Confirm the tube bore, wall acceptance, required retention and operating limits for the selected option.
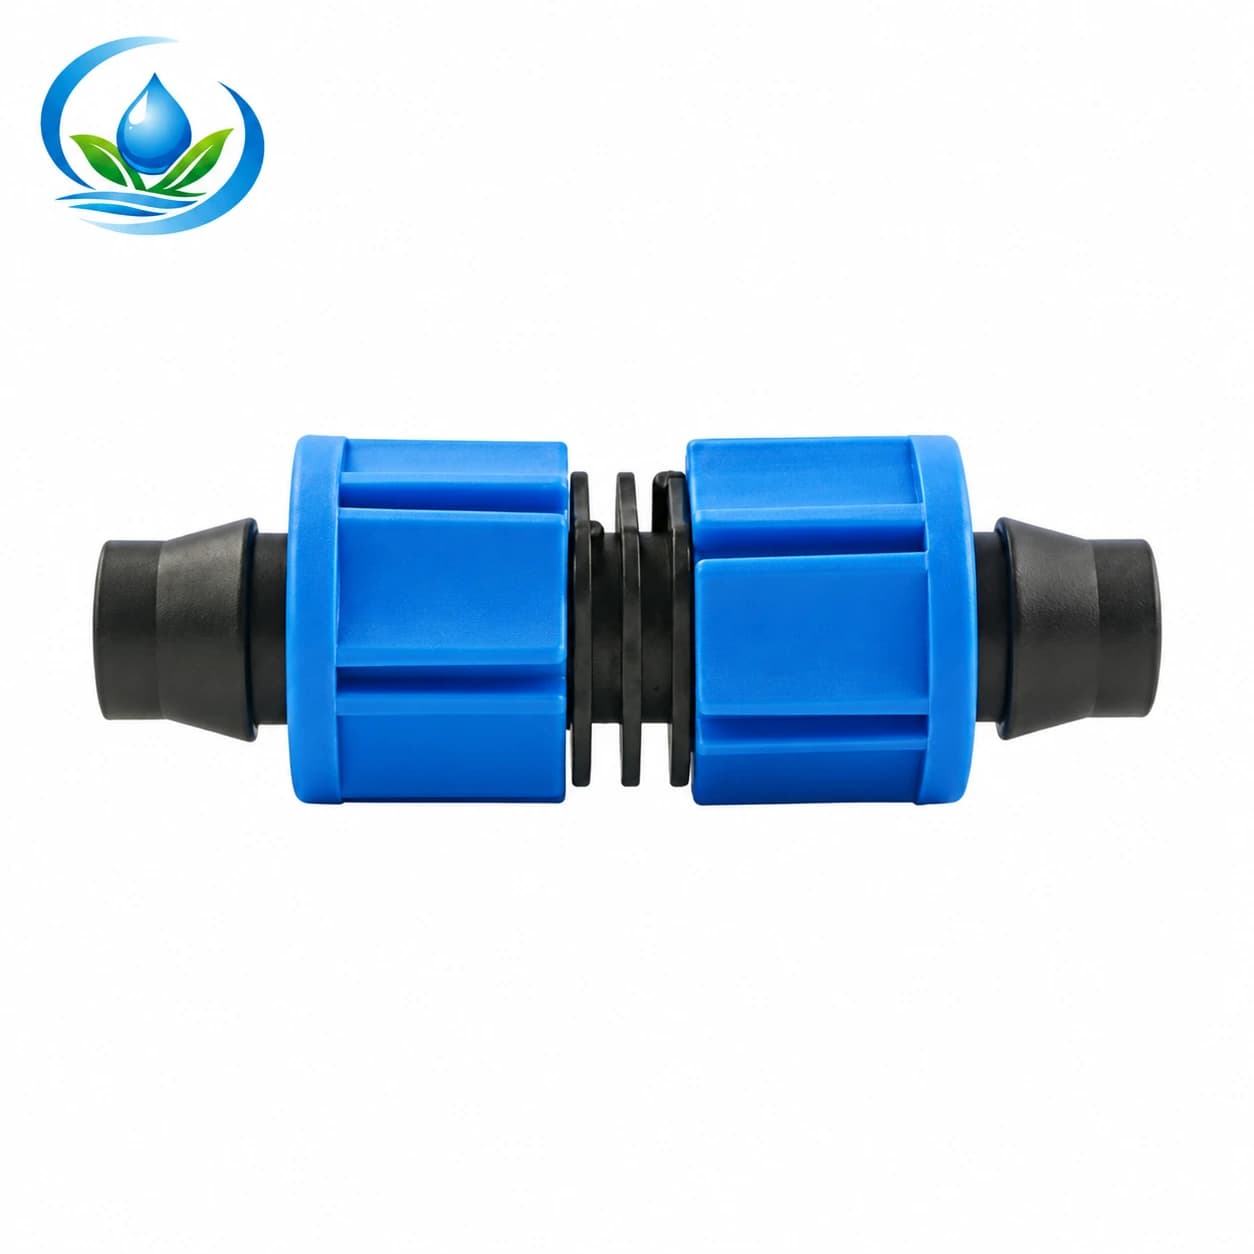
The lock-nut coupling lists LC0117 at 16 mm and LC0120 at 20 mm. Choose it only when the line construction and wall fit that connection system. A locking collar does not make one fitting suitable for every tape or round tube with the same size label.
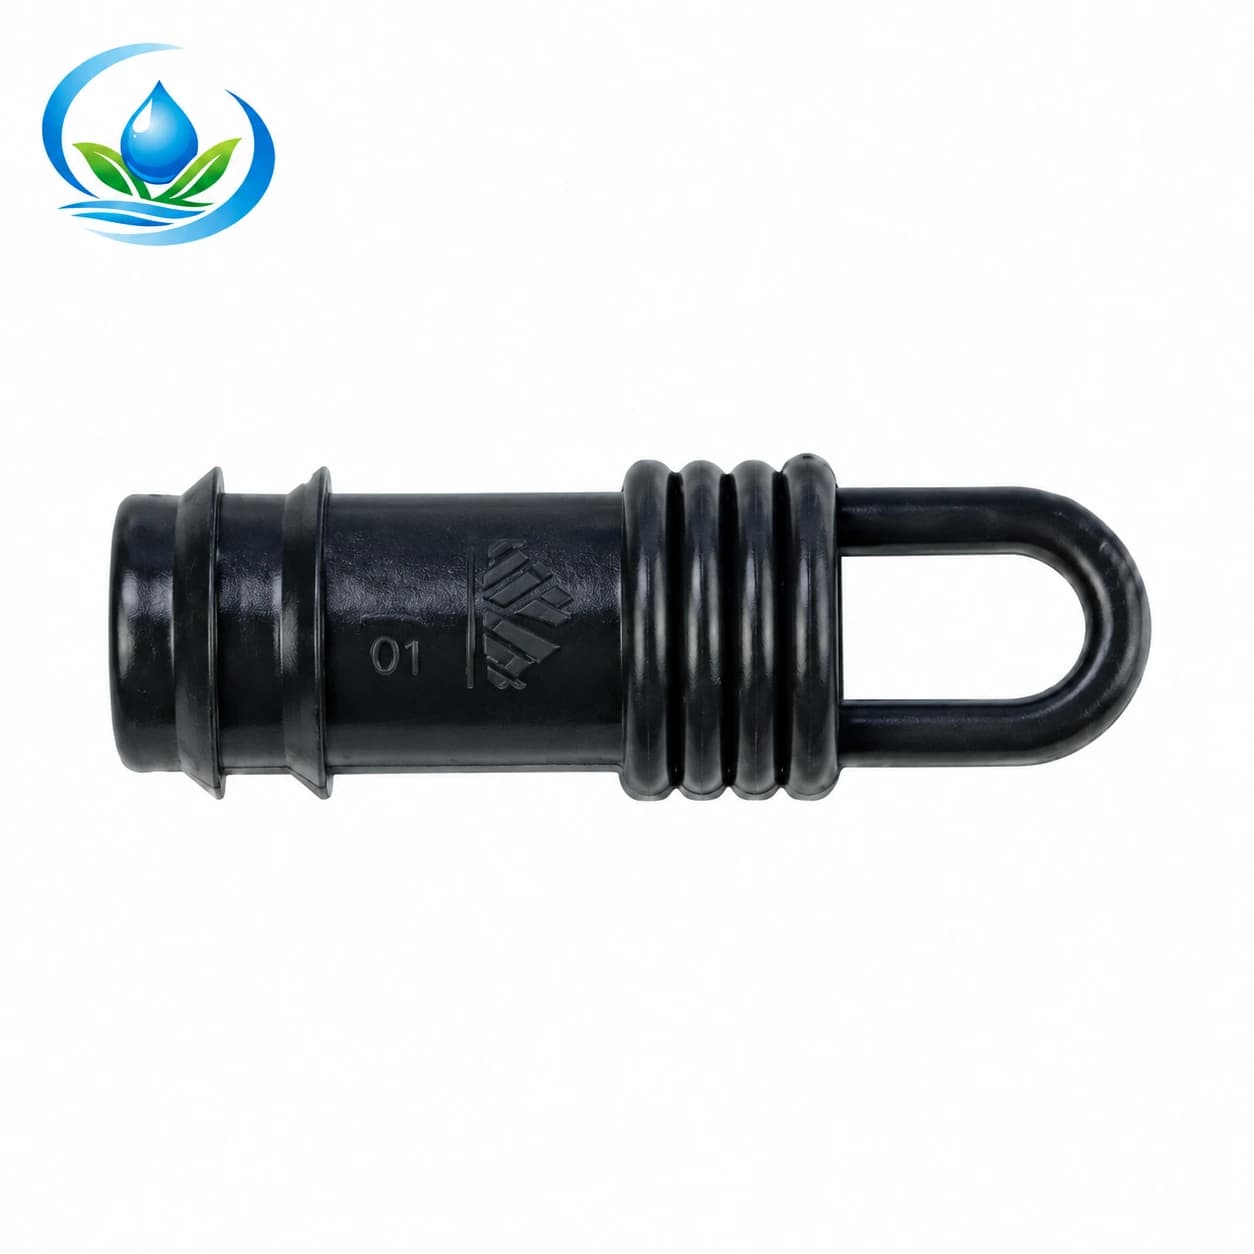
If the confirmed problem is a full open tube end, the barbed end cap has EL0116, EL0120, EL0125 and EL0132 options at 16, 20, 25 and 32 mm. It is not a small punched-hole plug, a threaded cap or a device for creating an improvised pressure test. A puncture repair needs a separately verified solution for that opening.
Count the repair after checking sound material and reach
Mark the damaged area and the sound material on either side without assigning a universal cut-back distance. Check how much movement is available without pulling outlets or nearby joints. If two sound ends can meet in the approved assembly without strain, a single join may be possible. Inserting a replacement length creates two joining locations.
Count the actual interfaces and any matching replacement tube, supports, retainers or sealing pieces required by the selected system. Keep quantity, sale unit and package contents explicit. Confirm the chosen option's price and supply terms when ordering; a family photograph is not a parts list.
The barbed fittings and repair-parts guide covers the next selection stage. Here, the purchasing decision begins only after the location and interface have been established. Avoid expanding a diagnostic visit into a general replacement of unrelated components.
Close the record with a repeatable follow-up
After repair under the selected equipment instructions, observe the path using the original recorded operating condition. Inspect the repaired point, adjacent connections and downstream delivery. A dry joint under reduced demand does not establish its behaviour when the intended complete zone runs.
Compare shutdown observations as well. Residual drainage may remain even after an actual tube leak is repaired, so keep those findings separate. If the symptom persists, record precisely what changed and return to the traced water path instead of adding force or unsupported sealing materials.
Send the row map, operating and shutdown observations, close and wide photographs, tube identification and suspected interface through IrriNex Store support for help matching replacement parts. Keep the accepted model and repair location with the farm record so a later buyer can identify the same assembly.
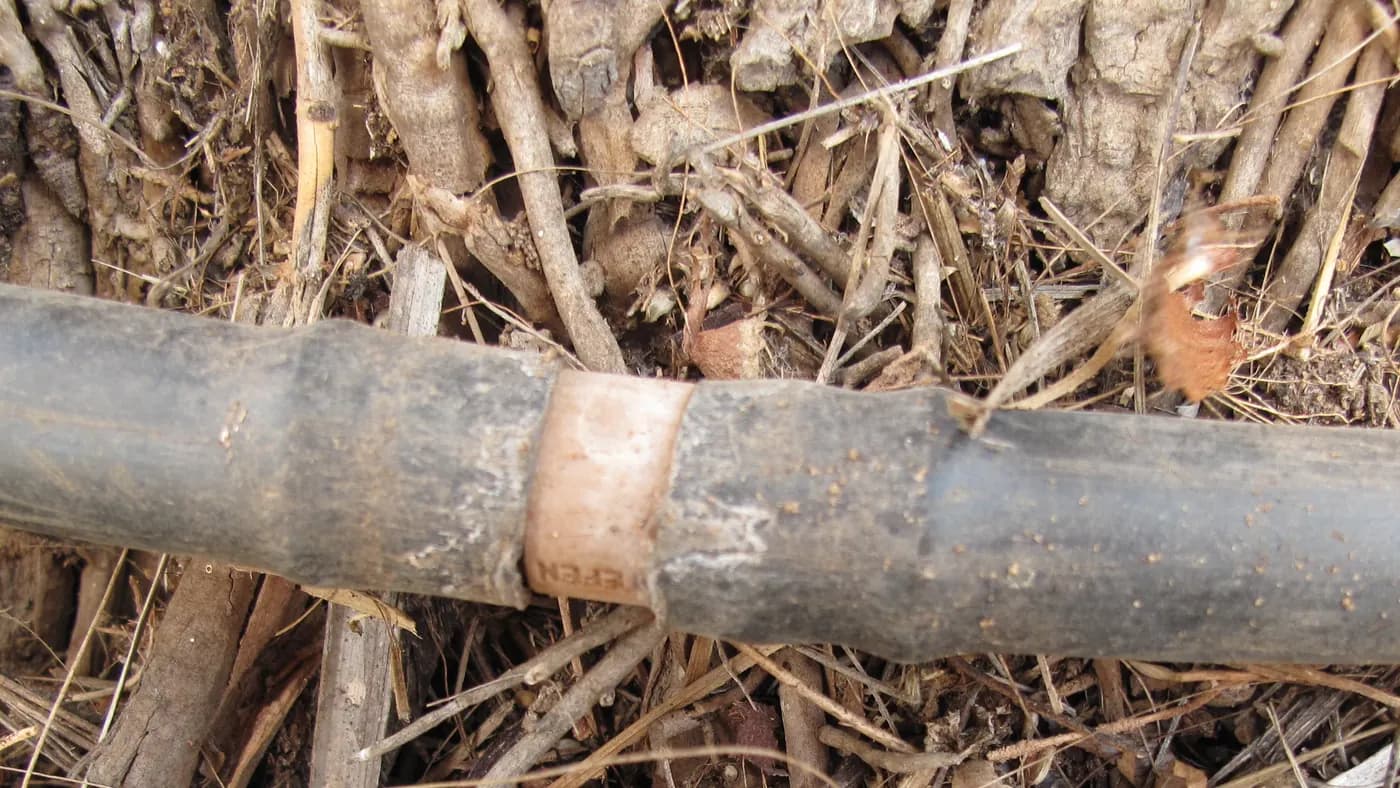
The accompanying photograph by Juandev shows a joint between two drip-tube ends at Shefa Farm in Israel. No escaping water is visible. It illustrates an inspection location and does not establish a leak, a completed repair, dimensions or a particular IrriNex product.
Before you order
Compare this guide with the specifications for your exact product, selected option, water supply and field conditions. Your equipment requirements take priority over a general example.
Compare irrigation products