Drip Irrigation Fittings: Order Barbed Couplers, Tees and Adapters
Match crop-row tubing to barbed couplers, tees, elbows and adapters. Compare model sizes and count a repair order before checkout.
Published by IrriNex Store
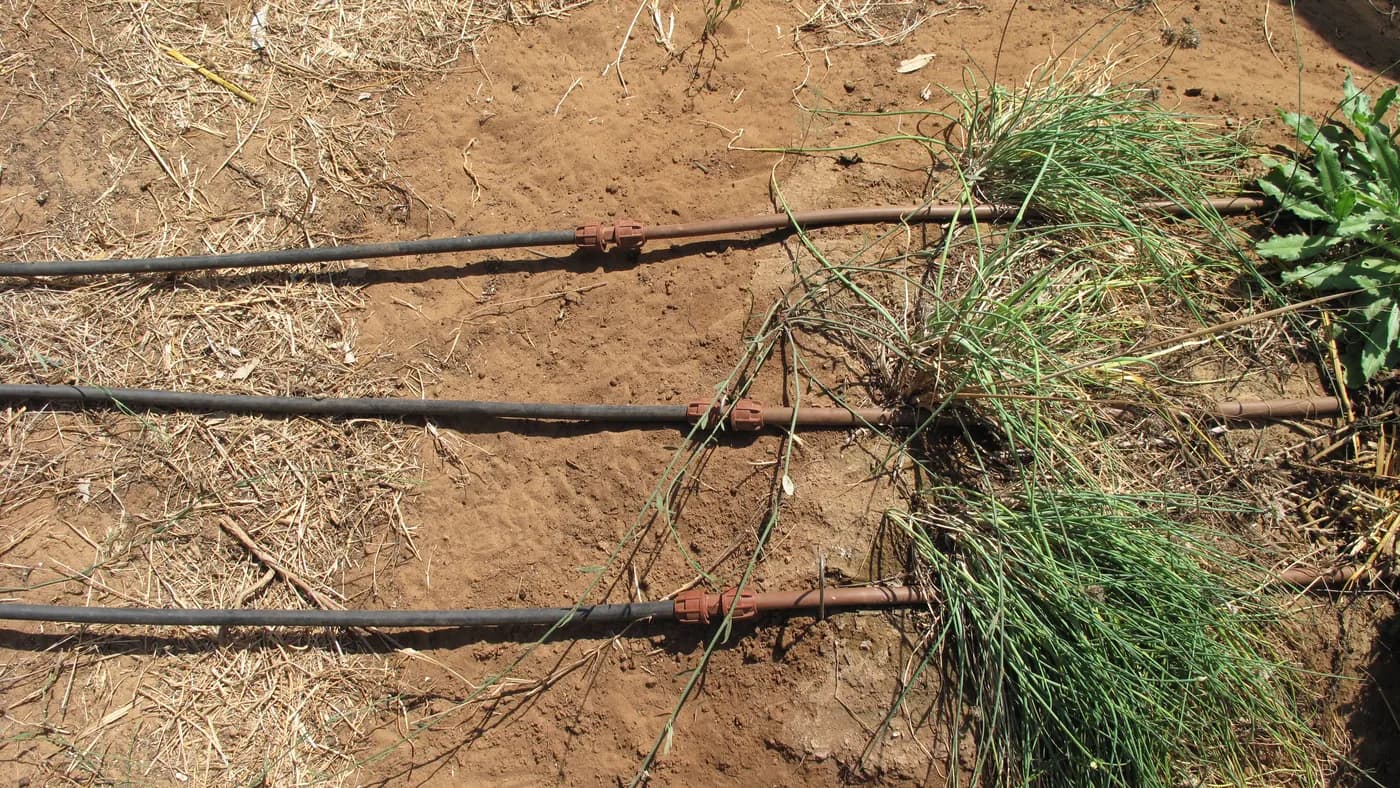
Buy drip irrigation fittings by the connection that needs to be made, then choose the exact tube interface and quantity. For crop-row tubing, the usual shopping jobs are joining a damaged line, adding a branch, turning a tight corner or connecting flexible tube to a threaded port. A straight coupler, tee, elbow and adapter perform different jobs even when their size labels look similar.
This guide concentrates on barbed connections for flexible irrigation tubing and the transition to a locking or threaded interface. It compares current IrriNex Store model options, shows how repairs change the number of connectors required and provides a delivery checklist. Keep your tube label and a sketch of the actual repair beside the product page. The complete option matters more than the general family photograph.
Start with the tube ends and the repair location
Examine an undamaged section of the existing tube. Record its material, outside diameter, inside diameter where available, wall thickness and any printed identification. A barbed fitting enters the tube, so the accepted bore and wall specification matter. The catalogue's connection-size label is a way to identify an option; it is not a measured crest diameter that you can transfer automatically to every tube bearing the same number.
For a repair, mark the damaged length and the sound material on either side. Check whether the remaining line can move without pulling emitters, stakes or nearby connections out of position. Joining two loose ends is a different purchasing task from replacing a missing section between fixed ends. If you need a replacement section, measure the final assembly with the intended couplers and their insertion allowances.
Photograph the whole location as well as the old connector. The wider view shows crop access, bends and any movement caused when the line fills. This prevents choosing a familiar fitting shape that cannot be assembled in the available space.
Use a straight barbed joiner for aligned crop-row tubing
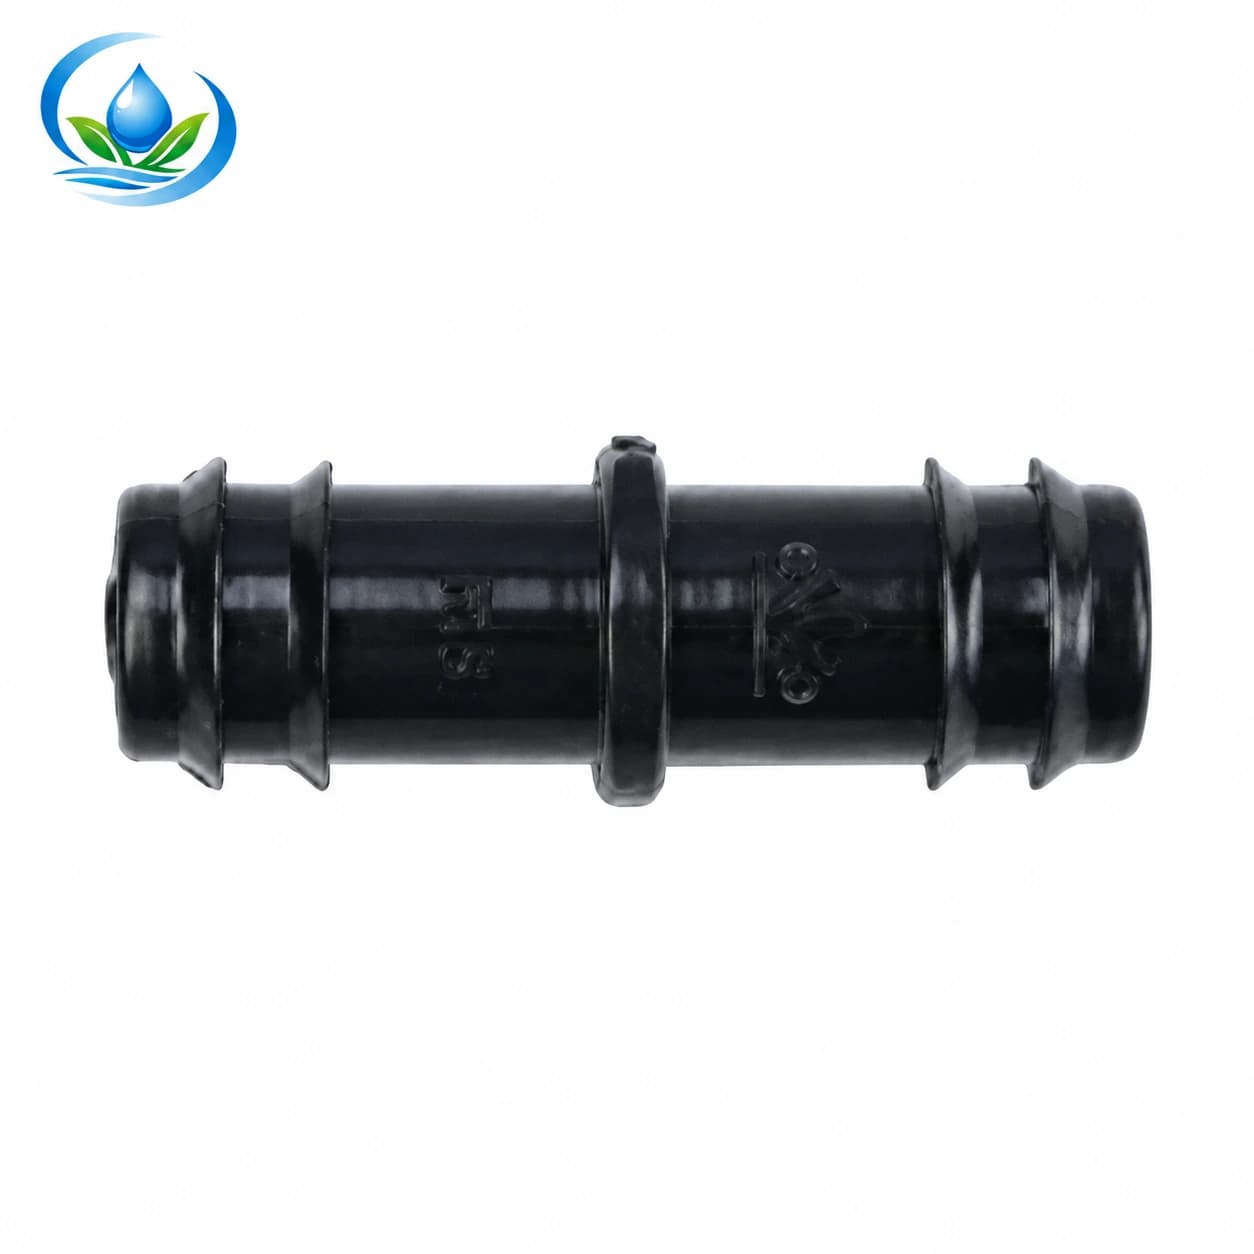
The barbed tubing joiner is the starting point for joining compatible tube ends in a straight line. Current catalogue options are SC0116 at 16 mm, SC0120 at 20 mm, SC0125 at 25 mm and SC0132 at 32 mm. These are four separate choices; a 16 mm connector is not adjustable across the whole family range. A barbed drip irrigation coupler size check should use the identified tube interface at the actual repair, rather than the family name or a neighboring size.
A single coupler can join two sound ends when the installed geometry and insertion length allow them to meet without strain. A replacement piece inserted between two existing ends normally creates two joining locations, so count two suitable couplers for that repair. Do not use the length of the visible damage alone as a universal rule for choosing one or two: the remaining slack and the completed joint dimensions also matter.
Check the tube specification and the fitting's permitted operating conditions before buying several identical pieces. The published connection-size options do not provide a pressure rating. A stronger-looking barb or a larger diameter does not establish one.
Use a tee for a branch and an elbow for a corner
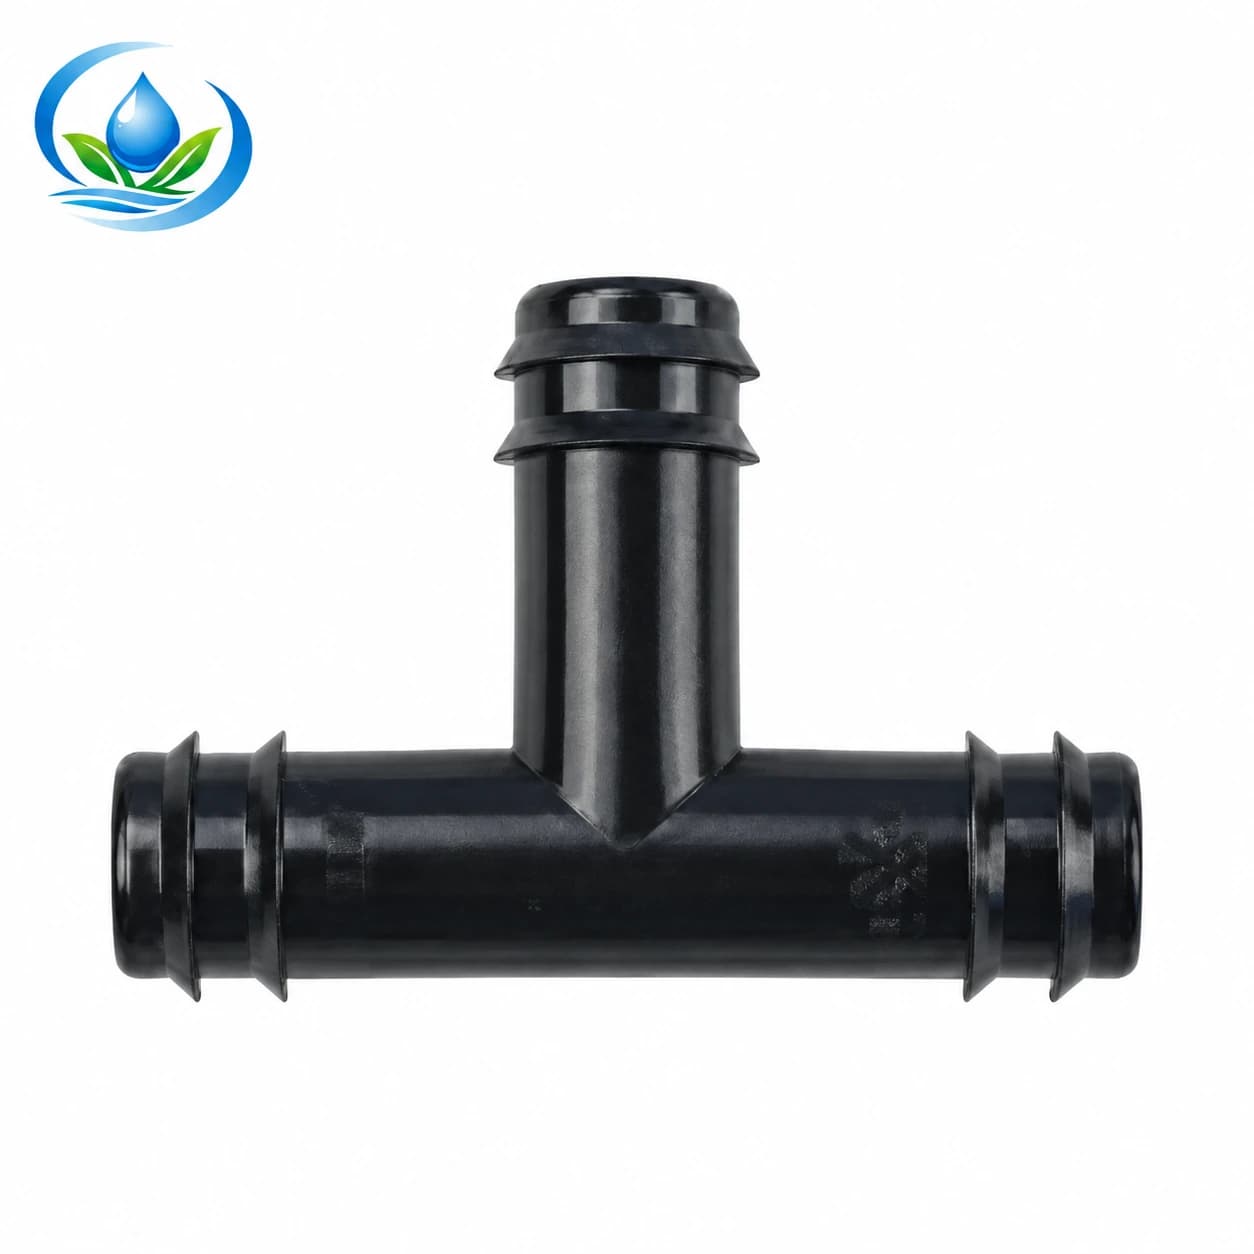
A barbed drip-tubing tee adds a third route. The current published options include TC0116 at 16 mm and TC0120 at 20 mm. Identify the continuing line and branch on your drawing, then confirm all three tube interfaces. If the branch uses a different size or another connection style, an equal tee alone does not finish that transition.
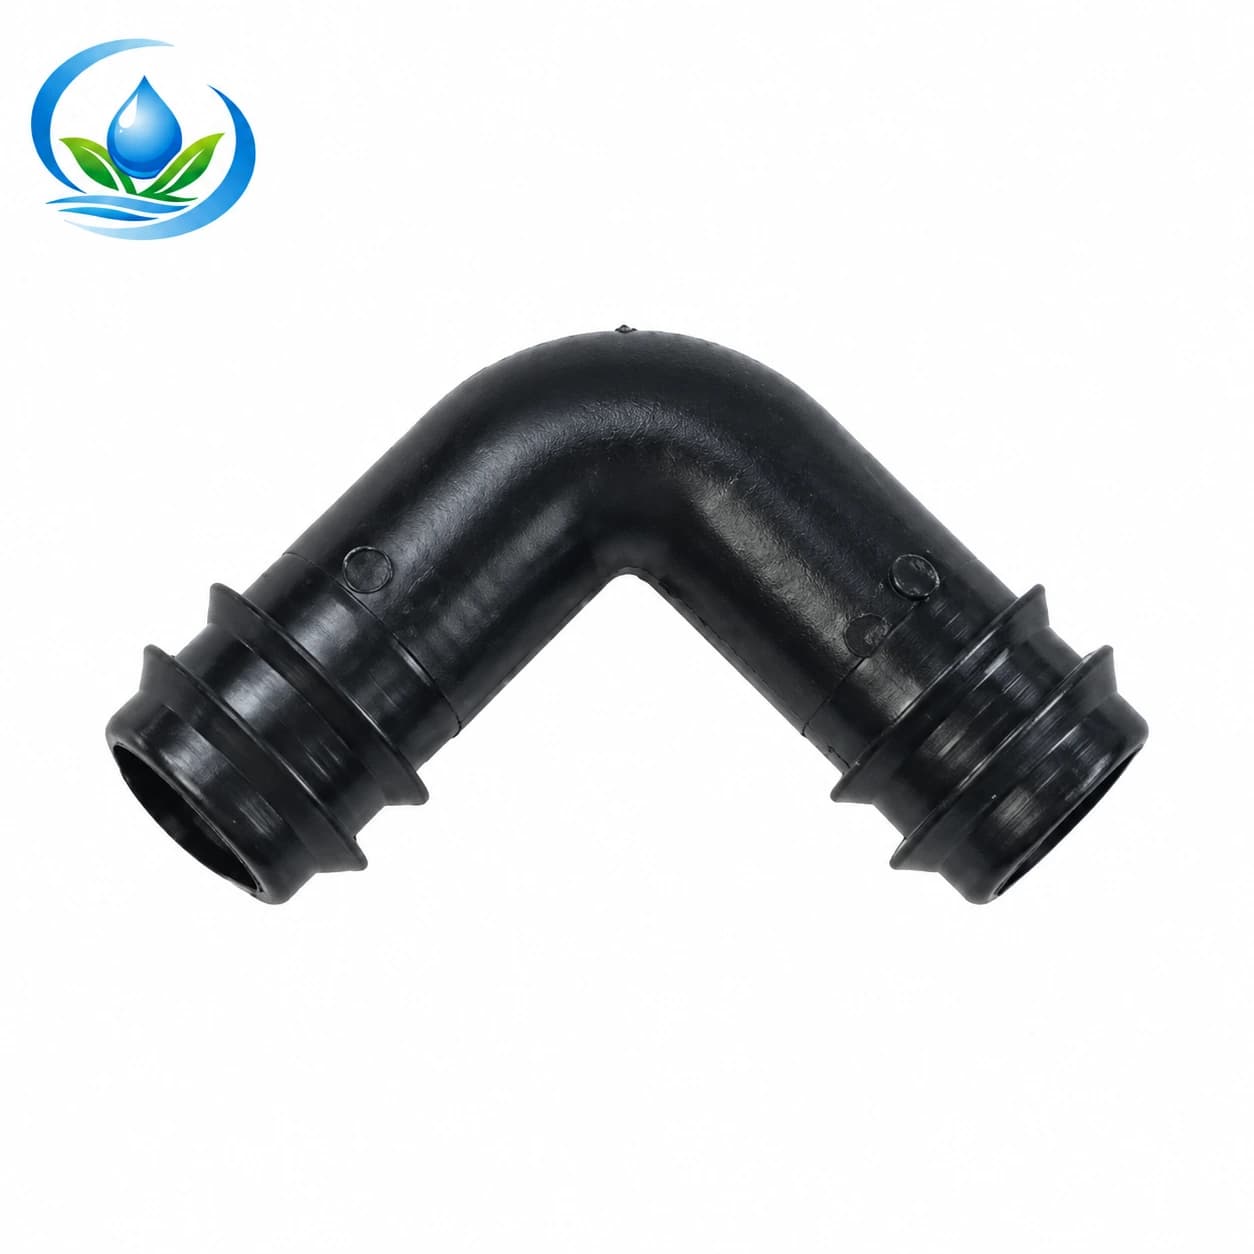
The barbed 90-degree elbow changes direction without creating a branch. Listed choices are EC0116, EC0120, EC0125 and EC0132, corresponding to 16, 20, 25 and 32 mm. Use the required shape where the tube cannot follow an acceptable bend in the space available. An elbow should not be added to every gentle change of direction automatically.
A branch also adds water demand if its outlets run with the original line. Check that demand before ordering the extension. Fitting shape establishes the route; it does not prove that the original tube can supply any number of additional plants.
Read the thread side and tube side of an adapter separately
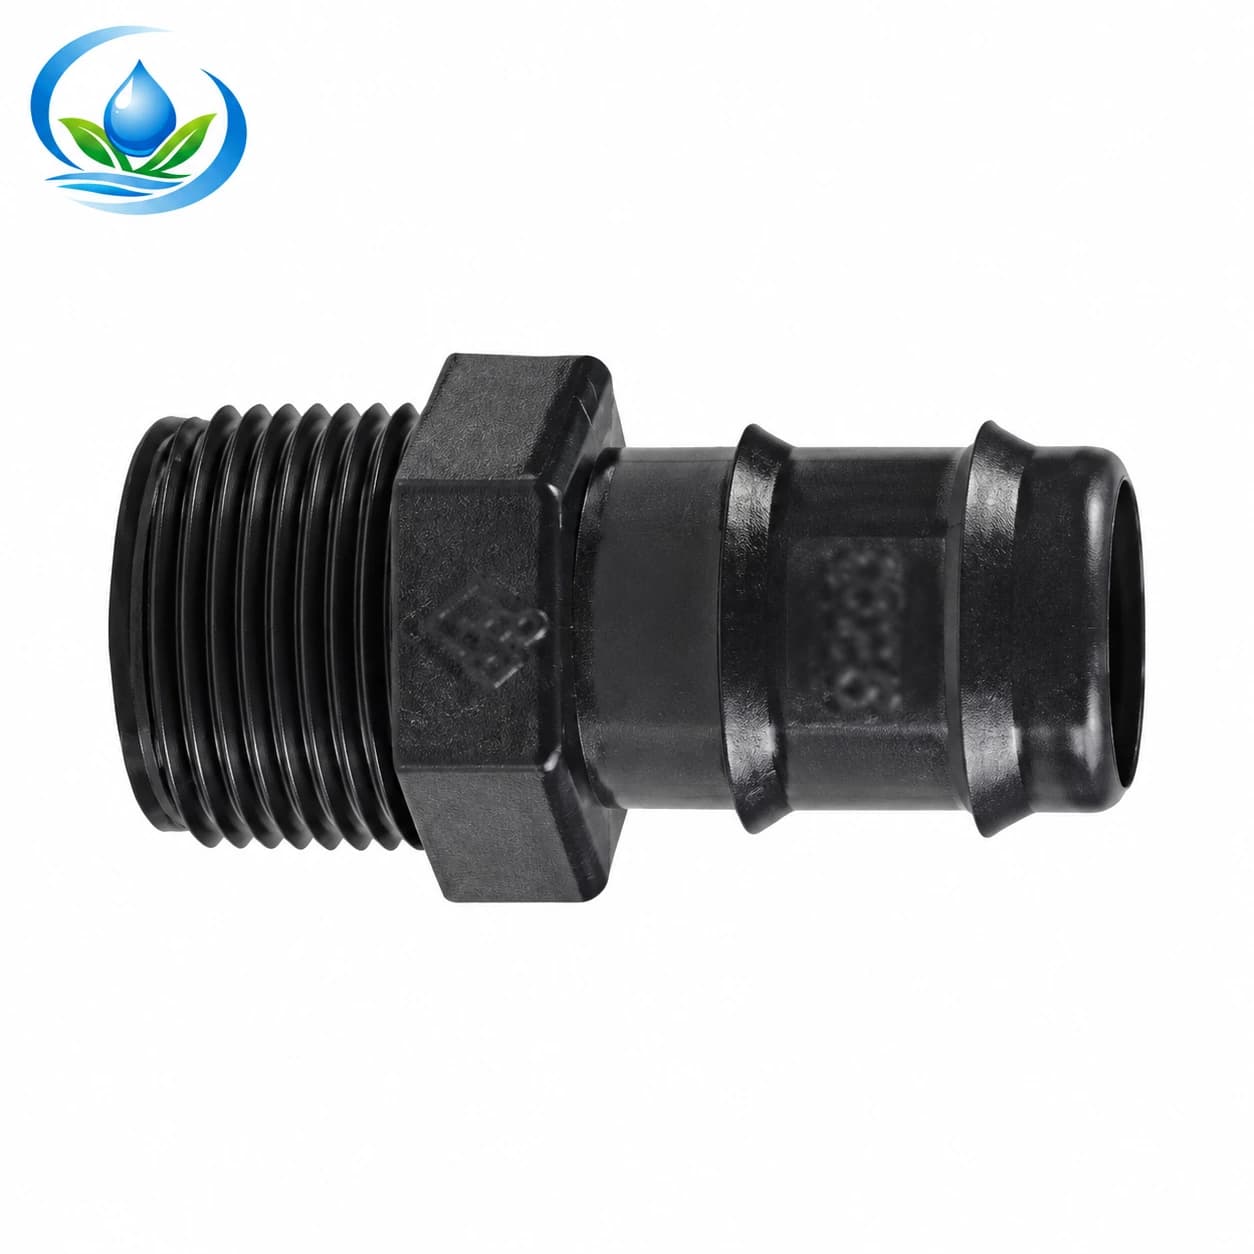
A male-thread to barbed tube adapter joins two different interfaces. For example, MC011612 is listed as 16 mm × 1/2 inch, while MC012034 is 20 mm × 3/4 inch. The metric value belongs to the tube connection designation; the inch value identifies the nominal threaded port. They are not two competing measurements of the same end.
Check the thread standard, male or female orientation and sealing method against the equipment. The product's male thread needs the correct mating female interface. A nominal 1/2-inch label alone does not confirm a thread standard. Do not assume a garden-hose thread and a pipe thread are interchangeable because both are called half inch.
Include assembly clearance. The threaded part may need to rotate into the equipment before the tube is attached. If the finished connection traps an adjustment knob or twists the tube, revise the arrangement. Count a sealing accessory only when the selected connection requires it and it is not already included.
Keep the locking side and barbed side in the right order
The lock-to-barb irrigation coupler connects different retention styles. Its current options include LC031616 at 16 × 16 mm, LC031620 at 16 × 20 mm, LC032016 at 20 × 16 mm and LC032020 at 20 × 20 mm. Because the ends have different functions, 16 × 20 and 20 × 16 should not be treated as interchangeable descriptions.
Identify which listed dimension belongs to each physical end using the selected model's diagram or specification before ordering. Record the locking-side tube and the barbed-side tube separately. The product photograph helps identify the shape, but it does not replace that dimensional mapping. A locking collar also needs the intended tube wall and enough access to operate it.
Do not interpret “locking” as proof that the fitting accepts every thin-wall tape, thick-wall dripline or blank tube. Confirm the supported construction and wall range for the chosen side. The transition must suit both tubes, not simply connect two labels that look compatible.
Separate dimensions from pressure, retention and reuse
Diameter selection does not establish pressure capacity, allowable temperature or chemical compatibility. Keep those fields beside the connection specification. The barbed products discussed here have catalogue-backed size choices, but a pressure value must be obtained from the documentation for the actual selected component. Do not borrow a valve's rating or a competitor's fitting limit for these parts.
Likewise, follow the selected fitting and tube instructions for any clamp, retaining ring or insertion preparation. A clamp cannot make fundamentally mismatched dimensions correct. Adding more force to an oversized barb can damage the tube, while tightening a clamp around an undersized assembly may still leave an unreliable connection.
For seasonal rearrangement, compare the documented removal and reuse method. Some assemblies require cutting tube away, which consumes length and can damage a fitting if done carelessly. Keep that potential replacement length in the purchase comparison. Do not assume that every barbed fitting is disposable or that every locking fitting can be reused indefinitely.
Turn the work list into quantities, including replacement sections
Consider a sample maintenance order for several crop rows. Three damaged sections will each be replaced with a short piece of matching tube. Two new branches need tees, two constrained corners need elbows, and one equipment port needs a male-thread adapter. This is a counting example; all sizes and operating conditions must still be matched separately.
| Job | Physical fitting count | Additional check |
|---|---|---|
| Three inserted replacement sections | 6 straight couplers | Two couplers and measured matching tube per repair |
| Two added branches | 2 tees | Three matching tube ends per tee and added outlet demand |
| Two tight corners | 2 elbows | Direction and two tube ends per elbow |
| One threaded equipment connection | 1 adapter | Correct female port, thread standard and tube side |
The main fitting count is eleven. Those pieces account for twenty-three tube interfaces and one threaded interface under the described arrangement; they do not represent twenty-four fittings. Add replacement tubing, required retainers or seals, and deliberately chosen spares separately. If one repair can use a single coupler without strain, revise that row rather than buying an unnecessary second connector.
Compare packs and spares without assuming availability
Check whether the selected sale unit is one piece or a pack. If a hypothetical pack contains ten couplers and the job needs six, one pack covers that item with four left over. That arithmetic does not establish the store's current pack quantity; use the actual option and package contents shown at checkout. Repeat the check for tees, elbows and adapters because their packing units may differ.
Choose spares that match parts installed repeatedly in your rows. A spare straight coupler is useful only if it fits the tube you actually maintain. Label the bag with model code, connection size and intended tube. Keeping several visually similar sizes loose in one box makes the next repair harder.
Review current options in the barbed fittings category, including price and selected-option availability where supplied. A published product page is not confirmation that every size is ready to dispatch. Include delivery and any required ancillary pieces when comparing the completed basket.
Inspect the delivered parts and try one accessible assembly
Match model codes and sizes to your order before opening every packet. Inspect the barb surfaces, body and threads for cracks, distortion or damaged molding. Keep the product labels. Compare the supplied parts with the intended tube sample and the documented connection method; a similar colour or overall shape is not a compatibility test.
Isolate the water and release pressure before cutting or dismantling the line. Prepare sound, clean tube ends and assemble according to the selected product instructions. Avoid forcing an angled tube onto the barb or twisting the line to make a threaded adapter reach. Support the finished connection so normal movement does not pull directly on it.
Check one accessible assembly under the intended operating conditions before repeating the process across many rows. Look for leaks and movement, then verify that downstream outlets still receive water as expected. If a connection leaks, stop and establish the dimensional or assembly cause before adding extra clamps or replacing unrelated parts.
Keep a repair record that makes the next order precise
Save the location, tube identification, connector code, size, quantity and any required retaining or sealing component for each repair. Mark which parts were used and which remain as spares. For a mixed lock-to-barb connection, record the interface on each side; for a threaded adapter, retain the thread details as well as the metric tube designation.
Review the drawing after installation so it reflects the actual branches and corners. A useful fittings order leaves every open end accounted for, every new branch included in the operating demand and every delivered package matched to the chosen option. That record makes a later crop-row extension or damaged-tube replacement a straightforward comparison with known parts.
Before you order
Compare this guide with the specifications for your exact product, selected option, water supply and field conditions. Your equipment requirements take priority over a general example.
Compare irrigation products