Irrigation Parts: Identify Each Thread Before Ordering an Adaptor
Identify the model, gender, nominal size, thread standard and seal at both existing ends before choosing an irrigation adaptor.
Published by IrriNex Store
Irrigation parts with threaded ends can look compatible on a screen and still fail to mate in the field. Before ordering an adaptor, identify the two existing ends as separate objects. Record the maker or model, male or female thread, nominal size, thread standard, and location of the seal for each. Then check the proposed adaptor at both ends. A matching inch fraction or a few hand-started turns cannot complete that check. Record the irrigation thread adaptor seal location on both mating ends, because matching nominal sizes alone cannot establish a sealed connection.
This guide is for a grower connecting an existing valve, filter, regulator, pump-side fitting, or distribution line to another known component. The task begins with two disconnected interfaces and ends with a short shopping record that says exactly which transition is needed. If the installed part lacks a readable marking, leave its standard unresolved until its documentation or maker confirms it. Buying a collection of near-looking adaptors is usually a slower way to discover the missing fact.
Identify both irrigation thread ends before ordering an adaptor
Give the disconnected ends names, such as A for the outlet already on the headworks and B for the inlet or branch that must receive water. Photograph each end straight on and from the side, with its surrounding component and any molded or printed code visible. The wider image matters because a filter or valve may have another port nearby that looks similar. Mark the intended flow direction and the space available for the finished joint; neither can be read from an isolated close-up of a thread.
For end A, write the actual component model and the port designation from its instructions, if available. Do the same for B. Distinguish a threaded equipment port from a tube that needs a barbed or locking connection. A pipe's outside diameter, a tube's accepted bore, and a thread's nominal designation answer different questions. If one end is flexible tube, add its material, wall description, marked size, and the dimensions required by the fitting's instructions to the record.
The agricultural fittings guide covers selecting elbows, tees, and pipe take-offs by job. Here the job has already been identified: joining A to B through a verified adaptor route. Do not add a tee or a reducer merely because it resembles the missing middle piece. Name both mating surfaces first.
Check gender, standard and seal on each mating end
A male thread projects from the outside of a part; a female thread lies inside a port. These descriptions tell you which direction the parts meet. They do not tell you the profile, pitch, taper, or sealing method. Write “male” or “female” in a gender field, not as a substitute for the thread standard. Both ends can have an inch label and still belong to incompatible connection systems.
Nominal size is the designation the maker uses for a connection, not necessarily the outside diameter you obtain with a caliper. A 1/2-inch label on a thread is not a command to look for a 1/2-inch measured crest. Use any measurement as evidence to compare with the applicable identification guide for the actual system. Record where on the thread you measured and whether wear, deposits, or damage affected the result. A single outside-diameter reading does not establish the nominal size or standard by itself.
Find the seal seat as deliberately as the thread. Some assemblies seal at a face, washer, or O-ring; other documented connections use a specified thread-sealing method. A visible rubber ring might belong to a different joint or be missing from the part you are holding. Record the port face and the specified sealing component from the exact product instructions. Do not assume that all male-to-female pairs need tape, or that extra sealant can repair a standard mismatch.
The drip fittings guide explains the tube-side differences among barbed and locking parts. Use that when B is tubing, then return to this end-by-end thread record. A correct tube connection does not validate the thread on the other side of its adaptor.
Identify the installed thread without treating a trial fit as proof
First look for the maker's model, molded standard, port marking, installation sheet, original order, or an exact replacement listing. Photograph the marking in place before removing a connected part. An equipment manual can identify whether the named port uses a particular thread form and whether the seal is at the face or within the connection. If the marking names only a size, continue the search for the standard and seal method.
A caliper can help distinguish candidates, and a suitable thread gauge or maker's drawing may narrow the profile and pitch. Use a measurement chart only for its named thread standard. Parallel and tapered forms also behave differently, so a diameter taken at one place can be misleading. Record the reading without converting it directly into an order code.
Do not screw two unidentified parts together to see whether they “feel close.” Several turns of apparent engagement can hide a pitch or form mismatch. Stop if alignment is uncertain or resistance changes unexpectedly; forcing the joint can damage the original equipment as well as the inexpensive adaptor. Filing a thread, rethreading a plastic port by hand, or adding more tape changes the situation without establishing compatibility. Seek the port specification from the maker or qualified service provider when the evidence remains ambiguous.
Where an old connection is leaking, identify the escape point before making thread selection the diagnosis. Water can travel along the outside of a pipe or collect below a different joint. The leak-location guide helps document the actual fault. A newly purchased adaptor cannot correct a cracked body, missing washer, or leak farther upstream.
Make a five-field record for both A and B
On one line for each end, write: component and port model; thread gender; maker-stated nominal size; exact standard or documented mating specification; and seal location with the required seal. Add a source beside every confirmed field, such as the stamped marking or manual page. Leave an empty box when a field is unknown. This makes uncertainty visible before checkout instead of hiding it in a description such as “about half inch.”
For example, A could be the outlet on a named filter with a marked female port and a documented face seal. B could be the inlet on a named valve with a male thread and its own specified seal arrangement. That hypothetical record is incomplete until the standards, nominal sizes, and sealing interfaces are confirmed. If both ports are female, the middle route needs male ends of the correct specifications; if they differ in nominal size, it also needs a deliberate size transition. Neither observation alone tells you that one Store bushing is the answer.
Record the physical arrangement as a sixth practical note: is there space to rotate the adaptor during assembly, and will the completed line be supported without bending a plastic port? A part can be dimensionally right yet impossible to install between fixed components. A union or differently sequenced assembly may be needed, but choose that from the documented connection system rather than twisting the pipe until the threads catch.
Keep a photo or sketch of the finished intended route with A on the left and B on the right. Label every interface between them, including any barbed or lock-nut end. This prevents an order for a fitting that matches A but presents the wrong gender or connection style to B. It also reveals if the proposed arrangement needs two distinct adaptors rather than one.
Know when a reducer is only a reducer
A reducer changes the nominal size of a connection. A thread-standard conversion changes the form of the mating thread and may also change how the joint seals. Those are separate specifications. A bushing labeled male 3/4 inch × female 1/2 inch shows gender and a size transition; the label alone does not establish that one side converts between NPT, BSPP, BSPT, garden-hose thread, or any other standard.
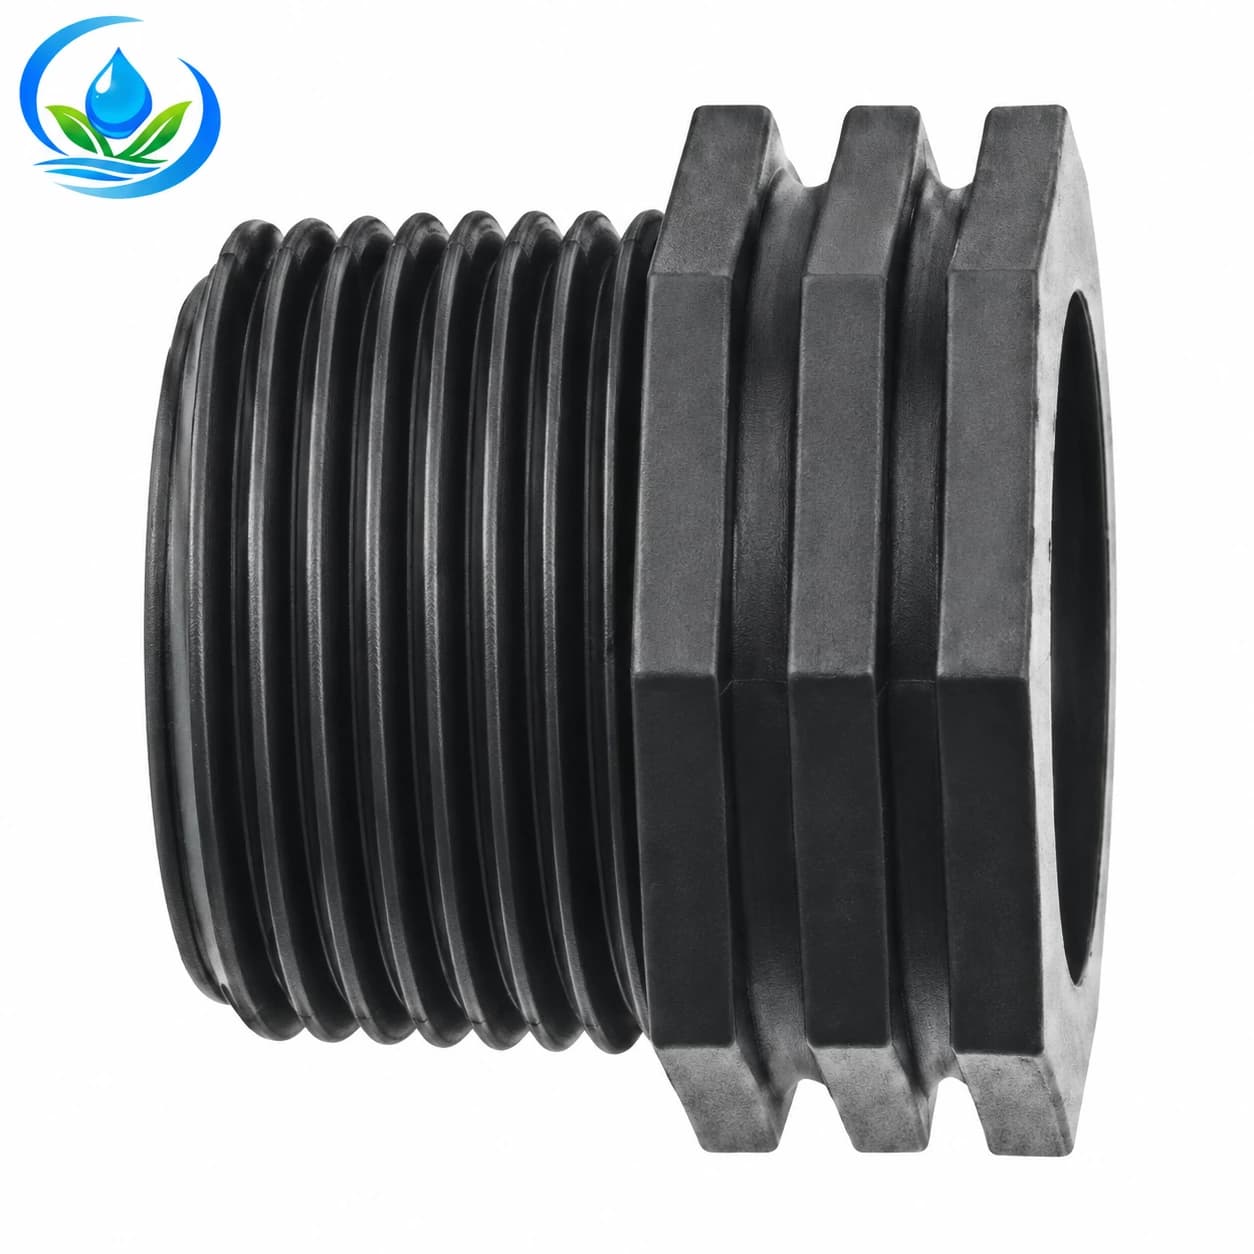
The threaded bushing model 215032 lists M3/4″ × F1/2″. Read the two ends in order: the larger designation belongs to its male outside and the smaller to its female inside. Check each mating port's documented standard and seal, as well as the bushing's, before treating 215032 as a selected part.
Suppose A is a verified 3/4-inch female equipment port and B is a verified 1/2-inch male component. The genders and nominal sizes make 215032 worth investigating. They do not finish the fit decision. If A and B use different thread systems, a size reducer with the same form on both sides may be wrong. If either joint seals at a washer or special face, an otherwise matching thread still needs the correct seat and seal. Put these questions on the order record before adding the bushing to the cart.
Use a barb-to-thread adaptor only for a confirmed tube side
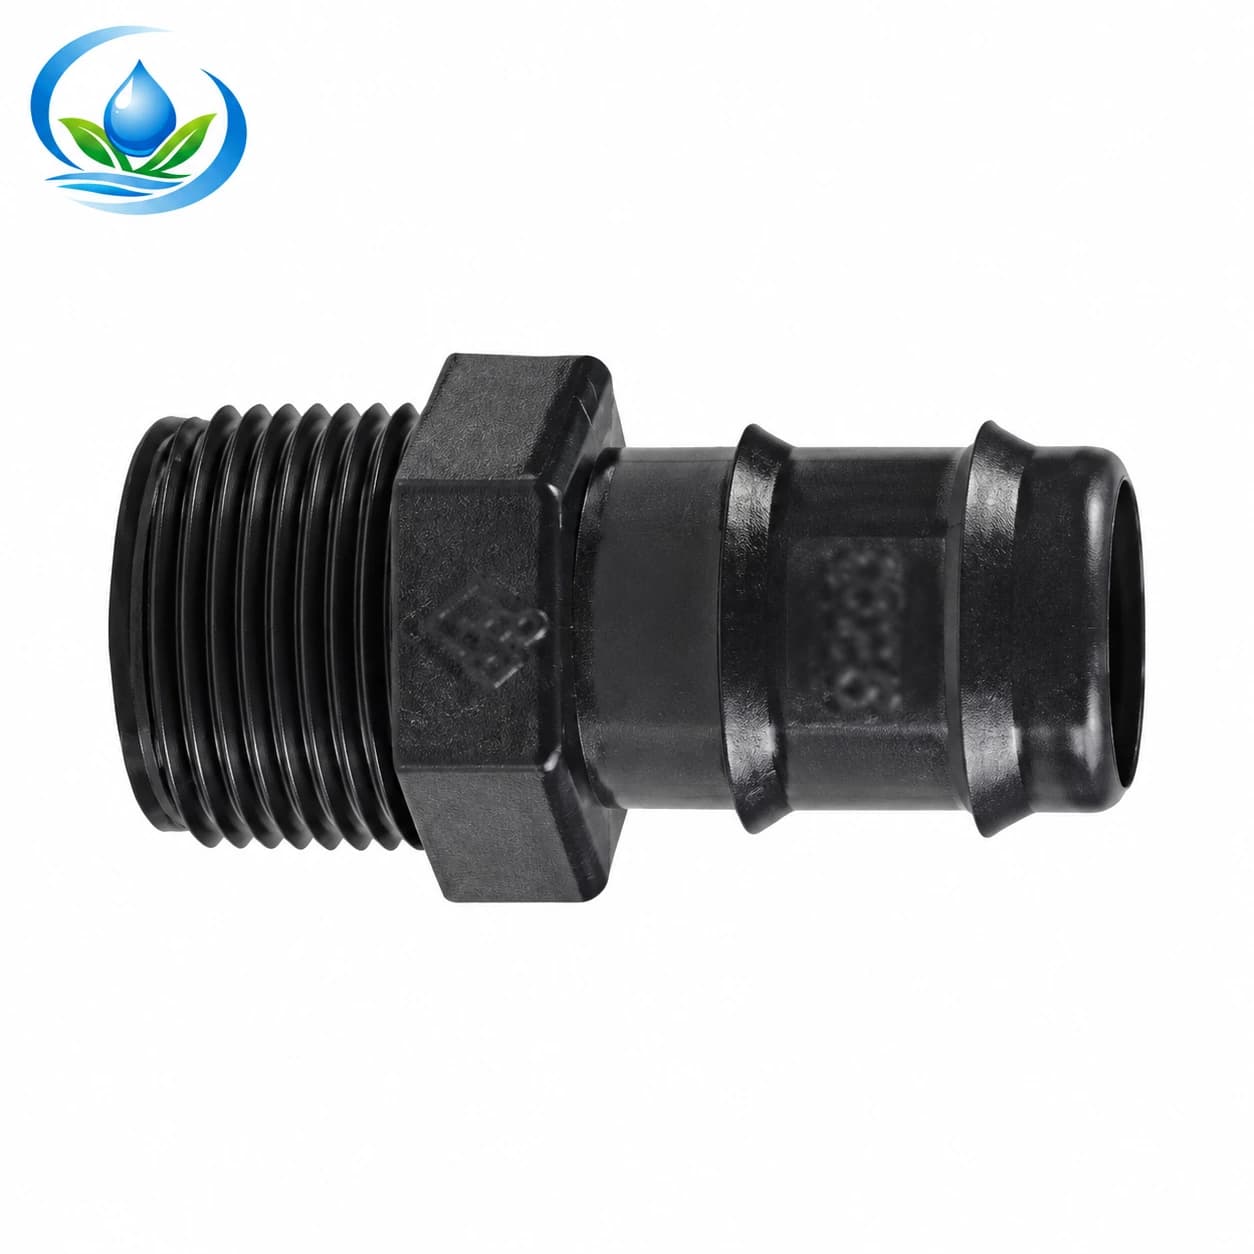
The barb male threaded adaptor changes connection style from a flexible tube to a male threaded end. Model MC011612 lists 16 mm × 1/2 inch: the 16 mm denotes its tube connection and the 1/2 inch its nominal male thread. Confirm the chosen tube construction and port specification before selecting it.
Imagine a 16 mm branch needs to reach a female equipment port. Photograph the tube label and a sound tube end, then identify the equipment port model and its standard. MC011612 can enter the candidate list only if its exact tube-side acceptance and threaded-side specification match those two records. If the port uses a face seal, confirm that the adaptor and required seal provide the intended contact. A male label by itself does not prove a sealing interface.
Do not use the thread dimension to choose the tube. A 1/2-inch thread is not a second way of describing a 16 mm barb, and a nominally 16 mm tube can have construction details that affect retention. Follow the selected tube and adaptor instructions for insertion, any required clamp or lock, operating limits, and a safe test. More force on a near-sized tube is not a fit check.
Read a female adaptor from its tube side to its threaded side
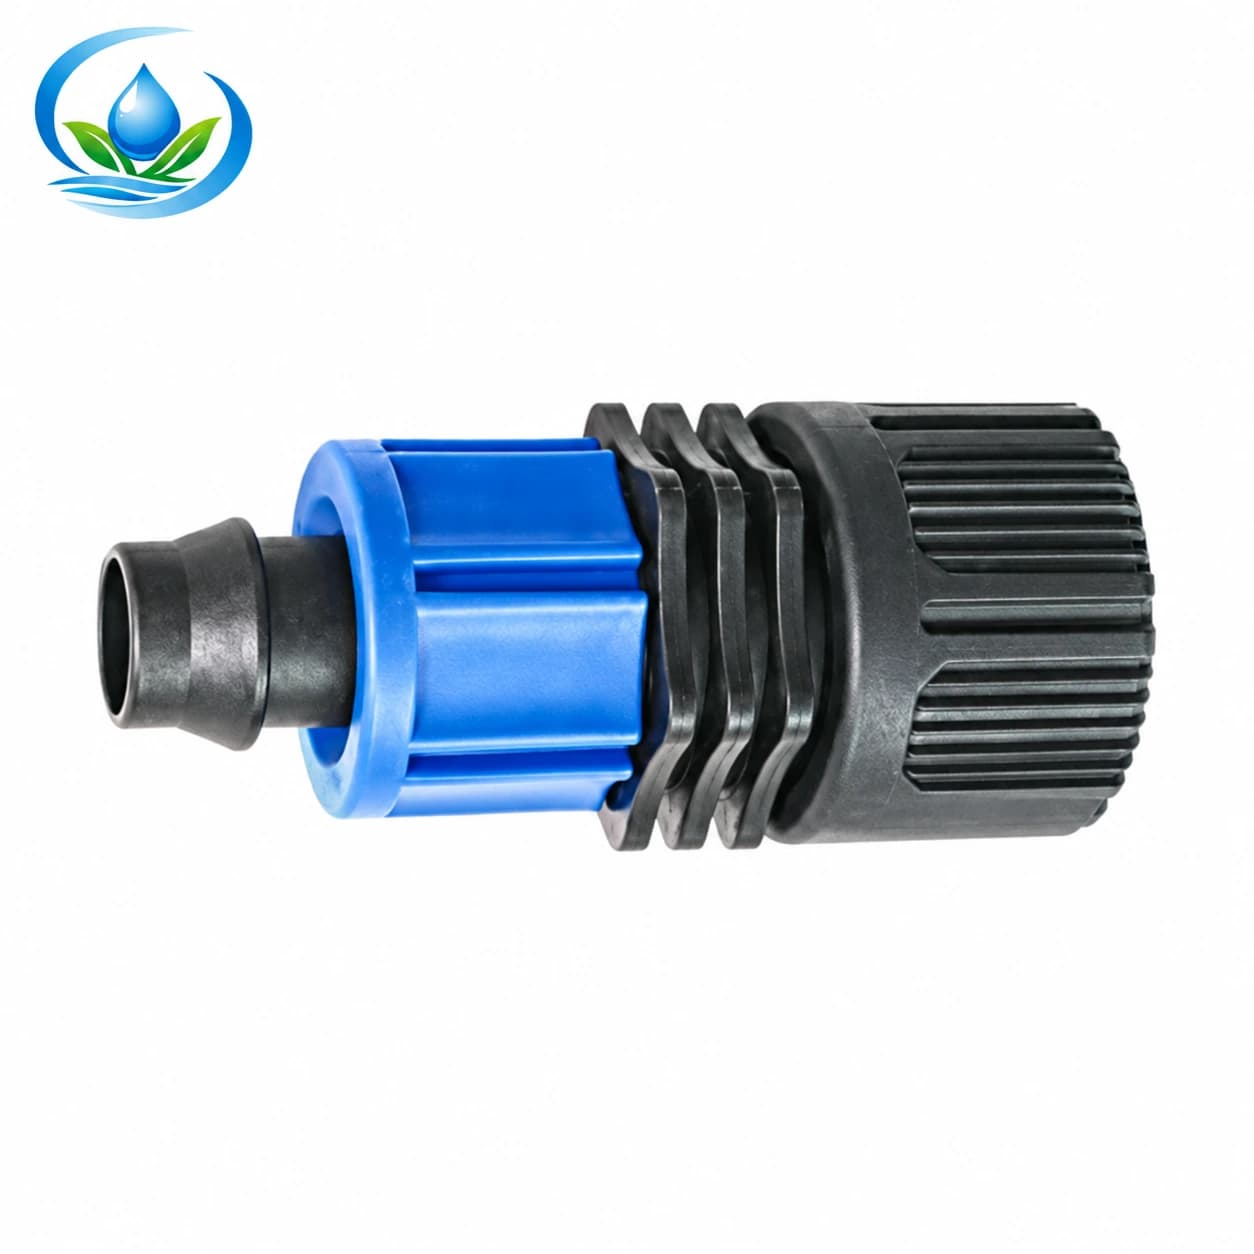
The lock-nut female thread adaptor model LFC1625 lists 16 mm × 3/4-inch female. It is a different route from MC011612: one side uses its own lock-nut tube connection and the other presents a female thread. Verify which installed tube that lock-nut side accepts and how its nut is assembled.
For a candidate use, B might be a 16 mm line of the exact compatible type and A a 3/4-inch male port of a documented standard. The label makes LFC1625 relevant to the comparison, but it does not prove the port standard, seal seat, tube wall acceptance, or pressure limit. A 3/4-inch male garden-hose connection, for example, is not established as compatible by the fraction and opposite gender alone. Obtain the complete specifications before buying the adaptor for that port.
Check the direction and service space after the fit is confirmed. A lock nut needs room to be operated, and a threaded part may need to rotate before the tube side is secured. If a valve handle, filter bowl, or frame obstructs the sequence, revise the assembly with approved components. Do not rotate a fixed line through a fitting simply to make the final thread reach.
Check operating conditions and the planned assembly
Compatibility includes the duty of the entire connection, not just the two labels at its center. Compare the documented operating pressure, water temperature, water treatment, and materials for the exact selected components. Do not borrow a rating from the valve or pipe and assign it to an unmarked adaptor. Where a maker has not supplied a required limit or seal detail, leave the assembly unconfirmed.
Support connected equipment according to its instructions so the adaptor is not carrying pipe weight or a bending load it was not designed to take. Align the mating axes before assembly. A seal intended to compress at a face will not behave correctly if the connection is pulled sideways, and a plastic port can be damaged by attempts to straighten a misaligned line with extra tightening.
Plan isolation and pressure release before touching an installed joint. Keep control equipment from restarting the affected line during work. Assemble only after the exact mating route and maker's method are established; follow that method for any sealing component and tightening. There is no universal number of turns, torque value, or sealant wraps for every fitting in an irrigation system. Never use sealant to make unlike standards appear to mate.
Restore service under the site's normal restart procedure and inspect every new interface while the intended operating group runs. Look for visible leaks, movement, and strain, then verify delivery to the downstream outlets that the connection serves. If a joint leaks, isolate it again and determine whether the seal, alignment, part identity, or operating condition is wrong. Tightening blindly can hide the original cause and damage the port.
Turn the record into a small, accurate cart
For each required part, write the selected model and option beside the two existing ends it will join. Count physical pieces, any separately required seals, and the sale unit. The three example products have different interface jobs; placing all three in one basket does not make a universal adaptor kit. Buy only the options for which the end-to-end record is complete and the intended assembly is documented.
Check the selected product page for the current price, unit or pack quantity, availability, and delivery terms. Confirm the exact model shown at checkout, not only the family photograph. The delivery inspection guide explains how to compare the received code and count with the accepted order before installing it. Keep uncertain candidates off the installation list until the missing specification is resolved.
When an exact thread or seal specification is absent, send Store support the two component models, port markings, photos, measured observations, and the proposed adaptor model. Ask for the specific missing fit information. The field-spares guide can help you retain the confirmed model after a successful installation; it does not replace this identification step for a new joint.
Finish with an end-A/end-B record that another person can use without guessing: both installed components, each confirmed thread and seal, the adaptor option, any tube interface, the assembly instruction used, and the test result. Keep the order label or a photo with that record. The next replacement will then start from a verified connection instead of another trial among similar-looking irrigation parts.
Before you order
Compare this guide with the specifications for your exact product, selected option, water supply and field conditions. Your equipment requirements take priority over a general example.
Compare irrigation products