How to Turn On Irrigation System Zones: Test, Repair and Restart
Check assembled water paths, test each crop zone and connect observed faults to exact replacement parts before restoring automatic irrigation.
Published by IrriNex Store
Knowing how to turn on irrigation system zones after a seasonal break means checking what happens between the supply and the last crop row. Water appearing at the nearest emitter is only the beginning. Before leaving a block on its normal schedule, confirm that its intended water path is assembled, its delivery is stable and its controls can stop the run. Use the test to identify the actual repair or replacement needed.
For an agricultural drip installation, a useful restart ends with a decision for each zone: accepted for the intended operating arrangement, awaiting a specific repair, or awaiting diagnosis. This guide explains how to make that decision with observable checks. The installed pump, backflow equipment and controls still require their own operating instructions; there is no single valve sequence or calendar date suitable for every farm.
Define which zone you are trying to return to service
Start with the previous shutdown record and the layout intended for this crop. A header that served several beds last season may now feed fewer rows, a longer lateral or different emitters. Mark those changes before using old readings as a reference. A past pressure or flow measurement is useful only when you know which components and open zones produced it.
If the disconnected hardware has not been identified, use the seasonal parts inventory guide to recover the missing information. For the restart itself, write a short list of unresolved work rather than repeating the storage exercise. Record the zone name, components not yet installed and who will confirm that each outstanding task is complete.
Keep scheduled starts disabled while inspecting the installation. Arrange how the person watching the supply and anyone walking the rows will communicate, and identify the normal stop control. Select a period when you can stay with the test. Do not begin simply because planting is imminent if the source, pump readiness or damage from freezing still needs an equipment-specific check.
Trace the dry assembly from inlet to field
With the system isolated and pressure released, follow the actual connections from the approved supply arrangement to the selected header. Compare them with the installation drawing and equipment markings. Confirm that removable components have returned to their correct positions and flow directions. A photograph from last season can help, but a photograph of another farm cannot establish the right assembly order for yours.
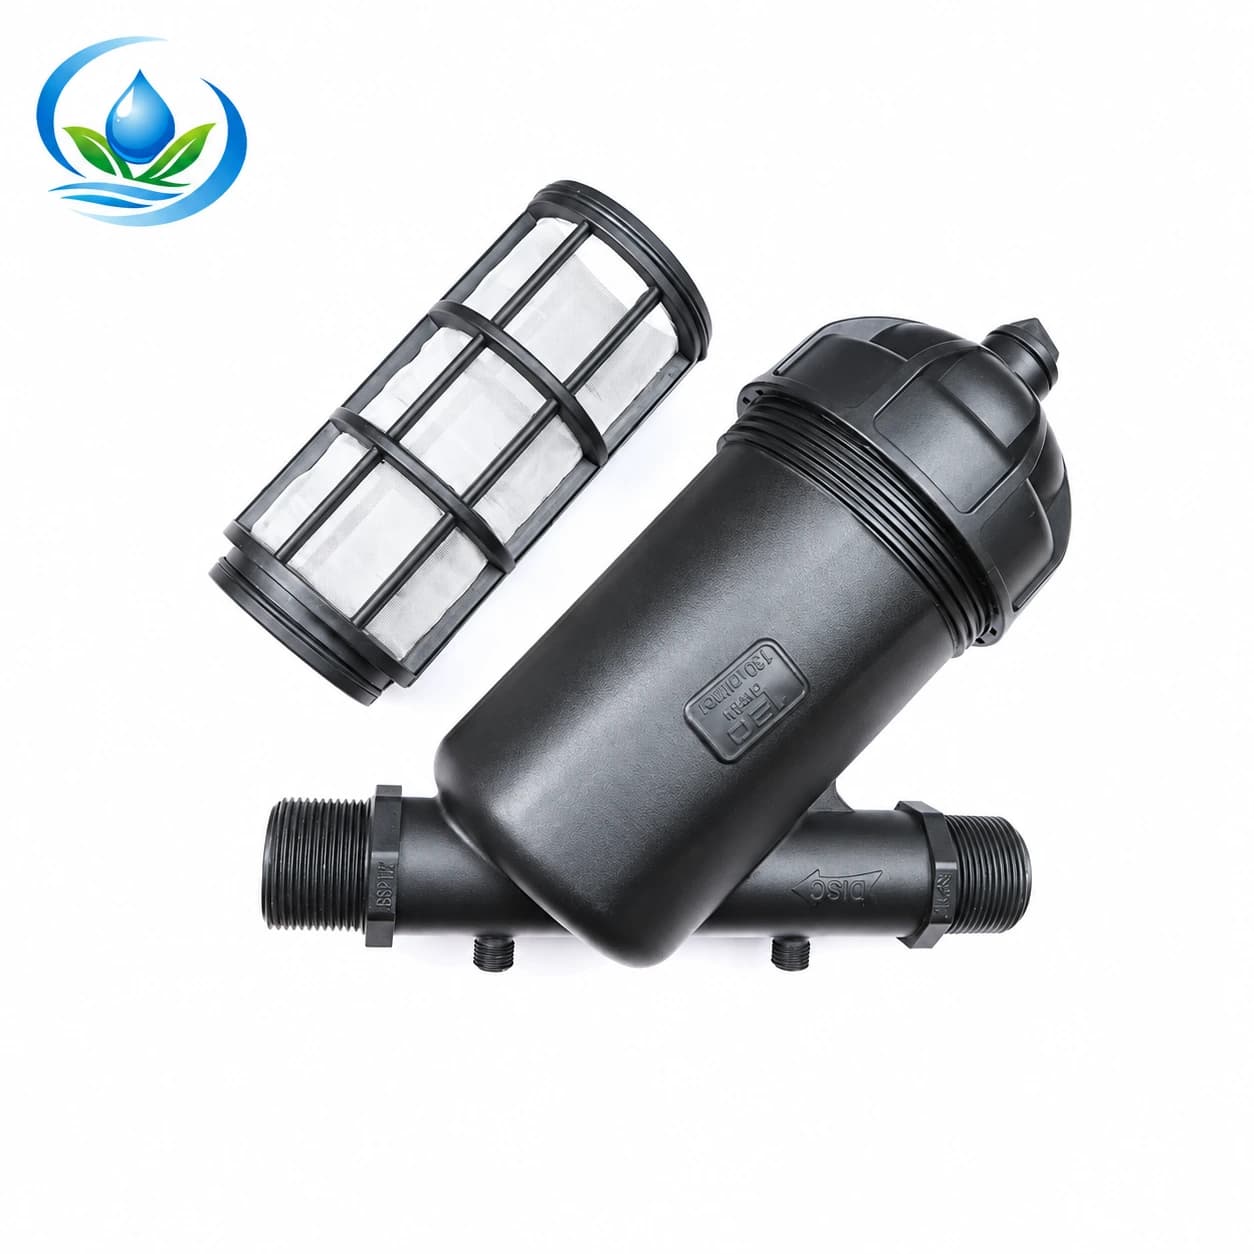
Inspect the filter housing, element and sealing surfaces according to its instructions. A clean exterior does not show whether an element is missing, misplaced or damaged. For the compact screen-filter family, the 3/4-inch version is identified by F25YS and SKU IS-37-F25YS; the 1-inch version uses F32YS and SKU IS-37-F32YS. Record the exact one before seeking a replacement part.
These model identifiers do not make screens or seals interchangeable. Confirm that the fitted element and surrounding adapters belong to the assembled unit, and leave the clearance needed to service it. Check support where pipework meets the housing. If a component is cracked, an essential part is absent or its identity remains uncertain, keep that path isolated until the problem is resolved.
Account for every open end before seasonal water startup
Walk the selected lines and identify disconnected branches, service drains, flushing outlets and final closures. An opening intended for flushing must be included in the test plan; an abandoned branch must not be mistaken for one. Remove temporary storage covers where required for reassembly and check that no debris will be pushed into the line. Confirm access to the far ends before water makes the ground difficult to cross. A seasonal irrigation system startup sequence should name each open end and intended flow path before water is admitted to the field.
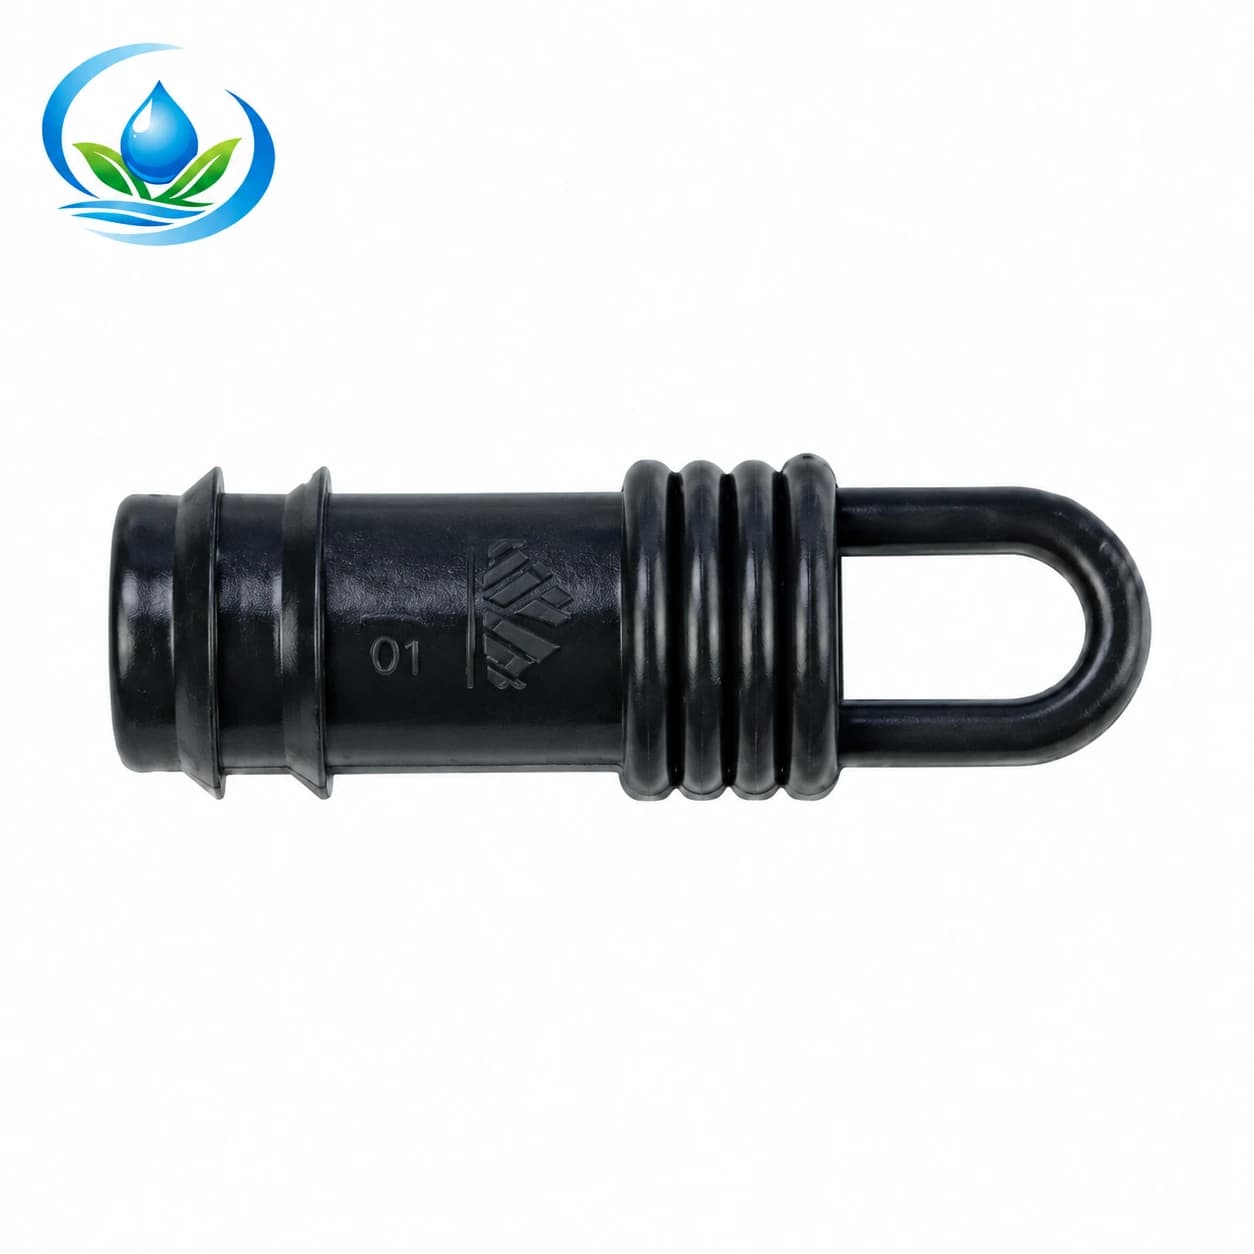
Match a missing closure to its connection rather than choosing by colour. The barbed pipe-end caps use EL0116, EL0120, EL0125 and EL0132 for the respective 16, 20, 25 and 32 mm options. Confirm the pipe's mating dimension and retention requirement. A split pipe end may require repair of the pipe itself, not merely another cap.
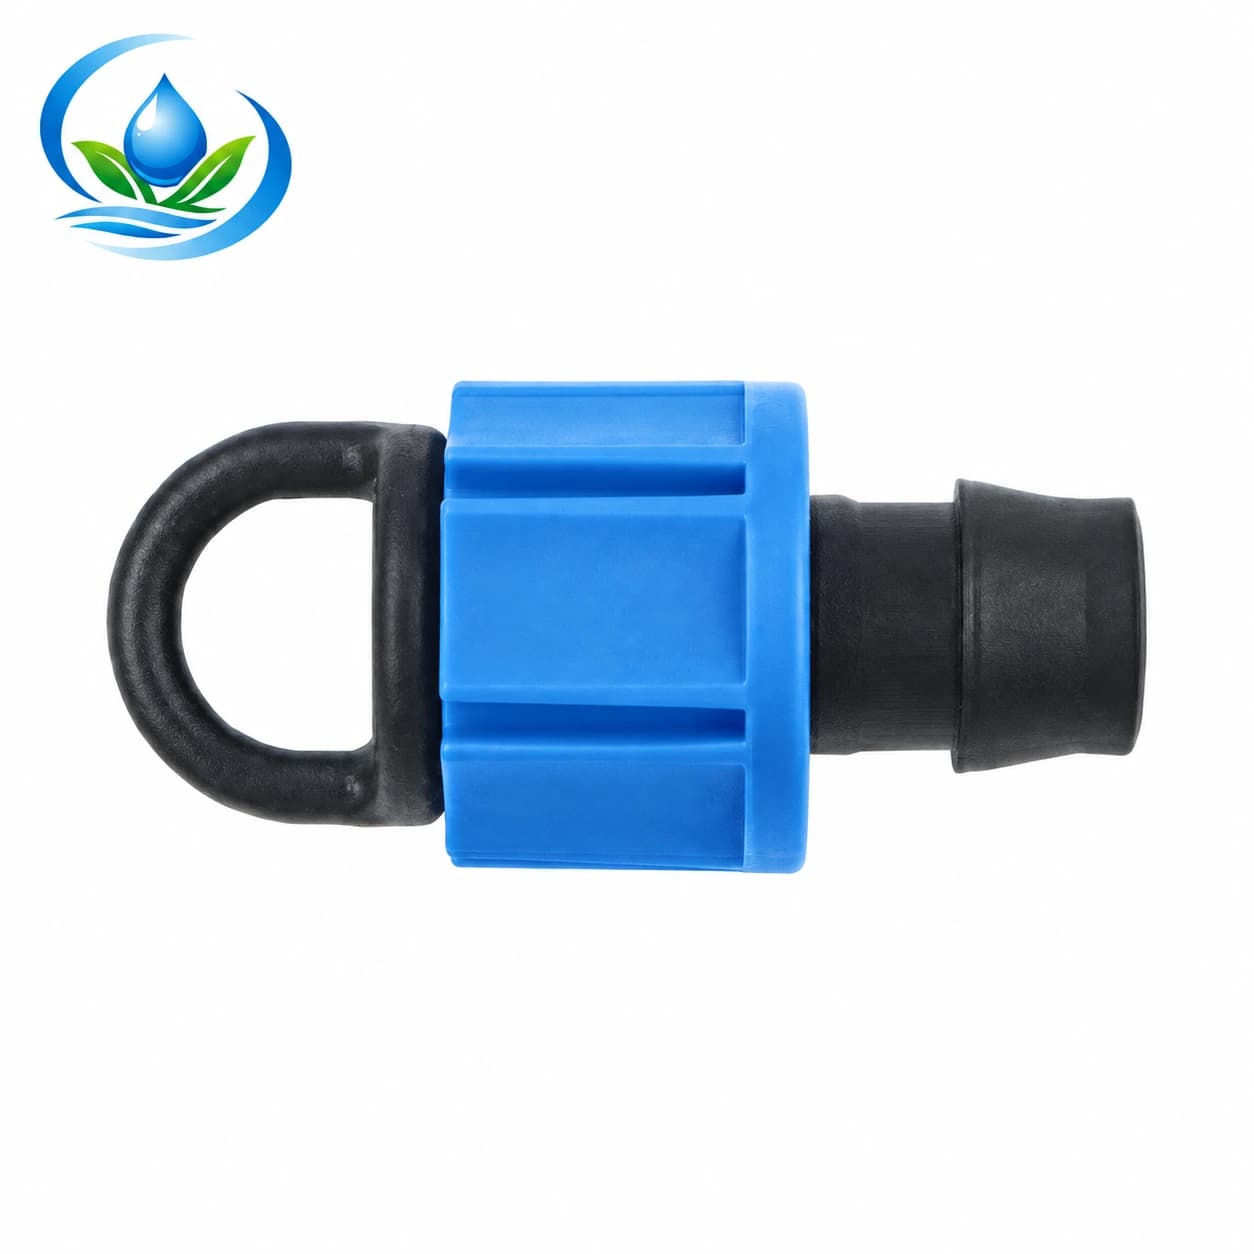
For a lock-nut closure, compare the TP0117 and TP0120 end-cap options: TP0117 is the 16 mm choice and TP0120 is the 20 mm choice. Verify the intended tape or line interface, including the wall specification, before fitting it. Neither this closure nor a barbed cap is an air-release device. Do not use a spare closure to block a vent or service opening whose function you have not established.
Agree on the filling and flushing path
Use the installed system's procedure to establish which valves, drains and outlets belong in the filling arrangement. Prepare the discharge route so that water and loose material can leave without undermining supports or wetting electrical equipment. Confirm that the source can support the selected flushing path. Opening every lateral simultaneously can produce a different operating condition from the one the procedure requires.
The University of Georgia startup checklist recommends inspecting field components and revisiting marked damage locations while the system is operating.
Admit water progressively as directed for the installation and observe the accessible headworks during filling. Follow the specified air-release arrangements; do not loosen a pressurized fitting to improvise a vent. Pump priming, electrical service, backflow checks and chemical-injection commissioning require the relevant equipment procedure and competent assistance where necessary. Keep fertilizer or treatment injection out of this initial water-delivery check.
Observe one named irrigation operating case at a time
Once the prescribed flushing work is finished, put that zone into its normal test configuration. Record which other zones are closed or operating so that the readings have a meaning. Testing one group with several unintended outlets still open does not establish its normal delivery. The zone-planning guide helps identify which combinations the supply was intended to serve.
Observe the transition from filling to steady operation. Brief air discharge or uneven arrival of water can occur during filling, but continued noise, movement or poor delivery needs investigation. Do not dismiss a persistent symptom as trapped air merely because it appeared during startup. Stop the test if there is uncontrolled leakage, a moving connection or pressure outside the equipment's permitted range.
At the designated measuring points, compare pressure with the requirements for the installed components and any useful previous baseline. The drip pressure and regulator guide explains why a supply reading alone is insufficient. A low reading can have several causes, including an open outlet, source limitation, restriction or leakage; it is a prompt for diagnosis, not a shopping instruction.
Record observations in separate stages
Use a sheet that distinguishes what you saw before filling, during filling and after stable operation. This prevents a temporary observation from being mistaken for an accepted result. Write the location and symptom, not just “bad pressure” or “all fine”. If a test is interrupted, record where it stopped so the next person does not assume that the remaining rows were checked.
| Stage | Useful observation | Decision to record |
|---|---|---|
| Before water | Missing closure or damaged housing | Hold the affected path for correction |
| Filling | Water follows the planned outlets without uncontrolled escape | Continue observation under the prescribed procedure |
| Stable operation | Connections, delivery and readings meet the relevant requirements | Accept that tested arrangement or identify the unresolved fault |
| Stopping | The commanded zone stops as designed | Record any unexpected continued supply for investigation |
For example, imagine three hypothetical zones labelled A, B and C. Zone A completes its checks; B has a missing closure discovered before filling; C has a leak around a filter housing during operation. Record A as accepted, B as awaiting a confirmed closure and C as awaiting diagnosis after isolation. There is no basis to order three new filters or to label the entire installation ready.
Walk representative near and far rows and revisit every flagged repair location. Where emitter delivery is measured, use comparable collection conditions and note which outlet was sampled. A small sample is a diagnostic check, not proof that every emitter performs uniformly. If the layout or measurements raise wider concerns, expand the assessment before depending on the block for crop water supply.
Translate a fault into the right purchase question
Separate the observed defect from your first guess about its cause. “Water escapes around the filter cover” is an observation; “the whole filter needs replacement” is a conclusion that still needs inspection. Shut down, isolate and release pressure before opening equipment. Check the prescribed assembly, sealing surfaces and matched parts. Do not tighten progressively harder while the system is running to conceal an unresolved fault.
For a damaged closure, document the body, connection type, nominal size and the condition of the mating line. For a filter problem, provide the exact model and a photograph of the affected area after safe isolation. Ask whether the required component is supplied separately and confirm its compatibility. A visually similar seal, screen or locking nut is not an established substitute.
A product enquiry should contain the zone reference, confirmed fault, chosen product option, quantity and any unresolved fit question. Confirm the selling unit and package contents before ordering. If inspection shows a split line rather than a failed end cap, revise the request to the appropriate matched repair solution. This keeps the purchase tied to evidence instead of replacing every nearby component by association.
Repeat the affected test after a repair
Installing a replacement completes the repair work, but acceptance still requires another observed run. Repeat the relevant filling, flushing and operating checks for the disturbed path. Revisit adjacent connections that were moved during access. Correcting one large leak can change the operating condition enough to reveal another defect that was not visible during the first attempt.
Record the replacement's identity and the result beside the original fault. Preserve both entries so that a repeated problem can be distinguished from a new one. If the source, filter arrangement or permitted zone combination changed, identify which earlier results remain comparable. Do not carry an “accepted” label forward unchanged to a substantially different operating configuration.
Before leaving the block, test the normal stop command and confirm the response required by its control arrangement. Water draining from a low outlet after shutdown is not, by itself, proof of a stuck valve. Persistent unexpected supply still needs investigation. Keep a zone with unresolved control behaviour out of unattended operation until the cause and correction are confirmed.
Release only the tested zones to the crop schedule
Complete the record with the date, tested zone combination, observed readings, repaired locations and unresolved work. Identify who may return each zone to normal service. The acceptance decision should refer to the conditions actually tested, not to every future combination of open valves. Keep the record where the person setting the controller can read it.
Review the controller's clock, selected program and enabled zones according to its instructions before restoring automatic operation. Decide watering duration from current crop and soil needs after the delivery system has passed its checks. The guide to runtime after emitter changes covers that separate decision. An old summer program is not automatically the right schedule for the current crop stage.
Observe the first normal watering event and compare it with the accepted test. If a different zone combination or a changing source produces a new symptom, record the changed condition and investigate it. A useful restart record tells you what works, what was replaced and what still needs attention. That evidence makes the next buying decision more precise and the return to crop irrigation easier to manage.
Before you order
Compare this guide with the specifications for your exact product, selected option, water supply and field conditions. Your equipment requirements take priority over a general example.
Compare irrigation products