How to Winterize Drip Irrigation: Sort, Store and Replace Field Parts
Sort closures, label filter assemblies and count usable parts before ordering spring replacements for your agricultural drip irrigation system.
Published by IrriNex Store
To work out how to winterize drip irrigation, start with safe removal of retained water. The job also produces a pile of small parts that must work together next season. A missing end cap, an unlabelled filter or a damaged locking nut can delay a planted block even when the main supply has been shut down correctly. Treat the end of the season as a chance to identify what you own, separate usable parts and prepare an accurate replacement list.
This guide follows the equipment from the crop row to the storage shelf. It covers line closures, removable filters, labelled bundles and spring spares for growers buying their own irrigation parts. Drainage still follows the instructions for the installed system; a tidy box does not prove that buried pipe, a pump or a valve chamber is empty.
Make a return list while the layout is still visible
Walk the block before removing the laterals. Give each header, row group and removable assembly a simple label that will make sense next season, such as “west beds, header A”. Photograph the assembly from far enough away to show its position, then photograph the connection and any readable model code. A close photograph of an anonymous black fitting is much less useful once several similar parts share a box.
Record the number of independent line ends, not just the number of beds. Two laterals along one bed can have two separate terminations; a loop or shared flushing arrangement changes the count. Note where a part is staying outside and where it will be removed. This lets you reconcile returned hardware with the actual installation rather than assuming everything should be in the store room.
Use the agricultural drip components checklist to catch assemblies beyond the crop rows. Include removable regulators, gauges and connection adapters in your record when present. Photograph their order before disassembly, and keep each assembly's pieces together. The aim is an inventory of your installation, not a shopping list containing every possible irrigation accessory.
Finish the drainage work before packing anything
Isolate the irrigation supply and prevent automatic watering or pump starts according to the equipment instructions. Release pressure before opening a housing or removing a closure. Use the drainage method approved for the actual pipe layout, including low sections and equipment chambers. If you cannot establish how a buried run, pump, injector or backflow device empties, arrange appropriate service before treating the system as ready for freezing weather.
Colorado State University Extension advises indoor winter storage for portable drip head assemblies and drainage through the mainline opening.
That advice does not establish a universal procedure for every farm installation. Do not choose compressor settings from the water-pressure label on a filter, and do not improvise a backflow-device position. Follow the relevant manufacturer procedure or use a qualified technician. Mark drainage as confirmed, awaiting service or unknown in the return list; the last two states must not disappear simply because the accessories have been packed away.
Sort locking tape ends apart from barbed pipe caps
Put thin-wall tape closures in a different sorting tray from closures used on round irrigation pipe. Record the connection family as well as the nominal size. The fact that two items are both labelled 16 mm does not make their gripping method, sealing surface or acceptable wall thickness identical. Keep a readable label or a clearly identified sample of the original line when its specification is uncertain. A winter drip irrigation parts inventory should label every removed closure by its original line and condition before it goes into storage.
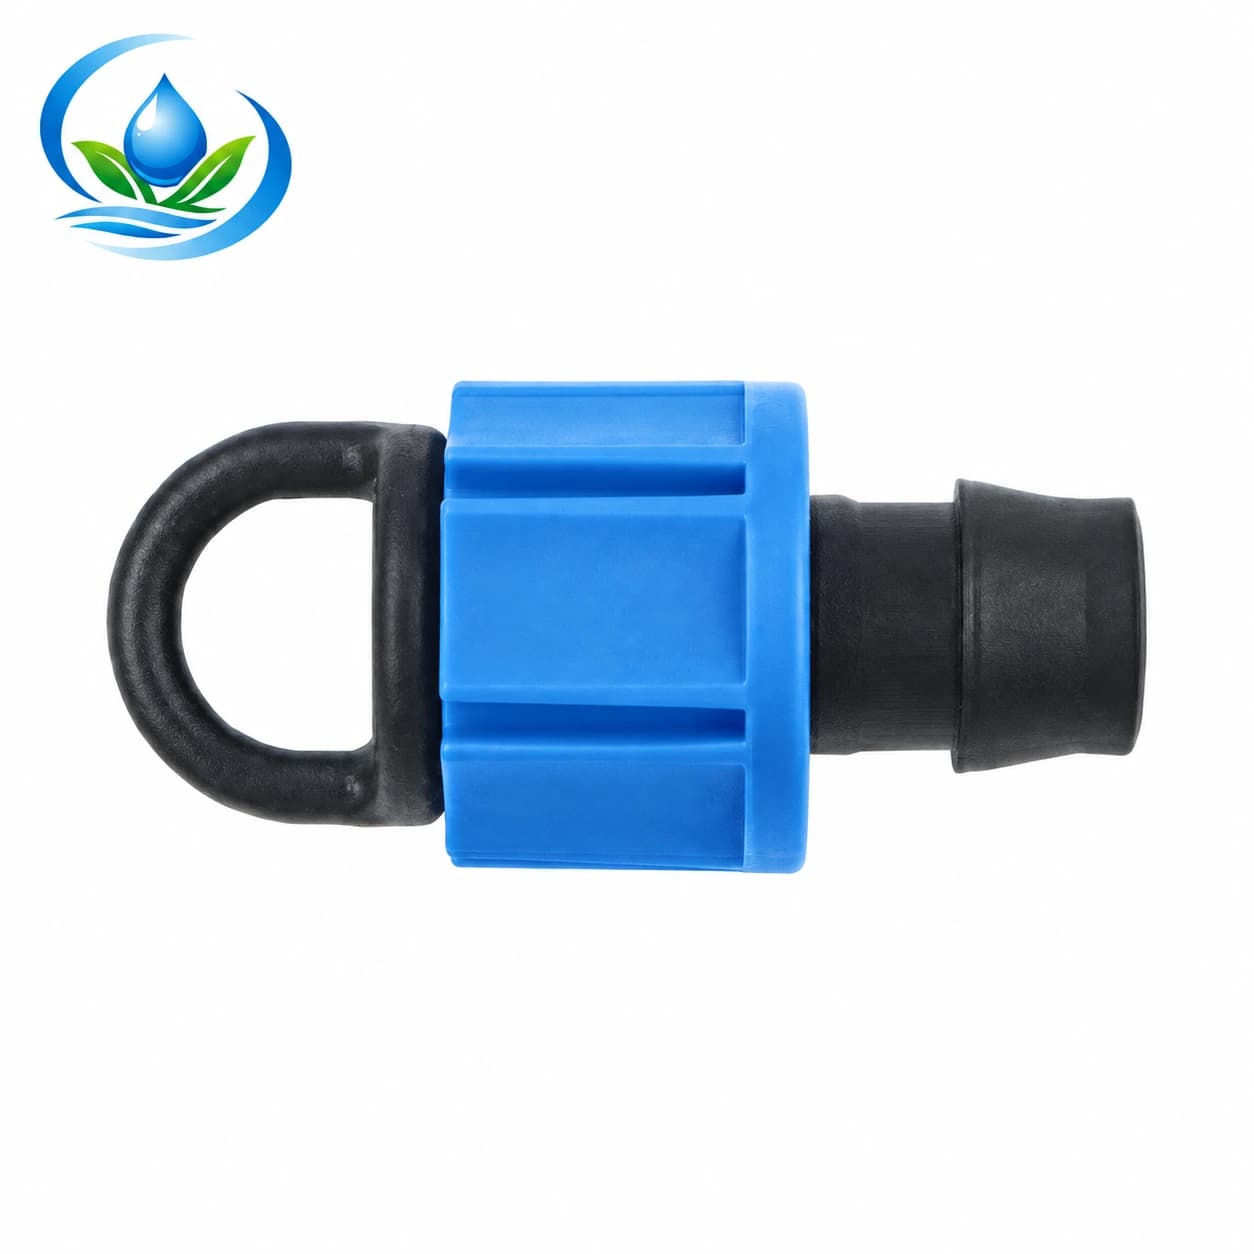
The Lock-Nut End Cap has the listed options TP0117 at 16 mm and TP0120 at 20 mm. Record the item code with the size, and confirm the intended line interface before replacing a tape closure. Inspect the body and locking nut as a pair. A loose nut from a different fitting should not become a substitute merely because it starts to turn on the thread.
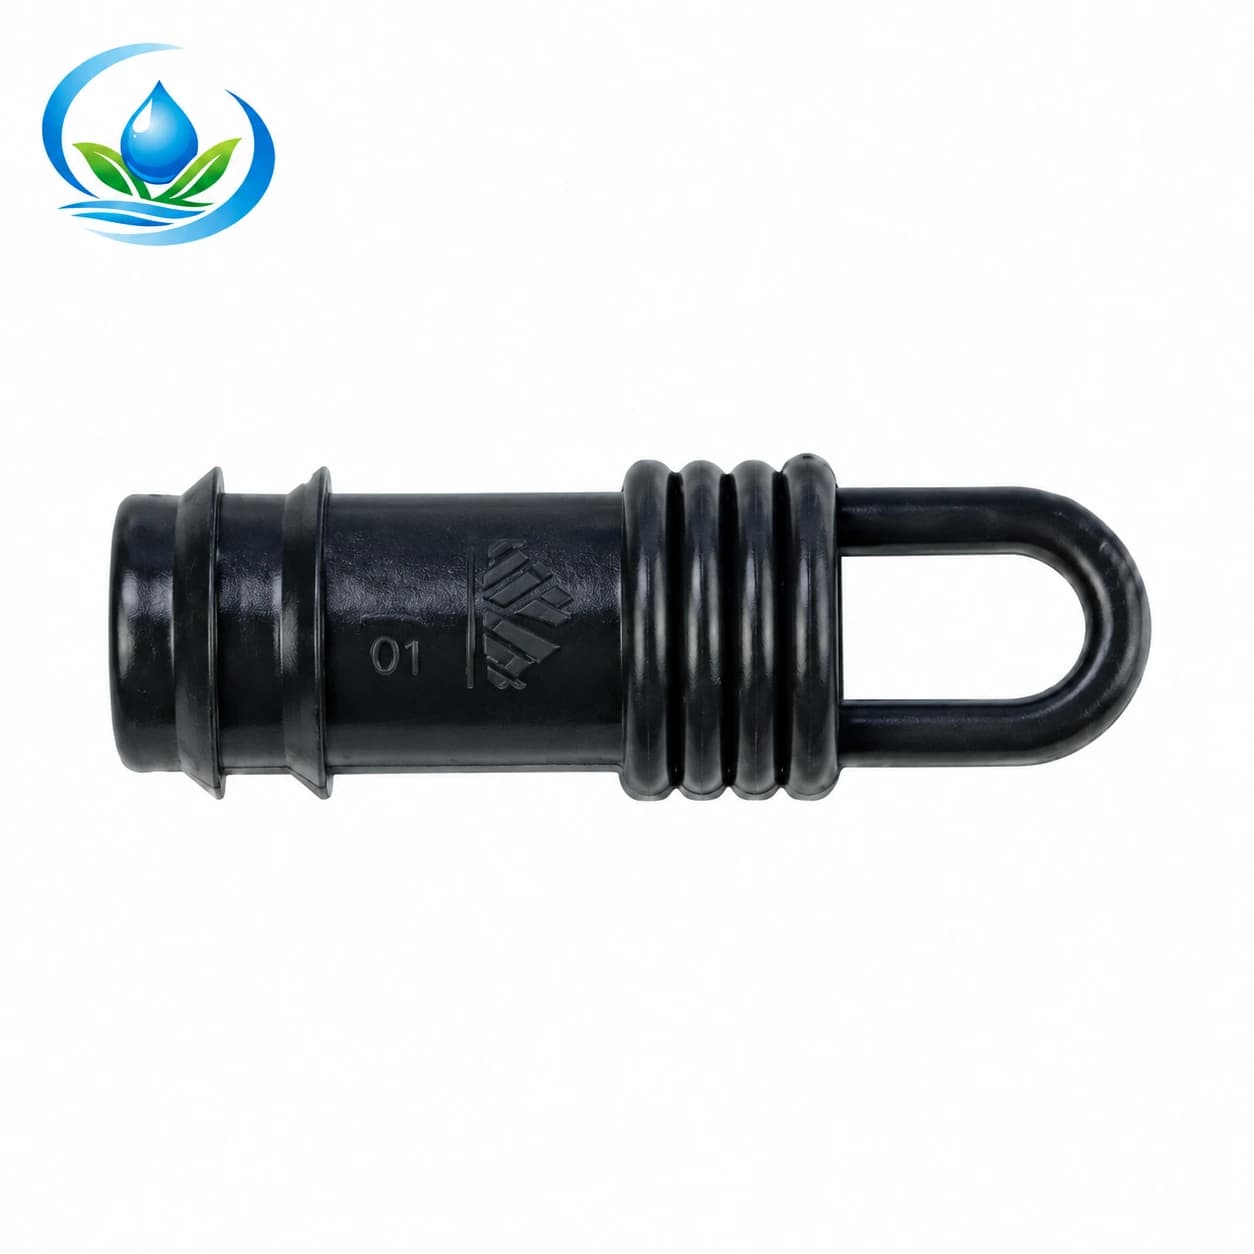
The Barb End Cap belongs in the round-pipe fitting group: EL0116 is 16 mm, EL0120 is 20 mm, EL0125 is 25 mm and EL0132 is 32 mm. Check the actual pipe specification and required retention method before selecting one. These are line closures; neither family should be counted as an automatic drain or as a repair for a puncture in the side of a line.
For a part that does not fit either group, compare its purpose with the guide to plugs, end caps and flush valves. Put an unidentified component in a separate bag with its photograph. Keeping one uncertain item visible is more useful than mixing it into a box of apparently interchangeable plugs.
Decide whether each returned drip part is reusable
Sort hardware into three clearly labelled groups: retain for checking at restart, replace, and identify or inspect further. “Retain” means the visual inspection found no reason to reject it; it is not a pressure test or a guarantee of another season. Look for splits, distortion, damaged threads, worn gripping surfaces and missing pieces. Follow the manufacturer's care instructions rather than forcing a stiff part into movement.
Remove loose soil so that the sealing areas can be seen. Check both the closure and the line end that accepted it. A cap that appears sound can still leak when attached to a stretched, split or badly cut end. If a damaged section must be cut away, record the resulting usable line length and check whether it will still reach the intended position next season.
Do not combine the reject group with emergency spares. A small container marked with the fault makes it possible to show the seller what failed without accidentally reinstalling the item. Photograph the defect next to the identifying code. Repeated damage at one location also deserves a note about traffic, tension or handling; buying another identical cap will not resolve a line repeatedly caught by machinery.
Inventory filters as complete assemblies
Drain a removable filter according to its instructions, clean the accessible parts as directed, and allow them to dry before storage. Keep the housing, element and associated seals together without crushing the screen. Label the inlet and outlet arrangement in a photograph if the installation will be dismantled. Do not infer that every small black filter uses the same element or sealing ring.
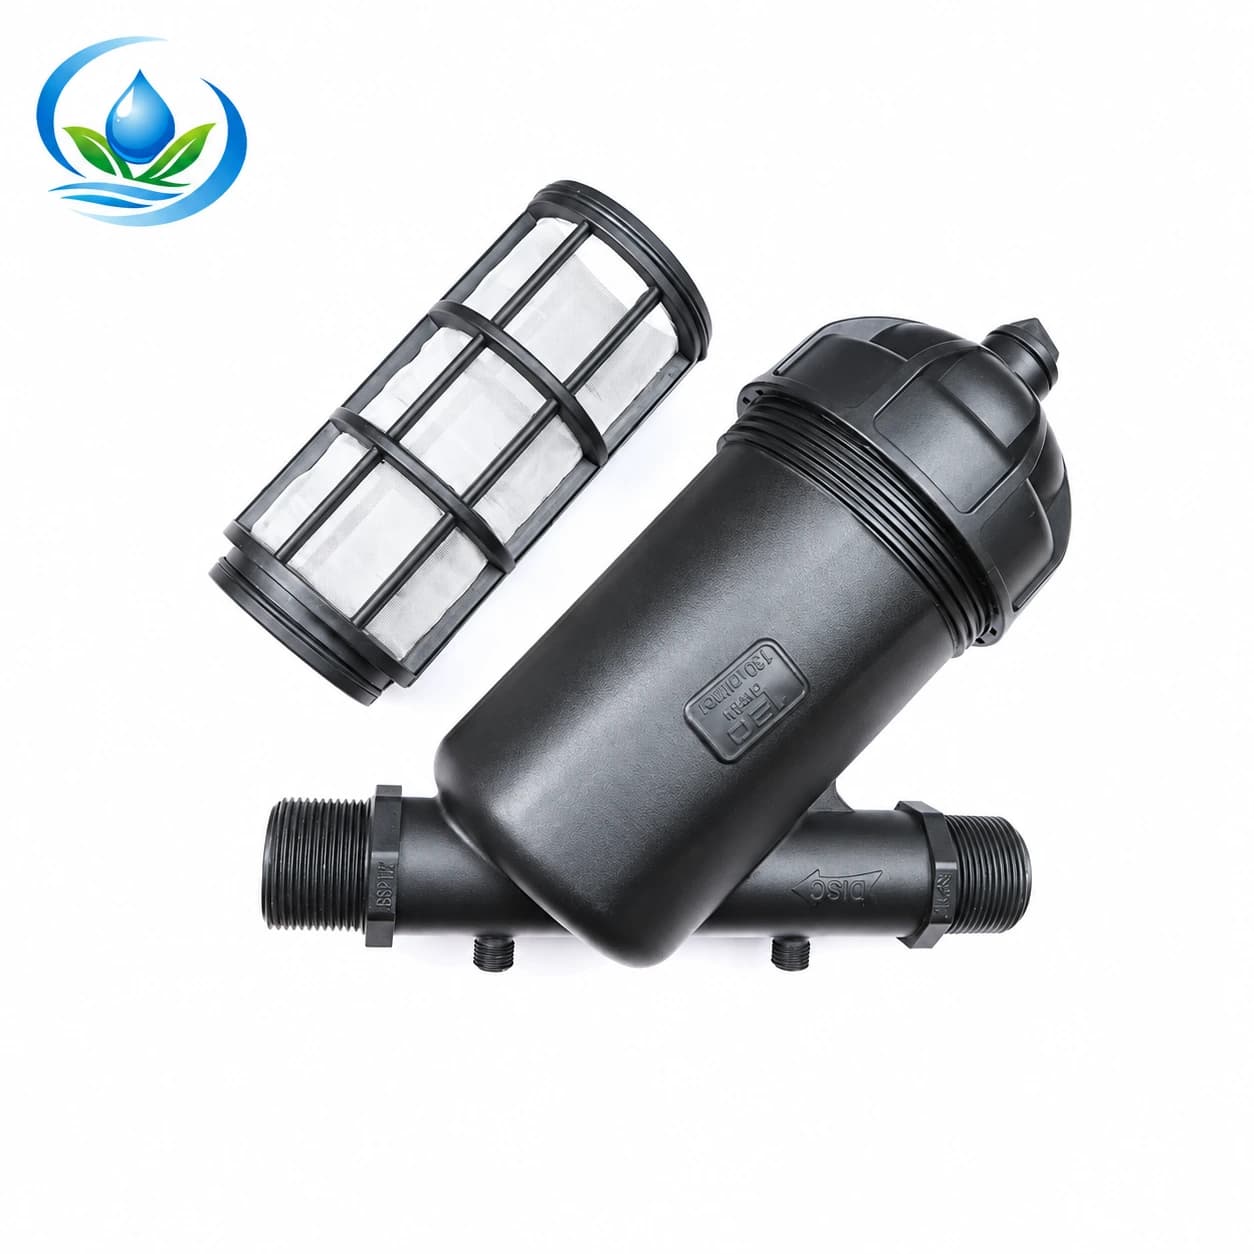
The compact irrigation screen filter includes F25YS, SKU IS-37-F25YS, with a 3/4-inch connection, and F32YS, SKU IS-37-F32YS, with a 1-inch connection. Both listed options specify 120 mesh. Those identifiers are useful on a storage label and replacement enquiry; they do not establish that a screen from one model fits the other or that a similar-looking spare is compatible.
If the screen is torn or the seal is damaged, record the exact model and the fault before asking about replacement parts. Do not order a complete filter automatically when a correctly matched service part may be available, but do not assume that a loose replacement element is offered for every assembly. A change of connection size also needs a check of the surrounding adapters and available service space.
Store line bundles so their identity survives
For removable laterals intended for reuse, follow the line manufacturer's handling guidance and avoid sharp folds or heavy loads on the bundle. Keep different diameters, wall specifications and emitter spacings separate. Label measured usable length rather than the original roll length. A bundle that began as a full roll may now contain several short pieces, and its outside appearance will not reveal that difference.
Attach a durable label to the bundle and put a duplicate in the inventory. State the former row group, the direction or connection details that matter, the condition decision and the number of separate lengths. Store the cleaned, drained material away from damaging heat, direct sunlight and chewing pests as appropriate for the material. Use a supported position that does not leave the weight hanging from one small fitting.
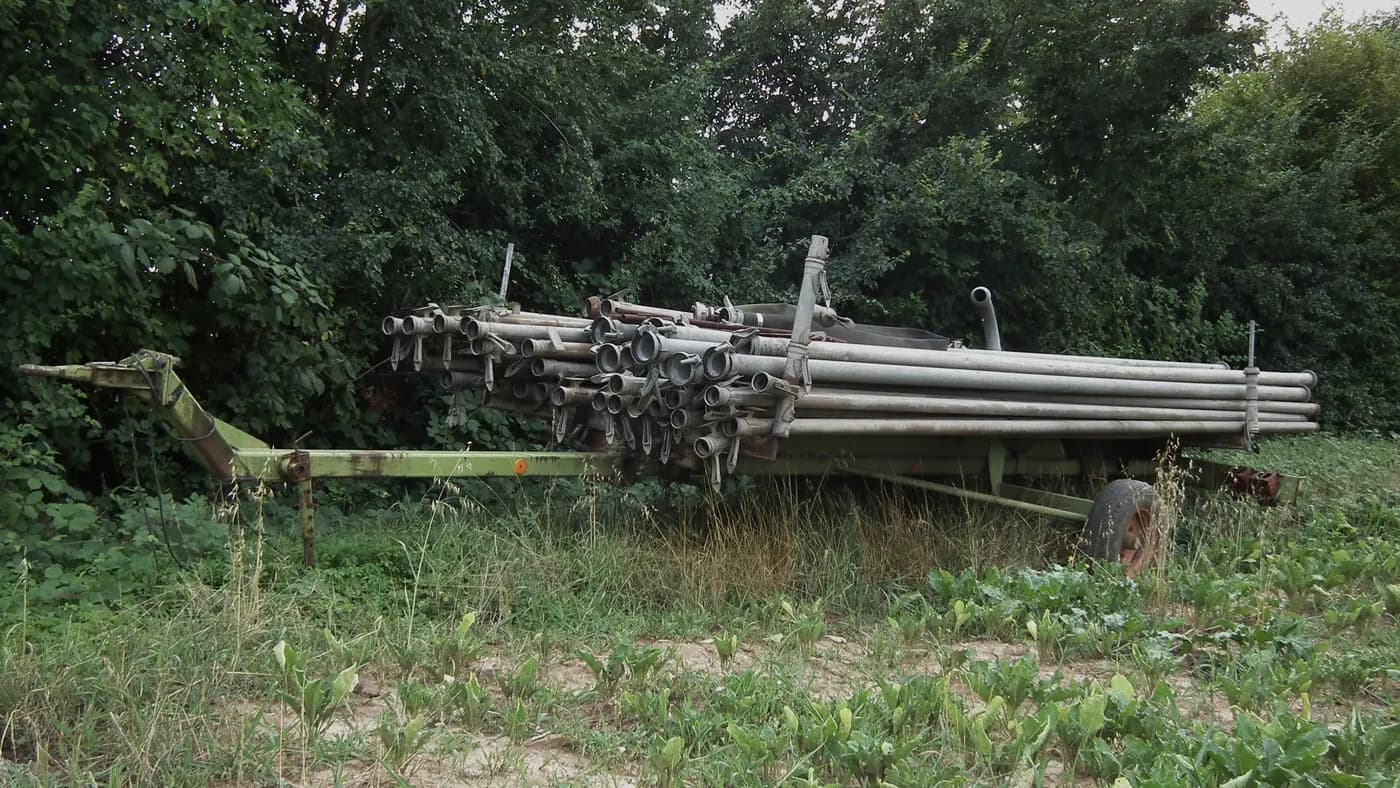
Dry small hardware before putting it in labelled containers. Keep seals with the assembly they came from and avoid mixing them with sharp tools. A photograph of a filled compartment helps detect a missing item later. The article photograph shows detached metal irrigation pipes on a trailer in a field; it illustrates equipment collection, not a completed winter-storage method or any of these drip products.
Protect openings without cancelling the drainage plan
Parts remaining in the field need their own record. Note each exposed entry, disconnected branch and line end, along with the closure or protection required by the system instructions. Keep dirt and insects out after drainage has been completed, while preserving any drain or vent path that must remain open. Do not seal an opening simply because an unused cap happens to fit it.
Check that covers will stay in place during wind, field work and rain. Mark the locations so a spring inspection can find them before new vegetation hides the equipment. A closure protects an opening; it does not demonstrate that the pipe behind it is dry. Revisit uncertain low points with the installer rather than assigning them to the “finished” group on appearance alone.
Turn the count into a specific replacement order
Build the next-season order from the intended layout, then subtract only identified, acceptable parts that will actually be available. Separate installed hardware staying in place from items on the shelf so neither is counted twice. Set any spare quantity deliberately, using your experience of loss and damage, rather than applying an unexplained percentage to every line of the order.
| Illustrative 16 mm locking closures | Quantity |
|---|---|
| Required for next season's layout | 24 |
| Identified retained TP0117 units | 19 |
| Replacement shortage | 5 |
| Chosen additional spares | 3 |
| Units to request | 8 |
The example assumes all 24 positions need the same confirmed closure. The order is 24 minus 19 plus 3, or eight units. Damaged and unidentified parts are excluded from the retained count. If the block instead contains 20 mm closures or round-pipe caps, create separate rows with their own codes; an extra TP0117 does not fill a shortage of EL0120.
For every order row, include the product name, model or SKU, nominal connection, required quantity and photograph when compatibility needs confirmation. Ask whether the selling unit is a single piece or a pack, and check its contents. Keep a filter assembly, an unconfirmed service-part request and a line closure on separate rows so a quotation cannot hide an unresolved match.
Leave a restart note beside the stored parts
Prepare one short record for each block: what was removed, what remained outside, where each bundle is stored, which drainage tasks were confirmed and which repairs still need attention. Keep the replacement order with that record. If a delivery arrives during the off-season, verify the codes against the list before placing it on the shelf, then update the quantities.
At restart, inspect the stored material again, complete the manufacturer's reassembly and flushing procedure, and check the system under its intended operating conditions before relying on it for a crop. Watch the repaired connections and row ends while they remain accessible. Autumn sorting saves time because it preserves decisions and identification; the spring check is still what reveals whether the reassembled installation works as intended.
Before you order
Compare this guide with the specifications for your exact product, selected option, water supply and field conditions. Your equipment requirements take priority over a general example.
Compare irrigation products