Drip Line Plugs Buying Guide: Hole Repair, End Cap or Flush Valve?
Identify whether a job needs a small hole plug, barbed tube-end plug, tape closure, repair coupling or accessible flush valve.
Published by IrriNex Store
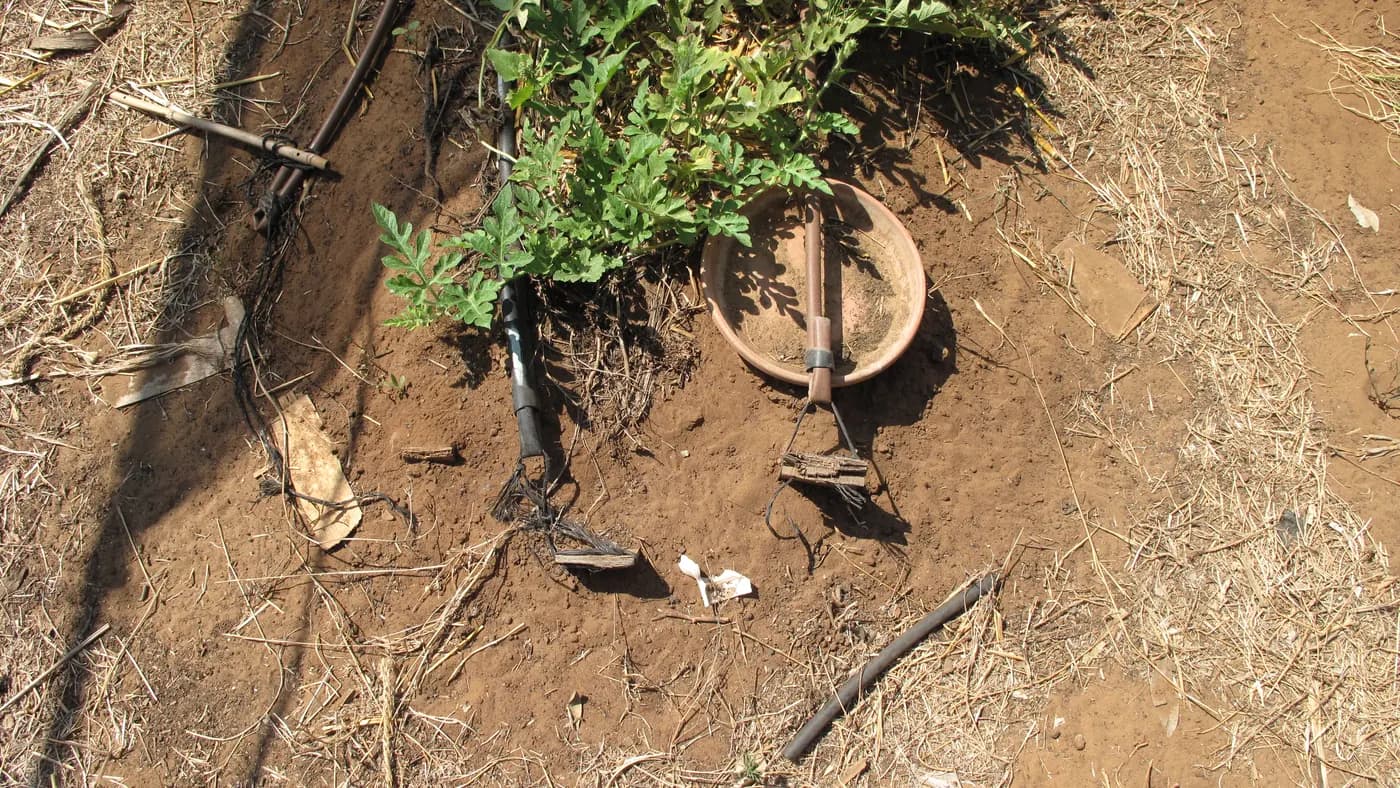
Drip line plugs can mean small hole-repair pieces, fittings that close an open tube end, tape-specific closures or serviceable valves used at the end of a row. These parts are not interchangeable. A retail order should begin with the exact job, tube or tape construction, mating dimension, retention style and need for future flushing. This guide maps those questions to available end plugs and flush valves without presenting an unavailable hole plug as the same product.
Name the job before naming the part
Walk to the fault or open end and photograph it beside a ruler. Decide whether you need to seal a small punched emitter hole, close the full bore of a lateral, terminate thin-wall tape, repair a split section or create a point that opens for flushing. Those jobs require different shapes and sizes.
Record whether the line is PE tubing, heavier dripline, thin-wall drip tape, micro tubing or a threaded fitting. Measure the dimension the product page requests rather than using a guessed trade name. A 16mm label can refer to different mating features across product systems.
Is the opening a puncture hole or the end of a drip line?
A small hole-repair plug, often called a goof plug, is designed for an unwanted punched opening left after removing a point emitter or connector. It does not close the entire open end of a 16mm or larger tube. The current IrriNex Store catalogue does not publish this small hole-plug product, so do not substitute a large barbed end fitting. A drip line end-cap choice starts by identifying whether the opening is in the tube wall or at the full open end of the row.
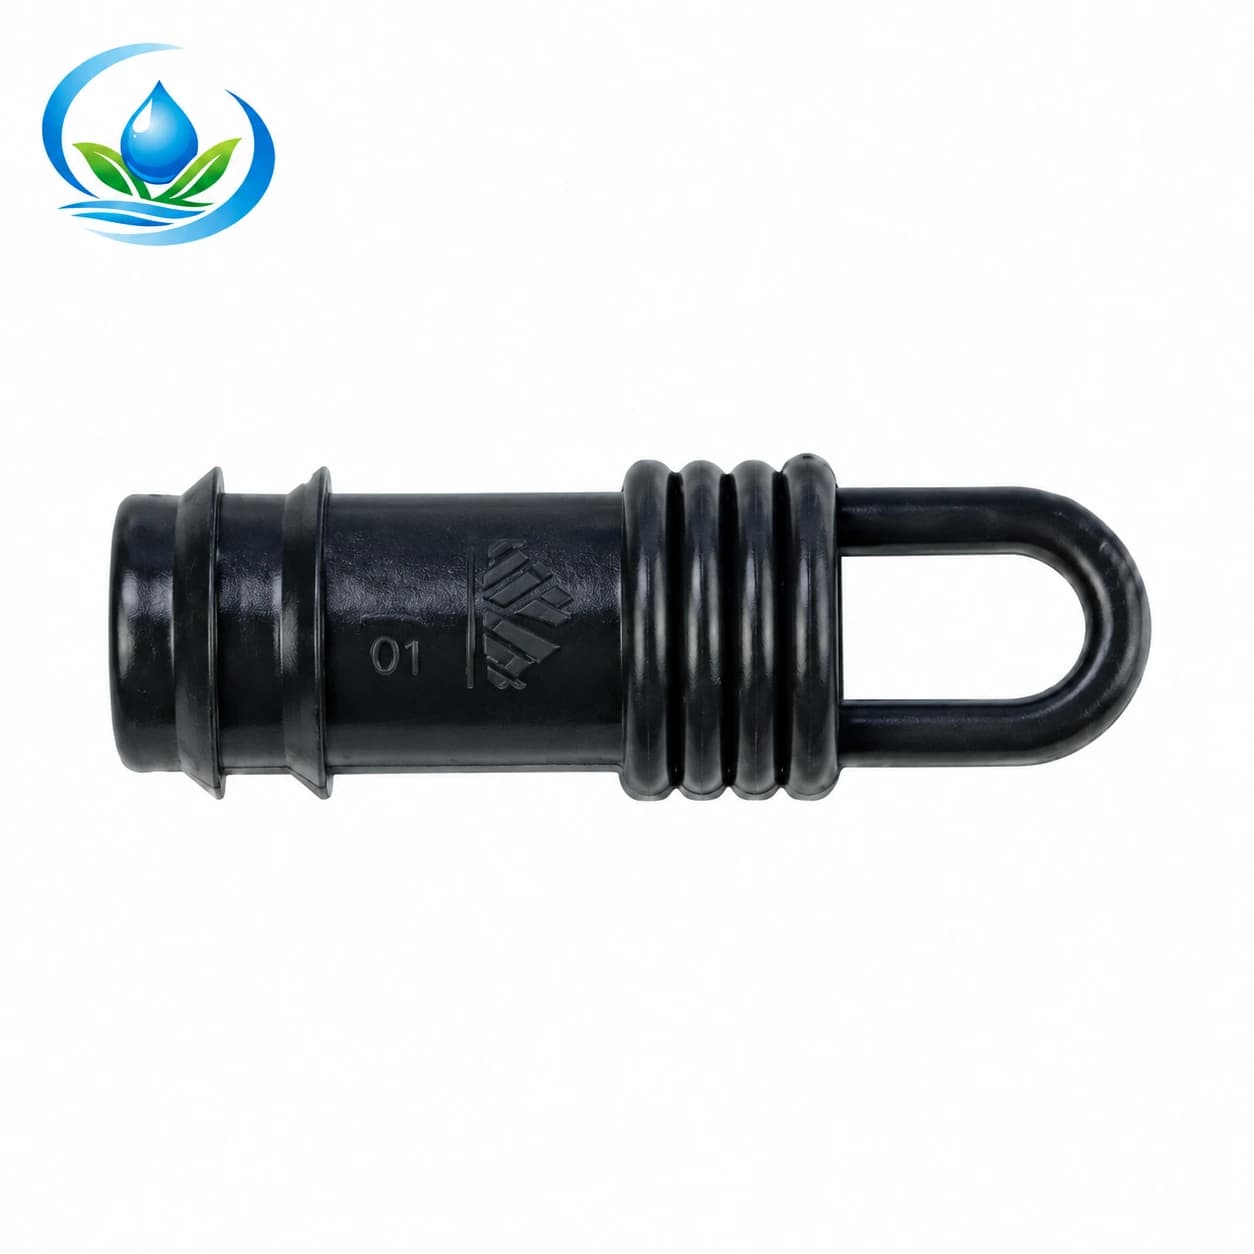
A line-end plug fits the full bore at a cut tube end. The barbed end plug for irrigation tubing currently lists 16, 20, 25 and 32mm family sizes. It is an insert-style termination for a compatible tube end. Confirm the actual inside fit, barb profile and retention instruction for the selected size.
Do not use a hole plug on a tear
A clean, correctly sized puncture may accept the matched repair plug specified for that tubing. A stretched opening, longitudinal tear, enlarged hole or cracked sun-damaged section needs a different repair. Cut back to sound material and use a compatible coupling when the product instructions allow it.
Inspect why the damage occurred. A wrong punch, oversized barb, tool cut, animal, cultivation equipment or excessive pressure can create repeat failures. Repairing the opening without correcting the cause can produce a larger leak during the next irrigation.
Match a barbed end plug to the tube bore
An insert plug seals by entering the open end and gripping the inner wall. Outside diameter alone may not prove the fit because tube wall thickness changes the bore. Check the product's stated tube basis and test the selected part on a clean offcut before installing many ends.
Cut the tube square with a suitable tool, remove debris and push the plug evenly without splitting the wall. Use any clamp or retention part required for that product and pressure. Keep the endpoint supported so soil movement or machinery does not pull on it. Do not apply glue unless the selected fitting system expressly requires it.
Choose a tape-specific closure for a thin-wall row
Drip tape is flattened when empty and uses fittings designed to grip its wall. An insert plug made for heavier round tubing may not seal it and may cut or distort the tape. Match diameter, wall-thickness range and lock-nut style to the selected tape family.
The store's current related-product set for this article does not include a verified tape-end closure, so the available barbed tube plug should not be redirected to that job. Review the tape versus dripline guide and confirm a compatible end product before completing a tape-row order.
Choose a flushable end when service matters
A permanently sealed end closes the row but makes debris removal less convenient. A removable cap or flush valve gives controlled access. It can be a better retail choice where water contains sediment, fertigation is used, laterals are long or maintenance records require a defined discharge point.
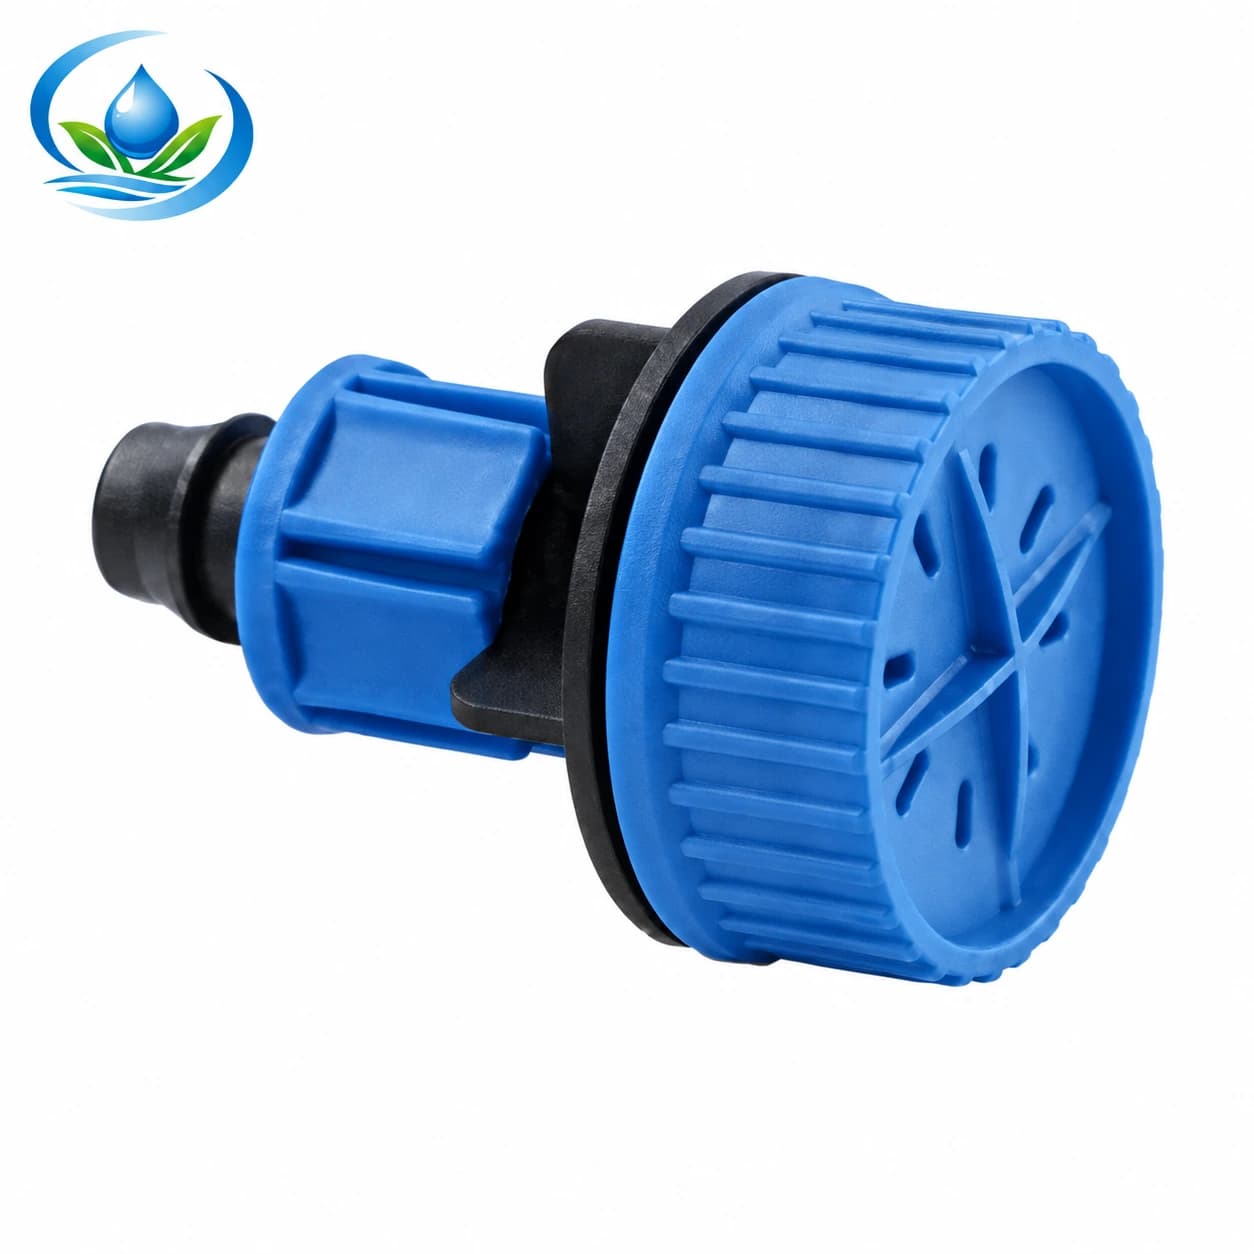
The 16mm drip-line flush valve is intended to provide a dedicated row-end outlet on a matching line. Confirm whether the chosen valve opens manually or responds to pressure according to its current instructions. Do not infer automatic behavior from the words “flush valve.”
Use a threaded flush valve only on its mating thread
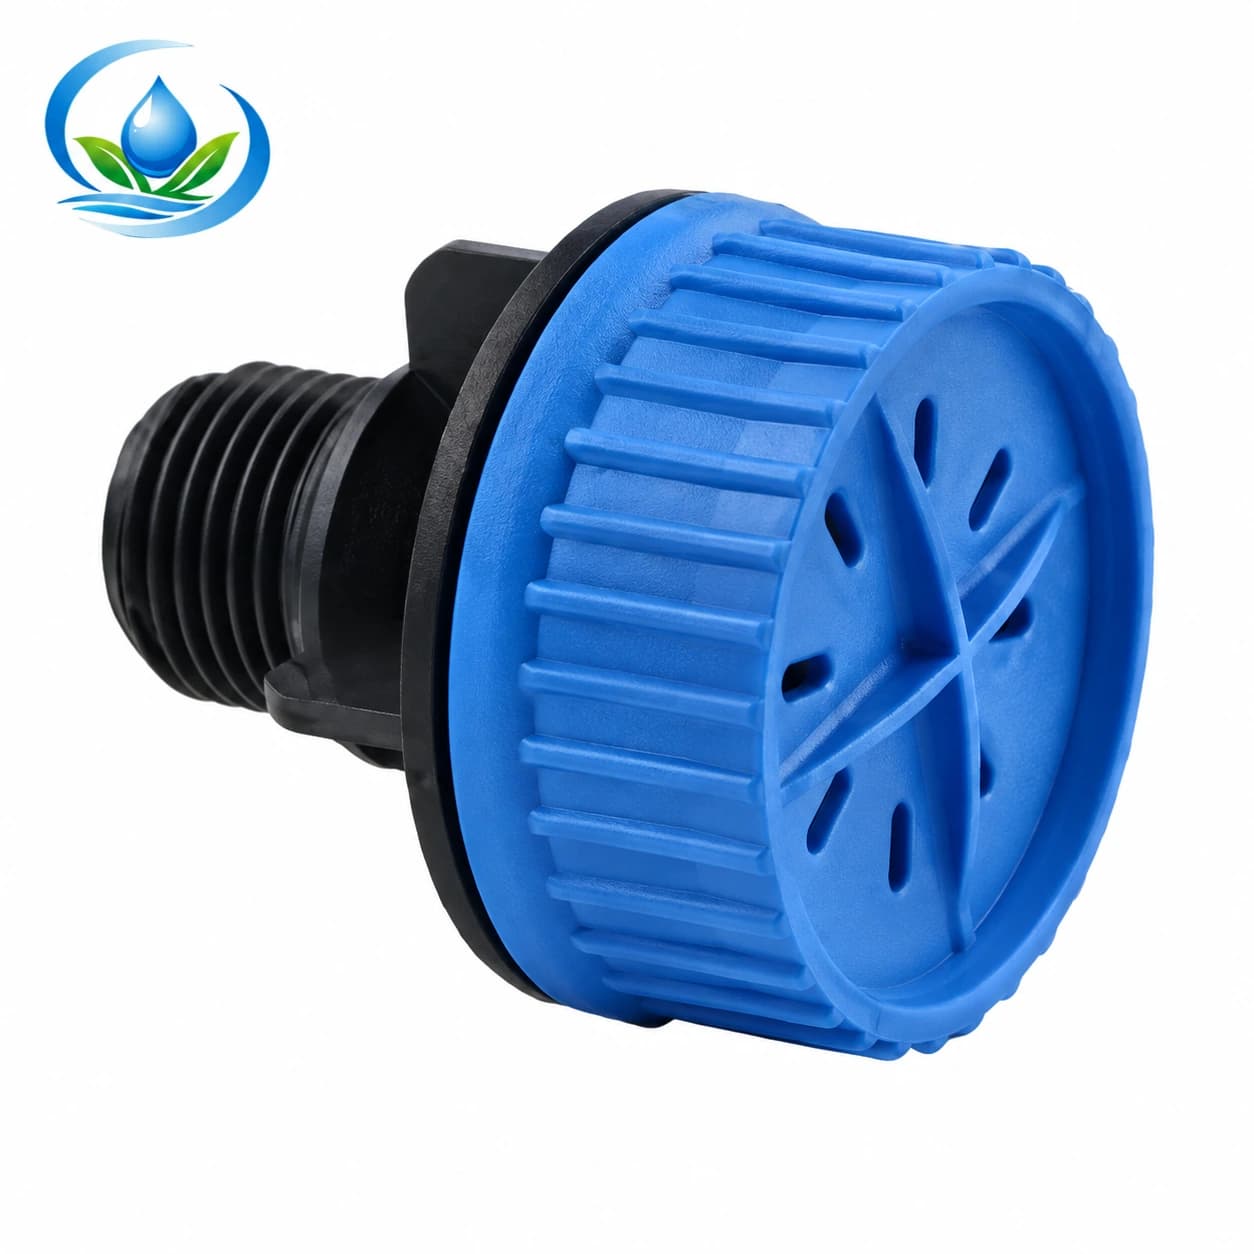
The 1/2-inch male-thread flush valve connects to a compatible female-threaded port. It is not a barb for direct insertion into arbitrary tube. Confirm thread standard, nominal size, sealing method, flow direction and clearance before ordering.
Plan the adapter chain from the line to the threaded port. Avoid mixing pipe-thread forms that appear to start but do not seal correctly. Apply only the sealant or gasket method specified for the mating products, and keep the valve supported rather than using a plastic thread as a structural bracket.
Count one termination for every real line end
Start with the field drawing. Each independent lateral end normally needs one closure or flush assembly. A block of 36 rows fed from one edge usually creates 36 far ends. A centre-fed row divided into two directions can create two ends per planted row. Branched layouts may create more.
Use the drip line length calculator to list each lateral rather than estimating endings from acreage. Separate tube plugs, tape closures, 16mm flush valves and threaded assemblies into different cart lines. Add labelled service stock based on field access and lead time.
Compare the three stocked routes
| Stocked route | Published connection | Best-matched job | Key check |
|---|---|---|---|
| Barbed end plug | 16/20/25/32mm family | Close a compatible open irrigation-tube bore | Inside fit, wall and retention |
| Drip-line flush valve | 16mm family | Create an accessible flushing outlet at a matching row end | Inlet style and operating instructions |
| Male-thread flush valve | 1/2-inch male | Add flushing through a matching female-threaded port | Thread format, seal and adapter chain |
None of these is the small punched-hole plug. None should be sold as a universal fit. A photograph can help identify the shape, but the order should be based on the selected size and connection record.
Keep flushing in the design
Construction debris, suspended material and precipitates can travel to line ends. The University of California Agriculture and Natural Resources includes line plugs, end caps and connectors in a practical repair stock and notes that lines can be flushed to remove debris in its drip irrigation troubleshooting guidance. A serviceable endpoint makes that work repeatable.
Open only the number of ends the water supply can flush at adequate velocity under the system's instructions. Route discharge away from stems, harvest areas, roads and electrical equipment. If fertilizers or treatments have been injected, follow the input label and local disposal requirements for discharged water.
Filter before relying on the end fitting
An end valve helps remove material that reaches the last section; it does not replace filtration. Match the head-unit filter to source water, smallest emitter path and zone flow. Add pressure observation around the filter so a dirty element is detected before far emitters lose delivery.
Use the irrigation filtration guide to choose screen, disc, media or separation functions. A larger flush opening cannot correct a filter that passes particles too large for the emitters.
Check pressure before blaming a closure
A plug that pushes out may be the wrong size or retention style, but excessive or transient pressure can also be involved. A far-end leak can lower pressure through the row; fixing it may reveal another weak connection. Measure the system while the complete zone runs.
Compare the result with the lateral and fitting limits. The drip pressure checklist explains where to measure. Do not use an extra clamp or adhesive to hide operation outside the documented range.
Install a barbed end plug
- Shut down the zone and relieve pressure.
- Confirm the selected plug and tube are compatible.
- Cut back to a round, undamaged, square end.
- Remove plastic chips and soil without pushing them into the line.
- Insert the barb squarely to the instructed position.
- Add required retention and support the endpoint.
- Pressurize gradually and inspect at full zone operation.
Keep the end accessible for inspection even if routine flushing occurs elsewhere. Record the plug size and line identity on the field map.
Install a row-end flush valve
- Verify the valve inlet matches the 16mm line or prepared adapter.
- Flush open pipe first if the product instructions require it.
- Cut and clean the line end.
- Seat and retain the valve without twisting the lateral.
- Orient the discharge toward a safe, observable route.
- Operate and check closure and flushing behavior.
- Label the point in the maintenance map.
For a threaded model, inspect the female port and use the specified sealing method. Do not force a thread that binds after only a partial turn.
Build a repair and termination cart
- Correct end product and size for each mapped line.
- Separate tape closures when tape is installed.
- Matched small hole plugs only if sourced and verified separately.
- Compatible repair couplers for cut-out damaged sections.
- Required adapters, grommets, clamps, seals or thread gaskets.
- Square-cutting tool and safe deburring method.
- Pressure gauge or test adapter.
- Labelled spare stock for each connection family.
- Container or route for observing flushed material.
Do not combine “black plugs” as one inventory line. Store each part with its product slug, size, photo and use. This prevents a small repair item being mistaken for a full-bore line closure during field work.
Test the repaired or closed line
Run the intended complete zone until pressure stabilizes. Inspect the endpoint, preceding couplings and nearby emitters. Catch delivery from a representative far emitter if the repair changed pressure. Open the service end and observe whether debris clears, then close and recheck for leakage.
Walk the route after the first full cycle and after pressure changes such as filter cleaning. A dry surface at the end is useful, but also look for movement, bulging, a partially seated barb or a slow threaded leak.
Diagnose common results
If an insert plug leaks around its circumference, recheck tube bore, wall, cut quality and barb size. If it pushes out, inspect retention and pressure. If the tube splits, cut back to sound material and verify that the barb is not oversized.
If a flush valve leaks during normal operation, confirm its intended closing behavior, orientation, debris condition and operating pressure. If it will not pass enough material during service, open fewer ends, check upstream flow and inspect the adapter bore. Do not enlarge or drill the valve body.
Plan seasonal access
At the end of a crop cycle, accessible ends help inspect and drain laterals according to the system instructions. Drainage and freeze protection depend on site and product; an end plug alone does not guarantee that every low point empties. Mark low areas and follow the equipment guidance.
Before the next season, inspect UV damage, animal chewing, brittle tube, seals and thread condition. Replace a questionable endpoint before connecting sensitive emitters. Flush the line before closing it for the new cycle.
Frequently asked buying questions
Can a 16mm barbed end plug repair an emitter hole?
No. It closes the full tube end. A small, matched hole plug is a different item.
Can the same cap fit drip tape and dripline?
Do not assume so. Thin-wall tape and round dripline use different grip and sealing arrangements. Verify the product compatibility.
Is a flush valve automatically self-opening?
Not necessarily. “Flush valve” describes its service role. Confirm the actual operating mechanism and instructions for the selected model.
How many end products should I buy?
Count the ends on the final hydraulic drawing, then separate them by connection type and add a stated service allowance.
Can I permanently seal every row?
You still need a method to commission and maintain the laterals. Choose a design that preserves practical flush access.
Use the job-and-connection check before checkout
For every endpoint, record line ID, job, material, mating dimension, retention type, pressure condition, need for reopening and ordered product. Do not checkout with a generic count that mixes holes, tube ends and threaded ports.
Compare the barbed tube-end plug, 16mm line flush valve and 1/2-inch male-thread flush valve. If your job is a punched-hole repair or tape closure, request the exact compatible item through IrriNex Store support rather than substituting one of these products.
Before you order
Compare this guide with the specifications for your exact product, selected option, water supply and field conditions. Your equipment requirements take priority over a general example.
Compare irrigation products