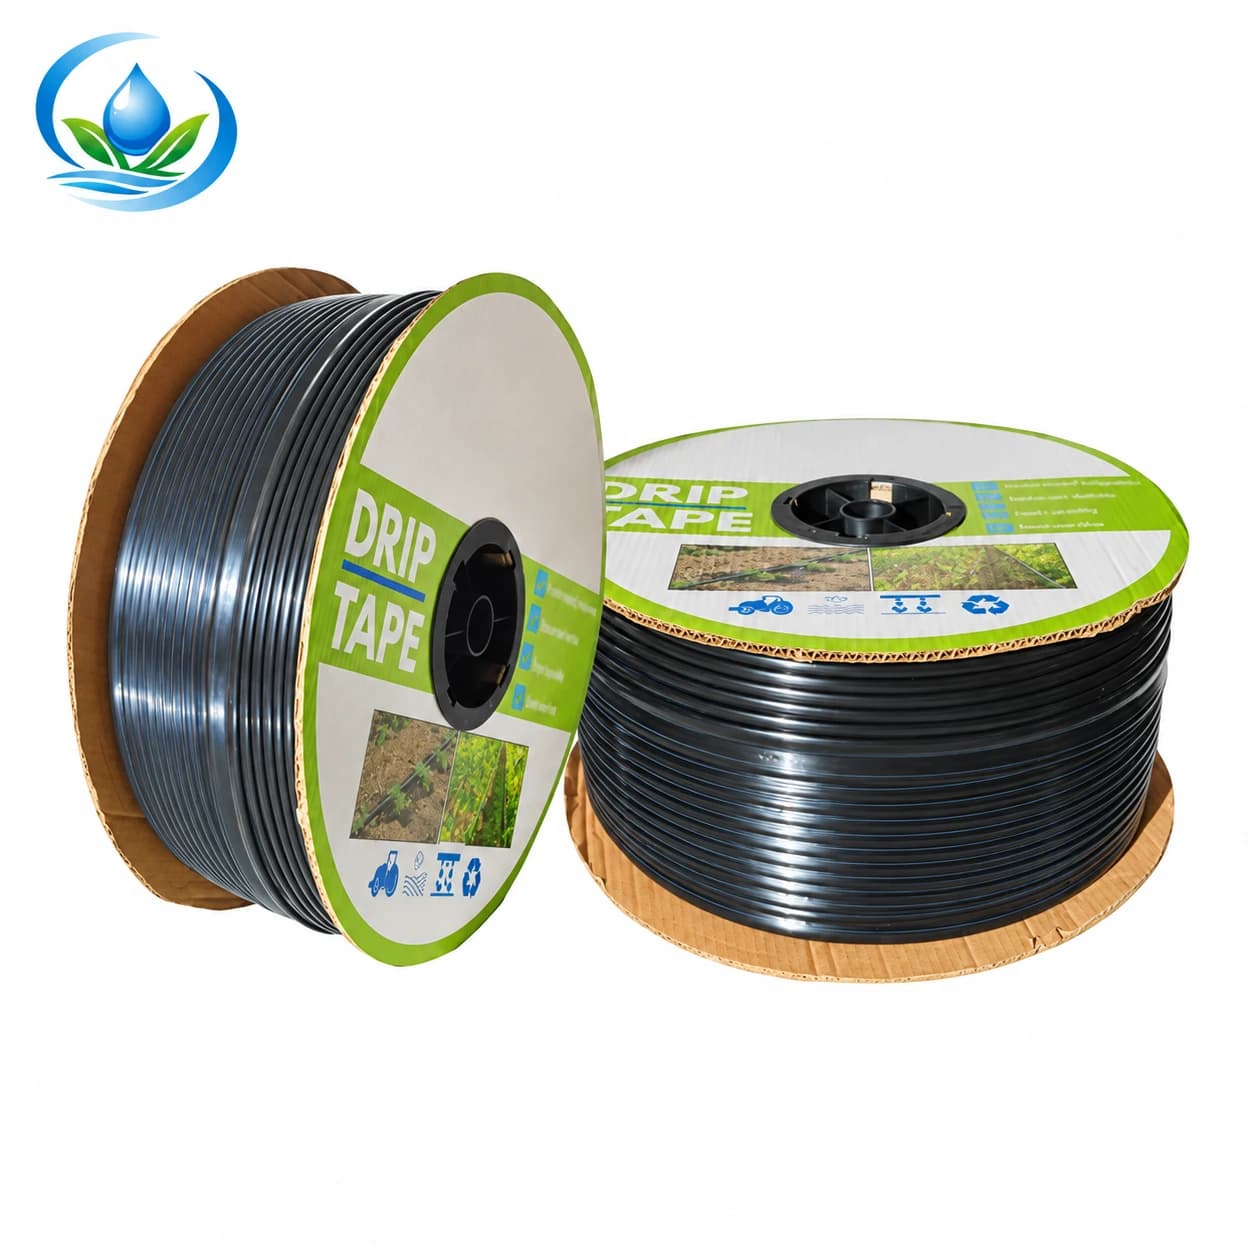
Drip Tubing Irrigation Buying Guide: Match Tube, Emitters and Crop Rows
Compare blank tubing, inline dripline and drip tape by diameter, emitter format, pressure, row length, fittings and order quantity before you buy.
Published by IrriNex Store
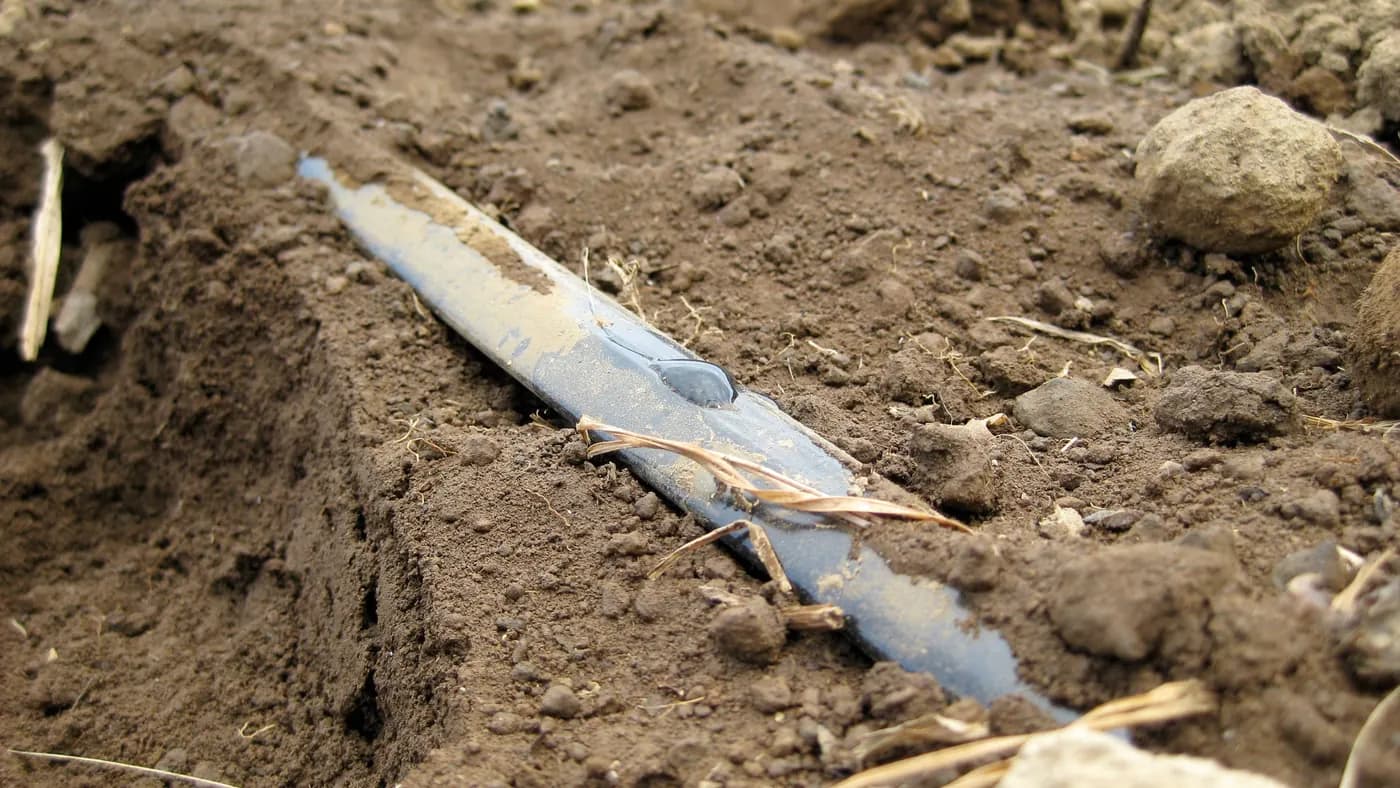
Drip tubing irrigation uses flexible water-delivery lines as blank distribution pipe, tubing with built-in emitters or thin-wall drip tape along crop rows. Those products are not interchangeable simply because their nominal diameter looks similar. A useful retail choice starts with the tube's job, then checks actual dimensions, emitter format, spacing, discharge, operating pressure, row length, fittings and roll quantity. This guide turns a field sketch into a comparison and shopping list for vegetables, greenhouses, orchards and other agricultural rows, without treating a packaged option as a complete engineered system.
Choose the tube's job before its size
Start by marking every section of the water path. A main or submain transports water in bulk. A header feeds several rows. A blank lateral accepts separately installed emitters. Inline dripline and drip tape already contain outlets at regular intervals. Micro distribution tubing carries water from a supply line to an individual emitter or plant stake. Each role has a different capacity and connection method.
A roll described only as “irrigation tube” is not enough information for a purchase. Ask whether the line is blank or has emitters, whether it stays round or collapses flat when empty, and whether it is intended to transport water or discharge it. A header should not release water along its length, while a crop lateral normally should.
Draw the source-to-row route using the farm drip-irrigation design worksheet. Label each segment by function before opening product pages. This prevents a shopper from buying a convenient roll and later trying to make it perform the wrong job.
Blank tubing, inline dripline or tape: which crop-row job?
| Tube family | How water leaves | Useful retail questions | Typical agricultural decision |
|---|---|---|---|
| Blank PE tubing | Only through emitters or outlets added during installation | Actual OD/ID, wall, pressure class, punch and fitting family | Custom plant positions, headers or reusable laterals |
| Inline dripline | Factory-installed emitters at a selected spacing | Diameter, spacing, emitter output, pressure range and roll length | Reusable rows, greenhouses, nurseries and orchards |
| Drip tape | Factory-made emitters inside a thin wall that flattens when empty | Diameter, wall thickness, spacing, flow basis, pressure and fittings | Straight seasonal vegetable and field-crop rows |
Compare families by the work they must do rather than by appearance. A thicker line is not automatically hydraulically suitable, and a reusable tube is not automatically cheaper for every crop cycle. Installation method, labour, retrieval, damage risk and crop rotation all matter. A crop-row drip tubing selection should name whether the selected line carries water only or also includes the outlets that deliver it.
Measure tubing inside and outside diameters before matching fittings
Inside diameter influences flow capacity and friction. Outside diameter determines whether many barbed, compression or locking fittings can seal. Wall thickness connects those two dimensions and also affects handling. A nominal label such as 16 mm or 1/2 inch may identify a product family, but it does not prove compatibility across manufacturers or tube types.
When extending an existing system, make a clean square cut and measure the actual tube with a suitable caliper. Record inside diameter, outside diameter and wall where possible. Also photograph the current connection and identify whether it uses a barb, nut, compression ring or tape lock. Do not measure a stretched, heated or damaged end.
For a new order, keep tube and fittings within one verified dimension family. Check the selected variant on both product pages. Tape fittings, round-tube barbs and mainline compression fittings solve different connection problems even when their marketing names share a number.
Select an emitter format for the crop layout
Blank lateral tubing lets the installer position individual emitters at each tree, container or widely spaced plant. It is useful when plant positions are irregular or the desired outlet flow differs among blocks. The shopping list must then include the emitters, punch, transfer fittings, any microtube, stakes and plugs needed to correct unused holes.
Inline dripline reduces field assembly because outlets are already installed. It suits repeated spacing and can simplify long runs of equal crop positions. The 16 mm inline dripline listing groups variants by dimensions, emitter interval and output. Select the option that appears in the cart; do not infer one option's specification from another image.
Drip tape is made for straight row work and uses its own starts, couplers, valves and ends. It should not be punched to accept ordinary button emitters unless its documentation explicitly permits that use. Treat its wall thickness and emitter design as part of the selected product, not as accessories that can be changed later.
Match emitter spacing to plants and wetting
Emitter spacing is the distance from one built-in outlet to the next. It is not automatically the same as plant spacing. Closely spaced outlets may be chosen to form a more continuous wetted strip, while wider outlets may suit individual plants where water spreads adequately through the soil.
Check soil wetting before ordering the entire field quantity. Coarse soil tends to spread less sideways than finer soil, but actual structure, compaction, organic matter and application rate matter. A small trial with the intended pressure and runtime shows whether adjacent wetted areas overlap at the relevant root depth.
Spacing also changes total flow. At the same outlet discharge, closer spacing puts more emitters on every metre of row. Recalculate the zone rather than changing only the roll option in the cart. The flow-rate guide shows how to convert active length and spacing into simultaneous demand.
Use discharge and runtime together
Emitter discharge describes output at stated conditions. Runtime determines the volume delivered by each outlet during an event. A higher-flow option is not automatically better; it may exceed soil intake, raise zone demand or shorten the event beyond practical control. A very low rate may require a long event and may interact differently with filtration or injector limits.
Compare discharge using one unit, such as litres per hour per emitter. For drip tape that publishes flow per length, keep that basis separate. Do not multiply a per-length value by the emitter count again. Record whether a catalogue number refers to a single outlet, a metre, a fixed length or an entire roll.
Use the selected discharge to estimate application volume, then adjust scheduling from crop stage, weather, effective root zone and field observation. Product selection supports irrigation management; a roll cannot decide the correct weekly water depth by itself.
Check pressure from the source to the row end
Every line has an inlet pressure range, and every route loses pressure through filters, regulators, valves, fittings and friction. Elevation adds or subtracts pressure. Measure dynamic source pressure while water flows and calculate the condition at the beginning and end of representative laterals.
Utah State University Extension advises that a drip system be designed for the crop, maintain appropriate pressure and be managed as crop growth and water needs change in its commercial vegetable irrigation guidance. That principle supports measuring and monitoring; the exact allowable pressure still comes from the current tube variant.
If source pressure exceeds the lateral limit, choose a regulator that works at the calculated zone flow and produces the required outlet condition. Review the pressure-regulator selection guide before buying. If pressure is too low at the end, changing only the regulator cannot recover friction already lost in an undersized route.
Set row length from hydraulic data
Roll length is packaging; allowable lateral length is a hydraulic limit. The row consumes water at every outlet, so available flow falls and friction acts along the tube. Diameter, discharge, spacing, inlet pressure, elevation and acceptable uniformity all influence the maximum useful run.
Use the model-specific run-length table when one is published. Do not transfer a length from a different wall, diameter, spacing or flow option. When the data is missing, request it and avoid promising that the entire roll can be installed as one lateral.
Measure the longest actual row, not a representative average. On irregular fields, create length groups or separate elevation bands. A clean 500-metre coil can serve several shorter laterals even if one continuous 500-metre run would not meet the pressure target.
Build zones from calculated lateral demand
Calculate each lateral from active length, emitter spacing and outlet flow, then multiply by the number that will run together. Compare that total with dependable source flow, filter capacity, regulator range, valve capacity and delivery-pipe loss. Keep a margin for real operating variation and filter loading.
The farm zoning guide explains how to group rows by compatible crop schedule as well as hydraulics. A source may be able to run two different crops together while their required durations make that choice undesirable.
Also calculate the smallest seasonal case after some rows close. Meters, regulators and fertilizer injectors can have minimum working flow. A system selected only for the full block may behave differently when half the crop has been harvested.
Choose filtration for the smallest water passage
Built-in emitters and inserted drippers contain small passages that can be obstructed by particles or biological material. Choose filtration grade from the outlet manufacturer's requirement and choose filter capacity from the zone's normal and flushing flow. Water source quality determines whether screen, disc, media or separation stages are appropriate.
A connector size does not reveal filtration performance. Compare the stated filtration grade, clean-flow range, expected pressure loss and cleaning method. Leave space for isolation and cleaning, and include gauges where they help identify a loaded element.
Flush the mainline and headers before connecting laterals. Provide an accessible end treatment for every line or flushing group. Buying the tube without starts, ends and filtration creates an incomplete system even when the roll itself is correct.
Count roll length and fittings from the field map
Add the measured active length of every lateral that will be installed. Include the planned route to the manifold, connection tails and a documented allowance for cutting and repair. Keep future expansion separate so the current quantity and hydraulic case remain clear.
Divide the required length by the selected package length and round up to whole sale units. Then count one start per lateral, the appropriate end or flush piece, row valves where planned, couplers for deliberate joins and only the adapters needed at real transitions. Do not estimate fittings as a percentage of tube length.
For rows that may be mechanically damaged, a small repair reserve can reduce downtime. Store unused tube shaded, clean and protected from pests and deformation. Label leftover material with the exact product and variant so it is not mistaken for a visually similar diameter later.
Compare the three listed crop-row choices
The flat-emitter drip tape is aimed at vegetable rows, with spacing and wall thickness among the selection fields. The inline dripline has verified 16 mm configurations with integrated emitters. Compare each complete option, including spacing, discharge, wall thickness and roll length; a broad family name does not establish every available combination.
These links are starting points for comparison, not a claim that every option suits the same field. Open the selected variant and copy its exact diameter, wall, spacing, discharge, pressure information and package length into the worksheet. Confirm availability at the time of purchase.
Choose by the documented crop cycle and hydraulic case. A lower unit price can cost more if extra fittings, frequent replacement or unsuitable row length are ignored. A heavier line can be wasteful when a carefully installed seasonal tape meets the actual requirement.
Use a cart checklist before payment
- Selected tube family and exact variant, not only the product-page name.
- Total roll quantity calculated from measured rows and package length.
- Starts, valves, couplers, ends and repair pieces matched to actual dimensions.
- Header and mainline transitions for every change of diameter or connection style.
- Filter grade and capacity based on the selected outlets and zone flow.
- Pressure regulation based on measured inlet pressure and permitted lateral pressure.
- Flush points, gauges, punch, stakes and installation tools required by the layout.
Compare the cart with the field-ready component checklist. Read package contents carefully; a product photograph may show connected pieces for context that are sold separately.
Install and commission before covering lines
Lay the tube without twisting, sharp bends or dragging it over damaging surfaces. Make square cuts with a suitable tool. Support headers and valves so tube connections do not carry equipment weight. Follow the fitting's insertion or locking method instead of forcing a near match.
Flush upstream pipe, then connect the laterals and open the zone gradually. Inspect every start, join and end while the system is at normal pressure. Measure head flow and near/far pressure. Collect equal-time samples from outlets along representative rows and compare the distribution.
Do not bury, mulch over or permanently fix connections until leaks, wrong variants and blocked outlets have been corrected. Record the commissioning readings and the installed roll batch or product code. Those details make future troubleshooting and reordering faster.
Avoid common tubing purchases that fail
- Buying by nominal diameter without checking OD, ID and fitting family.
- Treating blank tubing, inline dripline and drip tape as interchangeable.
- Using package roll length as the permitted hydraulic run length.
- Changing emitter spacing without recalculating zone flow.
- Assuming high source pressure guarantees enough pressure at the row end.
- Ordering the roll but omitting starts, ends, filtration and flushing parts.
- Mixing variants after installation without updating the zone record.
A precise order does not require guesswork, but it does require measurements. If a required value is absent from a listing, ask before checkout instead of substituting an assumption.
Frequently asked buying questions
Is drip tubing the same as drip tape?
No. The terms are sometimes used loosely, but tape normally has a thin wall that lies flat when empty and uses tape-specific fittings. Round blank tube and inline dripline use different constructions and connection families.
Can I use any 16 mm fitting?
Do not assume so. Confirm actual outside diameter, tube construction and the fitting's stated range. A 16 mm nominal label is a starting point, not proof of fit.
Should I choose built-in or separate emitters?
Built-in emitters simplify repeated spacing. Separate emitters suit irregular plants or custom discharge. Compare labour, flexibility, flow calculation and the parts required.
How much extra tubing should I buy?
Calculate measured routes first, then add a documented allowance for cuts and realistic repairs. Keep expansion material separate from the quantity for the current hydraulic design.
Can one roll serve several zones?
Yes. Cut it into laterals that comply with the selected model's hydraulic limit. Roll length does not require the roll to operate as one line.
Turn measurements into the final retail order
A dependable drip-tubing order identifies the job of every tube, the exact option, measured dimensions, emitter arrangement, row length, zone flow, pressure range and matching connection family. It counts both large components and the small pieces that make the line serviceable.
Before ordering, send the field sketch, source readings, row schedule and proposed cart to IrriNex Store product support if you need a compatibility review. The purpose is to confirm purchasable variants and quantities against your measurements, leaving you with a clear record for installation, commissioning and later replacement.
Before you order
Compare this guide with the specifications for your exact product, selected option, water supply and field conditions. Your equipment requirements take priority over a general example.
Compare irrigation products