How Long Should Drip Irrigation Run After Changing Emitters or Dripline?
Recalculate irrigation minutes after changing emitter flow or spacing, then check measured discharge, delivered litres and moisture around the roots.
Published by IrriNex Store
How long should drip irrigation run after you replace emitters or change dripline spacing? Start by calculating the time needed to deliver the intended water volume through the new, measured discharge. Then check how that water moves through the rooted soil or growing medium. Keeping yesterday's minutes after changing the hardware can change the amount applied, even when the crop, valve and irrigation day remain the same.
This guide is a commissioning worksheet for an existing crop row. It separates a crop's water target from the equipment's delivery rate, compares an old and new irrigation event, and explains what to record before accepting a revised schedule. Every numerical water target below is hypothetical. None is a watering recommendation for a particular crop, climate or soil.
Record the old event before removing the old parts
Write down the row identifier, plants served, outlet positions, emitter model, active outlet count and normal valve arrangement. Record the current duration and frequency separately. Forty minutes once per day and twenty minutes twice per day have the same total duration, but they are different events and can produce different moisture patterns.
If the existing equipment still works, measure representative outlet discharge before replacement. Note the operating pressure, whether the filter was clean, and whether neighbouring zones were open. A remembered label is a weak baseline when outlets have gradually clogged. Photograph the layout and retain an unused labelled emitter or the old roll label when possible.
Also record why you are changing it: damaged outlets, a different planting pattern, poor wetting coverage, or a deliberate flow change. Success needs an observable test. Replacing a broken emitter should restore the intended delivery; moving outlets to cover a wider root area needs a spatial wetting check as well as a volume calculation.
Choose a water target independently of the replacement
The intended volume per event must come from your crop scheduling method: local agronomic advice, weather and crop stage, effective rainfall, and observations or measurements in the root zone. A new emitter rated at 4 L/h does not establish that a plant needs four litres each day. Its label describes a delivery rate under specified conditions.
Decide the reference unit before doing arithmetic. A target might be litres per plant, per container, per metre of row or for one complete bed. The discharge in your calculation must serve that same unit. A whole-row flow cannot be divided into a per-plant target without accounting for all plants and their outlets.
If the old event caused deep drainage, runoff or persistent dry areas, preserving its total volume is only a comparison exercise. It is not proof that the old target was correct. Review the crop target and the delivery layout separately so that a hardware replacement does not lock an earlier scheduling error into the new programme.
Use one water-volume equation with consistent units
Runtime in minutes = target litres ÷ measured litres per hour × 60. Conversely, event litres equal measured litres per hour multiplied by runtime minutes and divided by 60. Write the reference unit beside both numbers, such as “per plant” or “per selected row”. A drip irrigation runtime calculation after emitter replacement should start with the crop water target, then use the new measured outlet rate rather than copying the old minutes.
For a hypothetical target of 3 litres at one plant with one outlet delivering 2 L/h, the arithmetic duration is 90 minutes. If a replacement delivers 4 L/h, the same 3 litres take 45 minutes. Leaving the original 90-minute duration would deliver 6 litres. The shorter event does not represent a water saving when both correctly calculated events deliver 3 litres.
| Illustrative arrangement | Measured combined discharge | Hypothetical event target | Calculated minutes |
|---|---|---|---|
| One outlet serving one plant | 2 L/h | 3 L | 90 |
| Replacement outlet at that plant | 4 L/h | 3 L | 45 |
| Two outlets serving that same plant | 4 L/h combined | 3 L | 45 |
| One outlet measured below its nominal rating | 1.8 L/h | 3 L | 100 |
The final row illustrates arithmetic, not permission to compensate for a fault by extending the schedule. Investigate a low reading first. A blocked outlet beside a healthy outlet cannot be corrected simply by watering both longer.
Check model, outlet count and placement together
The pressure-compensating emitter family includes TANDPCD02 at 2 L/h, TANDPCD04 at 4 L/h and TANDPCD08 at 8 L/h. Match the exact model when replacing an outlet. Colour or a similar body shape should not substitute for the label and product information.
Two 2 L/h outlets can have the same nominal combined discharge as one 4 L/h outlet while distributing water at two positions. That changes where water enters the root area. In the worksheet, keep “outlets per plant” next to “flow per outlet”; otherwise an apparently unchanged model can conceal doubled delivery after an extra outlet is added.
Pressure compensation operates within the manufacturer's stated pressure range. It does not make every installed outlet deliver exactly its nominal rate under every condition. Confirm the range for the selected model, inspect pressure during operation and measure discharge. The operating-pressure checks help investigate a reading that varies along the row.
Recalculate water per metre when dripline spacing changes
The inline dripline range includes a 16 mm option with 0.8 mm wall, 30 cm emitter spacing, 2 L/h outlets and a 500 m roll, SKU IS-3-8CDA6B18CD. All five dimensions of that description matter when identifying a replacement. The roll length is a purchasing quantity; only the installed, operating length contributes to the event.
For an illustrative comparison, suppose a 30 m test section has exactly 100 operating outlets spaced at 30 cm. At a measured 2 L/h each, combined delivery is 200 L/h. A hypothetical 150-litre event takes 45 minutes. Count actual outlets: the number at the section ends depends on where the line was cut and connected.
Compare that with an old 30 m section containing exactly 60 outlets, each also delivering 2 L/h. Its combined delivery was 120 L/h, so the same 150 litres took 75 minutes. Reusing 75 minutes on the 100-outlet section would apply 250 litres. This example holds row length and outlet discharge constant to expose the effect of outlet count.
It does not establish that closer spacing is agronomically better or hydraulically suitable. Different wetting overlap and greater simultaneous demand both need checking. If the replacement overloads the operating zone, use the drip irrigation flow-rate guide to review system capacity before testing a schedule.
Measure discharge after the system has stabilised
Flush according to the equipment instructions, restore the normal closed-end arrangement, clean the filter and open the intended zone. Allow the line to fill and pressure to stabilise before collecting samples. Use the same valve arrangement that will operate during routine irrigation.
Collect equal-time samples from representative outlets near the inlet, in the middle and near the far end, including relevant high and low positions. Label each container by location. Avoid bending a tube, raising an outlet or restricting its discharge merely to fit the container, because the measurement should represent normal operation.
For example, collecting 300 mL in ten minutes corresponds to 0.3 litres divided by one-sixth of an hour, or 1.8 L/h. Repeat the collection if the volume is difficult to read or splashing occurred. Compare individual readings before averaging them. A convenient mean must not hide an unusually low or high outlet.
Record any head-meter reading separately. A zone total can include leaks, flushing or other open branches; it does not prove that each plant received its intended share. Correct leakage, kinks, closed valves or suspected blockage and repeat the affected measurements before calculating the accepted event.
Inspect the rooted layer during the first revised event
Choose representative inspection positions before starting: close to an outlet, between outlets and near the outer edge of the intended wetted area. Check initial moisture, then observe the progression of wetting during the trial and after water has redistributed. Keep the elapsed time consistent when comparing successive trials.
Use a suitable soil probe, installed sensors or a small inspection opening that avoids major roots. Look at depth and lateral reach, not only the visible surface mark. A damp surface can coexist with dry material nearby, and a long event can carry water below active roots without improving the intended coverage.
Penn State Extension's runtime method relates duration to discharge, rooted area and soil water storage. Its worked vegetable examples have stated assumptions; they are not universal schedules.
If water ponds or moves beyond the intended root layer, reassess the target, event length and delivery arrangement. Splitting an event may be a management option, but do not assume two short pulses reproduce one long event: filling delay, drainage and soil redistribution can change the result. Test the actual sequence.
Account for filling and drainage in short events
The clock may start before the farthest outlet reaches stable discharge. Water may also continue leaving some outlets after the valve closes. These effects matter more when the intended event is short. Record when representative outlets begin and stop delivering, particularly after changing line length, slope or outlet arrangement.
Use the steady-flow equation as an initial calculation, then check whole-event delivery if startup and shutdown are a material part of the event. Do not invent a universal number of extra minutes. Repeated short starts can multiply filling effects, while adding time without measurement may overwater the positions that begin first.
Keep a practical acceptance record
Use one page for each revised zone. Include the old and new product model, active length, outlet count, measured sample volumes and times, pressure observations, event target and reason for selecting it. Record trial duration, rainfall or unusual weather, and the soil inspection locations.
Separate results from decisions. “Far-end sample was lower than the other samples” is an observation; “clean and retest that section before changing duration” is a decision. This distinction helps another operator reproduce the test and prevents an unverified explanation from becoming a permanent operating rule.
Keep the revised schedule provisional until the first events and root-layer observations agree with the intended delivery. Revisit it as plants develop or weather changes. Product replacement is one trigger for a review, not the only reason a season-long schedule may need adjustment.
Prepare the replacement order and the follow-up check
- Identify the exact outlet model or the complete dripline variant.
- Record active outlet count and where each outlet serves the crop.
- Keep the agronomic event target separate from rated and measured flow.
- Calculate expected minutes and expected litres at the old duration.
- Plan discharge sampling and rooted-layer inspection before the first trial.
- Retain labels, observations and the accepted schedule together.
Send the current layout, model labels and measured samples through IrriNex Store support when you need help identifying a replacement. A photograph of an operating dripper can show placement, but it cannot establish flow, pressure compensation or the exact model.
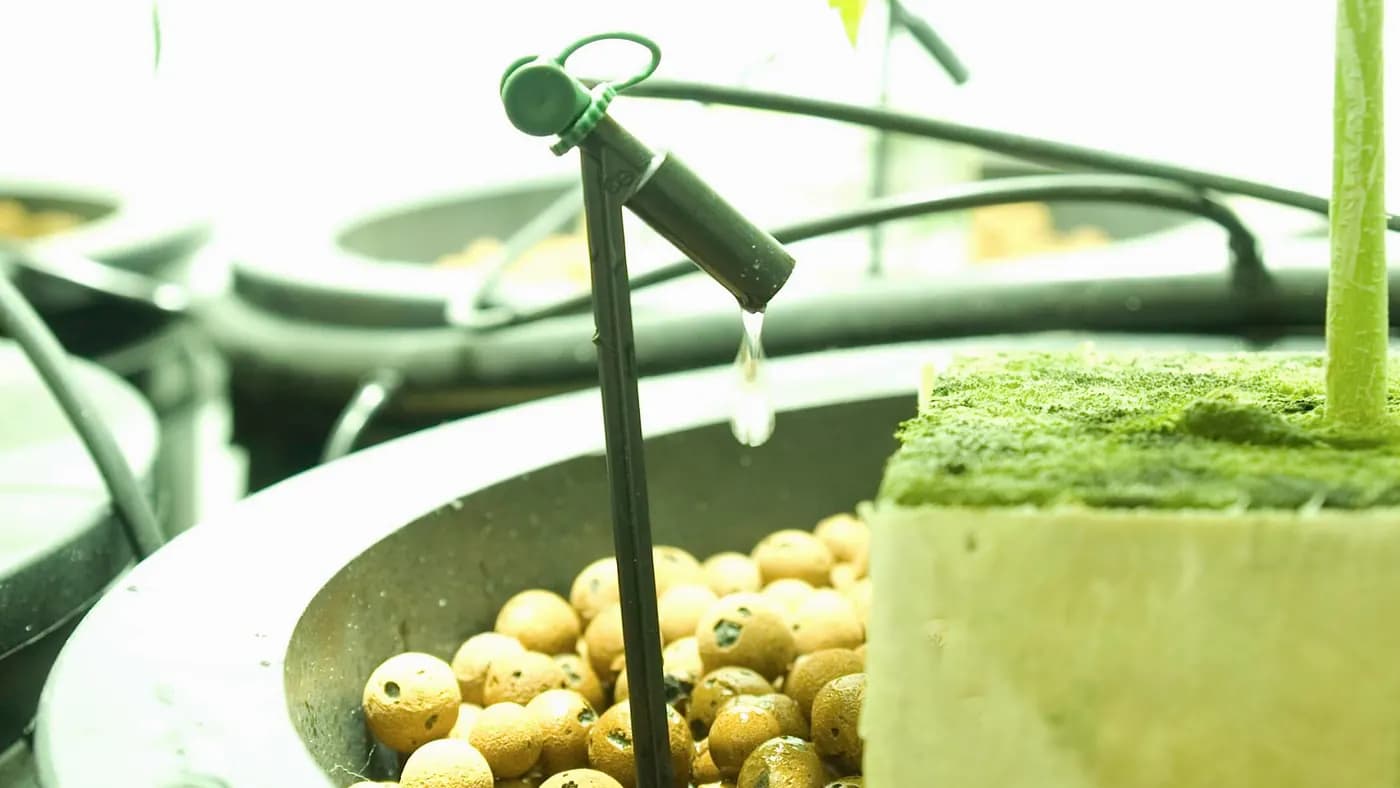
The accompanying photograph shows an installed emitter releasing water beside rockwool and expanded clay in a hydroponic setup. It illustrates visible discharge; the model and flow are unverified, and it is not a soil-wetting trial or a depiction of a specified store product.
Before you order
Compare this guide with the specifications for your exact product, selected option, water supply and field conditions. Your equipment requirements take priority over a general example.
Compare irrigation products