3/4 Sprinkler Head: Check the Riser Before Ordering a Replacement
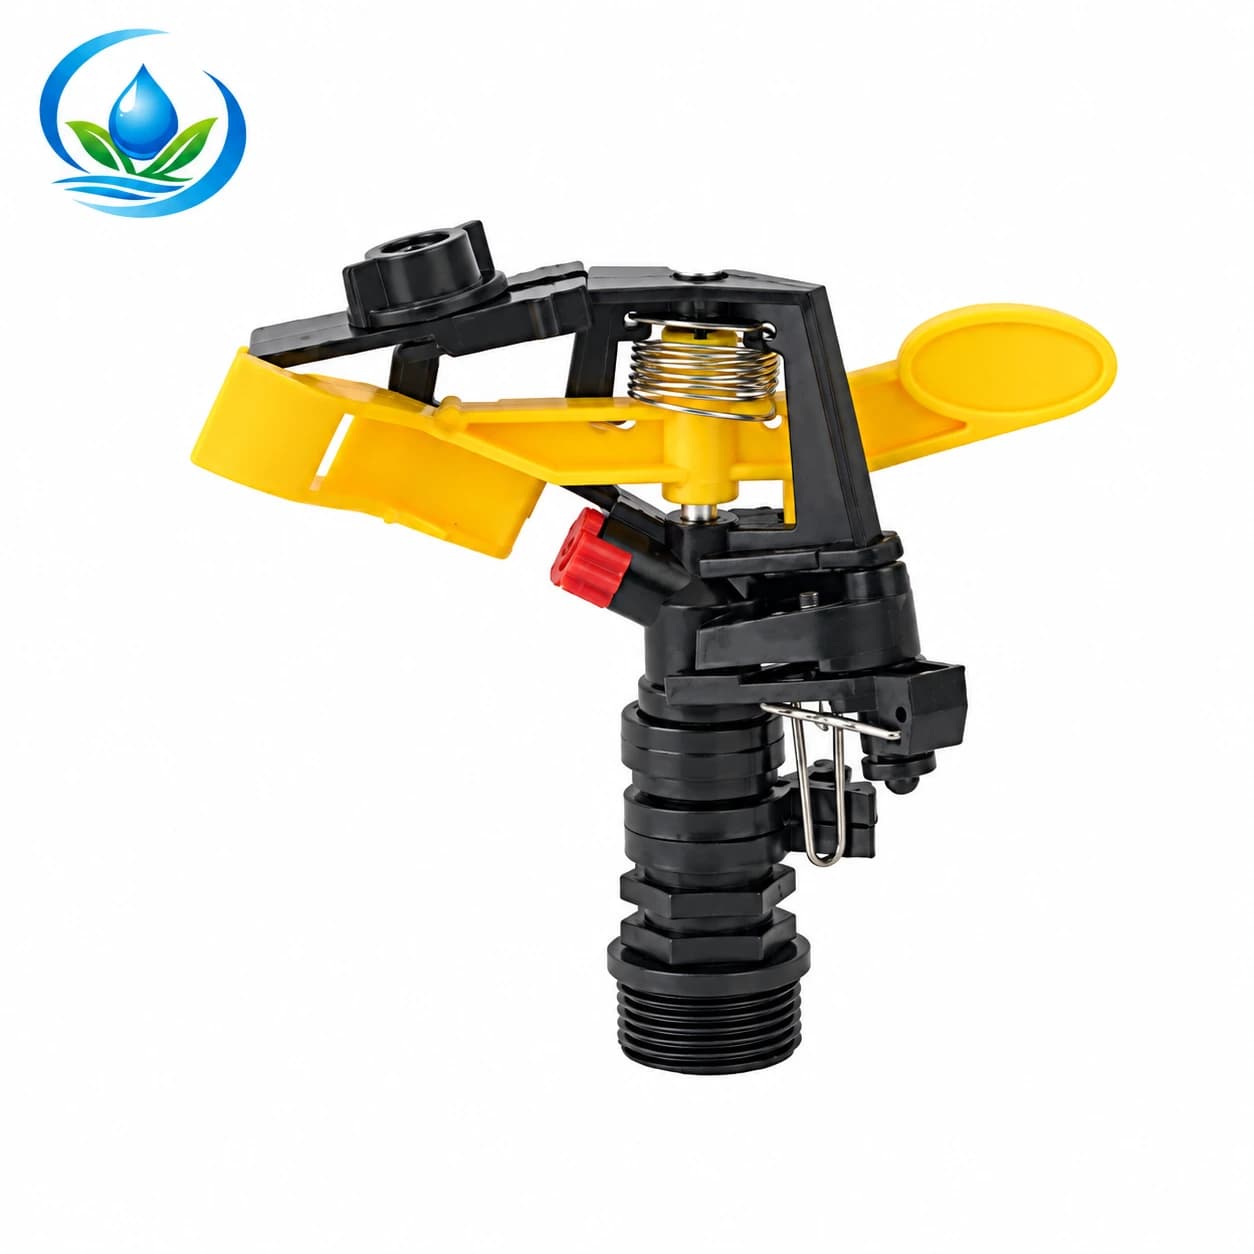
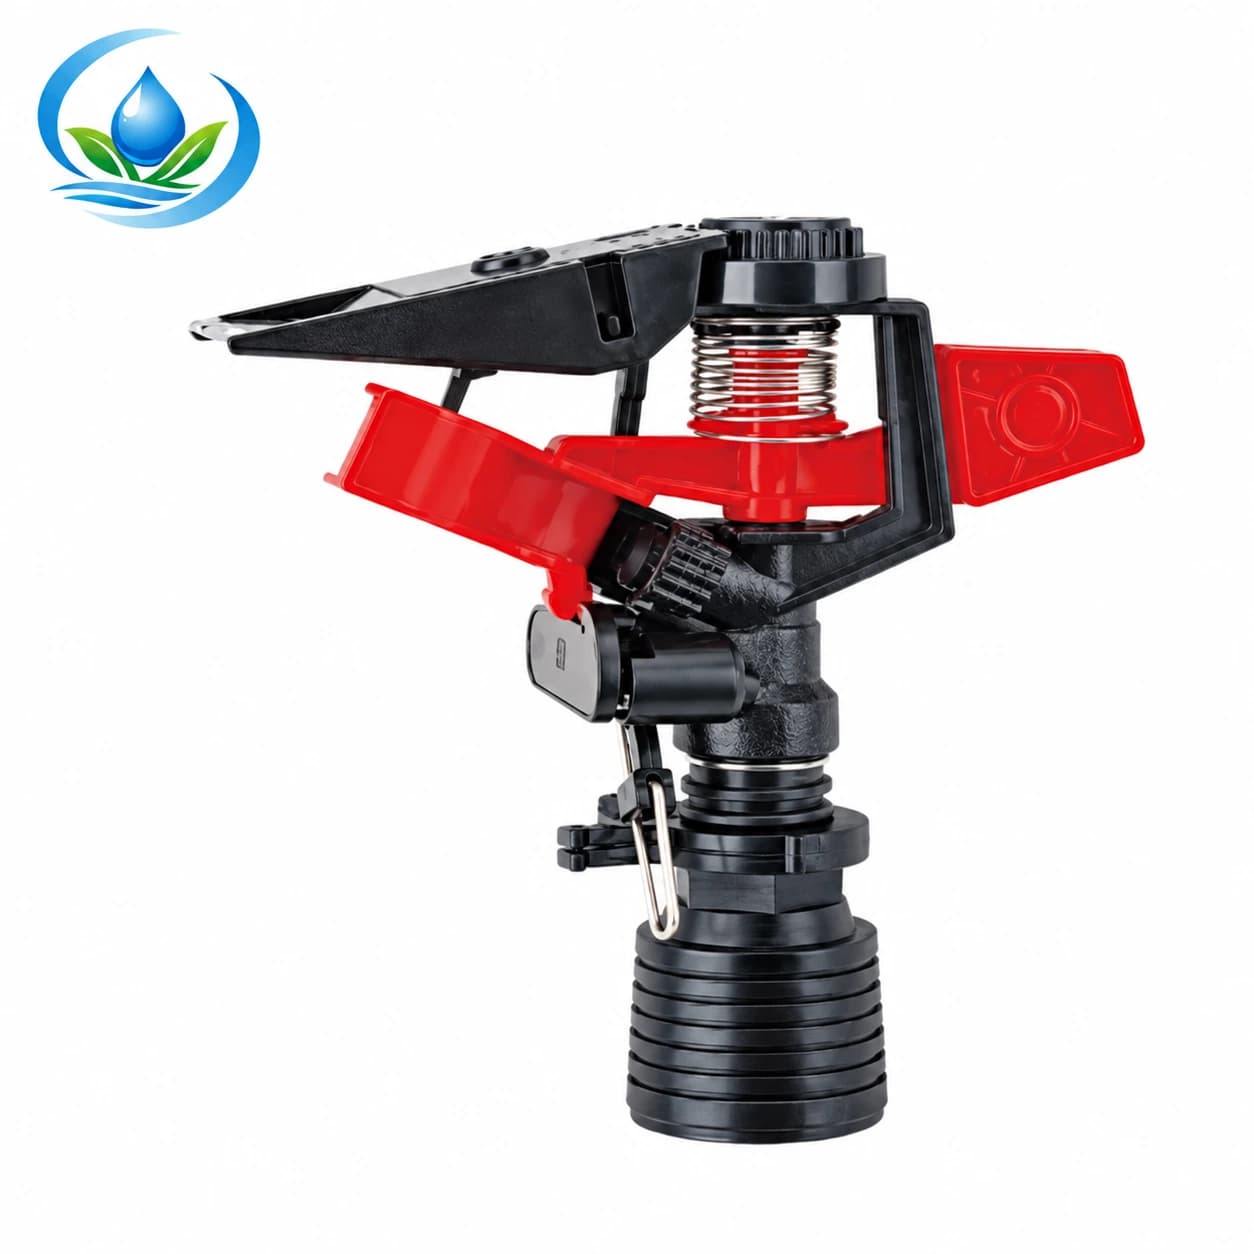
Check an existing 3/4-inch riser and compare S2-1 and S6-R as separate connection and operating-duty candidates.
Published by IrriNex Store

A 3/4 sprinkler head can have a male inlet or a female inlet, even when both products carry the same nominal fraction. If a field riser already exists, photograph its exposed end and identify what is attached before ordering a replacement. The new head has to meet two separate requirements: its connection must mate by the documented thread and sealing method, and its nozzle must operate within the water and coverage conditions of that block. A matching “3/4” label settles neither requirement on its own. Record the riser's male or female end and documented thread standard separately from its 3/4-inch label; mechanical fit alone does not prove flow at running pressure. A 3/4-inch sprinkler riser thread match needs both mating genders and the documented thread standard, not just a shared size label.
This buying check starts with one existing agricultural sprinkler position. It uses two current options, the S2-1 plastic impact sprinkler and S6-R adjustable impact sprinkler, to show why the inlet suffix belongs in the order record. It does not prescribe a new layout or a universal adapter. If the old head is serviceable and the fault is elsewhere, replacing it may be the wrong purchase.
Male or female 3/4-inch sprinkler inlet: what does the riser need?
Give the position a field name or number. Photograph the head, its visible inlet, any adapter beneath it, the riser and the pipe that feeds the riser. Take a wider image showing the support and nearby crop or traffic. A close photograph of a sprinkler alone may hide a reducer that belongs to the old assembly rather than to the head itself. Save any readable code on the existing head and nozzle. If the code cannot be read, do not assign a model by colour or shape.
Identify the exposed connection that will remain after the old item is removed. Is it a male thread standing above the riser, a female threaded socket, or a different connection system? Check the equipment drawing or marked fitting for the actual thread standard and intended seal. “3/4 inch” is a nominal description; it does not tell you whether the joint is tapered, parallel, face-sealed or made to another specification. A mating male and female label is a necessary first screen, not proof that the pieces seal together. The thread-identification guide gives the fuller end-by-end record if either side is unfamiliar.
Make these observations with the section stopped, isolated and depressurized according to its own instructions. If removal would expose a damaged riser or a stuck fitting, plan that repair separately. Do not twist the supply pipe to free a head, cut a riser because another head has a convenient label, or force two threads that only begin to engage. The existing connection may be worth retaining once its condition and specification are known.
Will both the head connection and water duty match the installed riser?
The two candidate models below have opposite stated inlet genders and different published operating ranges. Their figures identify what to ask about; the table is not a pressure-by-flow performance curve. It does not say that either model is a direct replacement for the head currently in your field.
| Catalogue field | S2-1 | S6-R |
|---|---|---|
| Inlet marking | 3/4-inch male | 3/4-inch female |
| Nozzle entry | 4 mm | 4 mm |
| Working-pressure range | 0.5–2.5 bar | 2.0–3.5 bar |
| Listed flow range | 14.8–28 L/min | 7.2–19.4 L/min |
| Listed radius range | 5–10 m | 7–10 m |
Copy the complete S2-1 or S6-R code onto the replacement record. The catalogue shows other 3/4-inch impact heads too; a shared nominal connection does not make their bodies, nozzles, duties or mounting pieces interchangeable. The S2-1 and S6-R entries each print a 4 mm nozzle figure, but that number alone cannot establish identical discharge or pattern. It is also not the inlet diameter. Keep the nozzle entry in a separate column from the 3/4-inch inlet marking so nobody orders a fitting by a nozzle number.
Pressure, flow and radius appear as independent ranges for each model. Do not combine the minimum pressure with the maximum radius, assume the maximum flow occurs at one convenient pressure, or use the lowest flow endpoint to inflate a head-count estimate. Ask for the exact offered model's nozzle and documented discharge and reach at one named operating pressure. The head operating-point guide explains how to compare that documented point with the pressure actually available at the position.
Make a connection decision and a water-duty decision separately
On the first line of a comparison card, put the riser's exact outlet and the candidate head's inlet. A confirmed female riser port may make the S2-1's male inlet worth investigating. A confirmed male riser end may make the S6-R's female inlet worth investigating. Neither statement certifies a fit: the thread standard, seal face, required engagement, material and rated operating conditions still have to agree. If the old head carries an adapter, record both interfaces before deciding whether the adapter stays.
On the second line, put the delivery conditions the crop block needs: the old head's verified nozzle and discharge if available, operating pressure measured near that position, the number of other heads open with it, and the watered area that must be maintained. If the old head failed mechanically, a healthy neighbouring head of the same documented model may provide a useful comparison. If several heads all throw short, start with the supply and operating group rather than treating the one missing 3/4-inch label as the cause. The complete impact-head replacement checklist helps separate an individual broken body from a block-wide hydraulic symptom.
For example, suppose the retained riser has a documented 3/4-inch female port and the previous head delivered an accepted pattern. S2-1 has the nominal male gender to investigate. That still leaves its exact thread form and seal, required running pressure and discharge, and crop-area pattern to verify. S6-R has the opposite stated gender, so it would require a separately designed and documented transition if selected for some other reason. Do not buy an adapter simply to keep both heads on a shopping list; first decide whether either head satisfies the intended duty.
Check the running block, not a closed-valve gauge alone
Measure or obtain operating pressure at a stated point while the normal sprinkler group runs. Record the water source condition, active valves, filter state and any other users sharing the supply. A closed-valve gauge can show static pressure, but it does not demonstrate flow at the head when the selected sprinkler opens. An unrestricted hose discharge is also a different operating case. Use the actual route, elevation and concurrent demand when checking whether either candidate's documented point can be maintained.
Compare one replacement at a time with the original group. If its documented flow differs from the old head, the group demand and pressure distribution can shift, including at heads that were not replaced. A smaller listed range does not automatically make a head a low-pressure substitute; a larger listed radius does not prove better coverage. Where the proposed change affects more than one head, use the running-flow head-count worksheet to screen simultaneous demand, then check pressure loss and distribution independently. Keep physically installed heads, concurrently open heads and spare heads as separate counts.
Confirm the practical wetted result at the position. Note crop height, obstructions, neighbouring spray, edge limits and whether the old head was intended to water a full or part circle. Neither the 3/4-inch label nor the radius interval establishes the supported arc of a specific product. Ask for model instructions if the boundary depends on arc control. The field catch-depth guide provides a way to record actual water landing at comparable points; a farthest visible drop cannot stand in for that measurement.
Preserve the riser, support and safe access in the comparison
A head that can be joined mechanically may still be unsuitable on the existing riser. Inspect the riser for damage, lean, corrosion, poor support or a joint loaded by the hose. Record how the head is mounted, what keeps the assembly upright when operating, and whether the impact arm clears crop stems and nearby equipment. Do not treat a product image as proof that a support, adapter or seal is supplied. Ask for the exact head's permitted mounting and the hardware included in the selected sale unit.
Keep the shutoff accessible without stepping under a working stream. Follow the existing pump and valve sequence when isolating the position; do not loosen a live connection or hold an unstable pressurized head in place. After any approved change, watch the assembly from a safe location for leakage, movement and water crossing a no-wet route. The riser and tripod guide covers the separate structural-support decision where a taller or movable mount is proposed. An adapter does not fix an unsupported stand, and a stronger stand does not correct an incompatible inlet.
Keep physical access in the record too. A small head that is easy to reach in bare soil may be hidden by the crop at the next service date. If vehicles travel close to the riser, identify how the mounted head will be protected or removed under the actual field procedure. Do not add a universal clearance dimension or tie-down pattern from a different sprinkler manufacturer's installation. Those details belong to the approved assembly and site.
Use a single-position trial before repeating the order
Once the complete connection and operating case are documented, trial one representative position under the site's approved installation and startup method. Compare the delivered model code and nozzle marking with the order record before mounting anything. Follow the selected products' instructions for the seal, permitted tightening and pressure test. A thread that can be forced several turns is not a passed fit test; stop if alignment or resistance is wrong. An improvised washer or extra sealant must not be used to bridge an unidentified standard.
For the run, note the actual active heads, pressure measurement location, stable flow if measured, filter condition, weather and visible spray footprint. Look at the connection for seepage and movement from a safe position. A dry joint during a brief test is useful evidence for that assembly but does not establish the head's full pressure range, long-term support or uniform field coverage. Compare the trial with the prior accepted position or another documented reference, then retain the measurement and nozzle identity with the purchase record.
If several replacements are intended, calculate the revised group demand from their documented per-head values rather than multiplying an unmatched catalogue endpoint. Check the farthest and most demanding positions as well as the first easy-to-reach one. The sprinkler meter-reading guide can help keep a whole-block event total separate from an individual head's discharge. If the trial reveals low pressure, a support problem or poor overlap, resolve that cause before ordering the remaining quantity.
Order the head that passes both checks
Put the exact old riser model or port marking, confirmed thread and seal, required sprinkler inlet gender, candidate head code and nozzle on one page. Add the documented operating point, number of heads that will run together, accepted spray boundary and required support. Mark each field that remains unknown. The outcome can be “S2-1 candidate,” “S6-R candidate,” “neither candidate,” or “hold until the riser or duty is identified.” An adapter is a separate line only when its two interfaces and operating suitability are established.
Check the selected product page for the present sale unit, price, availability and delivery terms. Confirm whether the head includes any connection or mounting pieces needed at this position. If the page does not present a direct purchase option, contact Store support with the model code, riser photographs and missing fit or performance questions. Request the current route to obtain that exact item; do not order a visually similar 3/4-inch head merely because the fraction matches.
Keep the accepted model and installation record where the crew can find it. The next replacement should start from a proven riser interface and a measured operating case, not from the memory that the old head was “three-quarter inch.”
Before you order
Compare this guide with the specifications for your exact product, selected option, water supply and field conditions. Your equipment requirements take priority over a general example.
Compare irrigation products