Agricultural Irrigation Pipe: Compare Sizes, Pressure Classes and Order Quantities
Choose PE supply pipe by outside diameter, wall, PN, SDR, route length and matching connections, then build a complete shopping list.
Published by IrriNex Store
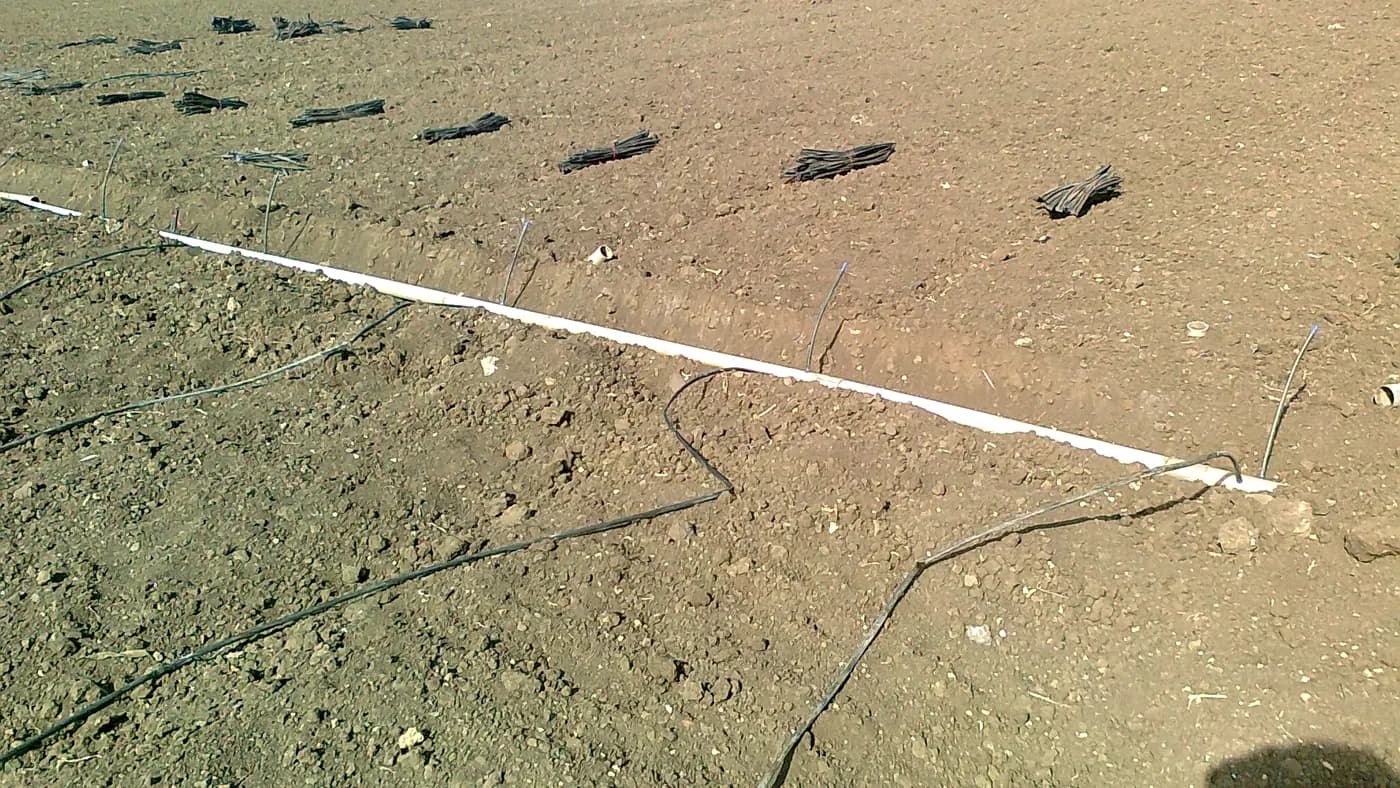
Agricultural irrigation pipe should be bought by its job, actual diameter, pressure class, wall specification and required length. A supply main feeding several crop blocks has a different job from blank tubing along a greenhouse bench. This buying guide focuses on those water-carrying pipes: how to compare the listed PE options, match valves and connectors, calculate an order and check the package before cutting anything. Keep your field sketch beside the product page so every selection answers a specific requirement.
Separate the mainline from the blank distribution tube
Label each route on your sketch. The mainline brings water from the head unit to one or more growing zones. A submain or header distributes that water to branches. Blank tubing carries water without factory-installed emitters; you choose where compatible outlets or take-offs are added. These names describe function, so a small blank tube can be a supply line for a modest bench without becoming suitable for a long farm main.
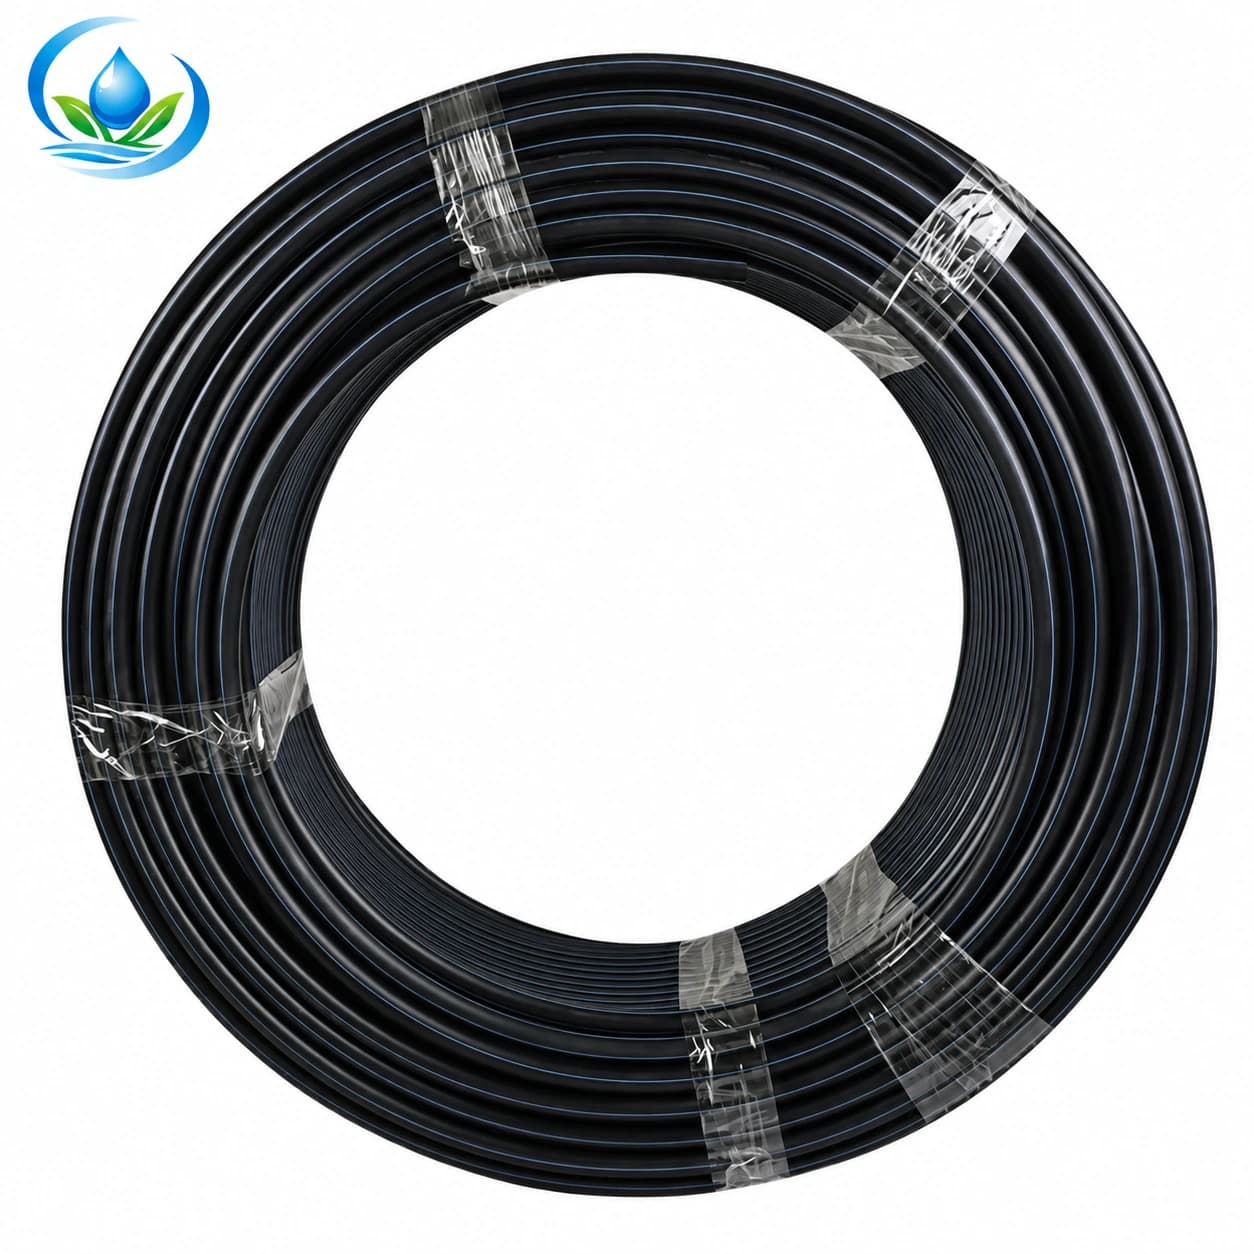
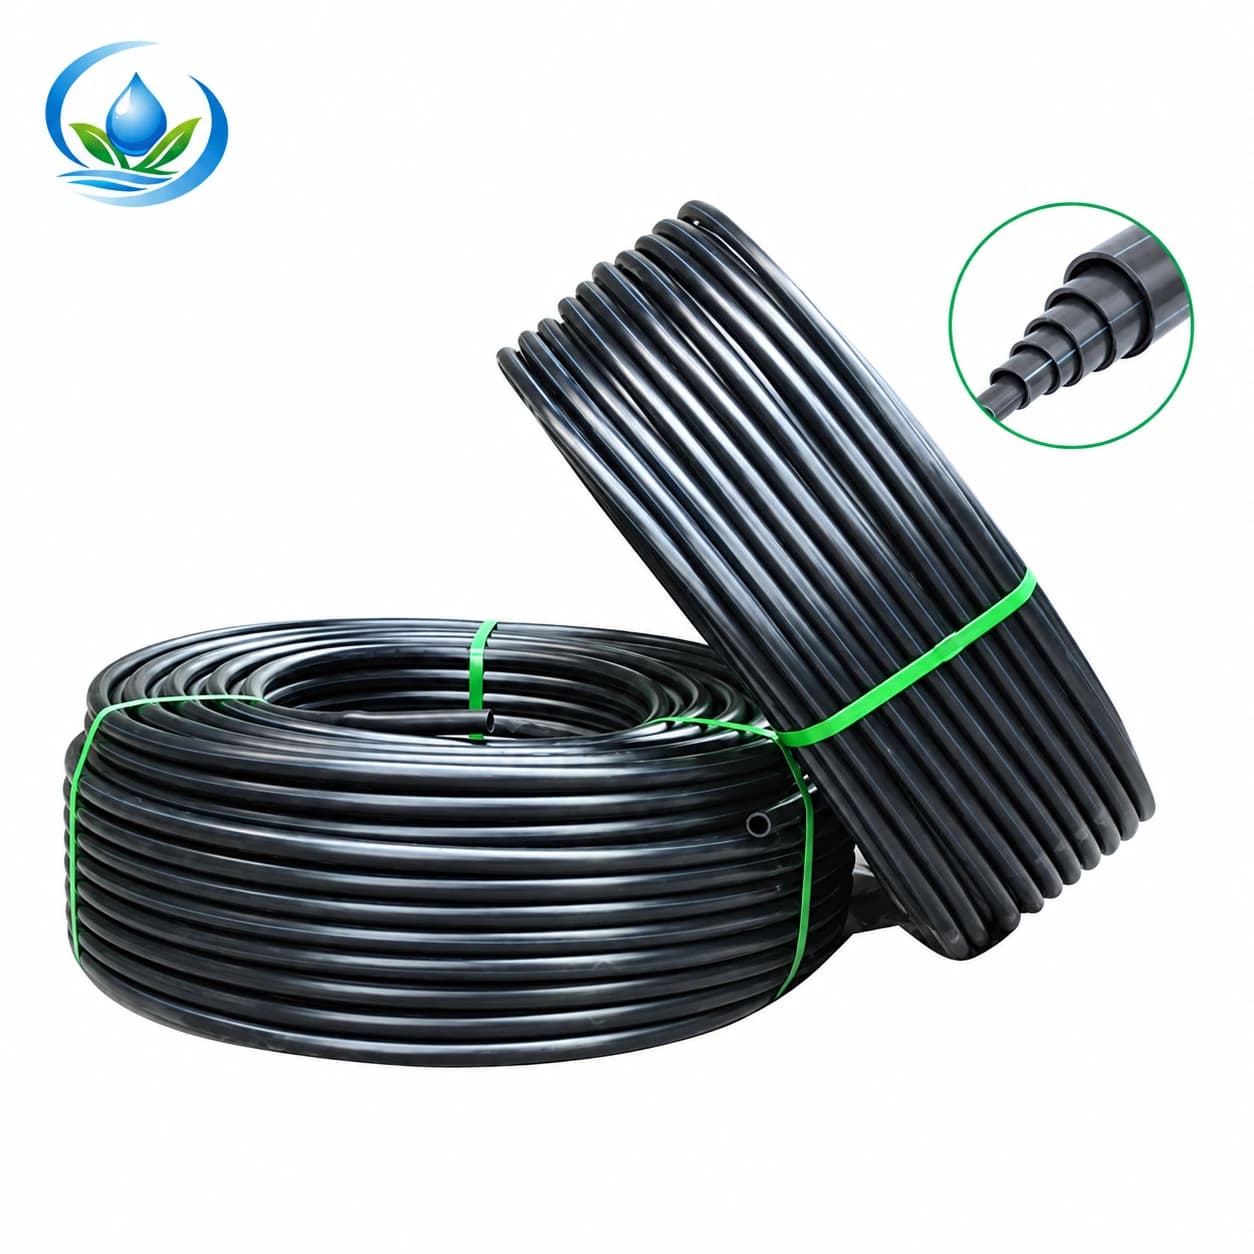
Start the larger supply comparison with PE irrigation mainline pipe. Compare blank PE distribution tubing for shorter branches and custom outlet positions. If your intended purchase already has emitters inside, use the separate drip tubing selection guide; emitter spacing is a different ordering decision.
Compare three store product routes by the information available
| Product route | Published information | Check before ordering |
|---|---|---|
| PE mainline pipe | 32–160 mm family with specific PE80 and PE100 pressure-class options | The selected OD, material, PN, SDR, wall and supplied length |
| Blank PE tubing | 16, 20 and 25 mm OD options with listed walls | Outlet connection, operating rating and roll length for that option |
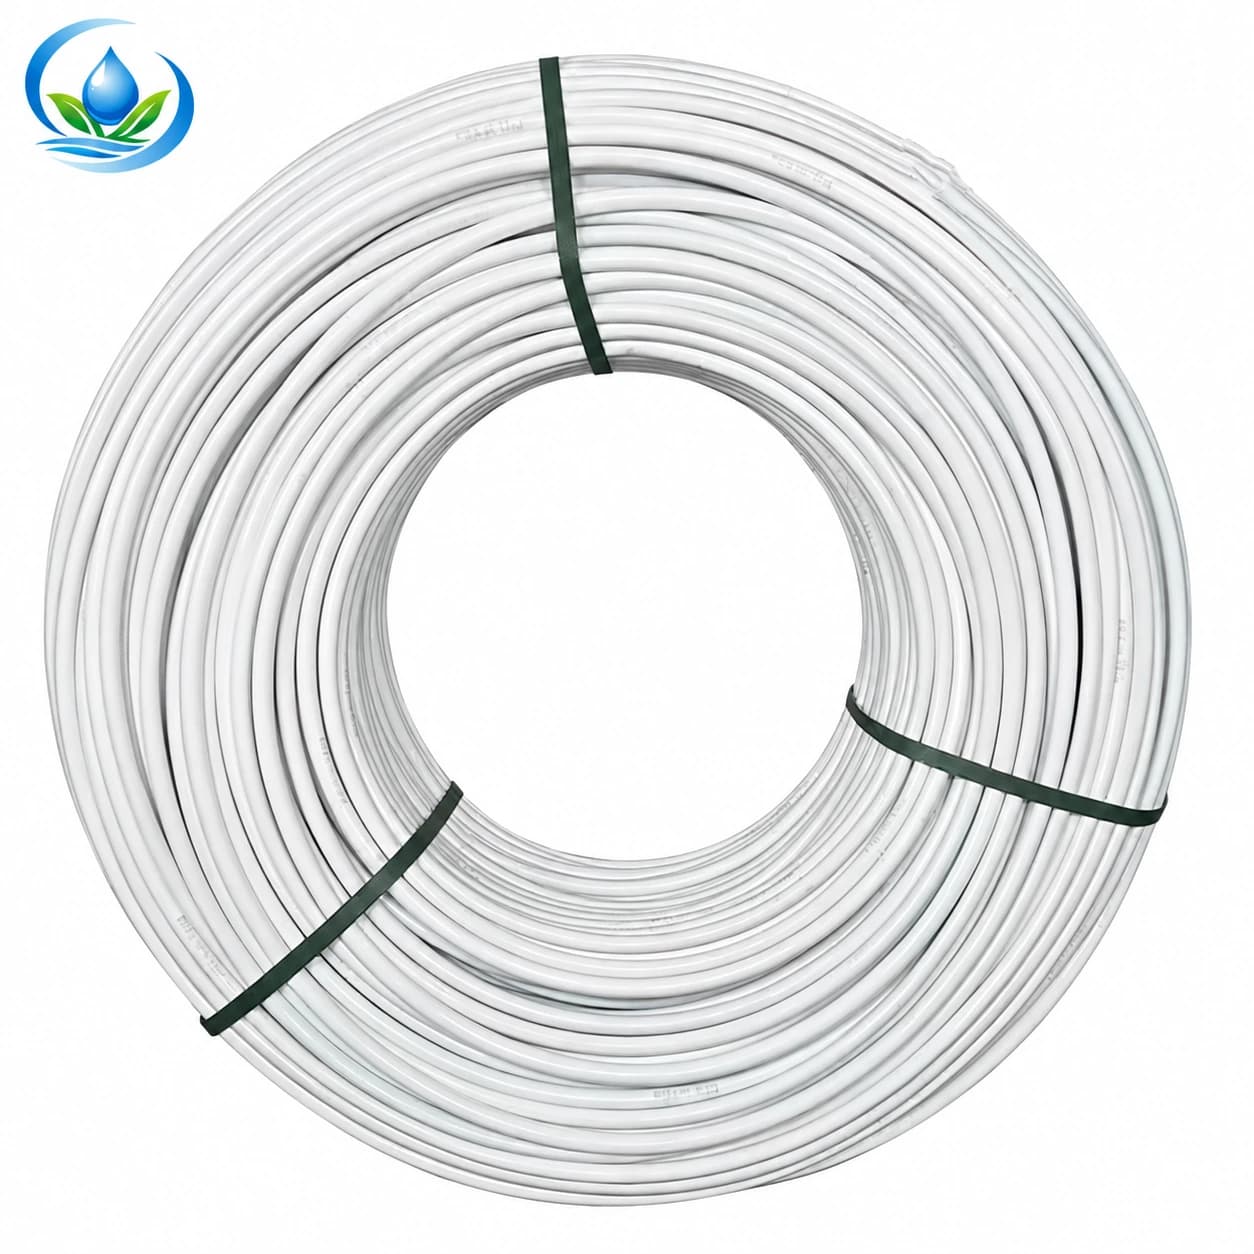
| White PE supply tubing | Blank greenhouse supply tubing; exact dimension and pressure fields need confirmation | Complete dimensional and operating data before choosing fittings |
The white PE greenhouse tubing offers another supply-tube format. Its colour can help identify a line, but it does not establish a pressure rating, a cooling benefit or compatibility with the black tube already installed. Where a selected option lacks a necessary specification, resolve that field before buying the accompanying connectors.
Read PE pipe outside diameter with wall thickness
Outside diameter, abbreviated OD, is the measurement across the outside of the pipe. Inside diameter, or ID, describes the water passage. A fitting may grip the outside, enter the inside or connect through a threaded adapter. Its dimensional requirement therefore depends on the connection mechanism. The word “32 mm” is useful only when both pipe and fitting use the same measurement convention. A PE irrigation pipe size selection should put diameter and wall data beside the actual length of each route, rather than treating the nominal size as sufficient.
For a simple dimensional estimate, inside diameter equals outside diameter minus twice the wall thickness. The listed 32 mm PE100 PN10 option has a 2.3 mm wall, giving an approximate 27.4 mm bore. A listed 32 mm PE100 PN16 option has a 3.0 mm wall, giving about 26.0 mm. Manufacturing tolerances still apply. This comparison explains why identical outside sizes can have different internal passages.
Use PE grade, PN and SDR as a complete specification
Do not compare a pressure label independently of the material and dimension. The store lists, for example, 32 mm PE80 PN10 SDR13.6 with a 2.4 mm wall, and 32 mm PE100 PN10 SDR17 with a 2.3 mm wall. These are separate catalogue options. Copy the entire option description into your order notes instead of shortening both to “32 mm PN10 pipe.”
SDR relates outside diameter to nominal wall thickness. PN identifies a nominal pressure class under the applicable product conditions; it is not the recommended pressure for downstream drip emitters. Temperature, service conditions and connection ratings need their own checks. A higher pressure class does not increase the available water pressure, and a thicker wall at the same OD can reduce the bore used in a flow calculation.
Calculate the flow that shares each pipe section
Write the actual zone sequence before comparing diameter choices. A common supply section must carry all branches operating through it at the same time. A branch serving one greenhouse bay carries only that bay's demand. Counting every outlet on the property as simultaneous can oversize the purchase; ignoring an allowed overlap between zones can undersize it.
Consider a purchasing example with four blocks, each requiring 600 litres per hour. If the operating schedule permits two blocks together, the shared supply calculation starts at 1,200 litres per hour. If all four may open, it starts at 2,400. These are example demands, not capacities assigned to any pipe. Use the flow-rate worksheet to establish your own numbers before selecting a model.
Include route length, elevation and fittings in the size comparison
A diameter cannot be selected from flow alone. Record the route length of each section, the rise or fall along it, and the fittings, valves and filters through which the water passes. A pipe that works over a short level route can lose too much pressure over a longer route with the same flow. The downstream equipment must still receive its required operating pressure.
Use the selected pipe's hydraulic data and actual internal dimensions to compare candidates. Keep the pressure available during flow separate from a static gauge reading. If the field will expand, describe the added flow and length explicitly. Buying one size larger without checking the new operating case is not a verified allowance for expansion.
Match compression, barbed and threaded connections separately
A compression fitting is generally selected against the pipe OD and the fitting's permitted pipe specification. A barbed connection depends on the accepted tube bore, wall and retention method. A threaded port has its own thread standard, nominal size and sealing arrangement. Sharing a number in the product title does not make these interfaces interchangeable.
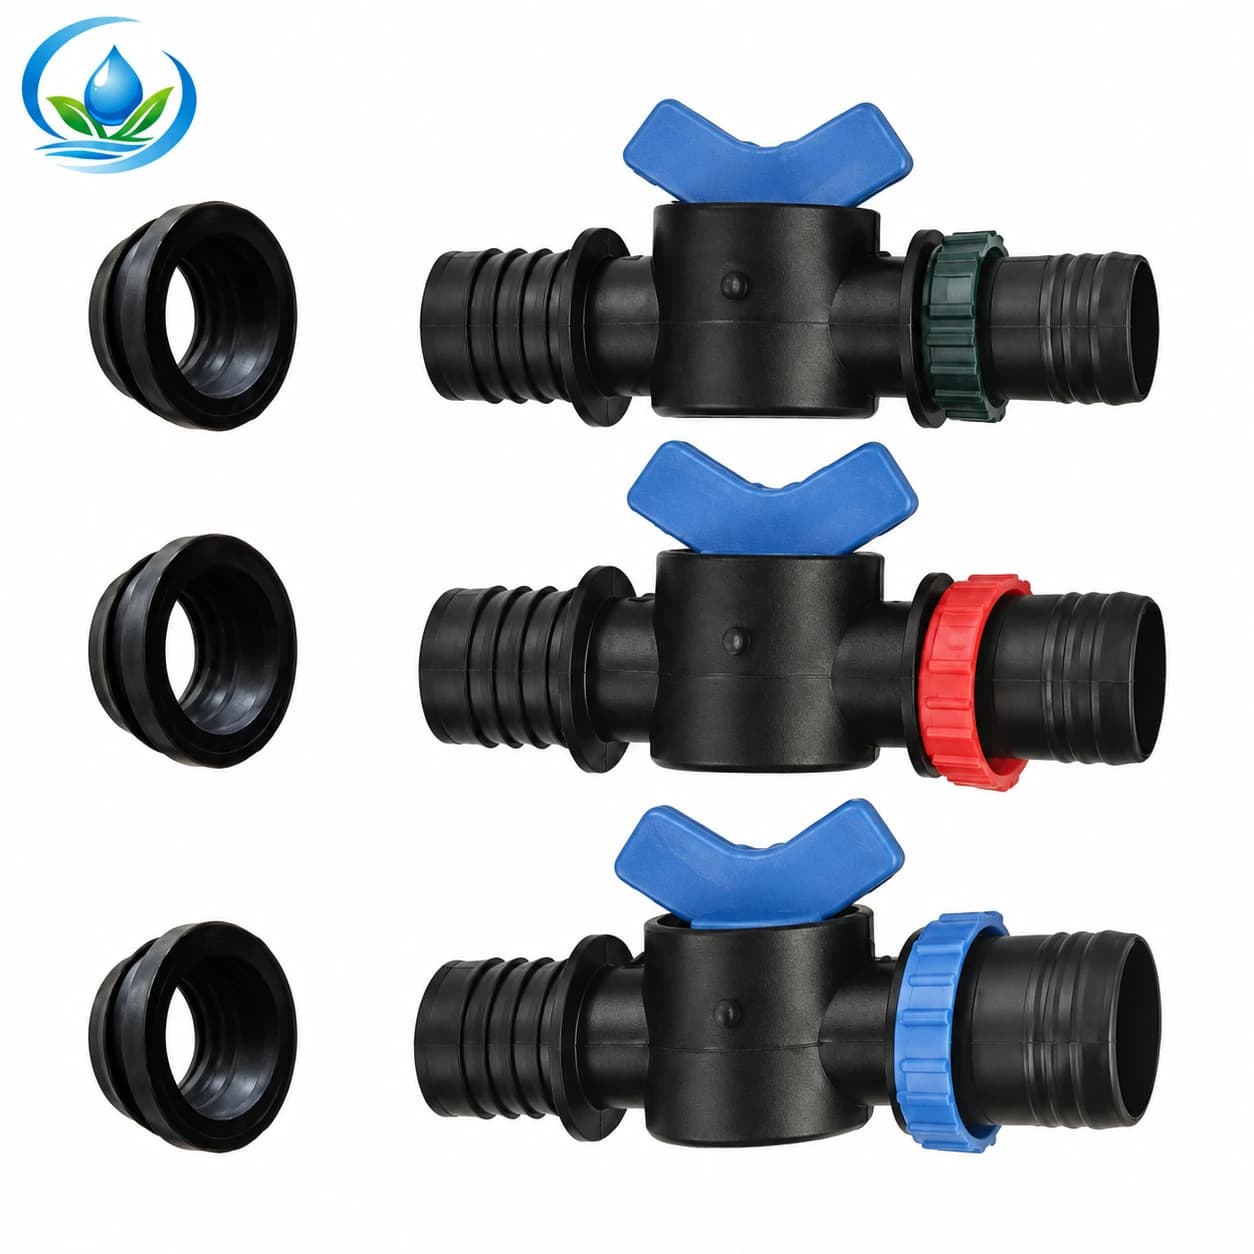
For shut-off points, compare the compression ball valve for PE pipe with the exact pipe OD, material suitability and pressure class. For a branch opening, examine the PE pipe take-off valve, including the opening and seal it requires. Do not treat a listed 25 mm take-off designation as proof that every 25 mm pipe accepts it without the correct interface.
Turn measured irrigation routes into a pipe cut list
Measure the installed route, including deliberate service loops, transitions and the space needed to reach connections. Separate mainline pipe from smaller tubing on the list. Then write every continuous cut length. Two layouts can require the same total metres but a different number of rolls because the cuts do not fit the available packages equally well.
For an illustrative order, suppose one route needs 68 metres and two branches need 26 metres each, all using the same approved pipe option. The total is 120 metres. If that option were supplied in 100-metre rolls, two rolls would provide enough stock. One feasible cutting plan is 68 plus 26 from the first roll, and 26 from the second. This example does not state a currently offered roll length; verify the selected package.
Count fittings from the drawing, including the ends
Give each connection a number on the sketch. Count straight joins, direction changes, branch points, diameter transitions, equipment adapters, isolation points and serviceable line ends. A three-port tee is one product, but it has three interfaces to verify. A threaded valve may require two pipe adapters and suitable seals even when it looks complete in the photograph.
For the example route with two separate branches, a first shopping worksheet might contain two branch assemblies, one supply transition, one isolation position and a closure or flushing provision at each terminating route. The final quantities depend on the actual topology and included parts. Record spares in a separate column so an optional repair allowance is not confused with the installation minimum.
Compare total delivered cost per usable route
Use the same specification and quantity basis when comparing carts. Check whether the price covers a metre, roll, straight length or package. Include the connection parts needed to make that option fit, along with delivery charges, handling and any tools required by the joint method. A lower pipe price can be offset by additional joins or costly transitions.
Longer packages may reduce joins but create storage, unloading or cutting difficulties. Shorter packages can simplify handling while adding connection locations. Keep unused offcuts in your comparison when they cannot serve another planned route. If a selected variant does not show a confirmed price or supplied length, do not calculate a supposed saving from the family heading.
Inspect the delivery before committing the cuts
Check package labels against the saved option description: product, OD, material, wall, pressure designation and length. Measure a suitable clean section using the correct tool and compare with the stated tolerance. Look for crushing, deep scoring, damaged ends or missing seals. Keep the labels with the installation record so replacement parts can be matched later.
Dry-check one intended connection according to its instructions before cutting the full order. Keep pipe interiors and unfinished ends clean. Leave enough access to operate valves and service connections. For buried or protected routes, complete the required assembly and pressure checks before access becomes difficult, using the equipment instructions appropriate to that installation.
Keep supply-pipe pressure separate from emitter pressure
A mainline pressure rating protects the selected supply component within its permitted conditions. It does not mean that every downstream branch, filter or emitter can accept the same pressure. The system is limited by the component ratings and the operating arrangement. A reducing connector changes connection size; it is not a pressure regulator.
Before closing the order, check where the supply connects to the crop-water equipment. Use the drip pressure checklist for the downstream requirement and keep that separate from your pipe's nominal pressure class. This prevents the expensive mistake of buying a strong mainline while leaving a weaker branch exposed to an unsuitable operating condition.
Save a complete shopping specification
Your final pipe entry should identify the selected product, outside diameter, material grade, pressure class, SDR or wall where specified, supplied length, package count and intended route. Each connecting product should name the pipe interface at both ends, the required seal or retention method and the number of units. Include the measured flow case and the hydraulic comparison with your records.
Choose the matching options on the product pages, verify the package contents and review the cart by numbered connection. Keep blank tubing, mainline pipe and any emitter-equipped laterals as separate entries. A complete order makes the first installation easier and gives you an exact reference when a branch needs extending or a damaged section needs replacing.
Before you order
Compare this guide with the specifications for your exact product, selected option, water supply and field conditions. Your equipment requirements take priority over a general example.
Compare irrigation products