Drip Tape Irrigation Kit: Build Your Own Eight-Row Shopping List
Compare tape variants, threaded row starts, repair valves, filters and end stops, then count the separate components for eight crop rows.
Published by IrriNex Store
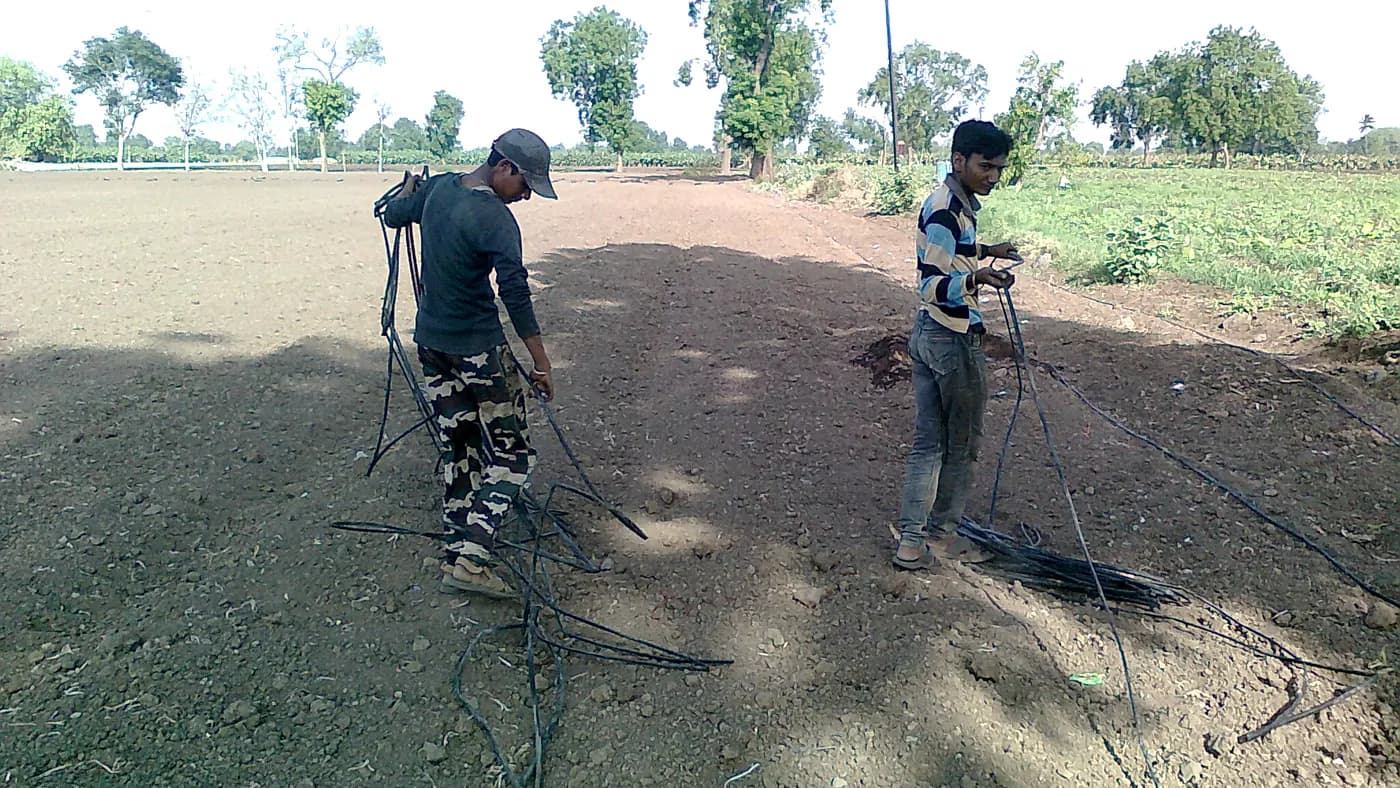
A drip tape irrigation kit should give you enough compatible parts to water the rows you actually plant. A large roll and a long list of fittings are only useful when the tape, row starts, filter, pressure control and water connection work together. Compare a kit by its complete contents and operating requirements before comparing the headline length or number of pieces.
This guide helps you build your own shopping list from individual IrriNex Store components. The products linked below are separate items; this article does not describe a prepacked kit containing them. Use the worked eight-row example to check quantities, then replace its measurements with your own. Any example flow is an assumption for arithmetic, not an unlisted specification of the tape.
1. Decide what the kit must include
Start at your existing water outlet and walk to the end of the most distant crop row. Write down every change of connection along the route. A useful list normally covers a supply adapter, suitable backflow protection where required, filtration, pressure control where needed, a distribution line, row starts, tape, end closures and a way to isolate the water. Add a timer only if automatic operation is part of your purchase.
A refill purchase is different from a first installation. If a serviceable header, filter and regulator already exist, you may only need replacement tape and matching ends. For a new vegetable plot, those same items would leave most of the supply connection unfinished. Put each component into one of three columns: already owned and checked, included in the chosen purchase, or still to buy.
Do not count an optional item pictured beside a kit as included. Read the selected configuration and package contents. A photograph can show alternative sizes, an installation example or an accessory sold separately. This matters especially for filters, timers, adapters, punches, seals and spare couplings.
2. Compare tape options using the complete variant
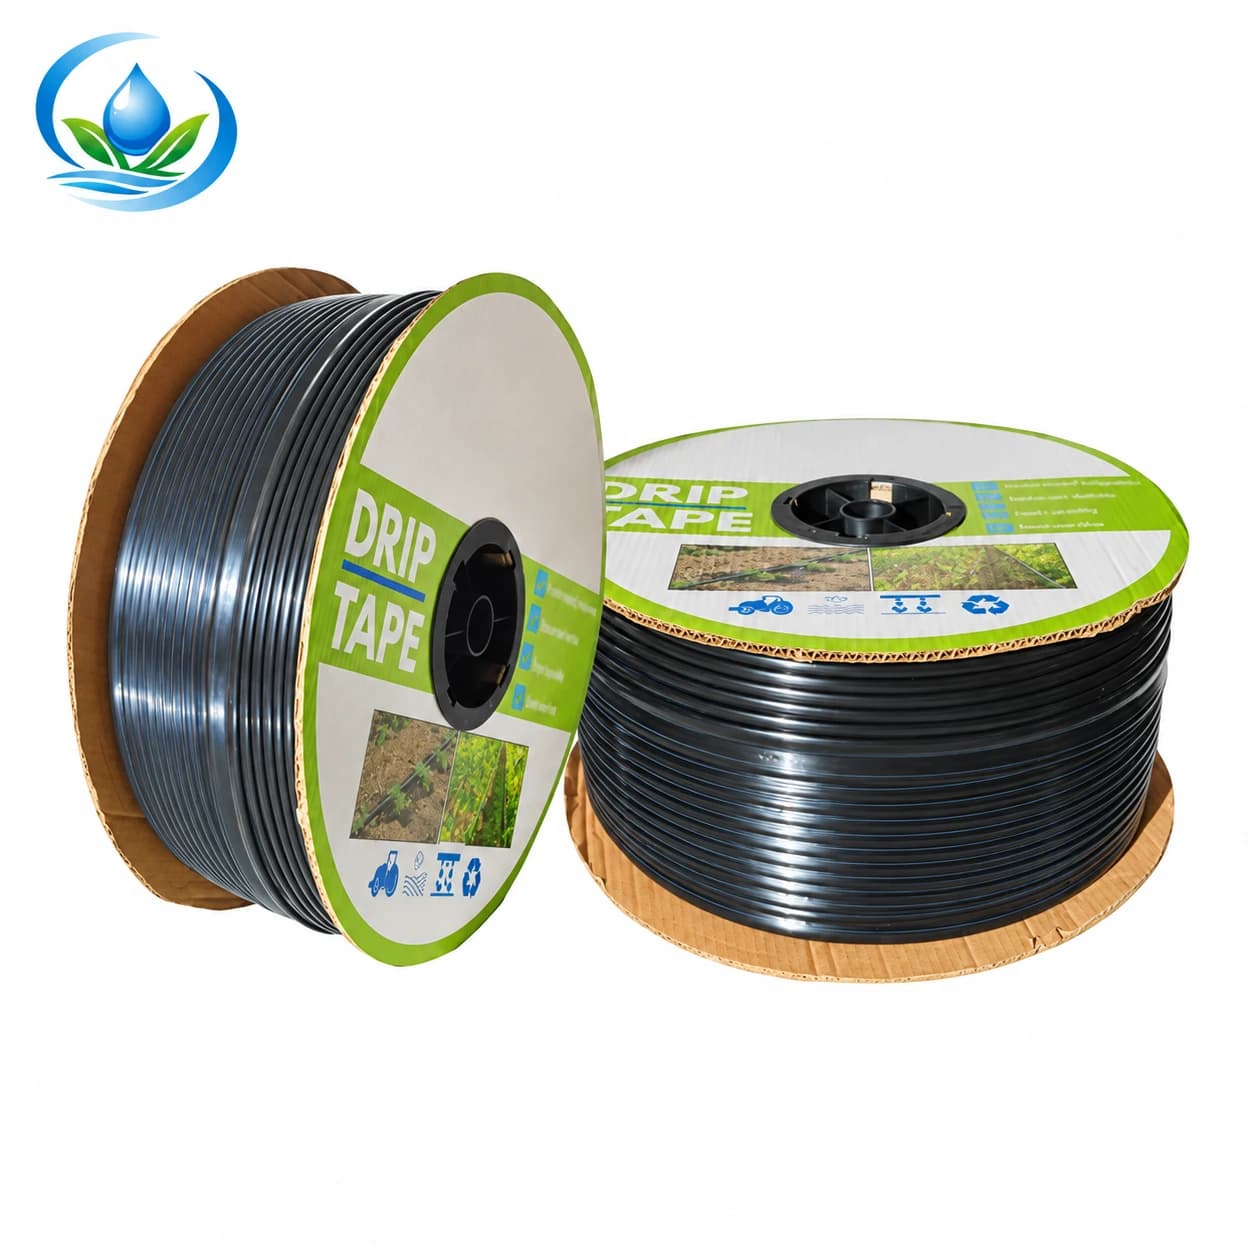
The flat-emitter drip tape for vegetable rows offers configurations that combine diameter, wall thickness, emitter spacing and roll length. Copy all four values into your shopping list. A family page can contain several combinations; it does not mean every diameter is available with every wall thickness or spacing.
For example, a listed configuration has a 16 mm diameter, 0.15 mm wall, 30 cm emitter spacing and a 3,000 m roll. That tells you how the product is configured, but it does not establish the permitted length of one row or the discharge of each emitter. The catalogue-derived option does not assign emitter flow to that row. Obtain the selected tape's flow and operating information before finalizing hydraulic compatibility.
Choose spacing from the crop arrangement and the wetting pattern you need. Choose wall thickness with handling, installation and removal in mind. A thicker wall is not a promise of a particular number of seasons. If a product uses mil, remember that one mil is 0.0254 mm; it is a thickness unit, not a millimetre abbreviation.
Do not buy additional punch-in drippers for tape whose emitters are already built in. Separate outlet components belong to different tubing arrangements. If you are still deciding between those formats, compare the drip tape category before selecting fittings.
3. Check both mating ends of every tape connection
A fitting labelled 16 mm does not automatically connect every product described as 16 mm. Tape retention depends on the connection design and the tape wall as well as nominal diameter. Read the exact fitting description and check the intended line type. Do not substitute a general barbed tubing connection solely because it looks close to the tape size. An eight-row drip tape irrigation kit parts list should count a compatible start and end for each actual lateral before optional repair stock is added.
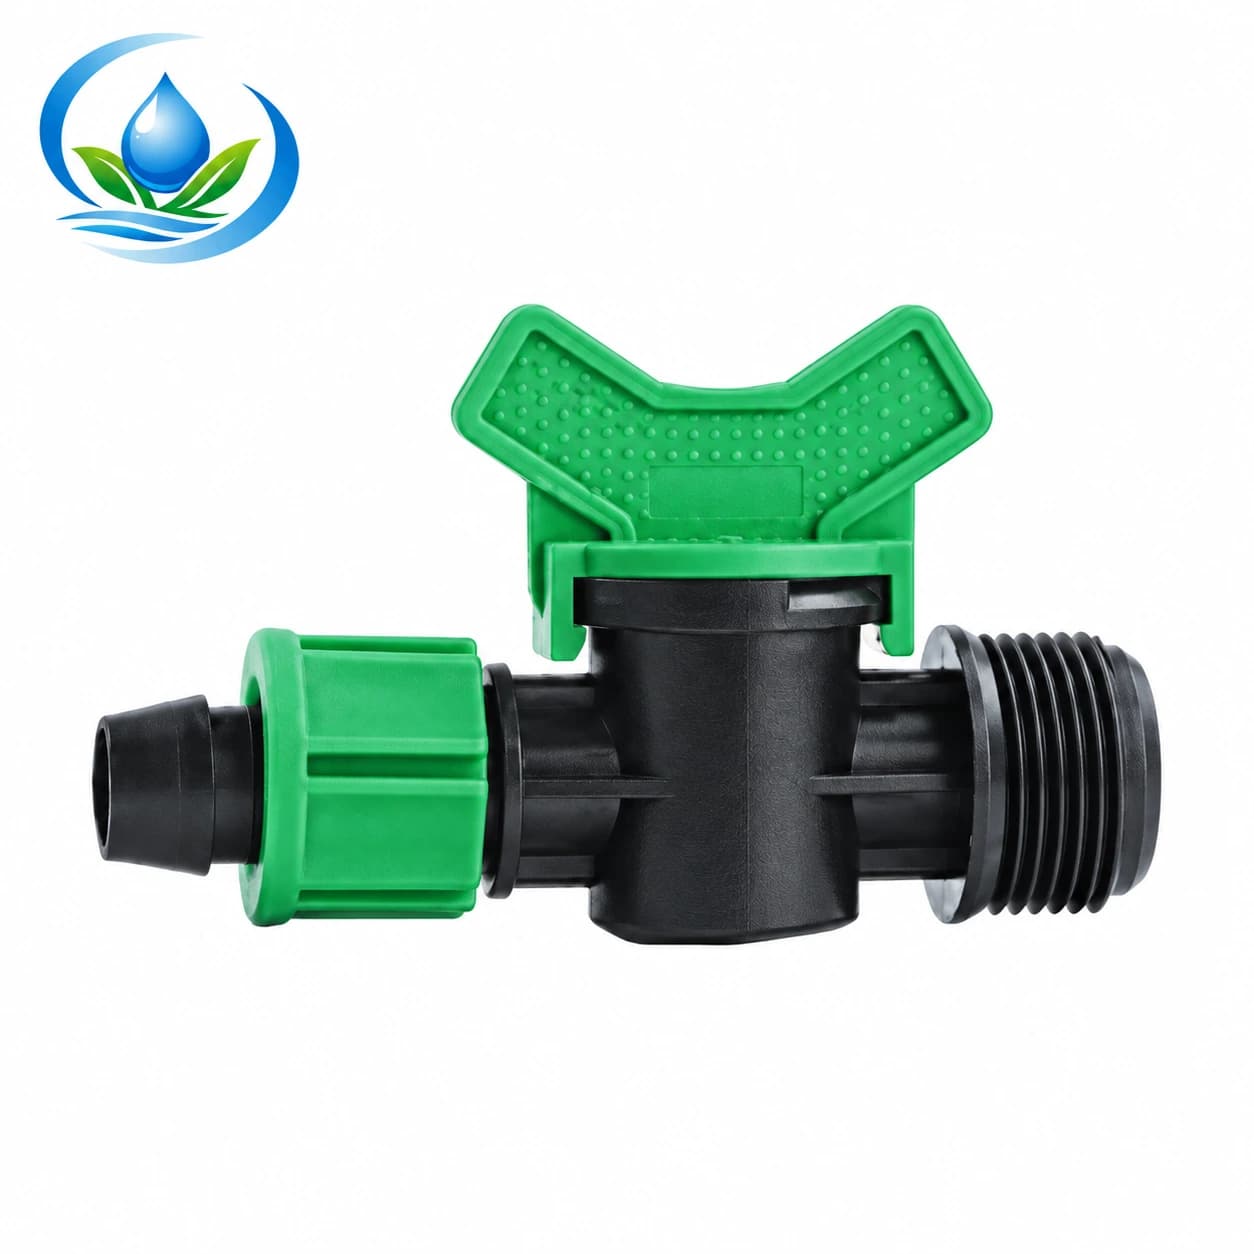
The male-thread drip tape start valve joins a compatible tape connection to a female-threaded supply outlet. Listed models include V16G at 16 mm × 1/2 inch and V16H at 16 mm × 3/4 inch. Choosing between them requires the thread size of your actual header outlet. The same tape end does not make the threaded ends interchangeable.
Check thread standard separately from thread diameter. A garden-hose outlet, a tapered pipe thread and a parallel pipe thread can require different mating parts and sealing methods. The catalogue size alone does not confirm the standard. Put the upstream port, adapter and downstream port beside one another on paper; every interface should have a known match before you order multiple pieces.
4. Separate row-start valves, repair valves and end stops
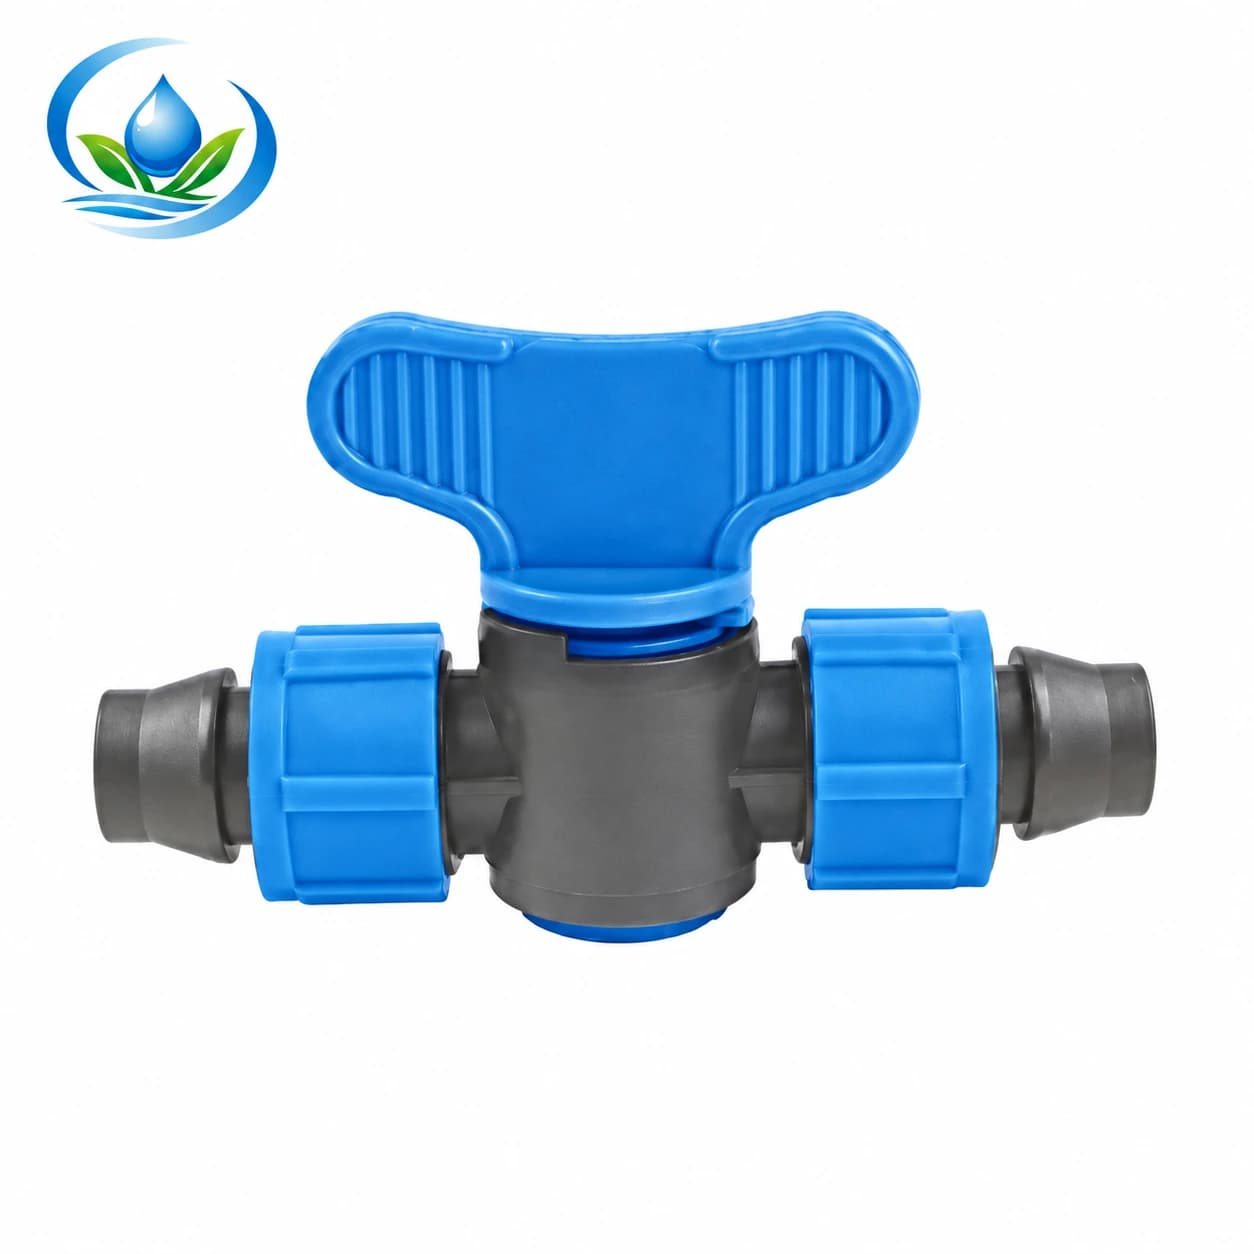
The 16 mm locking tape coupler valve has tape connections on both sides. Its V161 option is listed as 16 × 16 mm. Confirm the permitted tape wall range before using it to join sections and isolate the downstream line. It is a different purchase from a start valve with a male pipe thread.
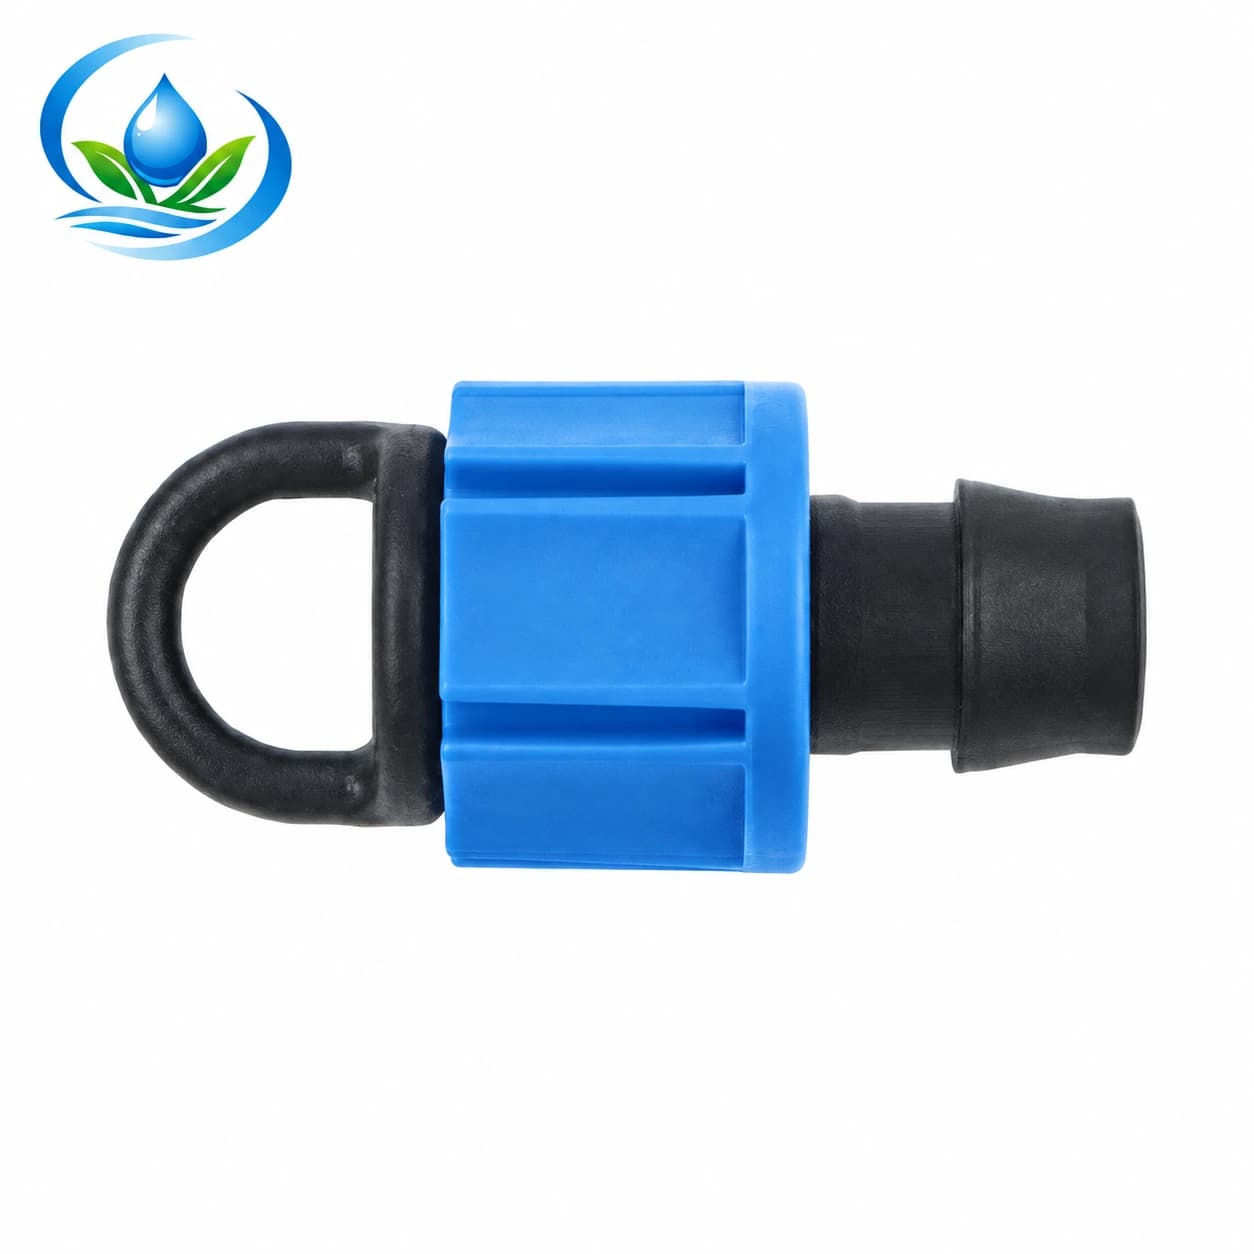
A lock-nut end stop closes a compatible open line end. The current family includes TP0117 at 16 mm and TP0120 at 20 mm. Select the model against the tape connection and leave the end accessible. A closure that can be reached and opened makes future flushing and inspection easier.
Count fittings by their jobs. One independent tape row fed from a header normally has one start and one terminal closure. A repair coupler is additional only where a join or repair is actually needed. Buying eight repair valves does not provide eight threaded row starts. Likewise, a small hole-repair plug does not replace the closure at an open tape end.
5. Test whether the water supply supports the basket
Buying enough tape establishes material quantity, not the number of rows that can run together. Total operating flow depends on the active tape length, emitter spacing and discharge at the specified pressure. Compare that demand with the water available at the installation while water is flowing. A pressure reading taken with everything closed cannot describe the full operating condition.
For an arithmetic example, assume eight rows of 25 m, emitters every 0.25 m, and a confirmed discharge of 1 L/h per emitter. Each row has approximately 100 emitters and needs 100 L/h. All eight rows need approximately 800 L/h, or 13.3 L/min. The exact outlet count depends on the starting position of the emitters. These assumed values do not specify the linked tape.
Four rows operated together would need approximately 400 L/h under the same assumptions. Dividing watering into two groups changes operating demand but leaves the total tape and row-end quantities unchanged. Also check the selected regulator's minimum flow: adding a large regulator to a very small active group can create another mismatch.
6. Include filtration and pressure control in the comparison
The compact irrigation screen filter includes the F25YS option with a 3/4-inch connection and the F32YS option with a 1-inch connection. Both listed options specify 120 mesh. Choose a screen grade that satisfies the selected emitter's requirement and assess whether the water needs additional treatment. A nominal connection size cannot establish suitability for every water source.
The catalogue lists maximum flow as 5 m³/h for F25YS and 6 m³/h for F32YS, with an 8 bar maximum pressure for these filter options. Those are filter limits; they do not authorize applying 8 bar to drip tape or guarantee low pressure loss at maximum flow. Compare the whole assembly at the operating flow, including the filter, adapters and distribution pipe.
A filter removes suitable particles; a regulator manages downstream pressure within its operating conditions. A manual row valve primarily opens or closes that row. Treat these as separate shopping-list functions. Confirm the pressure requirements of the tape variant, the regulator's operating range and any inlet-pressure requirement. Leave space to service the filter without dismantling the row connections.
7. Count tape, row starts and ends for eight crop rows
Consider eight straight rows, each 25 m long, with one tape line per row and 0.5 m of additional tape per line for accessible connections and termination. The tape requirement is 8 × 25.5 m = 204 m. If you deliberately allow 10% extra for cutting and future repairs, the planning quantity becomes 224.4 m. That allowance is your choice, not a universal installation rule.
| Purchase line | Example quantity | What still needs checking |
|---|---|---|
| Tape | 204 m before optional allowance | Selected roll length, spacing, wall and flow |
| Row starts | 8 | Tape connection and header port |
| End stops | 8 | Selected tape compatibility |
| Repair couplers | Only planned joins plus chosen spares | Both ends and whether isolation is needed |
| Header and supply line | Measured route length | Operating flow, diameter and fittings |
| Filter and pressure control | As required by the chosen layout | Water quality and active-group demand |
A 3,000 m roll would contain much more tape than this small example consumes. Compare the available roll with your real total across all blocks and future replacements. Do not purchase it on the assumption that the store supplies a 224.4 m cut length. A long leftover does not compensate for missing starts or the wrong threaded adapter.
8. Compare complete cost and practical options
Use a complete basket for price comparisons. Include the fittings necessary to connect the water source, any missing filter or regulator, header length, closures, delivery and the spares you actually want. Compare the selected sale unit: one fitting, a pack of fittings and a roll are different quantities. A low price beside an unselected family should not be treated as the final price of your chosen variant.
Optional row-start valves can be useful when different crops finish at different times. Spare tape and compatible couplers may be more useful than a timer if your immediate concern is cultivation damage. Conversely, a timer may matter when you cannot open the supply manually at the required time. Rank these choices by the job they save you, then check that each optional part fits the same operating conditions.
Future expansion deserves its own line in the comparison. Buying more tape now does not reserve water flow, regulator capacity or header capacity. Keep the first basket sized for a workable layout and record what a second block would require before treating spare roll length as ready expansion.
9. Check the delivery before cutting the roll
Lay out the delivered components and match them to the order. Check tape labels, roll length, wall thickness, emitter spacing, fitting model codes, thread descriptions and quantities. Keep labels or photographs with the purchase record. If two visually similar parts have different model numbers, resolve the difference before mixing them into one tray.
Assemble a short, accessible sample using the intended tape and connections, following their installation instructions. Check that the tape seats correctly and the retention mechanism works without improvised packing. Flush loose debris before closing row ends, introduce water gradually and inspect the joints. Do not leave a first test unattended.
During the first complete watering run, inspect the nearest and farthest rows and the soil around the crops. A correct shopping list makes assembly possible; operating checks confirm that the purchased parts work in your particular layout. Keep a record of the active row group, pressure readings and any changes so later replacements start from known information.
10. Your final checklist before adding items to the cart
Save one list that states the tape variant, measured length, active-row flow, header type, row-start model, end-stop model, required treatment and supply adapter. Mark optional accessories separately so they do not hide an essential missing connection. Check that the selected variants remain available and that their package quantities match your count.
Begin with the tape and its confirmed operating information, then match starts and closures, then finish the supply assembly. That order gives you a practical way to compare a drip tape irrigation kit with individually purchased components. You can see which parts are included, which parts fit and how many rows the final purchase is intended to serve.
Before you order
Compare this guide with the specifications for your exact product, selected option, water supply and field conditions. Your equipment requirements take priority over a general example.
Compare irrigation products