
Tree Drip Irrigation System: Buy Parts for Orchard Rings and Twin Lines
Compare extra emitters, dripline rings and two lines per orchard row. Count retained parts, new tubing, connections and added flow before buying.
Published by IrriNex Store
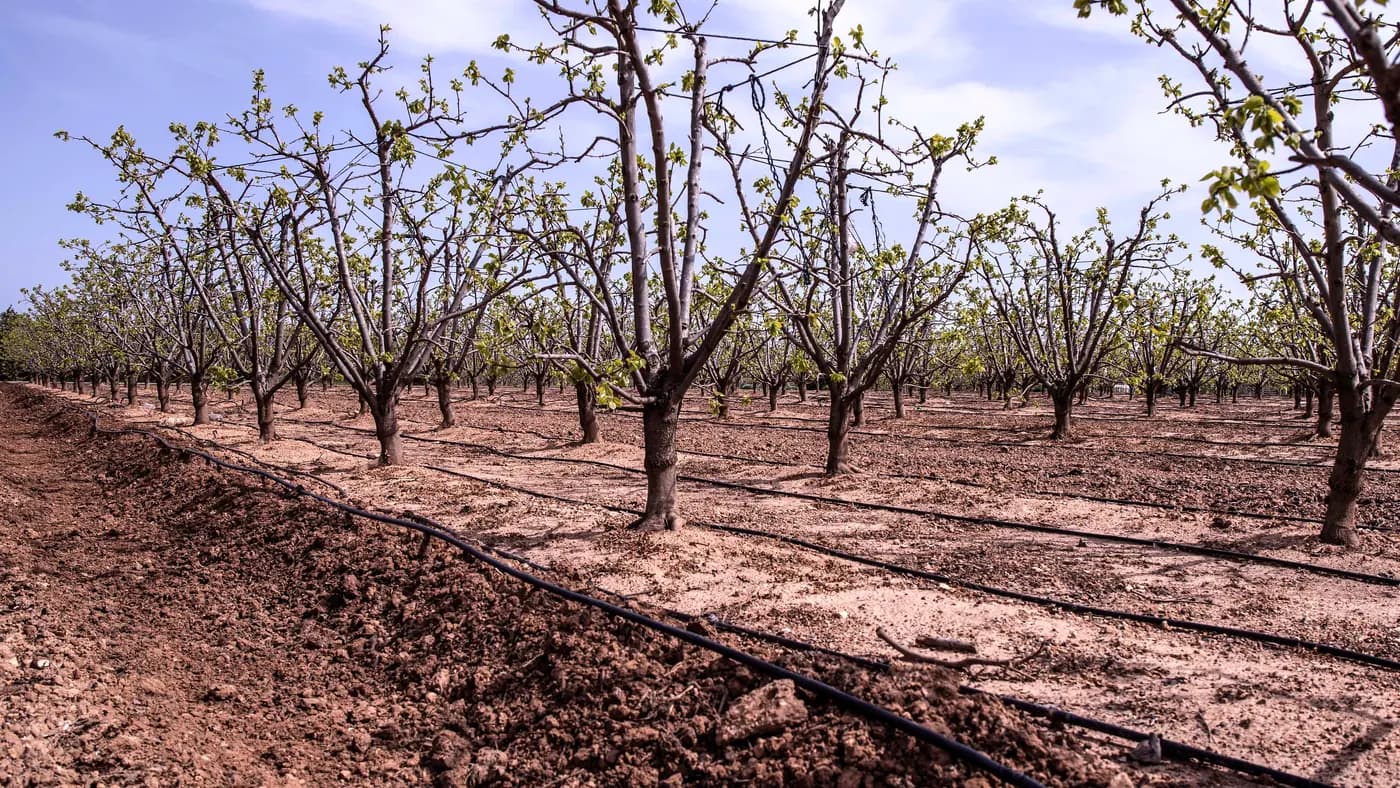
A tree drip irrigation system for a working orchard should be easy to extend as the planted area and the trees change. Before buying more outlets, decide whether your next purchase should add individual watering points, enlarge a dripline ring or create a second line along the tree row. Those choices change the wetted pattern, tubing quantity, connections and operating flow in different ways.
This guide is a component-shopping checklist for orchard upgrades. It compares current IrriNex Store options and uses clearly labelled examples to count materials. The example dimensions and emitter counts are not watering prescriptions for a particular fruit species, soil or tree age. Choose the intended wetted area from your crop needs and field observations, then use the calculations to turn that choice into a complete basket.
Record what the orchard needs before replacing its outlets
Mark each tree, existing lateral, working outlet and damaged connection on a simple row sketch. Distinguish young replacement trees from established trees sharing the same row. Their irrigation needs may differ, so copying one outlet arrangement to every tree can hide a problem instead of solving it.
Run the existing section and observe where water is actually delivered. A larger tree beside a small wet patch presents a different purchase question from a tree beside a blocked emitter. In the first case, you may need a different distribution arrangement; in the second, cleaning or replacing a failed part may restore the intended system. Increasing flow does not automatically spread water to a new location.
Record distances from the supply line to the intended outlets, obstacles around trunks, cultivation routes and access for harvesting. Avoid measuring tubing as a taut straight line if its real route bends around supports or equipment. Leave service access in the layout without wrapping tubing tightly around a trunk.
Keep a separate list of reusable parts. An existing connector is reusable only if its condition, dimensions and intended connection match the upgrade. Count a visibly cracked microtube as a replacement, not as available material. This first inventory prevents a larger order from arriving with the same missing connections as the original system.
Compare orchard point emitters, rings and twin row lines
Individual point emitters let you choose particular watering locations around a tree. They can suit an upgrade where positions differ from tree to tree. The purchase includes each additional emitter and any compatible distribution tube, connector or support needed to reach it. More points also create more small connections to inspect. An orchard drip irrigation upgrade should count only the fittings and tube lengths added by the selected ring or twin-line layout.
A ring made from dripline distributes built-in outlets along a curved route. It can make quantities easier to measure around separated trees, but the chosen radius, emitter spacing, connection arrangement and actual soil wetting still matter. A ring is not automatically a complete wetted circle, and a coil cannot be tightened beyond the tubing's permitted bend without risking a kink.
Two dripline runs along a tree row can place outlets on both sides of the planting route. Count both lengths, both supply connections and every open end. This arrangement differs from a separate ring at each tree, especially when the space between trees is large. Emitters between trees remain active and contribute to total flow even when their immediate location is not beside a trunk.
| Upgrade route | What you count | What to observe first |
|---|---|---|
| Extra point emitters | New points, feed lengths and individual connections | Whether chosen locations improve the intended wetting pattern |
| Dripline rings | Each circumference, leads, branch fittings and closures | Radius, bend allowance and actual outlet positions |
| Two lines per row | Both runs, supply ends and terminal ends | Tree spacing, inter-tree outlets and working access |
Select the exact emitter or dripline configuration
The pressure-compensating emitter family includes model TANDPCD04 at 4 L/h and TANDPCD08 at 8 L/h. These are two flow options in the same product listing. Their nominal discharge values allow a basket-flow comparison. Confirm the operating-pressure range and filtration requirement for the selected model before matching it to the existing supply.
Four nominal 4 L/h points and two nominal 8 L/h points both total 16 L/h per tree under suitable operating conditions. They do not create the same number of wetting locations. Choose the positions and distribution first; do not replace four needed positions with two higher-flow emitters simply to preserve the arithmetic total.
The dripline with built-in emitters includes a verified option of 16 mm diameter, 0.8 mm wall, 50 cm outlet spacing, 2 L/h discharge and a 500 m roll. Its option SKU is IS-3-B2F5D4726C. Other spacing and discharge options are listed, so retain the whole configuration when comparing an order. Do not assume this dripline has pressure-compensating emitters merely because separate PC emitters are also sold in the store.
Match the connecting tube and fittings before counting packs
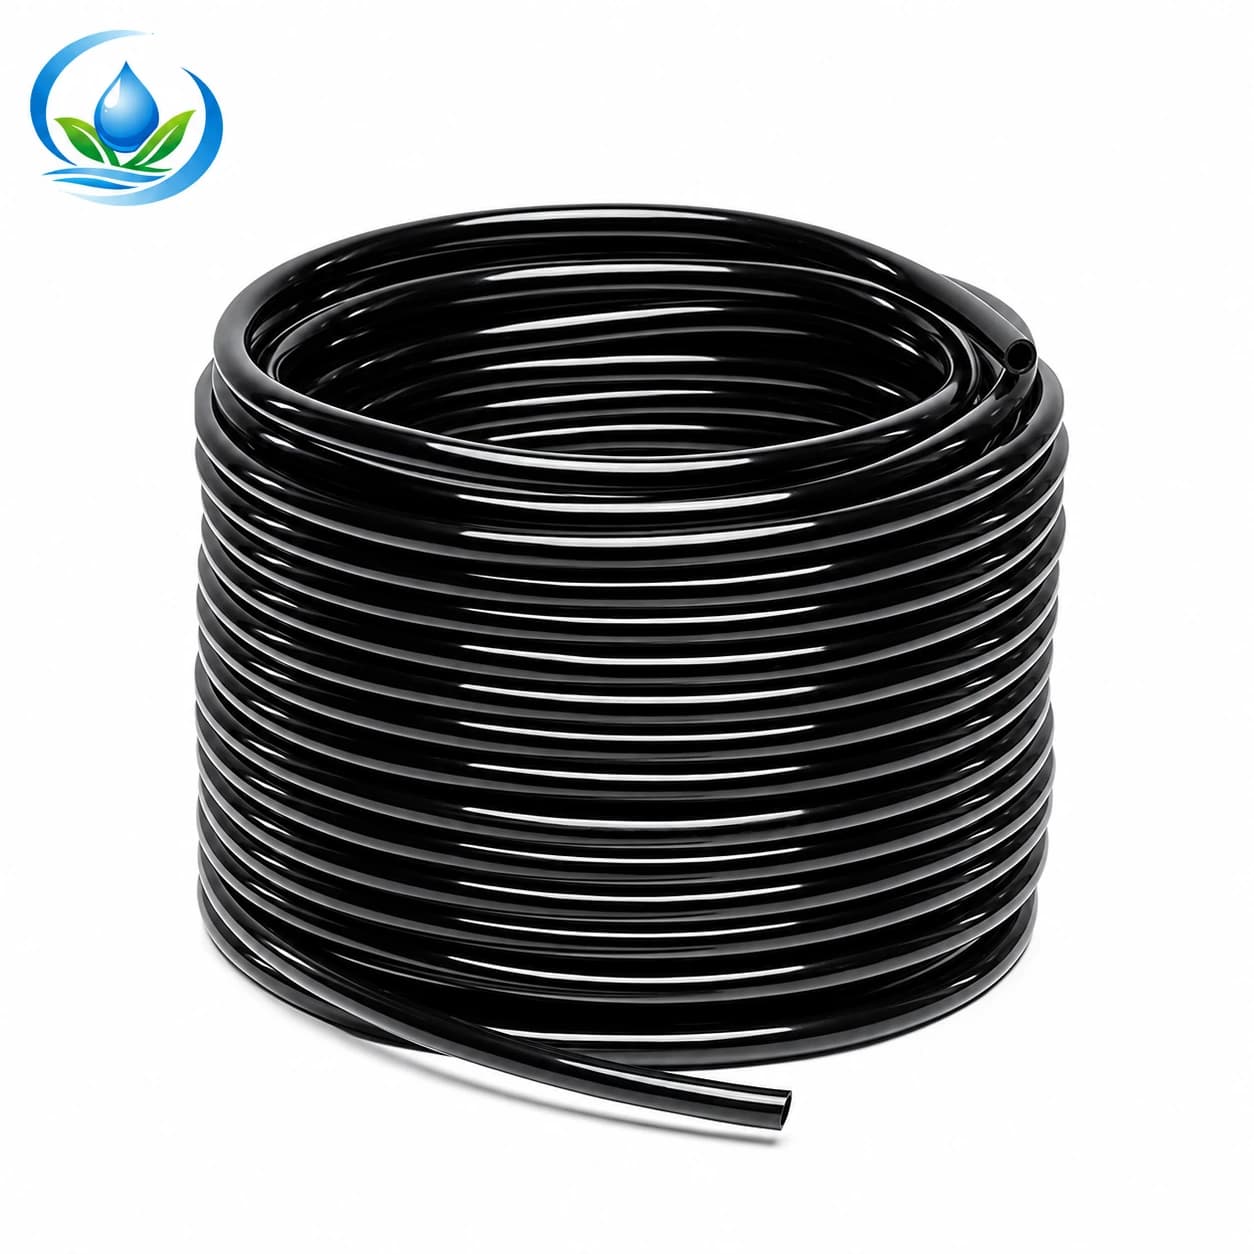
The micro distribution tubing offers 3 mm inside diameter × 5 mm outside diameter and 4 mm inside diameter × 7 mm outside diameter. The inside and outside figures are different measurements. A “5 mm tube” family description does not establish that a 5 mm barb fits its bore.
Check the emitter's intended inlet and, where relevant, its outlet connection. Decide whether the point will mount directly on a suitable lateral or be fed through a compatible short distribution tube. These can require different accessories. Do not select a punch-hole diameter from the microtube's outside diameter or assume every small emitter uses an identical mounting hole.
For dripline rings or twin runs, match fittings to the actual 16 mm tube and its wall/retention system. Include the junction to the existing supply separately. Plan accessible flushing ends or a documented flushing arrangement for a closed loop. A circular drawing does not show how trapped installation debris will leave the line.
Keep separate bags or labels for the different connection families. A fitting that worked on thin-wall tape elsewhere on the farm is not automatically correct for heavier dripline. Complete one compatible sample before buying a large number of identical connectors.
Measure ring and twin-line routes before counting added parts
For an arithmetic example, suppose twelve tree positions each need a ring with a chosen radius of 0.75 m. Circumference is 2 × π × radius, so each ring uses approximately 4.71 m of dripline. Twelve rings use approximately 56.55 m before leads, fitting allowances, open flush tails or chosen spares. The radius is an example measurement, not a recommendation for all orchard trees.
At 50 cm spacing, a 4.71 m segment contains roughly nine or ten emitters depending on where it is cut relative to the built-in outlets. Count the actual outlets after laying out a sample. With a nominal 2 L/h outlet, that example segment represents about 18–20 L/h. Include any emitters present in connecting leads when calculating the final load.
Alternatively, twelve trees at an assumed 3 m spacing create 33 m between the first and last tree. Two straight runs covering that distance require 66 m before extra length at the ends and supply. At 50 cm spacing this corresponds to roughly 132 outlets in total, with the exact count depending on the cuts. At 2 L/h each, the approximate demand is 264 L/h before any additional emitting length.
These are different purchase layouts, not equivalent watering prescriptions. Compare the actual wetting needed between and around trees before choosing the shorter material total. Also compare the 500 m sale unit with your farm-wide requirement; this example does not imply that the store sells a 56.55 m cut length.
Count only the additional pieces in a point-emitter upgrade
Consider a separate upgrade example: twelve trees currently have two serviceable 4 L/h emitters each, and your observed watering plan calls for four positions per tree. The completed arrangement has 48 emitters. If all 24 existing emitters are suitable and retained, the purchase requires 24 additional emitters, plus the connections and feed lengths for their new positions.
| Shopping item | Example quantity | Check before ordering |
|---|---|---|
| Additional 4 L/h emitters | 24, if 24 existing units are retained | Same intended operation and compatible mounting |
| Microtube | Sum of measured new feed routes | Selected ID/OD and permitted feed arrangement |
| Connectors and supports | Count each new connection/location | Included versus separately required items |
| Damaged existing parts | From inspection, in addition to expansion | Correct replacement model |
| Filter or pressure-control changes | Only when the revised operation requires them | Water quality, active flow and operating range |
The original 24 emitters total 96 L/h nominally; 48 total 192 L/h. A later increase to six points per tree would total 72 emitters and 288 L/h. These totals describe outlet capacity, not the amount of water a tree needs daily. A one-hour run at 16 L/h nominally applies 16 litres per tree, but the appropriate runtime depends on the orchard and must be checked separately.
Check the whole active section before placing the order
Add the new demand to every other outlet that operates at the same time. An existing valve or header sized for the original layout may need review after adding rings or a second row line. Test available flow and pressure under operation; extra roll length does not provide extra water capacity.
Pressure compensation operates within the emitter's specified conditions. It does not cure a blocked filter, replace a regulator, guarantee uniform delivery below its minimum pressure or prove that the emitter prevents drainage after shutdown. Those are separate features or operating questions. Avoid adding such claims to a purchase merely because the model title includes PC.
Check the current filter against the selected emitters and the actual water source. A new outlet can be incompatible with existing filtration even if its connection fits. Where several ages or crop groups share a valve, review whether the intended schedule can serve them together. Separate operation may be more useful than buying a larger emitter for every tree.
Inspect the upgrade and keep a record for the next season
Match delivery labels to the order before cutting tubing or making holes. Confirm emitter model, dripline spacing, nominal discharge, tube dimensions and sale quantity. Keep one labelled spare from the chosen configuration. Similar body colours or a nearby flow label are not sufficient to identify a replacement later.
Install one accessible sample according to the selected parts' instructions. Flush loose debris through the intended outlets, then close the relevant ends and introduce water gradually. Check the near and far tree positions, connections and places where tubing bends. Observe actual delivery over the same measured interval when comparing outlets.
Inspect soil wetting after a complete trial run. A dry area may indicate positioning, inadequate runtime, a blocked outlet or a supply limitation; it does not automatically call for a larger emitter. Resolve the observed cause before repeating the upgrade throughout the block. Recheck after moving rings or adding the second lateral because both changes alter the system you originally tested.
Save the row sketch, retained-part count and selected model details. Use the emitter catalogue for identified replacement points and the inline dripline category when extending rings or twin runs. Compare actual options and package contents at purchase time. A clear upgrade list gives the orchard the additional distribution you intended without counting existing pieces twice or overlooking the new flow demand.
Before you order
Compare this guide with the specifications for your exact product, selected option, water supply and field conditions. Your equipment requirements take priority over a general example.
Compare irrigation products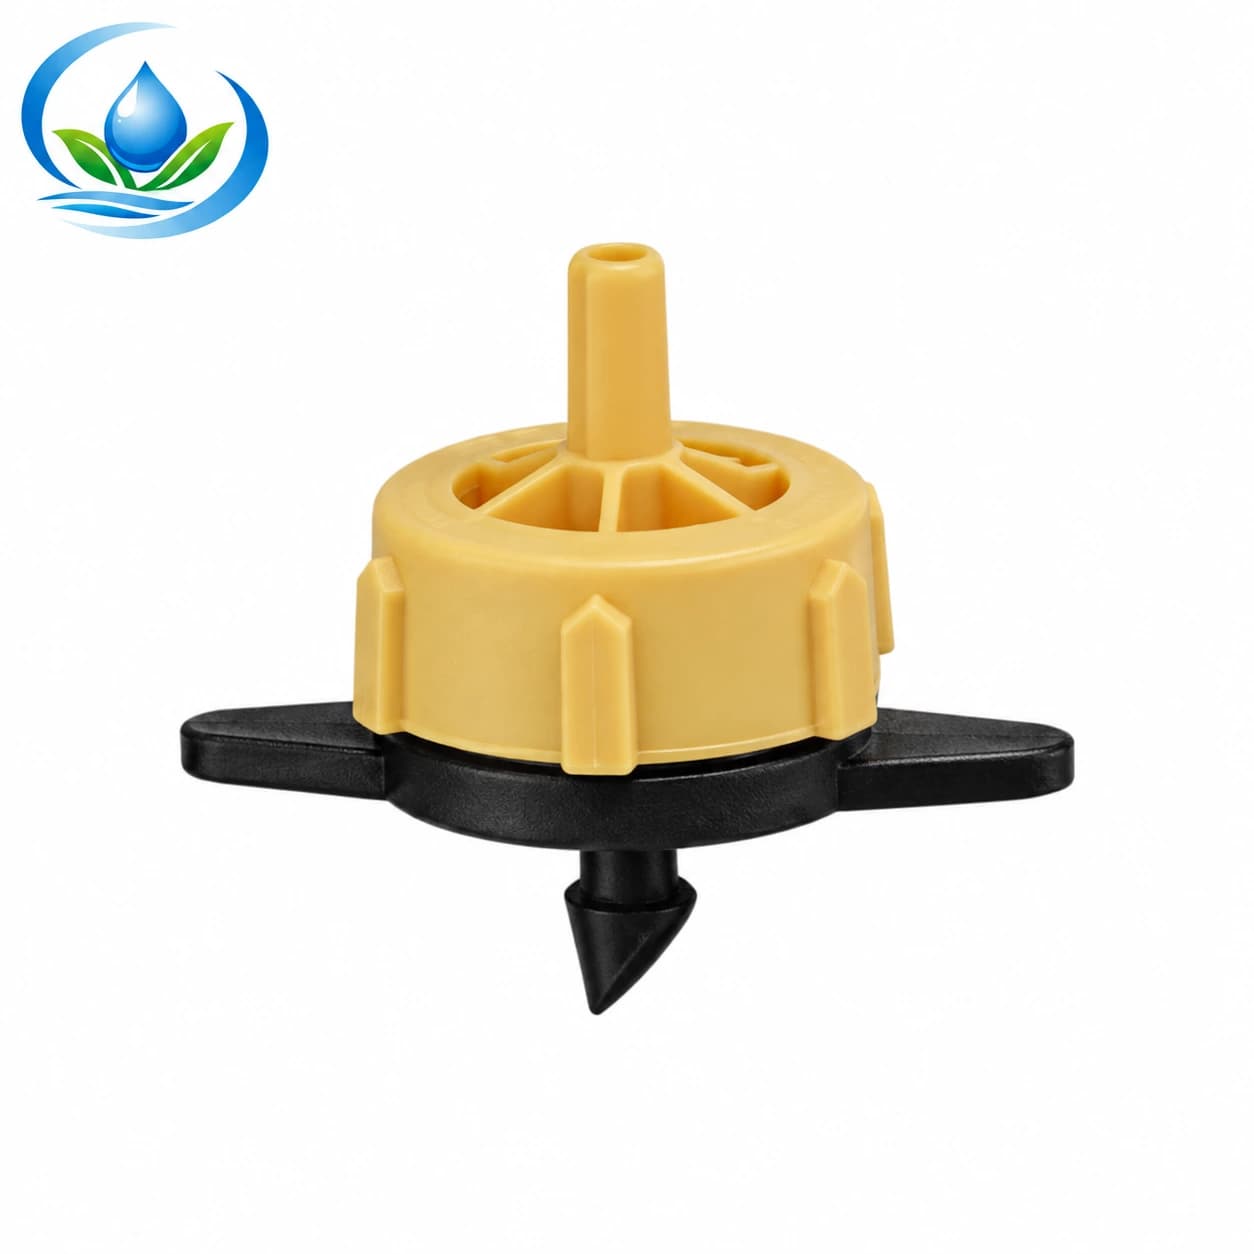

.jpg)