Stake Drip Irrigation: Match Arrow Stakes and Microtubing for Nursery Pots
Identify the metering device, match an arrow and microtube, and test delivery before and after moving nursery pots. Order the complete endpoint that passed the trial.
Published by IrriNex Store
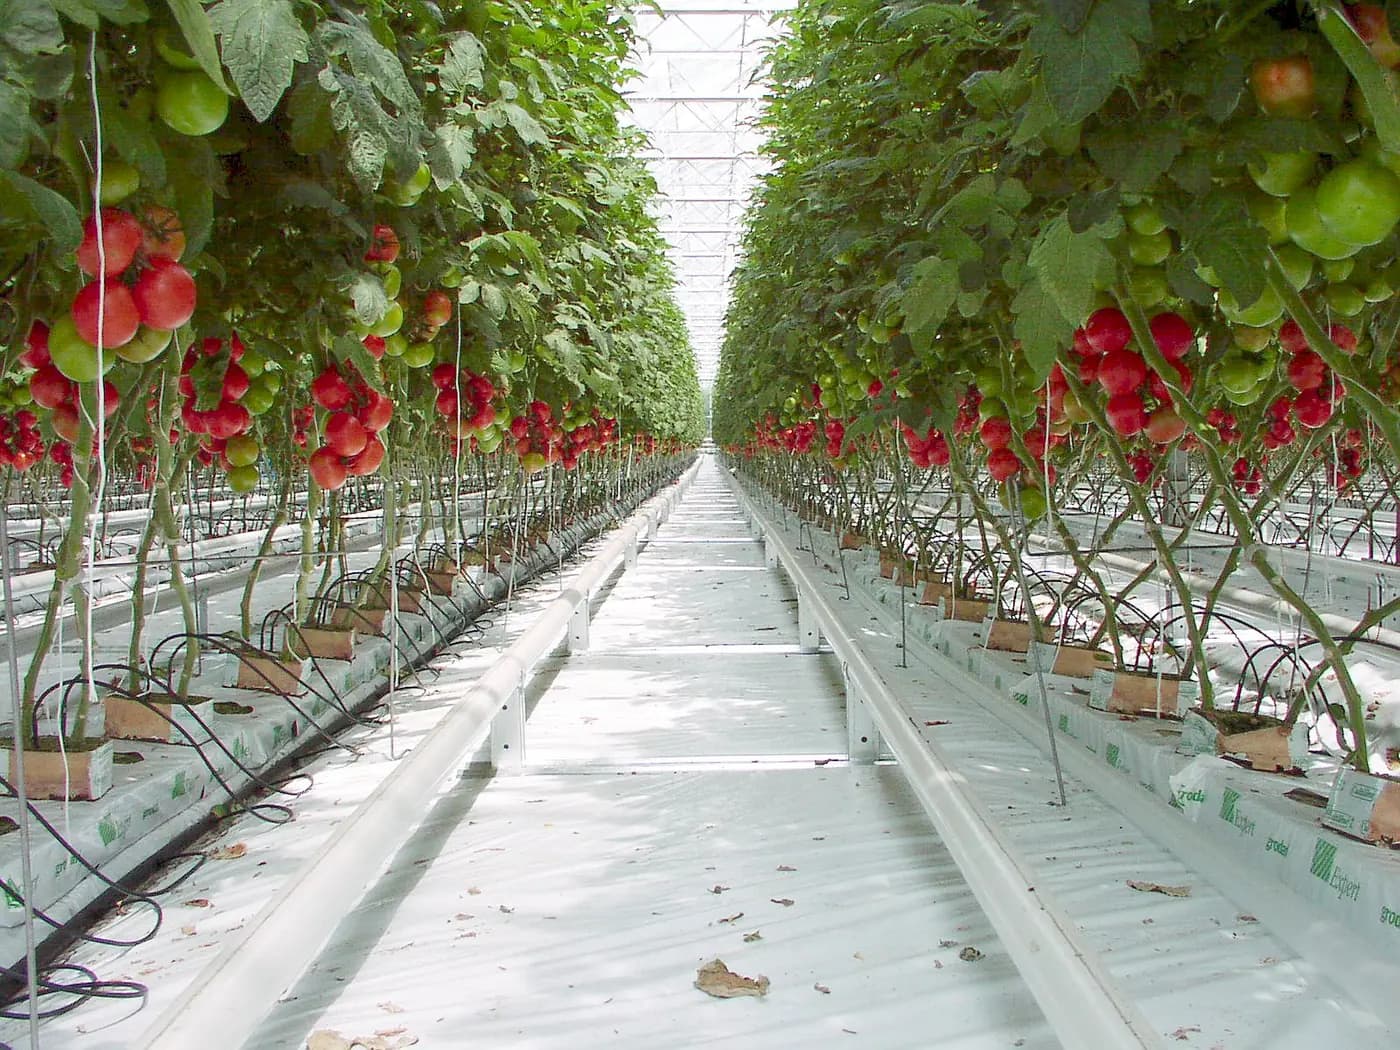
Stake drip irrigation for nursery pots works only when the complete plant-side assembly is understood. A pointed holder may simply keep tubing in place, an arrow dripper may form part of the water outlet, and an upstream emitter may control the flow supplied to that outlet. Before ordering many identical pieces, identify those jobs and build one representative arrangement with the proposed microtube and container. For arrow stake microtube fit, verify the tube dimensions and the metering part before repeating the assembly across pots.
The purchase decision is the repeatable endpoint: the connection from the supply, any metering component, the tube route and the arrow positioned in the growing medium. Test that endpoint in its first position and after the normal movement of a pot. A neat assembly beside an empty container is not enough to establish that it will remain connected and deliver water after a production bench is spaced out.
Is this nursery arrow a tube holder or a water outlet?
Inspect what the proposed stake actually carries. A support-only stake may clip around a tube without containing a water passage. It can help maintain position, but it does not acquire an emitter flow rating merely because the pointed end enters the substrate. The device delivering water still needs its own identification.
An arrow dripper includes the plant-side water path. Its pointed form combines placement with an outlet function, although the full hydraulic behavior depends on the specified assembly. A spray stake has a different delivery pattern again. Treat product names and photographs as starting clues, then ask for the model, connection and intended water path.
For an existing installation, trace one actual branch rather than identifying it from the piece visible above the pot rim. Follow the tube back to its inlet and record any emitter or distributor hidden near the supply pipe. Keep the support function and the metering function separately labelled on a simple drawing.
Where does the stake drip assembly meter water?
Determine whether the defined discharge belongs to the terminal device, an upstream emitter or a documented combination. A branch may leave a plain connector, or it may leave the outlet of a metering dripper. Those are different starting conditions even when the final arrow looks similar. Record the upstream part's model as well as the arrow code.
Do not casually add a second restricting device to an existing metered branch or remove the first one when changing arrows. The resulting delivery must be assessed as a complete arrangement. A nominal value printed beside an arrow does not tell you how an unidentified upstream restriction will affect it.
If pressure compensation is required, locate the component whose documentation actually provides it and confirm its operating conditions. An arrow shape, a blue colour or the presence of a splitter does not establish compensation. The emitter behavior guide covers the broader choice; this purchase needs the behavior of the specific assembled branch.
Choose straight or bent geometry at the real pot
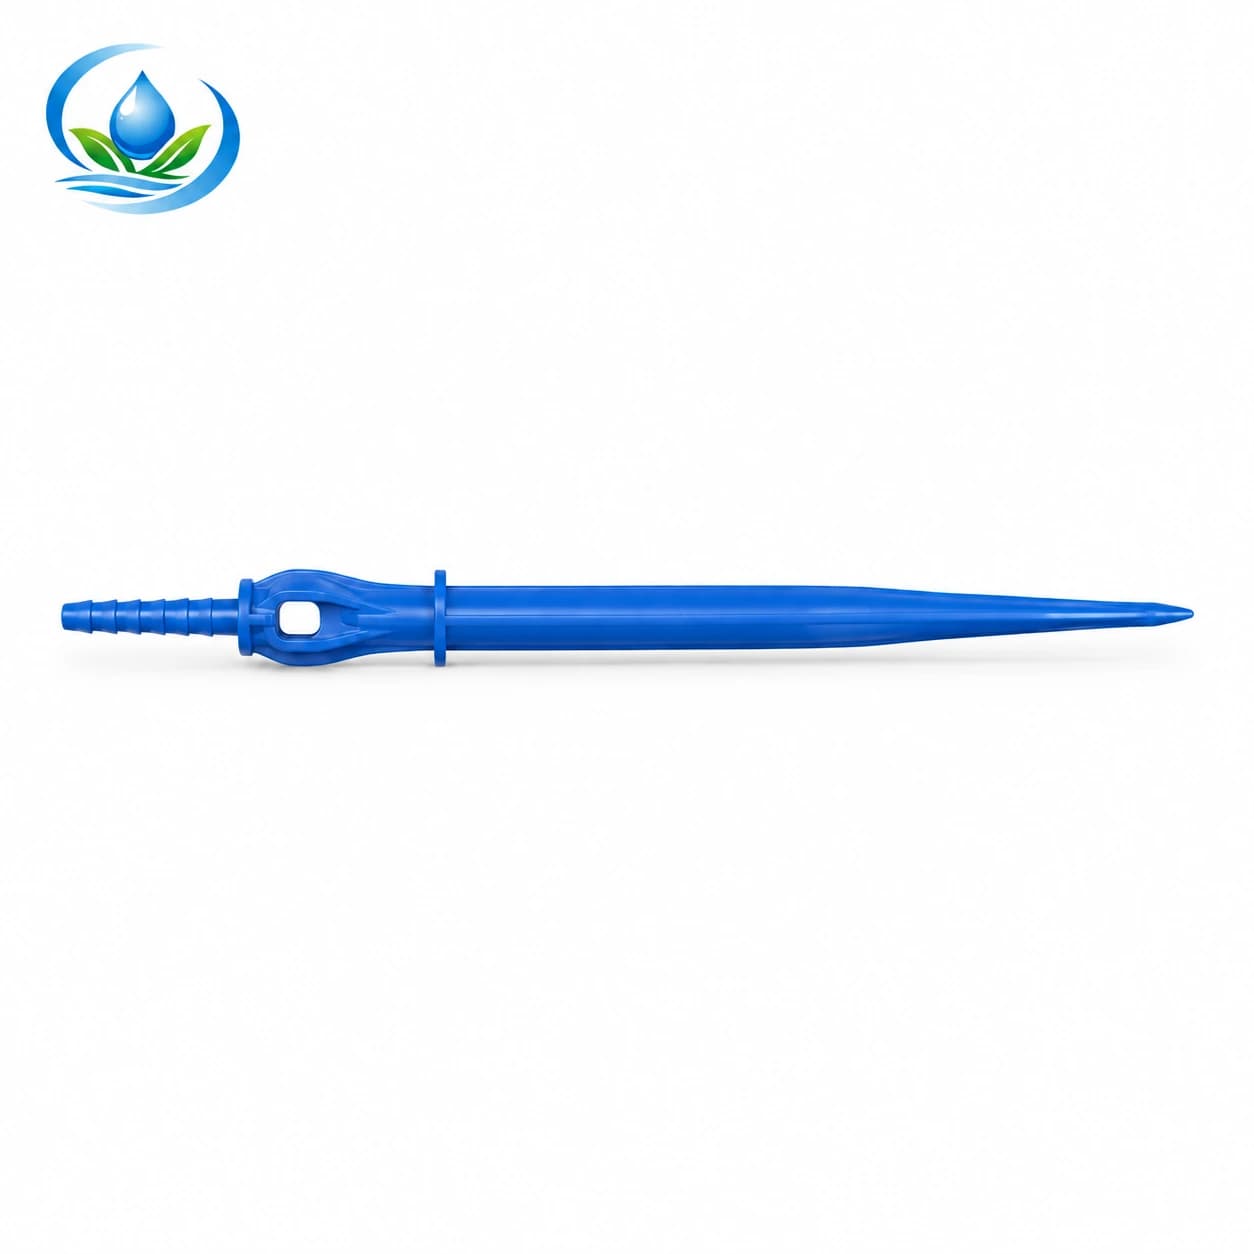
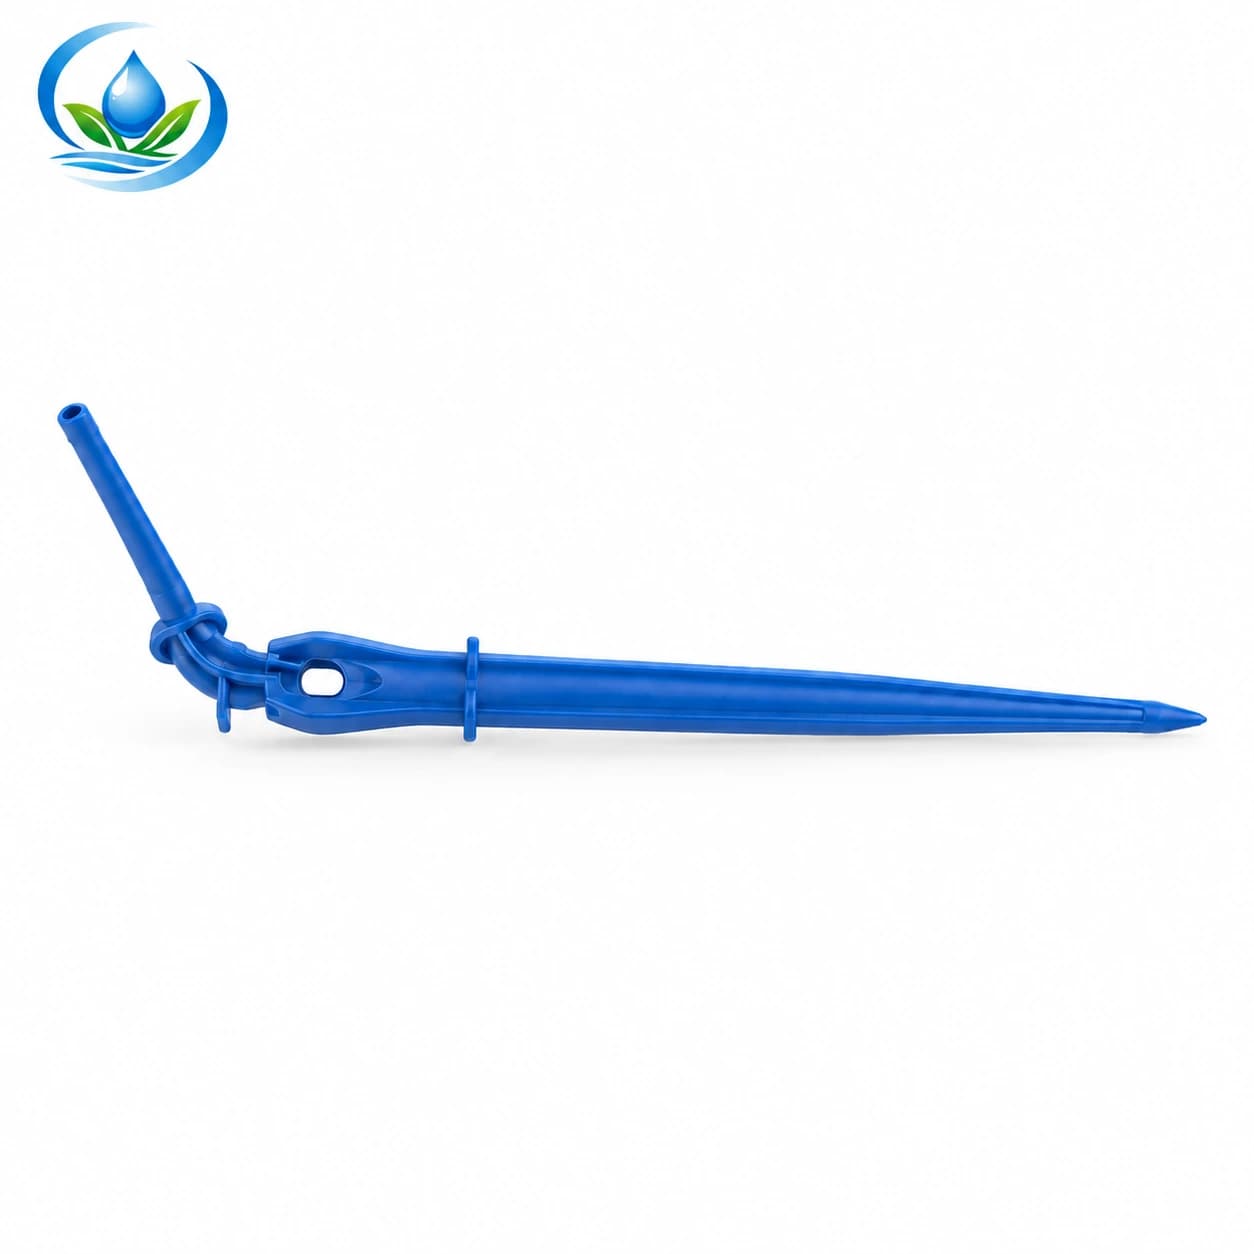
The 2101 straight arrow dripper is a blue single-outlet model listed with a nominal discharge of 2 L/h. The 2102 bent arrow dripper is also blue and listed at 2 L/h for its single outlet. The practical distinction here is the direction of the tube connection.
Hold the candidate beside the intended watering position and examine how the tube would approach it. A straight connection may suit an approach aligned with the arrow; a bent connection may make a side approach easier. Neither shape is universally better. Compare the actual rim, substrate height, plant supports and nearby leaves without forcing the tube into a tight fold.
The nominal rating is not a measured dose to a particular pot. The verified entries do not establish a pressure-compensating feature, a universal insertion depth or the connection dimensions needed to approve your tube. Obtain those missing operating and interface details before treating either model as a complete ready-to-install endpoint.
Keep both microtube diameters in the order
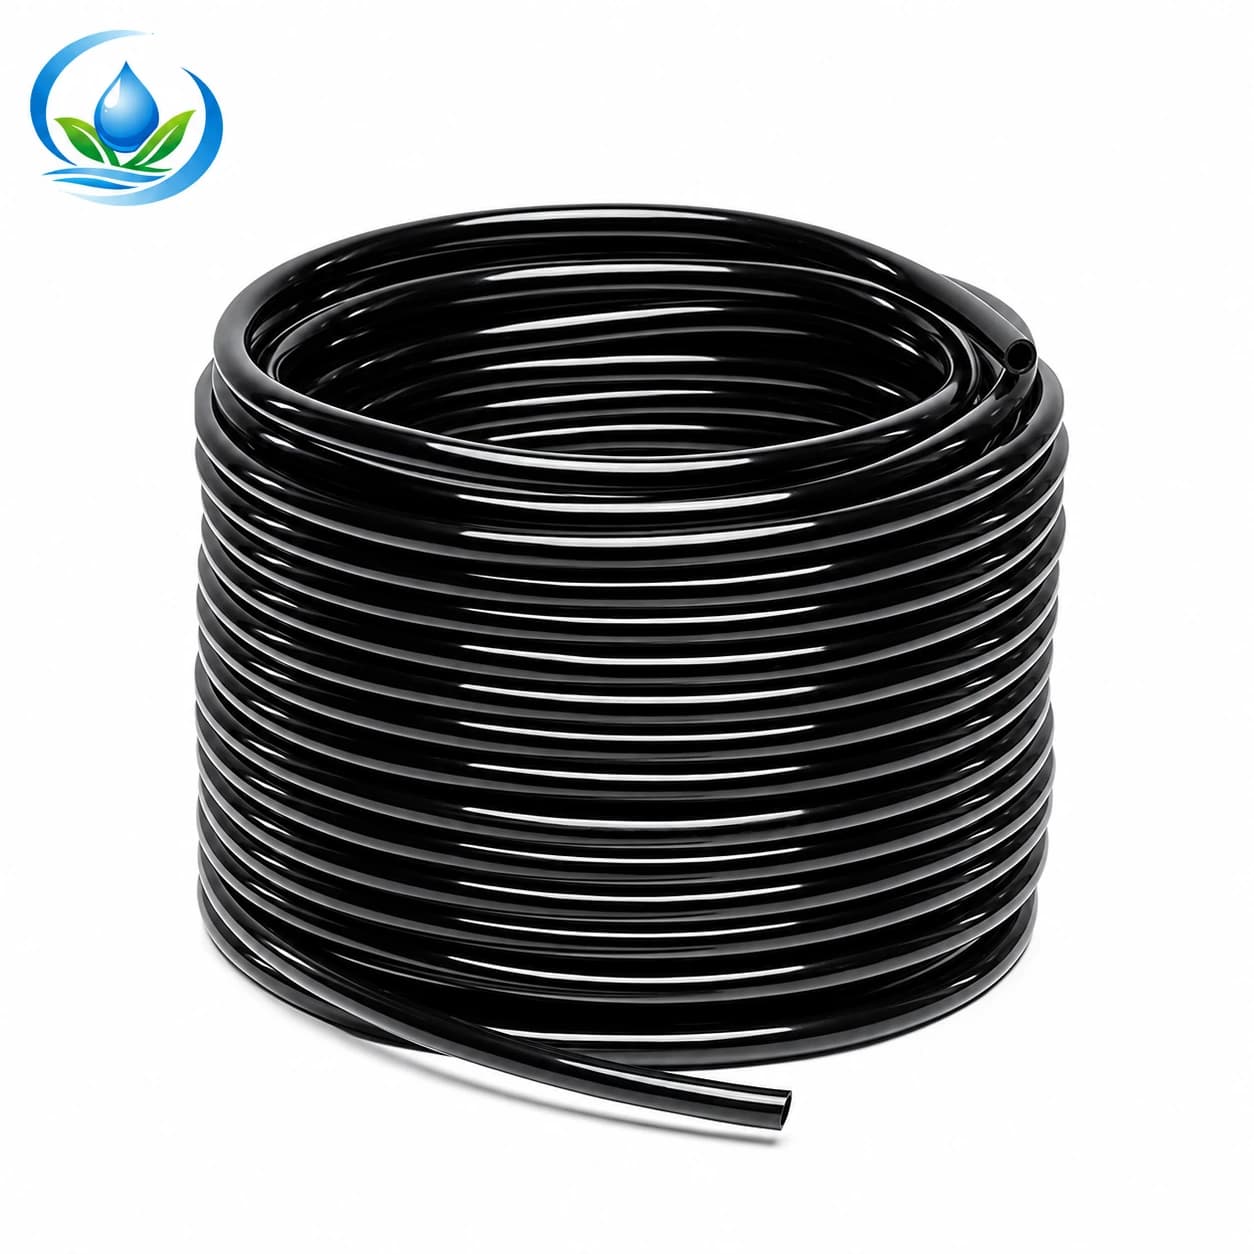
The micro distribution tubing page offers three paired dimensions. IS-43-D01B858F3D has a 3 mm bore with a 5 mm outside diameter. IS-43-62F1B6EA6F pairs a 4 mm bore with a 7 mm exterior. IS-43-62F1B6EB6F is the larger 8 mm bore and 11 mm outside option. These are distinct variants, not interchangeable descriptions of one tube.
The catalogue shows those size pairs but does not establish which one directly fits 2101 or 2102. Ask for the approved tube material, mating dimensions and retention method at both ends. A microtube that fits a supply connector can still be wrong for the arrow. Outside diameter can also matter where a holder guides or clips the tube.
Keep the exact tube identifier with the sample record. An inch-based label on another brand's stake cannot verify one of these metric combinations. Avoid buying a whole roll from appearance alone; first establish the required sale length and a supported connection using the actual components that will be supplied.
Measure a route that allows the planned movement
Lay out the tube from its real supply point to the arrow, including the rise over the container rim and the turn into the growing medium. Measure the routed length rather than the straight distance between pot centres. Identify where the tube could rub against an edge, be trapped beneath a container or catch during lifting.
Allow the movement that staff actually make during spacing, grading and access. The tube should not become a tie that pulls the arrow out when the pot moves. Excess loose tubing can create a different problem if it crosses working paths or catches adjacent plants. Select a controlled, supported route with the necessary movement allowance.
If the planned relocation is beyond the connected assembly's intended reach, define an isolation and reconnection task instead of stretching the line. Move a representative pot through the permitted positions during the sample check. The useful length is the one that remains free of strain and unacceptable bends throughout that task, not the shortest cut that reaches at first installation.
Do not turn a splitter count into a delivery promise
A distributor with several branches provides several routes for water. It does not by itself establish identical flow at each arrow. The upstream emitter, branch tubes, terminal components, elevation and restrictions all belong to the assessment. A tidy group of equal-looking tubes is not a measurement of their individual outputs.
Where a complete assembly has a documented total and outlet configuration, keep those specifications attached to that exact assembly. Do not divide an unrelated emitter rating by the number of splitter ports and present the result as tested delivery. Similarly, a group total can look correct while one branch is restricted and another delivers more.
Record each branch separately during the trial, including any unused outlet and its approved closure. Do not assume that plugging one route leaves the remaining outlets unchanged. If you intend to add or remove containers during production, request guidance for that operating change and verify the resulting arrangement before repeating it across the nursery.
Place the outlet for the growing medium being used
Mark the intended application position relative to the root ball, the container wall and the substrate surface. Follow the arrow's placement instructions and keep its outlet in the required condition. Pushing a stake farther in is not an automatic cure for poor delivery and may hide a misplaced or obstructed outlet.
Evaluate the position in the actual medium and container, with the crop present. Water can enter through one point without wetting the useful root volume adequately. Conversely, runoff at the edge or early drainage does not establish how much of the root ball has received water. Record those observations independently of the tube's mechanical fit.
UMass Extension guidance on greenhouse watering notes that surface appearance can disagree with moisture deeper in the pot. Use a suitable moisture check, rather than judging the entire container from its top layer.
Request a complete sample before multiplying quantities
Ask for the individual arrow, the exact microtube and the confirmed inlet arrangement needed for your proposed endpoint. State which parts you already have. An individual 2101 or 2102 is not an assumed package of supply connector, tube, upstream emitter and distributor, even when a photograph elsewhere shows an assembled system.
Use a representative container and working supply during the trial. Include the normal filtration and pressure-control equipment, with operating conditions checked against the chosen components. The filtration selection guide helps frame the water-quality enquiry; it does not assign a universal filter grade to these arrow models.
Prepare clean ends and flush the delivery path in the sequence required by the component instructions. Assemble without modifying unknown barbs or stretching a poorly matched tube. Inspect the connection while operating, then examine whether the supported arrow stays in the intended position without the tube holding it under tension.
Compare delivery before and after the pot moves
Measure terminal delivery using a timed collection that preserves the relevant outlet elevation and does not obstruct the water path. Support the measurement container independently so its weight does not pull on the branch. Record collected volume, elapsed time, sample identity and the active operating group together.
Next carry out the planned spacing or handling movement under the appropriate site procedure, restoring the same operating condition for the second measurement. Inspect the rim crossing, both tube connections and the arrow position again. Compare the two readings and the observations. A new kink or partial disconnection is a reason to revise the route, not to compensate by blindly extending the timer.
Repeat at relevant positions served by the proposed supply, including a more demanding route. Set acceptance criteria using the documented component performance and crop requirements; there is no invented universal pass percentage here. Keep failed samples identified until their cause is resolved so they are not quietly returned to the accepted group.
Count active endpoints separately from pieces purchased
Begin with the validated number of watering positions in the proposed crop group. Do not assign one arrow to every pot as a fixed rule. If the substrate trial calls for additional positions, update the complete branch arrangement and its demand before repeating the purchase quantity.
Separate active arrows, upstream metering devices, distributors, tube lengths, connectors and spare pieces on the order. Depending on the confirmed assembly, those counts may differ. Ten arrows connected through a documented arrangement are not necessarily ten independent upstream emitters. This distinction prevents both duplicate components and omitted metering parts.
The outlet-demand calculation guide supports the wider zone check. Use the confirmed assembly data and measured sample as appropriate, and distinguish simultaneous operation from total installed stock. A successful small sample still needs a supply assessment before an entire production area is opened together.
Plan for empty positions and later crop changes
When a pot is removed for sale or grading, its endpoint needs an intentional state. Specify how its branch will be isolated or parked under the selected assembly's instructions. Leaving an outlet discharging onto the floor changes the useful delivery record; improvising a folded tube is not a documented shutoff method.
Store disconnected clean components so soil cannot enter their openings, and label the arrangement they belong to. Replace damaged pieces with the confirmed model unless the change is assessed again. A different-colour arrow or another tube with a similar outside diameter should not silently enter the accepted sample's parts list.
Review outlet position and substrate response as the crop grows or changes container. The runtime review after outlet changes addresses the scheduling step. Keep that decision separate from proving that the arrow remains connected and that water actually reaches its intended position.
Order the endpoint that the nursery can reproduce
Attach the accepted sample photograph, component codes, tube dimensions and routed length to the enquiry. Include the intended container movement, metering location and any multi-branch arrangement. Ask what each quoted unit contains, whether tube cutting or assembly is included, and which unresolved operating details require confirmation.
Check the delivered pieces against that record before preparing the remaining endpoints. Retain a labelled example or a clear assembly record so another worker can reproduce the route and connections. If the supplier proposes a different tube or arrow, repeat the affected compatibility and handling checks rather than treating a similar appearance as equivalent.
Use IrriNex Store support to resolve a specific model or interface with your measurements and photographs. The purchase is ready when the individual pieces form a documented endpoint that fits, stays positioned through the planned nursery work and delivers acceptably in the tested arrangement.
Before you order
Compare this guide with the specifications for your exact product, selected option, water supply and field conditions. Your equipment requirements take priority over a general example.
Compare irrigation products