Drip Irrigation Filtration: Check the Disc Stack Before Returning It to Service
Accept a cleaned disc filter by checking the complete matched stack, core and seals, then compare running pressure loss under the same operating condition.
Published by IrriNex Store
Drip irrigation filtration is not ready for service merely because a rinsed disc cartridge looks cleaner. Before restoring water to crop rows, establish that the original matched stack, supporting core and seals remain complete, that the element has been reassembled correctly, and that its running performance makes sense under a recorded operating condition. A disc filter after cleaning check should keep the original disc sequence and housing identity attached to the observed result.
A useful maintenance result is more specific than “filter washed.” It identifies the assembly returned to the housing, the condition of its parts, the measurements taken afterward and any unresolved replacement question. This guide follows that acceptance decision after routine water cleaning of a manual disc filter.
Is the cleaned drip irrigation filter disc stack complete?
Before parts leave their housing, record the body model, element reference and filtration grade where those markings exist. Keep the cartridge, its core and its associated seals linked to that filter. On a head unit with several similar bodies, service them in an organised sequence so loose components cannot migrate between units.
Grooved discs work together as a correctly assembled filtering stack. A collection of individually clean rings is not enough to establish the original filtration path. Retain every required component and its documented arrangement. Never shorten the stack, mix discs from another grade, or substitute a similar colour to make an uncertain assembly fit.
Photographs can preserve visible markings and the original arrangement, but an earlier incorrect installation is not a service specification. Check the exact model's instructions when a position or component is uncertain. The delivery inspection guide is useful when the uncertainty begins with a replacement element that has just arrived.
Can the filter remain isolated through its inspection?
Follow the installed unit's isolation, draining and pressure-release procedure before opening it. A stopped pump does not demonstrate that a housing is depressurized, and a low gauge reading is not permission to release a cover. Where supply can restart automatically or arrive from another route, use the site's approved controls to prevent that during service.
Keep the crop supply protected from an unfiltered bypass. Set removed parts on a clean surface associated with the named filter, away from dirty rinse water. Protect clean-side openings from the material being washed out. Introducing grit during maintenance can create a new downstream problem even when the original stack was cleaned successfully.
If the element is already on the work surface, verify the identification and isolation record before proceeding. Do not assume that a colleague completed those steps. An unclear core-release mechanism or missing operating manual is a reason to obtain model-specific instructions, not to try the turning direction or tools used on another manufacturer's filter.
Distinguish retained dirt from altered disc geometry
Use the approved water-cleaning method to expose and rinse the relevant disc surfaces. Simply improving the appearance of the outer cylinder may leave material between the rings. How the stack is loosened, supported and secured again depends on its design; a general description of disc filtration does not supply the release sequence for your cartridge.
Inspect for residue that remains in the grooves as well as chipped edges, distorted rings and damaged supporting parts. Record where each finding occurs. A mark that washes away and a groove whose shape has been damaged are different observations. Repeated rinsing cannot restore missing material or make a distorted component the correct shape.
If clean water does not remove the deposit by the permitted method, hold the element for further advice. Describe the residue and the source water rather than choosing a chemical recipe from appearance alone. Do not increase jet force, scrape grooves or improvise a soaking treatment to obtain a cleaner photograph; the accepted method must suit the exact materials and unit.
Check the core and seals as part of the same barrier
Examine the supporting core and its retention features for damage or an assembly that will not return to the specified position. The complete stack must be retained in the intended way. A loose, shortened or mismatched pack can create an unintended water route even if each visible disc surface appears clean.
Check the element's sealing interfaces separately from the housing cover seal. A cover can remain externally dry while water takes an unintended route around an incorrectly seated element. Look for damaged seal profiles, trapped grit, deformation and unsuitable replacement parts. Identify which interface has a problem rather than recording every issue as a leaking lid.
Inspect the housing seat and closure too. Do not compensate for an uncertain fit by forcing the core, overtightening the cover or adding an unapproved gasket. Use only the assembly method and any seal treatment specified for the actual model. A lubricant appropriate to another filter does not establish compatibility with these discs, seals or housing materials.
Make replacement identification more precise than mesh and colour
For a proposed cartridge, compare the maker's part reference, compatible body model and revision, filtration grade, core arrangement, seating geometry and required seals. Dimensions and photographs help the supplier identify it, but they do not independently prove interchangeability. The end of the cartridge that engages the body can matter as much as its overall diameter.
A shared mesh label does not make two stacks identical. Nor does a shared red colour establish grade, disc count or a compatible core. Retain the supplier's written confirmation for the complete replacement assembly. If its identification differs from the ordered item, keep it separate while the discrepancy is resolved instead of moving discs between the two.
Match the documented filtration requirement of the protected outlets. Avoid converting a mesh figure into a universal micron value or treating particle filtration as disinfection. If the required grade itself is uncertain, use the water-source and emitter filtration guide to organise that wider selection question before accepting a substitute.
Reassemble without using pressure to prove the fit
Before closure, account for the matched stack, core, retainers and seals required by the model. Confirm their seating and the specified secured condition. Keep dirt out as the element returns to the housing. If the cover position or retention does not correspond to the instructions, stop and identify the cause rather than using water pressure to settle the assembly.
Restore the unit through its prescribed filling, venting and startup sequence. Check the external joints and housing from an appropriate position while it operates. A leak calls for controlled shutdown and the specified pressure-release process before correction; it is not a reason to loosen the lid or reposition an internal part while the filter remains pressurized.
Record who completed assembly and what was changed. “Same element cleaned and refitted” is different from “new cartridge installed,” and replacing a seal is different from altering the filtration grade. Those distinctions become useful when the new pressure readings differ from the previous clean condition.
Repeat a named operating case for the pressure comparison
Use the designated pressure measurement locations on the upstream and downstream sides. Record both readings in the same units while the intended irrigation group is operating steadily. Include measured or reliably established flow, open zones, supply condition and relevant valve settings. Static readings with no irrigation flow cannot establish the working loss through the element.
NC State Extension's low-volume irrigation guidance identifies pressure loss across filtration as a maintenance indicator. For this installation, apply the exact manufacturer's limits and compare with the accepted clean record at the same flow case; a generic cleaning threshold is not a substitute.
Subtract downstream pressure from upstream pressure to obtain the observed differential. Retain the two original readings as well as the result, because a change in source pressure can otherwise disappear from the record. The zone-flow calculation guide helps establish which outlets belong in the operating case being compared.
Interpret improvement together with assembly integrity
A differential that returns toward the previous clean reference supports the observation that a restriction has been reduced. It does not prove the stack is complete or correctly seated. A missing filtering component or an unintended internal bypass can also reduce resistance. Acceptance therefore needs both the inspection record and plausible operating measurements.
If the differential remains unexpectedly high under the same conditions, revisit retained debris, assembly position, the confirmed replacement identity and the measurement arrangement. If flow changed, first establish a valid comparison. Do not keep tightening the cartridge or remove discs to lower the reading. Those actions change the element rather than diagnose it.
If inlet and outlet readings both fall while their difference stays similar, investigate the supply and other operating changes. If filter readings look reasonable but distant crop rows remain weak, examine downstream delivery as well. The pressure troubleshooting guide helps organise those measurements without attributing every field symptom to the cleaned stack.
Separate immediate acceptance from rapid reloading
Check representative outlets after restart using an appropriate equal-time collection method and the normal row group. Inspect for leaks or material introduced during maintenance. Restoring the filter does not automatically remove deposits already inside a downstream emitter, and a dirty sample after a pipe repair may have a different origin from an incorrectly assembled filter.
Then observe how the accepted unit behaves during subsequent operation. A sound element that quickly collects another load calls for a source-water and system review. Note changes such as a disturbed intake, a different water supply or upstream work. Keep the time and operating flow with the observation so “clogs quickly” becomes a useful description.
Do not assign an arbitrary number of washes per season. Compare the recurring workload with the exact filter's service instructions and the farm's operating needs. A different pretreatment arrangement, intake condition or appropriately selected assembly may need consideration. A finer stack is not automatically the solution to frequent loading and can introduce another capacity question.
Identify complete Y-body and T-body options accurately
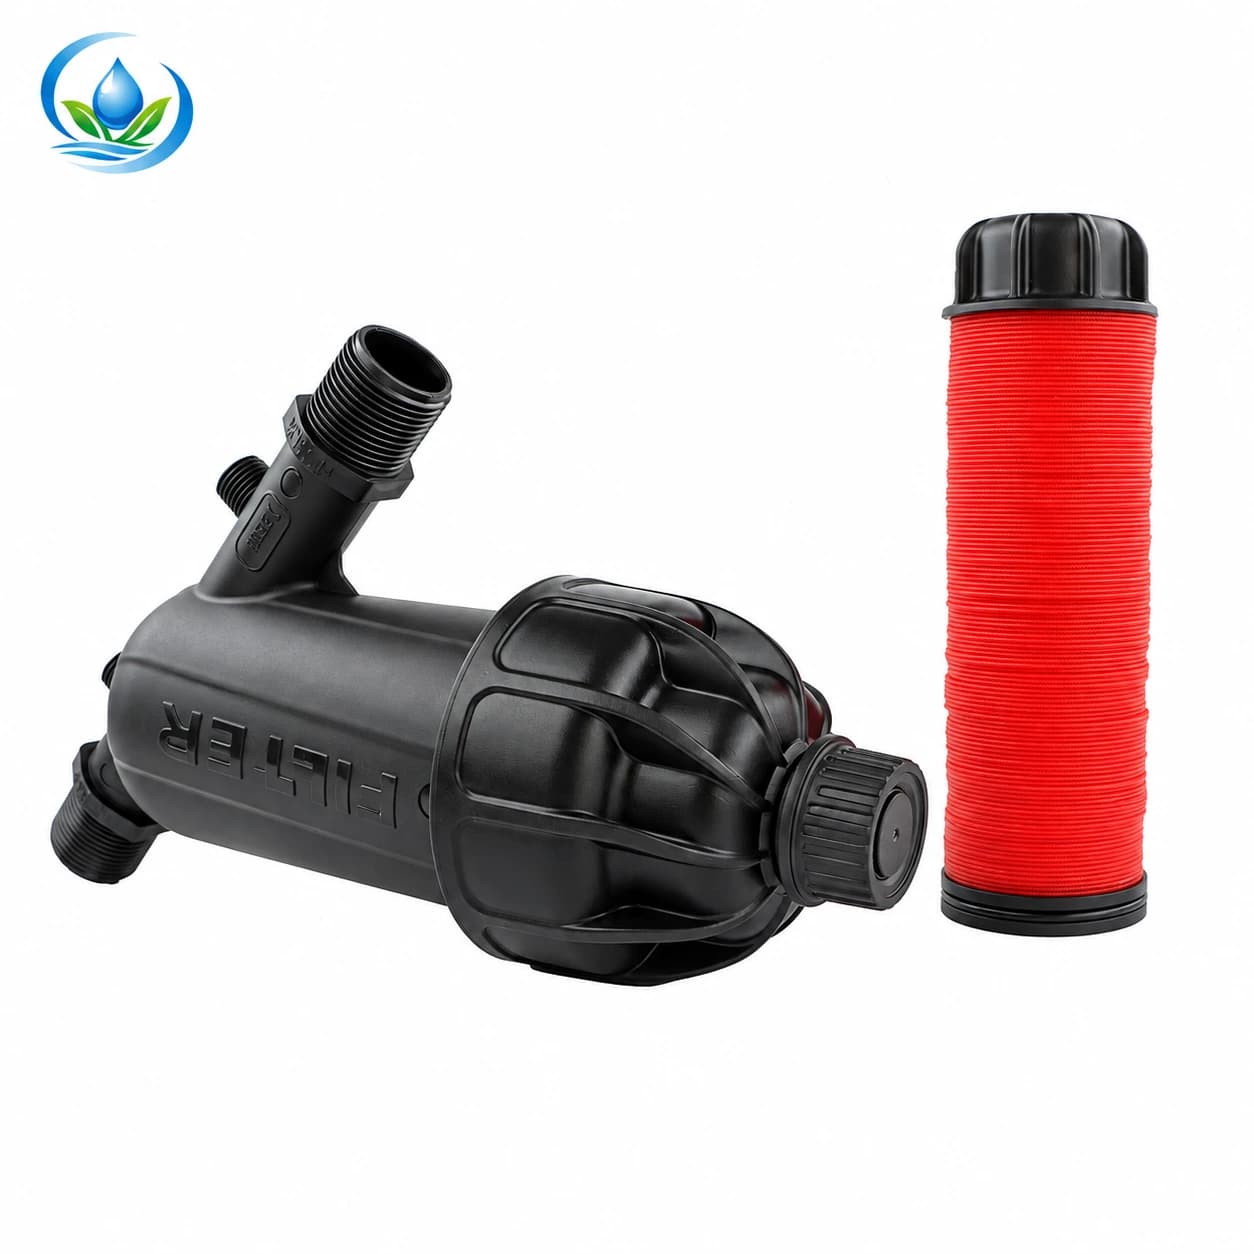
The Y-body disc-filter family includes F63YD, offered under SKU IS-34-F63YD. Its catalogue row identifies a 2-inch connection and 120-mesh grade, with maximum discharge 25 m³/h and maximum pressure 8 bar. These identify a complete filter option to assess, not a spare disc pack for an unidentified housing.
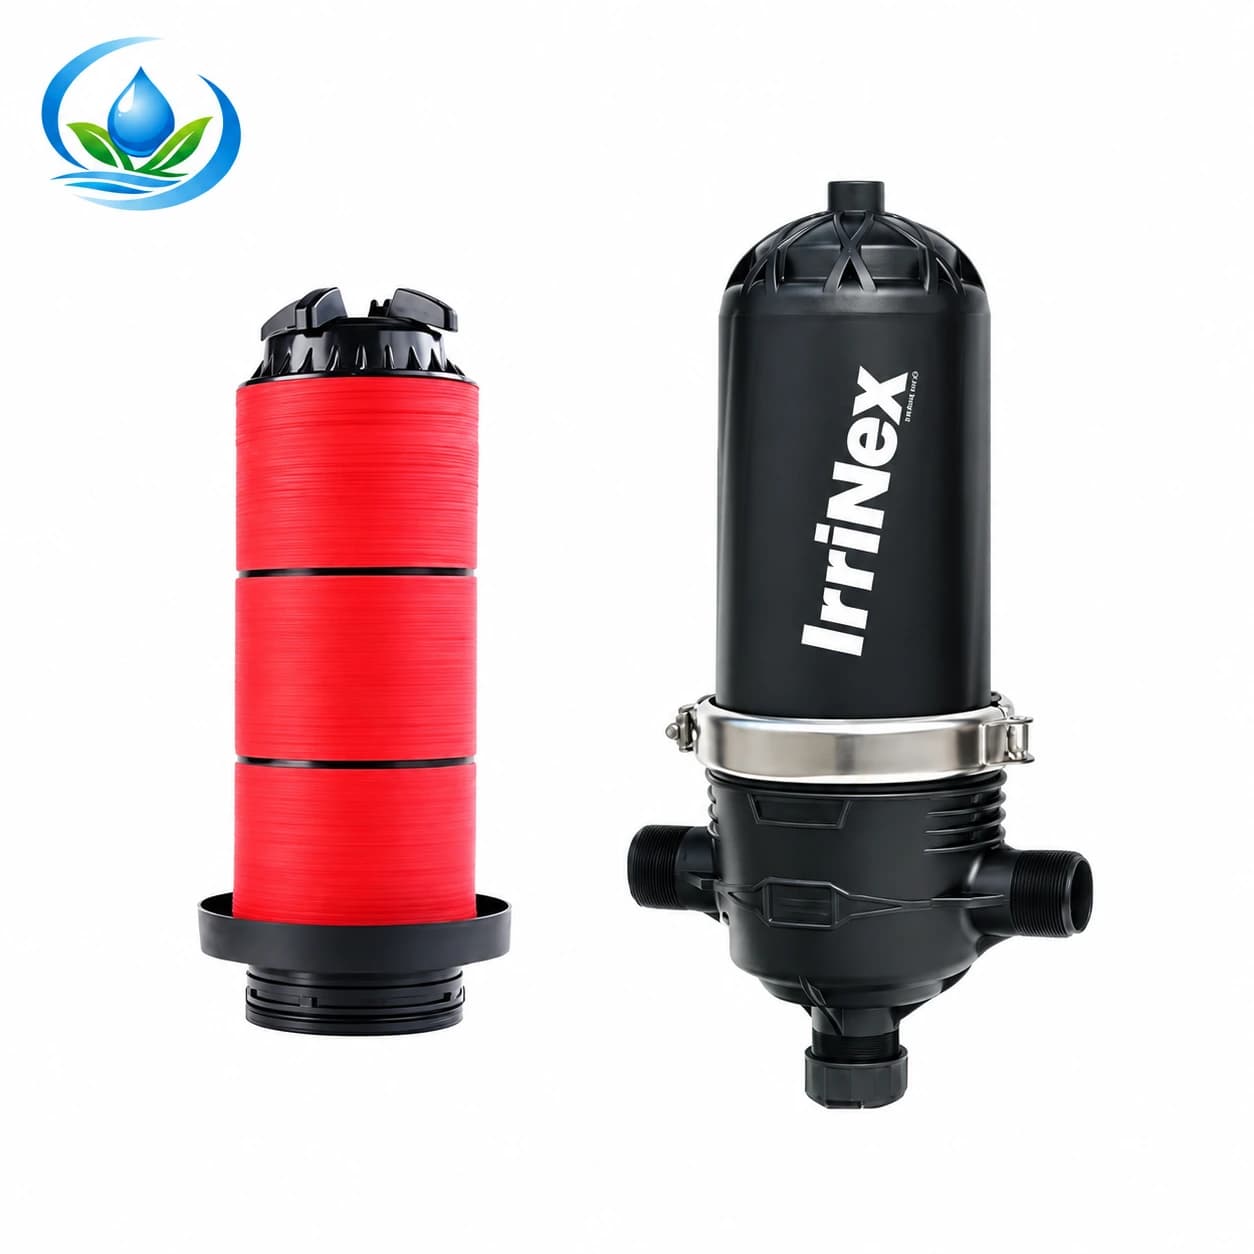
Within the T-body disc-filter family, F63TD has SKU IS-36-F63TD. This separate 2-inch, 120-mesh option lists a discharge ceiling of 30 m³/h and a pressure ceiling of 10 bar. Matching the port size and grade of F63YD does not show that their cores, stacks, covers or seals can be exchanged.
Neither pair of maxima describes the pressure loss at your real flow or promises that maximum flow and pressure form an approved duty point. Obtain the model's operating and service information, connection standard and required removal clearance. Compare a complete replacement against those conditions rather than selecting whichever body happens to fit the existing pipe gap.
Send an enquiry that identifies the unresolved part
For a cartridge question, send the installed housing label, element markings, whole-assembly photographs and close views of the seating ends and observed defect. State the required grade and whether the original core and seals remain intact. Include the supplier reference from the earlier purchase if available, so identification does not depend on the colour of the rings.
Ask whether a verified replacement element or seal exists for that precise body and revision, what it includes, and which instructions govern refitting it. Request its current price, supply and delivery separately. The two product links above describe complete assemblies; they do not establish availability of a loose cartridge or a matching gasket.
If the body or retention parts are damaged, or the installed unit cannot be identified reliably, request a complete-unit assessment instead. Add flow, pressure, connection and service-space information to that enquiry. Keep unresolved parts labelled out of service rather than turning an approximate match into an installed experiment protecting the crop.
Close the maintenance record with a clear decision
Return the filter to normal duty when the complete matched assembly has passed inspection, the documented reassembly is complete, leaks are absent and operating checks are acceptable for its specified application. If these conditions are not established, record what remains unresolved and keep the affected supply controlled until an appropriate repair or replacement is confirmed.
File the date, model, element identity, findings, work performed, zone group, flow and before-and-after pressure readings together. Include the final decision and person responsible for follow-up. That record supports the next comparison and gives a supplier a concrete problem to solve instead of an ambiguous request for “a disc filter insert.”
Before you order
Compare this guide with the specifications for your exact product, selected option, water supply and field conditions. Your equipment requirements take priority over a general example.
Compare irrigation products