Raised Bed Drip Watering Kit: Compare Coverage, Bed Layout and Replacement Parts
Check kit coverage against unequal vegetable beds. Count emitting lines, blank feeds, starts and ends, then compare complete baskets and operating limits.
Published by IrriNex Store
A raised bed drip watering kit is a useful purchase only when its contents fit the beds you actually cultivate. “Waters four beds” leaves several questions unanswered: how wide are those beds, how many emitting lines enter each one, where does the supply run, and which connections come in the box? On a vegetable farm, two blocks with the same planted area can require different lengths of line and different numbers of starts. Compare the package against a measured bed schedule before choosing between a ready-made kit and separately purchased components.
This guide uses an illustrative four-bed layout to audit package coverage. It does not describe an IrriNex Store bundle or an available kit price. The linked tape, dripline and fittings are separate products. The practical result is a list showing what a proposed purchase covers, what remains missing and what you can retain when a later crop changes the bed layout.
Replace the advertised bed count with your planting plan
Give every bed a number and record its planted length, planted width, crop rows and position relative to the supply. Measure the growing surface rather than the outside of a timber frame or the distance between wheel tracks. Include a separate sketch of the walking aisles and the route used by harvest carts. A hose running from the tap to the first bed is part of the purchase even though it does not irrigate the planted area.
Then write down the number of emitting lines already shown to serve each bed. Do not derive that number from the product photograph. Crop placement, soil and wetting behaviour determine whether the proposed arrangement reaches the roots. If the line count is still uncertain, test a representative bed before committing to an entire roll-and-fitting package. University of Minnesota Extension's specialty-crop irrigation guidance recommends checking emitter spacing in the actual soil. That field check supplies an input to your shopping list; a kit's marketing area cannot supply it.
Keep establishment needs distinct from the permanent layout. Direct-seeded crops may need attention to the shallow seed row, while a transplant presents a root ball that must receive water. Use the seed-row wetting guide and the transplant root-ball check for those decisions. Buying extra fittings alone does not resolve an untested gap between the water and the crop.
Turn four unequal beds into a coverage test
Consider two narrow beds, each 12 m long and 0.9 m wide, and two wider beds, each 8 m long and 1.2 m wide. For this counting example, assume a field trial has already accepted one emitting line in each narrow bed and two in each wider bed. These are illustrative arrangements, not recommended universal spacings. The four beds require six separate laterals: two 12 m lengths and four 8 m lengths. Their planted line length is 56 m.
Suppose the measured connections and accessible ends require another 0.4 m per lateral. That adds 2.4 m, taking the cut list to 58.4 m before any chosen repair reserve. Measure this allowance on the accepted layout; do not add it automatically to every farm. An emitter located in that extra length still releases water, so transport over an aisle or outside a framed bed may call for blank tubing instead of more emitting line.
| Bed group | Illustrative layout | Emitting-line quantity | Independent starts and ends |
|---|---|---|---|
| Two narrow beds | One 12 m line per bed | 24 m planted length | 2 starts and 2 ends |
| Two wider beds | Two 8 m lines per bed | 32 m planted length | 4 starts and 4 ends |
| Whole block | Six separate laterals | 56 m plus measured service lengths | 6 starts and 6 ends |
The planted area is 40.8 m², but that number cannot tell a seller how many starts you need. Nor does the 58.4 m cut list mean one continuous line of that length should snake through all four beds. Keep the material total separate from the longest independently fed lateral. The drip-line length worksheet explains that distinction when you check the selected line's operating limit.
Compare the contents of two hypothetical packages
Imagine package A contains 60 m of emitting line, four starts, four ends and 10 m of blank supply tube. Package B contains 100 m of emitting line, eight starts, eight ends and 20 m of blank supply tube. These invented packages illustrate a comparison method; they are not Store offers. Assume your measured blank-tube route is 16 m and that the package line type and connections still require verification.
Package A appears to cover the emitting length, but it leaves only 1.6 m after the example's measured cuts. More decisively, it is short of two starts, two ends and 6 m of blank supply tube. Find the compatible additional parts and their sale quantities before comparing its total cost. A larger bag of assorted elbows would not repair those omissions unless those elbows serve an actual connection in your drawing.
Package B covers those quantities and leaves two starts, two ends and 41.6 m of emitting line before any further allowances. That surplus may be useful for repairs or another measured block. It does not demonstrate that the water supply can operate another block simultaneously. A package with more material can still contain the wrong emitter spacing, unsuitable fittings or a regulator whose operating range misses the intended zone.
Compare the two complete baskets after adding their missing essential items. Record whether a filter, pressure control, source adapter, punch, seals and isolation fittings are included, already owned or additional purchases. The component-by-component tape shopping list helps identify those functions. Keep this comparison tied to the exact option selected; a family photograph can show accessories that are sold separately.
Choose the emitting material before accepting the fittings
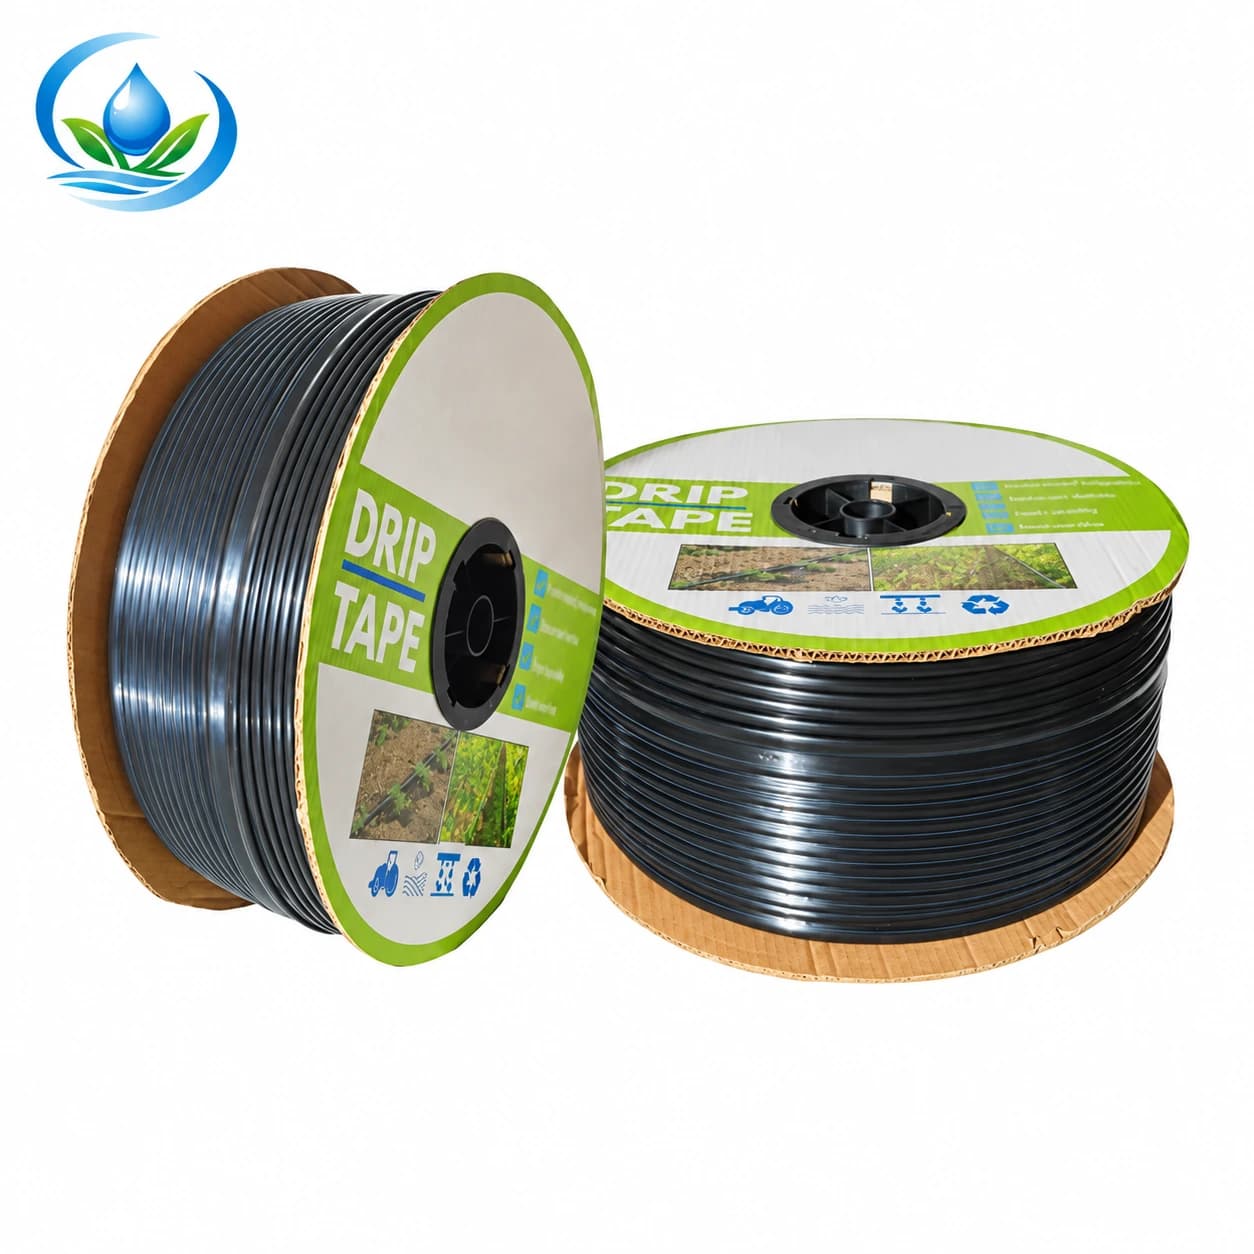
The flat-emitter drip tape family includes options with different diameters, wall thicknesses, outlet spacings and roll lengths. Those choices belong on the order together. The catalogue-derived option does not assign a verified emitter flow to every tape configuration, so obtain the operating data for the particular selection. Do not calculate the active bed demand using an assumed flow borrowed from another seller's similarly sized tape.
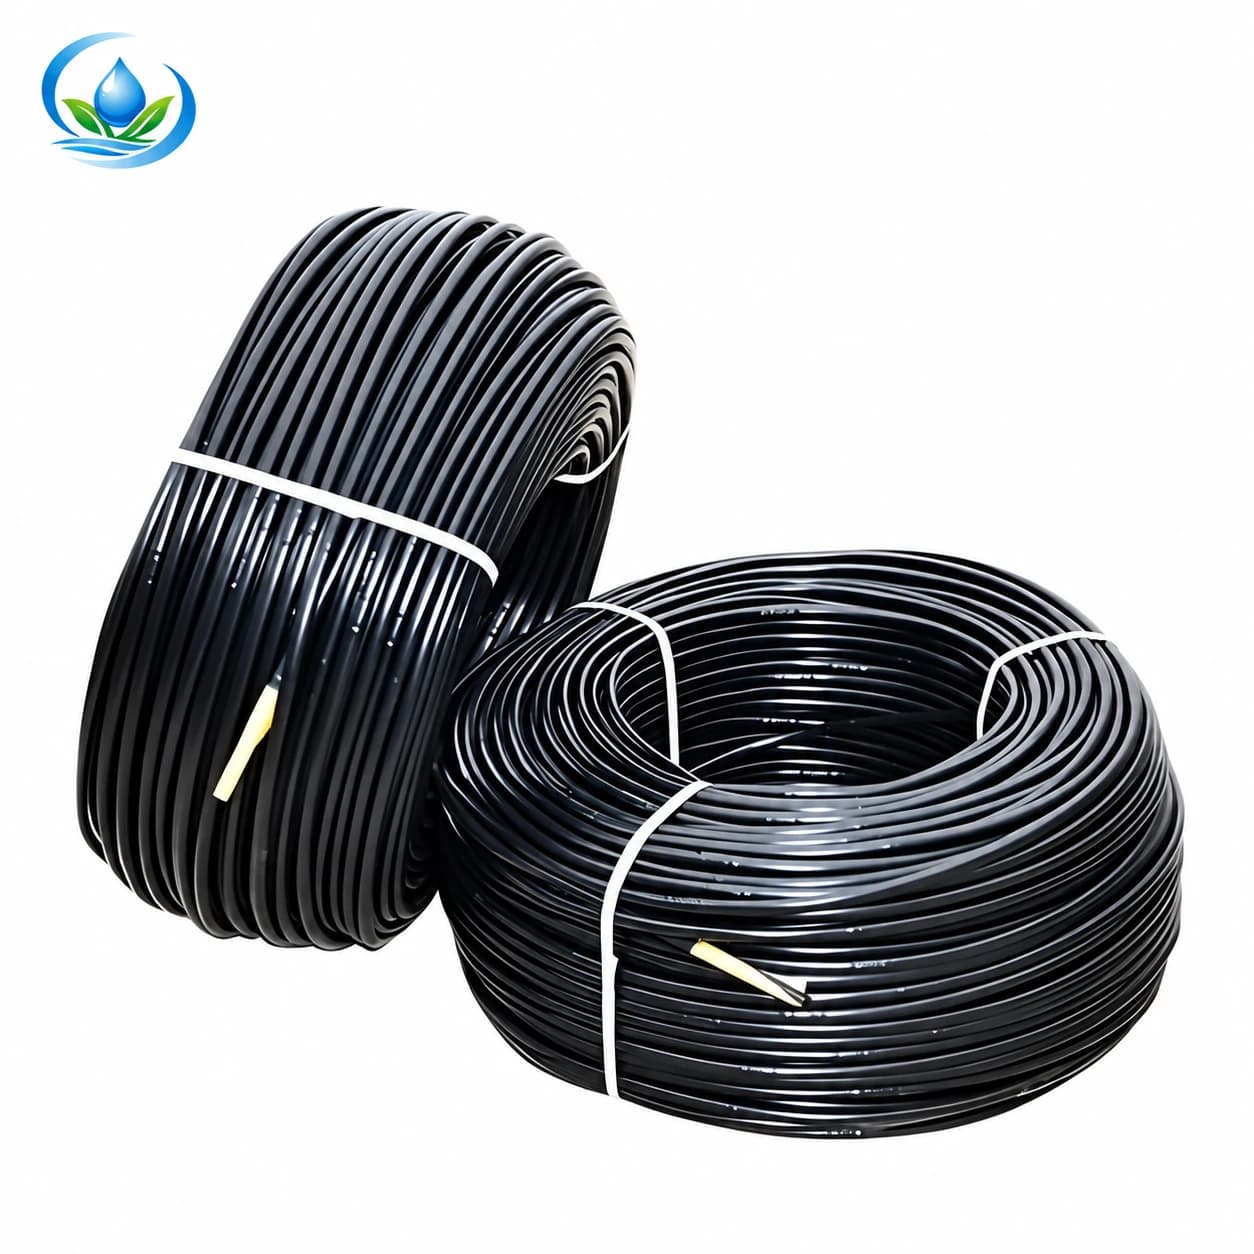
The alternative inline dripline contains built-in emitters in round tubing. One documented option, IS-3-8CDA6B18CD, combines a 16 mm diameter, 0.8 mm wall, 30 cm emitter spacing, nominal 2 L/h emitter selection and a 500 m roll. That is a complete option description, not a claim that every inline product is pressure compensating or that a 500 m lateral is permitted. A large roll may leave substantial unused material on a small block; compare it against realistic replacement needs.
Evaluate handling as well as first purchase cost. Will the lines remain in place, move aside during cultivation, or come out between crops? Where will removed line be cleaned, inspected and stored? A thicker wall does not guarantee a fixed service life. Select the material whose documented handling requirements you can follow, then match the fittings to that exact construction rather than choosing the fittings first and forcing the line to fit.
Audit both sides of each bed connection
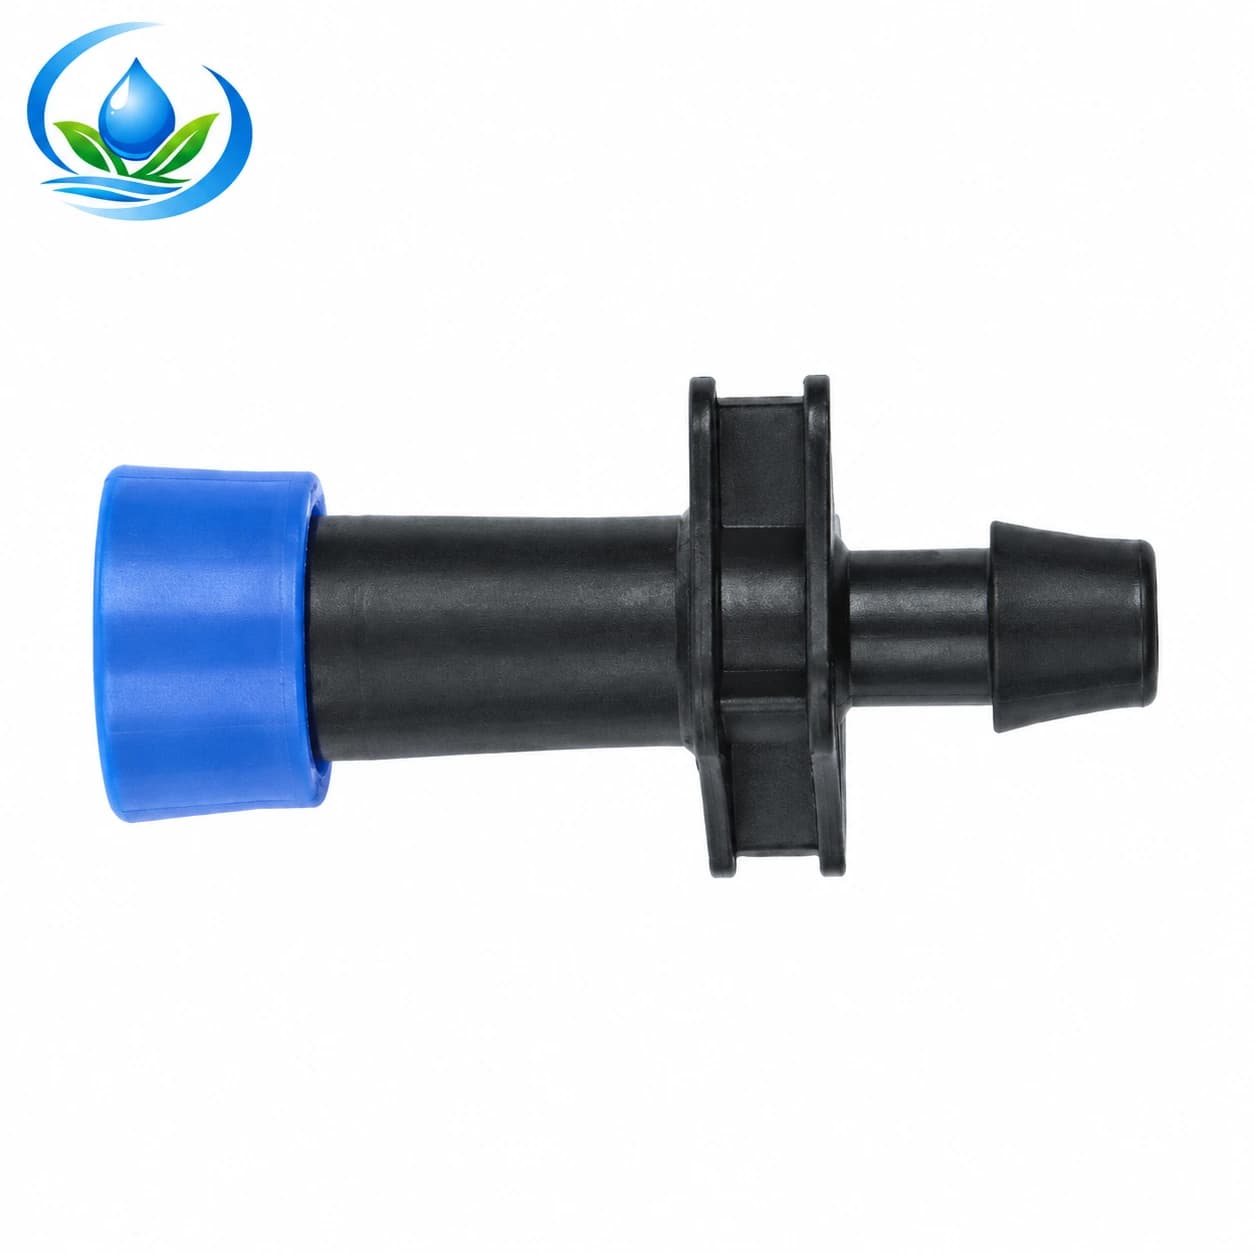
Every start joins two different jobs: carrying water in the header and feeding the selected emitting line. Write down the header material, actual size and receiving interface on one side, then the tape or tube construction and permitted connection on the other. The lock-ring start offtake is listed as a nominal 16 mm product, catalogue model T0021712. That label does not provide a universal hole size or prove compatibility with every thin-wall tape and round dripline.
Check the actual punch or opening, seal, header wall and insertion method before multiplying the assembly across six laterals. A starter fitting with no valve does not give you independent shutoff merely because it begins a line. If one bed must stop while another keeps watering, identify a suitable isolation arrangement and include its additional connections in the basket. Likewise, an end closure serves a different purpose from a repair coupler; count each by its job.
Service access can change the best connection arrangement. A fitting hidden under a mature canopy or behind a bed frame may be difficult to isolate and inspect. The accessible bed-feed guide addresses this route in detail. For a package comparison, verify that its supplied parts can implement that route without overstretching tubing or using an ordinary barbed joint as an undocumented quick-release connection.
Check operating coverage separately from material coverage
Mark which beds will run together. Total demand depends on the actual active emitters and their documented discharge at the intended pressure. Compare it with available water while the proposed group operates, including losses through the delivery route and treatment equipment. Record the maximum permitted lateral length for the chosen product and operating case. Passing the material count does not establish these hydraulic limits.
Small operating groups deserve attention too. After harvesting three beds, the remaining bed may produce a much lower flow through a regulator or automatic device. Check both the largest and smallest planned operating cases against the device's stated range. Do not solve a low-flow mismatch by opening an empty bed without considering where that water goes. A different grouping or control selection may be the better purchase.
Assess source-water treatment independently of package size. A screen or disc filter should meet the selected emitter's filtration requirement and suit the actual debris load. Its pipe connection size alone cannot prove acceptable pressure loss or treatment capacity. Note what you already own and what the new block changes. When using an existing source assembly, confirm that its condition and operating limits still support the planned beds.
Buy one verified layout, with a clear expansion list
Before cutting the entire order, lay out one representative bed using the delivered labels and model codes. Confirm the header connection, bed entry, line position and reachable end. Follow the selected components' startup and flushing instructions, inspect for leakage, and check representative delivery near the inlet and at the far end. Include the chosen filtration and pressure-control arrangement in that trial. Correct a mismatch before copying it across the remaining beds.
Keep three totals on the final order sheet: installed material, deliberately chosen service spares and deferred expansion. Record full rolls and pack quantities, not only the metres or individual fittings consumed by the layout. Check the current sale terms and availability of the exact option. If a roll exceeds this season's requirement, decide whether the leftover is useful inventory or unnecessary spending; surplus does not make an incomplete connection acceptable.
Save the bed sketch, accepted line count, measured feed route, fitting codes and operating notes with the order. For the next crop, revisit only the inputs that changed. A raised bed drip watering kit earns its place in the purchase when it covers a tested layout with compatible parts and accessible service points. The useful comparison is the complete, workable block you receive for the total purchase, not the largest advertised roll or bed count.
Before you order
Compare this guide with the specifications for your exact product, selected option, water supply and field conditions. Your equipment requirements take priority over a general example.
Compare irrigation products