Raised Bed Irrigation System: Keep Bed Feeds Accessible Between Crops
Separate non-emitting bed feeds from movable dripline. Check real edges, harvest access, exact tube and elbow connections, and a crop-change trial before buying.
Published by IrriNex Store
A raised bed irrigation system is easier to manage between crops when its supply connection remains reachable and its in-bed lines can be moved without disturbing neighboring beds. Before buying tubing, separate the route that carries water to the bed from the lines that release water among the plants. Then examine the bed edge, harvest paths and the work required when one crop comes out and the next goes in.
This guide addresses intensive vegetable beds on small farms and in protected growing areas. A raised bed may be a formed soil bed or a bed with a physical frame; those edges need different routes. The purchasing decision here is an accessible feed and a workable changeover arrangement, supported by exact components and a sample installation.
Draw the next crop change as well as the present bed
Record the planted length and width, entry end, supply position and normal working sides. Mark where harvest crates, carts, cultivation tools and crop residues move. A connection that looks tidy on an empty bed may become unreachable behind a mature canopy or lie exactly where a loaded cart turns.
Add the next planned operation: pulling plants, lifting mulch, loosening soil, spreading amendments or planting a different row pattern. Decide which irrigation sections must leave that workspace. The answer may differ between beds even when their outside dimensions match, especially when one bed remains productive while its neighbor is cleared.
Use a bed identifier that stays with the location rather than the crop name alone. Record the current crop and the next arrangement separately. This lets you preserve a reliable supply point while changing the emitting lines deliberately, without making every replacement a reconstruction of the entire bed feed.
Keep the raised-bed feed while replacing the removable lateral
The feed carries water from the distribution route to the bed. The lateral releases it within the intended growing area. Draw where these two jobs meet. Non-emitting tubing can carry water along an appropriate approach and over an edge without placing built-in outlets over a path or against the outside of a frame. A raised bed drip irrigation disconnect should remain reachable after planting so the emitting section can be removed without disturbing the retained feed.
Keep the supply interface close enough to service from a normal working position. Allow room to isolate the bed, disconnect an assembly where its connection permits this, and protect an open end from dirt. Avoid a position that requires stepping into cultivated soil or moving neighboring plants every time the bed changes.
“Retained” does not automatically mean buried or permanently installed. The route must suit the site's operations and the pipe's permitted installation. Similarly, a removable lateral is not necessarily disposable. Decide whether to move, inspect, store or replace it from its condition and documented handling requirements.
Measure the actual approach to the bed surface
Measure along the proposed route, including the rise, any horizontal lip and the final approach to the planting surface. Do not use the straight distance between supply and soil as the complete tube length. Leave an intentional service allowance where needed, while keeping loose tubing out of walking and handling areas.
A formed soil bed can have a gradual shoulder that allows an appropriate curved route. A framed bed may present a vertical side, a sharp rim or a projecting corner. Inspect contact surfaces for abrasion and pinch points. A neat right-angle drawing does not establish that tubing can tolerate that bend in the field.
Obtain bend and support requirements for the selected tube. Do not force it tightly around a rim or pull the bed connection sideways to shorten the route. Decide on a supported curve or a suitable direction-changing fitting from the real geometry. Neither approach removes the need to keep connections free of excessive tension.
Identify the blank feed tubing before matching connections
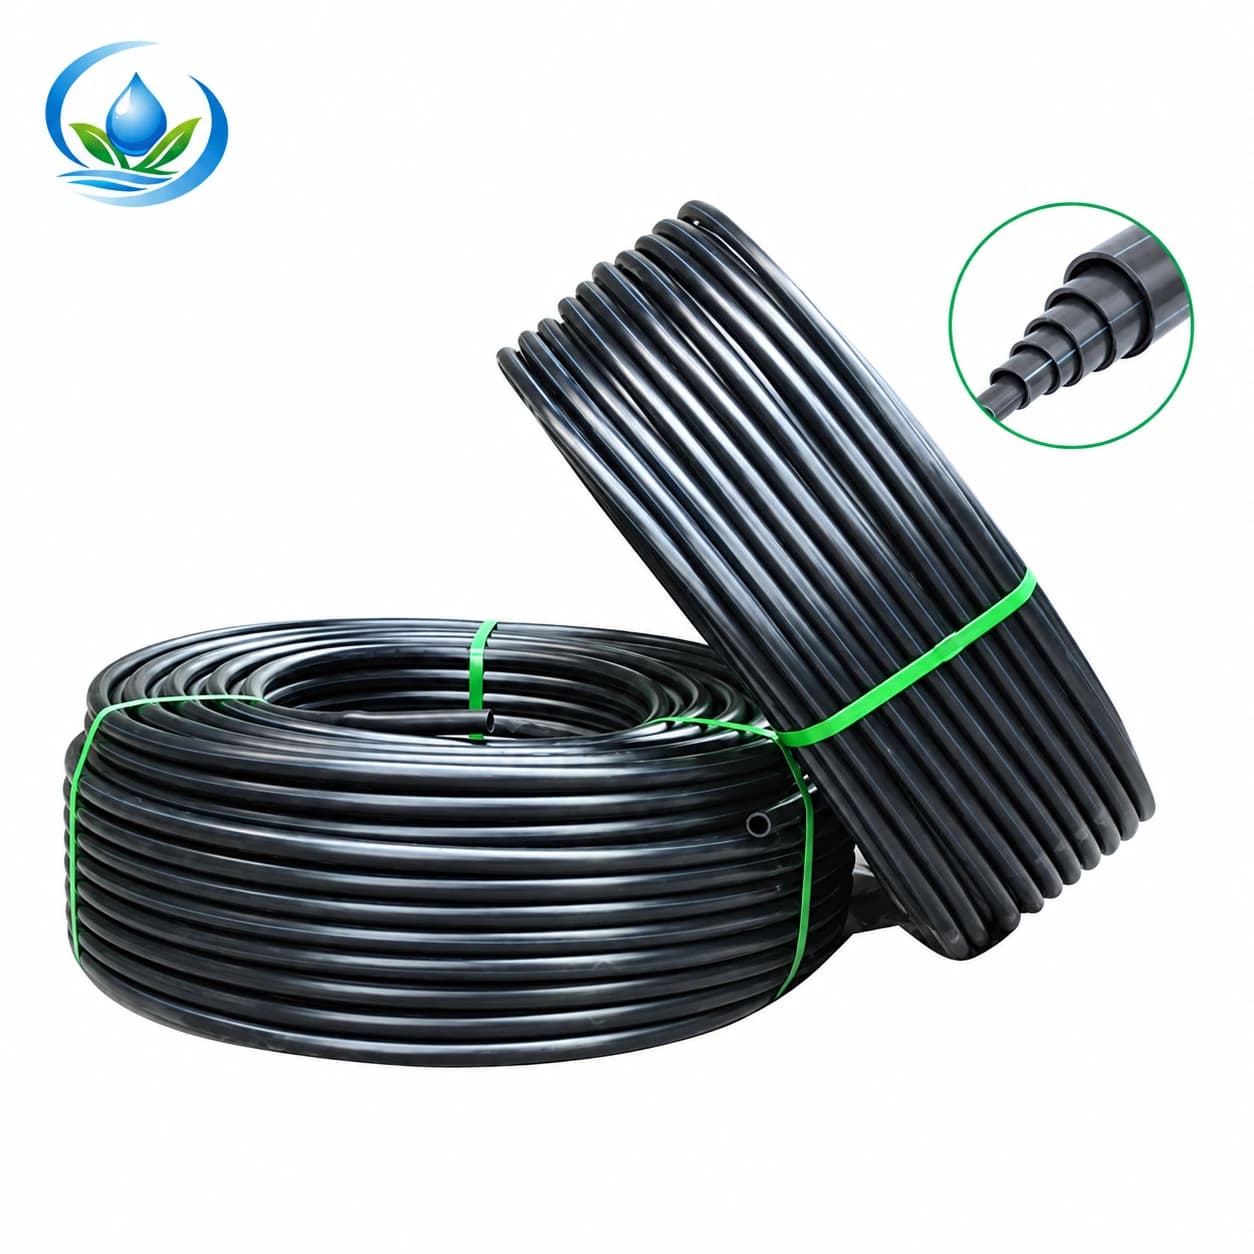
The blank PE tubing family includes IS-4-DD62380CF7, with a 16 mm outside diameter and a 1.0 mm wall. That identifies one non-emitting tube option. It does not establish that this size can serve as the common supply for every bed on the holding.
Distinguish the short bed feed from an upstream line carrying several beds together. The latter needs a hydraulic assessment for its combined flow, route and elevation. Matching the diameter of an existing outlet is not enough to size that shared pipe. Use the farm irrigation design guide for the wider distribution assessment.
For each interface, record the tube type, outside diameter and wall, plus the fitting's intended connection. Keep a labelled offcut when identifying existing tubing. A worn or stretched end can give a misleading impression of fit, so compare undamaged material and the actual product documents before repeating a connection across many beds.
Use an elbow only where the route calls for it
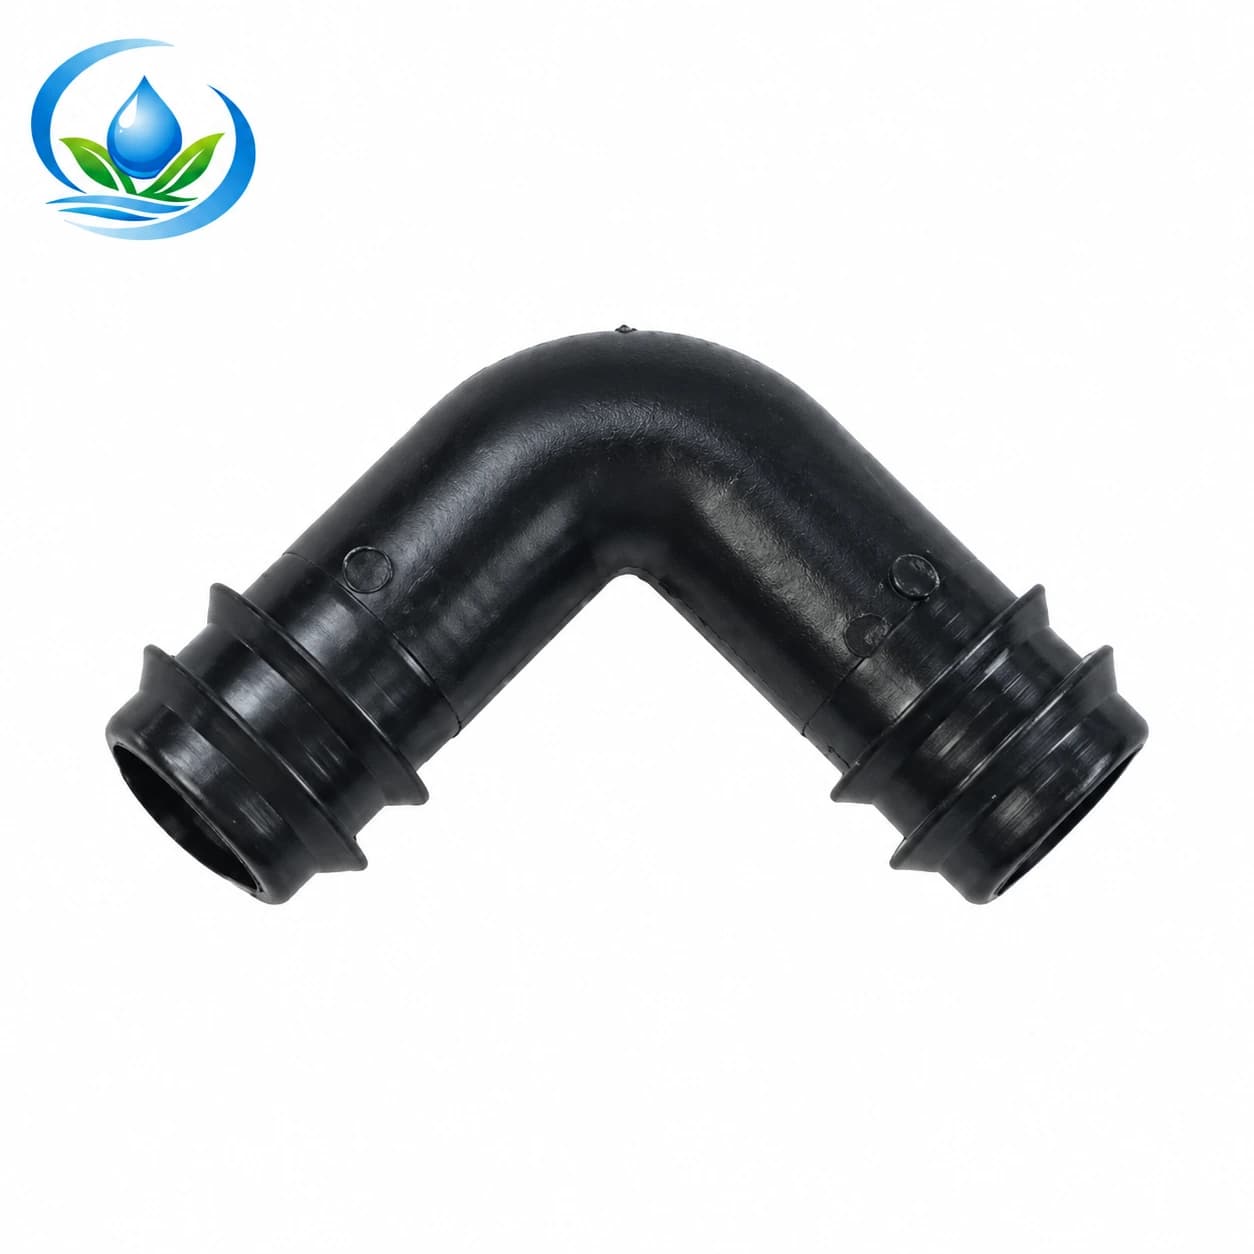
The barb elbow range identifies EC0116 as 16 mm, EC0120 as 20 mm, EC0125 as 25 mm and EC0132 as 32 mm. These are distinct size options. An EC0116 elbow and tubing described as 16 mm form a candidate combination requiring confirmation, not an automatically approved joint.
Check the permitted tubing construction, dimensions and retention method for the exact elbow. Thin-wall tape, round inline dripline, blank PE tube and microtube are different connection questions. Do not force an ordinary barb into tape simply because both labels contain the same nominal diameter.
Count elbows after deciding the route. A framed edge may require more than one change of direction; a gradual soil shoulder may need none. Added fittings also add interfaces to inspect and hydraulic losses to consider. Test the intended pieces together before buying a repeated assembly for every bed.
Select the emitting section for the planted area
The inline dripline option IS-3-8CDA6B18CD is identified by a 500 m roll, 30 cm emitter spacing and a nominal 2 L/h emitter choice, with 16 mm diameter and 0.8 mm wall. Keep this complete description with the order rather than selecting from the family name alone.
The 500 m figure describes the purchase unit, not an acceptable single lateral length. The emitter selection does not establish pressure compensation or suitability for permanent burial. Obtain the exact operating-pressure, filtration and length guidance, and check that the proposed arrangement can supply its documented duty.
Position the emitting section where the crop needs water. If it starts on the outside face of a bed or continues through an aisle to another bed, its outlets may release water in unwanted places. Use an appropriate non-emitting transition for that transport job instead of trying to reinterpret an emitting line as a blank feed.
Choose line positions from the bed and soil
Measure the planted strip separately from the frame's outside width. Allow for empty margins, access to trellis posts and the position of the crop's root area. A purchase described as serving a certain number of beds cannot determine your lateral count without the dimensions and planting pattern behind that number.
University of Minnesota Extension's specialty-crop irrigation guidance recommends testing outlet spacing in the actual soil and notes that exposed lines can interfere with cultivation. These are useful checks when choosing a layout that must both wet the bed and leave it workable.
Run a representative wetting trial and inspect the intended root layer between and beside the proposed lines. Neither equal spacing on a drawing nor a damp surface proves that the whole required area receives water. If the next crop changes the planted pattern, reassess the positions instead of carrying over the old line count automatically.
Plan an accessible raised-bed disconnect between crops
An accessible isolation point allows work on one bed without assuming that every other bed must stop. Identify the exact valve and connections needed in the wider design. A direction-changing elbow is not a shutoff valve, and a closure at the far end does not isolate the inlet.
Do not treat a plain barbed joint as a quick-release coupling. Repeated pulling can damage a tube end or change the fit. If frequent removal is part of the crop plan, obtain a connection arrangement intended for that service, or plan to move a suitable complete assembly according to its instructions.
Write down what remains attached during changeover and how exposed ends are closed against dirt. Keep the fitting model and seal requirements with that record. Service access includes space for hands and tools as well as visibility: a valve that can be seen but cannot be reached is still poorly placed.
Test one complete bed entry before repeating it
Build the sample at a representative edge using the actual feed tube, direction changes, support arrangement and lateral connection. A loose tabletop joint will not show what happens when the tube passes over a real rim. Inspect the assembly without pressure first for crushing, sharp contact, twisted parts and tension.
Then follow the components' flushing and startup instructions. Keep the normal protection equipment in the trial, and assess the intended operating group rather than only an isolated outlet. Observe the sample under working pressure for leaks, movement, restricted flow and changed tube shape. Use supported pressure limits, not a test pressure selected by guesswork.
Check delivery at representative near and far points, and confirm that water lands within the bed rather than tracking along a poorly positioned tube into the path. Compare the result with the selected equipment's operating data. Correct the route or connection before copying the assembly; purchasing fewer uncertain joints first can prevent repeating one mistake throughout the block.
Rehearse a crop change while access is still easy
Before plants conceal the fittings, isolate and depressurize the test arrangement according to its instructions. Demonstrate the planned removal process without pulling on the retained supply. Confirm that the line can leave the bed through the intended working side and that the protected feed does not obstruct soil preparation.
Consider two real crop arrangements you expect to use. A broad planting of greens and a later arrangement around individual crop rows may need different line positions. The exercise is to test reach, routing and service access, not to invent a universal irrigation pattern for either crop.
Changing active line length or outlet count can change demand. Closing harvested beds can also change the operating flow seen by controls. Review the zone operating guide when the permitted bed groups change. A physically convenient changeover still requires an acceptable hydraulic operating case.
Count purchases by what stays and what moves
Create separate quantities for retained feed, removable emitting line, edge fittings and service connections. Measure from the accepted trial rather than estimating every bed from one outside dimension. Beds with different heights or access sides may need different feed lengths even if their planted areas are identical.
| Purchase group | Record for each bed | Decision before ordering |
|---|---|---|
| Retained feed | Actual route, tube dimensions and service position | Can it stay clear through the planned work? |
| Emitting lateral | Variant, installed length and outlet positions | Does the trial wet the required area? |
| Edge fittings | Model, number and verified mating tube | Does the sample remain unstressed and leak-free? |
| Service interface | Isolation, permitted disconnection and closure | Can the bed be cleared without disturbing neighbors? |
Record spares separately from installed demand. Unused roll length does not add operating outlets or supply capacity. Confirm the sale unit, price and supply terms for the exact variants. A photograph of assembled parts should not be treated as proof that every item shown is included in one purchase.
Keep a restart record for the next planting
After moving the laterals, inspect their condition and reconnect them to the identified feed. Restore the required filtration and control arrangement, flush as instructed and check the terminal closures. Confirm the intended beds are open before comparing pressure and delivery with the accepted trial record.
Review watering duration when outlet number, flow or planted area changes. The runtime review after changing emitters keeps that scheduling task separate from the mechanical changeover. Retaining a convenient feed position does not establish that the previous crop's minutes remain appropriate.
Order the repeat assemblies when the exact joints, access and operating trial meet the documented requirements. Revise the route if it obstructs work; hold an unmatched connection until its compatibility is established. Send the bed drawing, edge measurements, model labels and trial observations to IrriNex Store support for a specific component question. The result should be a feed that can stay useful while the crop layout changes around it.
Before you order
Compare this guide with the specifications for your exact product, selected option, water supply and field conditions. Your equipment requirements take priority over a general example.
Compare irrigation products