Raised Bed Irrigation System: Check Transplant Root Balls After Planting
Compare water at a new vegetable transplant's root ball and the surrounding raised-bed soil before buying another drip line.
Published by IrriNex Store
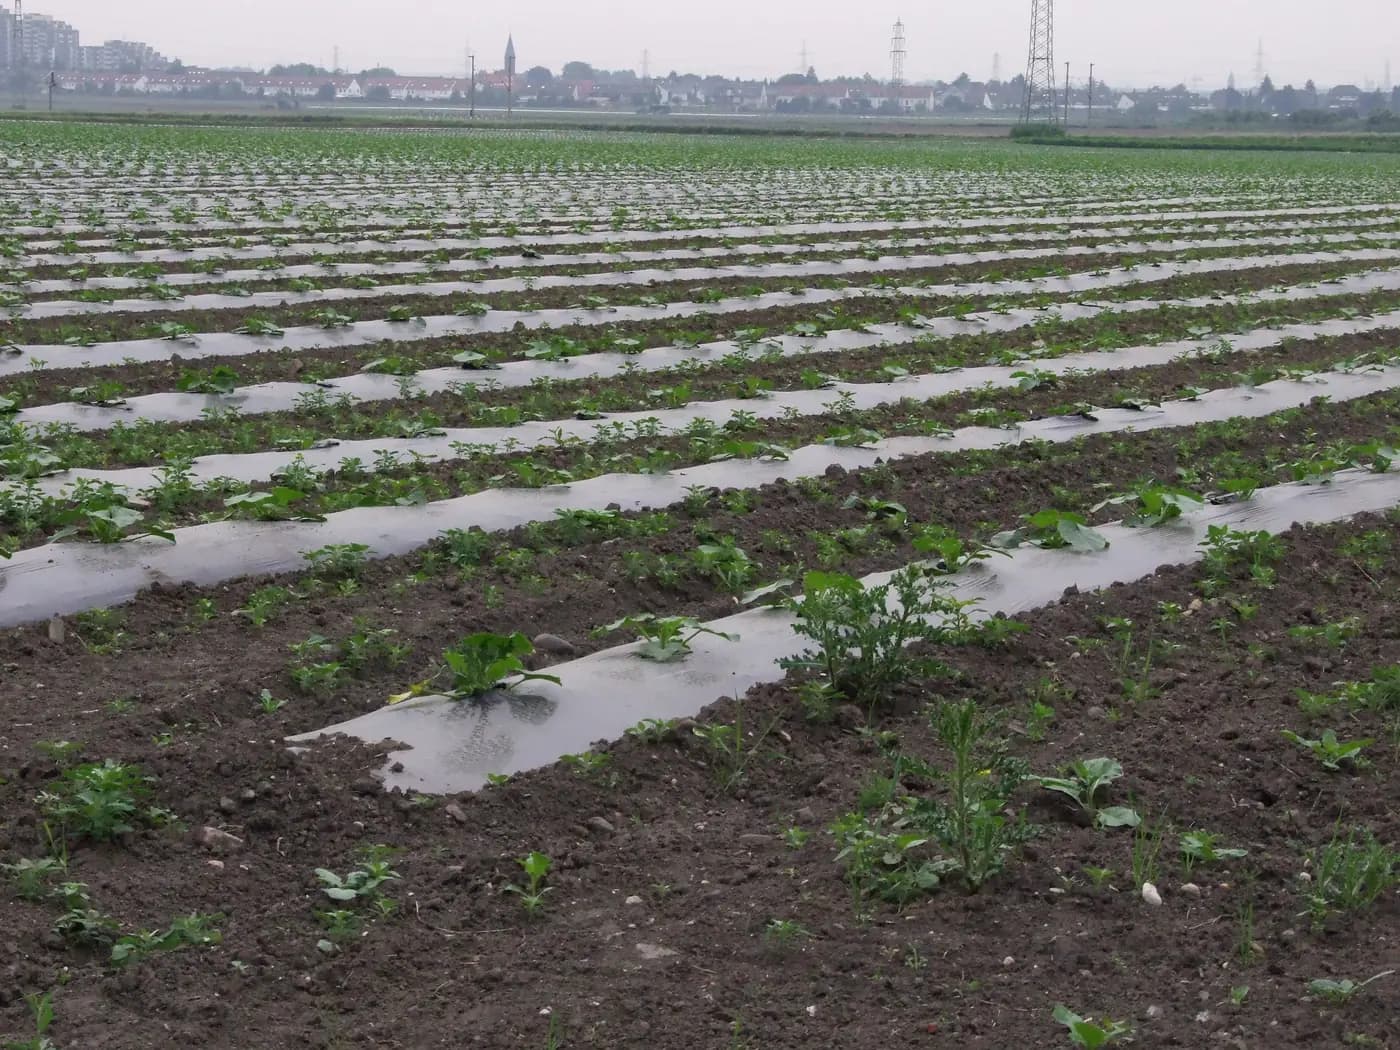
A raised bed irrigation system needs a different field check when vegetable plugs are transplanted into an established bed. A dark strip beside a drip line can show that water entered the bed without showing that it reached the plug and its contact with surrounding soil. A plug can also arrive moist from the nursery while the bed beside it remains too dry for emerging roots. Before buying another lateral or extending every event, compare both materials at named plants after the system runs in its intended configuration. The useful purchase is the one that closes an observed delivery gap without drowning other transplants on the same valve. At a named plug, inspect its original medium and adjacent bed soil in the same event; moisture in only one does not show a continuous water route for emerging roots. Raised-bed transplant rootball wetting is checked in the original plug and adjacent bed soil during the same event.
This guide is for a commercial crop planted as rooted vegetable plugs into raised soil beds, either open or covered with an accessible planting hole. It concerns the first establishment checks after planting, not a standard watering recipe for tomatoes, peppers, brassicas or another crop. Penn State Extension's commercial high-tunnel guidance describes transplanting into sufficiently moist bed soil and monitoring moisture under plastic after planting. The crop team's planting and watering procedure determines what each crop needs. Here the equipment decision is narrower: does the installed line deliver water where each new root ball meets that bed, and what component, if any, should change?
Does raised-bed drip reach the transplant plug and surrounding soil?
Give the block, bed and valve group names that workers can find again. Sketch the planted rows, each existing emitting line, the header, the start and end of the bed and any plastic or other cover. Mark a small set of representative transplants: near the inlet, toward the far end, in a central row and along an outer row if one exists. Add any obvious soil-texture or slope change. The sketch is a record of real planting positions, not a reason to copy a kit maker's standard bed width or fixed lateral spacing. The raised-bed feed guide covers keeping a connection serviceable when crops turn over; this check begins after the transplants occupy the bed.
Record what arrived from the nursery as well as what the field contains. The plug may be in peat-rich or another growing medium while the bed is mineral soil or a different amended mix. Note the actual plug dimensions, the placement depth accepted by the crop team, the plant's location relative to the nearest outlet and the initial condition of both plug and surrounding soil. A tray watered just before planting gives a different starting observation from a dry tray. Keep those conditions visible so that a wet plug is not credited to an irrigation event it has not received.
Check that the plant is set according to the crop team's instruction before using it as an irrigation sample. A gap beside the plug, a planting hole exposing medium above the intended soil level or a folded cover can change how water meets the roots. Irrigation hardware cannot correct every planting defect. If the plug or seedling is loose, tilted or visibly damaged, have the crop lead identify the remedy and select another intact plant for the equipment comparison. Use a gentle inspection beside the plant rather than pulling it out to demonstrate that the center looks dry.
A wet line stripe or a wet rootball: which evidence is missing?
Start with the installed system at its normal operating valve combination, filtration and pressure arrangement. Confirm the row actually receives water and that accessible near and far parts of the line behave as expected. A leak at the head, a closed branch or restricted emitters can make a plug dry without any problem in its placement relative to a sound line. The uneven-emitter-flow check helps distinguish a local outlet fault from a supply problem before a full new roll is ordered. Do not open an unknown fitting under pressure to create a sample port; use the system's approved inspection method.
At each marked plant, observe three places separately: the plug material within a safe accessible margin, the field soil immediately against it and the surrounding planted strip that the roots are expected to enter. Include the soil beside a known working outlet as a comparison. Record the conditions before the event, after the normal event and at the follow-up time chosen by the crop team. A surface photograph alone cannot show the contact beneath a planting hole. A small, careful side inspection can show more, provided it does not sever roots or disturb a sale crop. Use the same positions when a trial is repeated.
Interpret the combinations instead of labelling the whole bed simply wet or dry. A moist line strip and dry plug edge suggest that water has not crossed the relevant contact at that position; a wet plug and dry adjoining bed might reflect the tray's initial watering rather than field delivery. If both are saturated, more runtime is unlikely to be the first useful purchase. If both remain dry near several plants, check source, group operation and the line before changing every plant position. Crop condition also matters: heat, wind, planting injury or disease can make a transplant look stressed even when nearby soil is moist. The irrigation trial identifies the water route; it does not diagnose the entire plant.
On a covered bed, use existing access at a planting hole or a crop-approved inspection point. Do not cut a new hole near hidden tape because a surface stripe looks misplaced. Rainfall may wet open soil differently from soil protected by plastic, so record recent rain and whether the sampled position was sheltered. If the bed is open, note any runoff along a shoulder or an aisle that could make the surface look wet while the plug remains untreated. Keep the cover condition and sampling method with the record so later workers understand which part of the bed was actually examined.
Test the existing line before proposing more outlets
If the line is intact and representative plugs meet the crop team's moisture check without excessive water elsewhere, keep it. Confirm the result at both near and far plants and after another normal operating event, because one successful planting-hole inspection can miss a dry end or a soil change. Preserve the bed map and observation date. There is no need to buy an additional emitter simply because the new plants are small. As roots grow into the surrounding soil, the observation positions and operating decision can be reviewed under the crop plan.
If the plug contact is dry but water arrives nearby, map the distance and intervening material before changing hardware. Is the nearest emitting point on the wrong side of the planted row? Does water run down a planting hole edge instead of entering soil beside the plug? Is there a dry pocket between a coarse nursery medium and the bed? A short trial on one representative bed can compare a crop-approved water-in step, a permitted line position adjustment or a separate delivery point. Change one part of the arrangement at a time, then inspect the same marked plants. The result, not a standard line count printed on a kit, determines whether a purchase helps.
Adding another lateral changes the number of outlets and the simultaneous demand of that valve group. It can also wet the center of a bed that already receives enough water while leaving one poorly planted hole unchanged. Count the proposed active outlets and identify the source, regulator and filter that will supply them. The farm drip-design guide explains how to check the wider flow and pressure arrangement; the transplant trial asks whether the changed delivery reaches the plug-to-soil contact. Do not treat a successful hand-watering demonstration as proof that a new built-in lateral will make the same wetting pattern.
Read the line products as options, not establishment promises
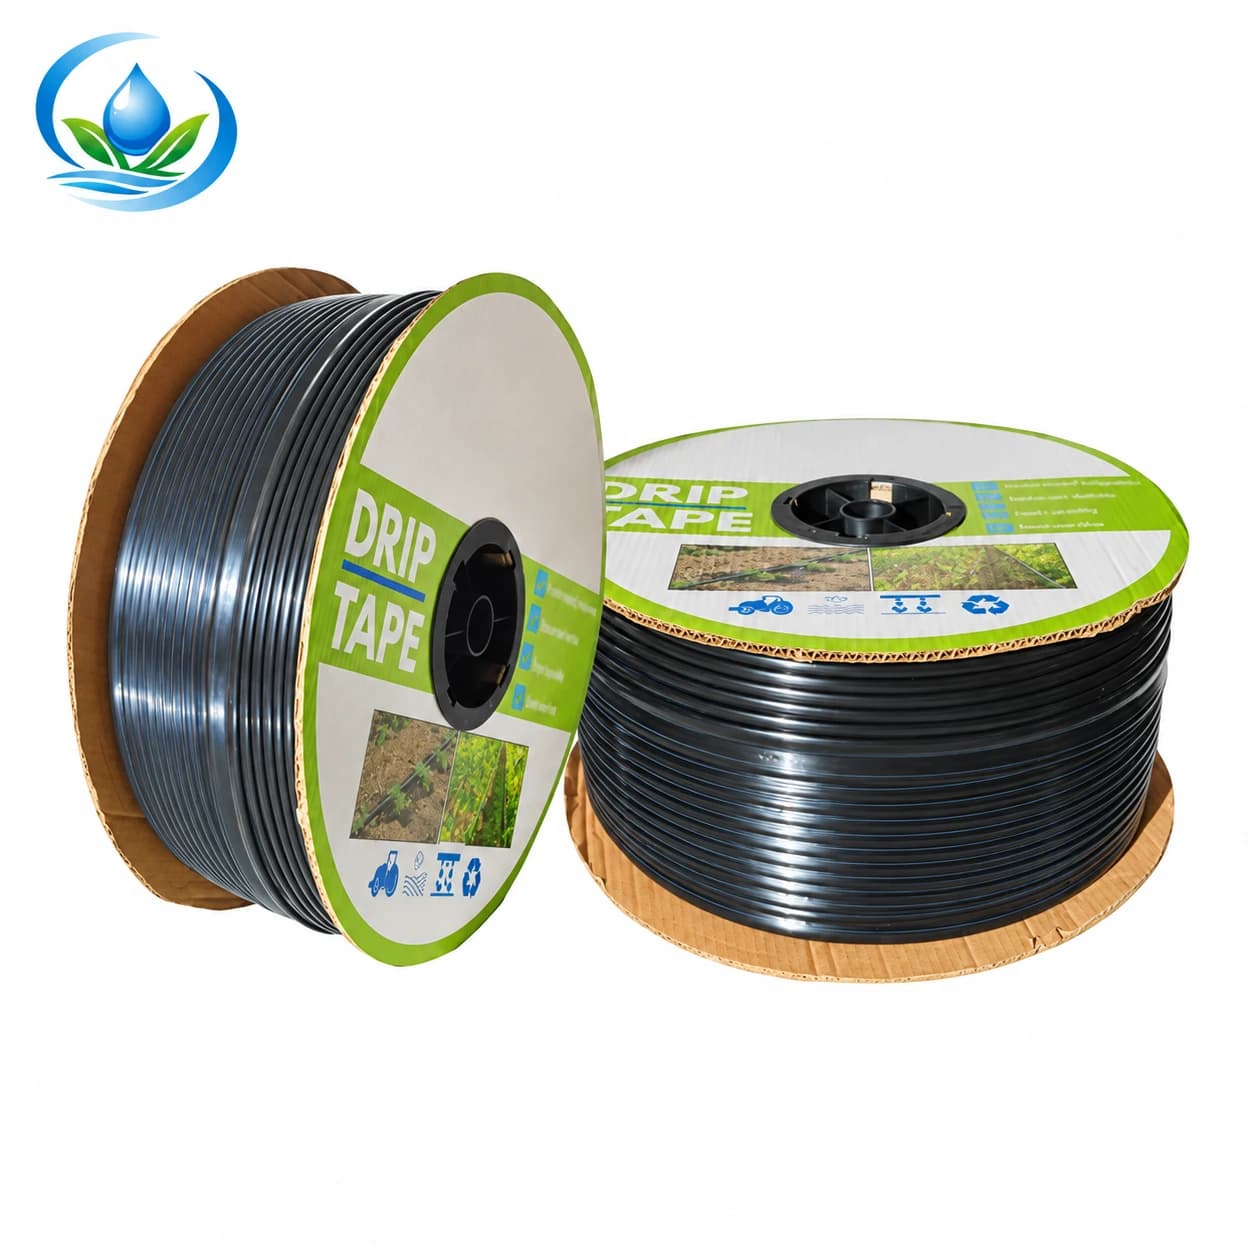
On the flat drip tape page, model IS-2-C526AC2D85 pairs a nominal 16 mm diameter with a 0.2 mm wall and integral outlets 30 cm apart; the sale unit is a 2,000 m roll. Those figures identify one product option. They do not state how far water moves from an outlet into this bed's soil or nursery plug, nor do they provide a verified discharge for the option on this page. The roll length is a sale quantity, not an approved single lateral length. If a trial points to replacement tape, confirm its exact operating pressure, outlet discharge, permitted route and compatible starts and ends before cutting material for every bed.
For inline drip pipe, model IS-3-8CDA6B18CD instead has a round 16 mm nominal body and a 0.8 mm wall. Its integral emitters are 30 cm apart, rated at a nominal 2 L/h each, and the sale roll contains 500 m. The 2 L/h label is a model selection value, not a measurement of water reaching the transplanted plugs here. The available description does not verify pressure compensation, an establishment watering schedule or a permissible single run of 500 m. Moving from tape to round pipe also requires checking the exact fittings and operating group, even though both options carry a 16 mm label.
A second line or a different emitter construction should be considered only after the trial identifies a repeated spatial gap that the crop team wants to solve through permanent equipment. An isolated dry hole may call for correcting that plant's establishment practice or a documented local repair rather than changing the whole bed. If many holes in one section are dry, verify line delivery and the planted geometry before deciding the number of new lengths. The outlet-marking and punch guide covers a separate individual-emitter approach if an approved design uses blank tubing; it does not authorize punching the wall of either integral-emitter line.
Keep a temporary establishment action separate from the permanent layout
Some planting teams use a crop-approved water-in step at each transplant, while the later irrigation system is designed to serve roots as they extend into the bed. Write down who performs that first step and how its result is checked. A hand-applied or other temporary method is not automatically part of the purchased drip-line assembly. If a temporary sprinkler or another method is proposed for a particular crop, assess its own water landing, leaf wetness, access and source capacity. Do not claim that any Store sprinkler is necessary for all vegetable transplants or that a mist cloud proves water reached the root ball.
Where a covered bed is planted in stages, distinguish freshly set rows from established rows sharing the same valve. A new plug may need attention while the older crop requires a different event, and a single valve cannot give two independent start decisions. The staggered-planting zone guide helps map which planted rows actually run together. Keep the transplant trial's bed and date beside that zone record. Do not lengthen the common event for all rows merely to compensate for one newly set plug unless the crop and hydraulic assessment supports the whole group.
Use the observation to decide when the establishment check should be repeated. A plug that was initially moist may dry faster than adjacent field soil, or later roots may connect the two materials and change the relevant sampling position. Recheck the named plants under the farm's crop procedure and compare them with healthy and stressed plants in the same bed. Avoid assigning a universal daily number of minutes or a fixed number of days before the line becomes adequate. The runtime guide after an emitter change is for a later calculation when a verified new outlet arrangement actually changes delivery; it is not an establishment schedule for every transplant.
Order from a measured bed record
Give the buyer one sheet per bed or operating group: crop and transplant batch, nursery-medium observation, planted positions, original line code and route, valve group, before-and-after checks at the same plug/soil contact, and any local defect. Write the accepted outcome as keep, repair one identified section, trial an approved adjustment or specify replacement lengths. Add the exact mating parts and a short labelled sample where fit remains uncertain. A 16 mm label on two different line walls is not a completed connection specification. Obtain the selected model's fit and operating data before changing a whole block.
Compare the current price, sale unit, available options and delivery on the selected Store product pages against that measured parts list. If the exact line option, joining method or operating limit is unresolved, send Store support the bed sketch, existing label and photographs of both mating ends. Keep the planting team's water-in procedure with the record for the first crop check. A raised bed irrigation system serves the new planting when its actual water path supports both the transplant plug and the bed soil roots are entering; an orderly row of wet tape alone is not the acceptance test.
Before you order
Compare this guide with the specifications for your exact product, selected option, water supply and field conditions. Your equipment requirements take priority over a general example.
Compare irrigation products