Drip Irrigation: Watermelon Row Layout Before Vines Fill the Field
Keep watermelon row valves and line ends reachable as vines spread. Map rooted plants and pollenizers, test wetting, and choose precisely identified components.
Published by IrriNex Store
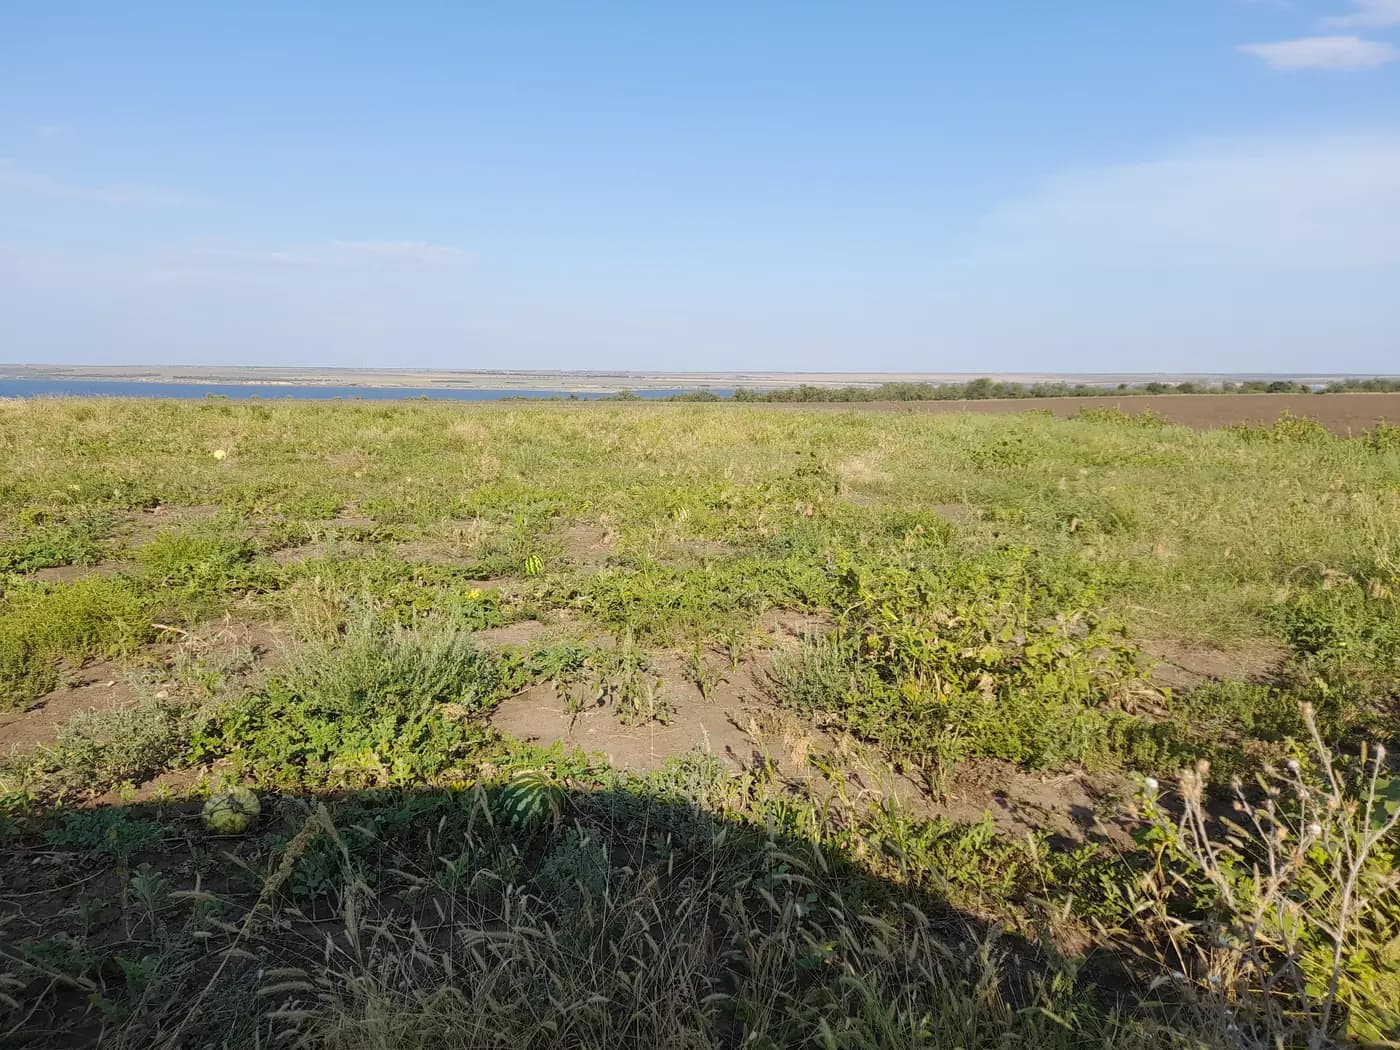
For drip irrigation, watermelon growers need a layout they can still understand when spreading vines hide the original planting rows. The visible fruit may lie well away from the plant that supports it. A valve, joint or flush end that was easy to reach at planting can disappear beneath overlapping stems just when repeated picking begins. Watermelon drip row access should be mapped before vines cover the header, row starts and service ends.
Prepare the field around three things that must remain identifiable: where plants are rooted, which line supplies those positions, and where an operator can isolate and service that line. The following checks help turn that map into a specific tape, dripline and connection order. They also give the harvest crew a useful record after the bare-soil layout has vanished.
Where is the rooted watermelon row beneath the spreading vines?
Mark the transplant or established crown positions on a row drawing while they are visible. Add fixed references such as the supply edge, numbered bed ends and a recognisable field boundary. Describe the view used for numbering, because “third row on the left” changes when someone enters from the opposite end.
Draw the proposed irrigation route separately from the direction in which vines are expected to spread. Watermelon foliage and fruit locations do not provide a reliable map of the soil volume being supplied. Moving an emitting line toward a fruit can pull it away from its intended watering position, strain a connection or disturb several intertwined plants.
Keep observations of moisture linked to the planted row and the root area relevant to that crop stage. The crown is a locating reference, not an instruction to discharge directly against the stem or a claim that all roots remain there. Use suitable crop advice and careful field inspection to decide which soil area needs wetting.
Which drip-line service points stay reachable at harvest?
Assign the same row identifier to its supply connection and terminal point. Add the valve group and the selected line model to the record. A photograph from each end can supplement the drawing, but include a stable reference in the frame; a close photograph of black tubing among green leaves will soon be difficult to place.
Choose positions that a person can reach from an agreed working edge without pulling vines aside. Check space for a hand around the valve and for the required end-opening procedure. Visibility from a distance is insufficient if a growing stem later traps the handle or if a harvest crate occupies the only standing position.
Use labels and markers appropriate to the farm's work, without inserting stakes through an unidentified irrigation route. Record where the actual joint sits relative to its marker. The map should let another operator find a named line, confirm its identity and follow the approved isolation procedure without relying on the installer being present.
Include pollenizer plants in the water map
Where the planting uses a pollenizer variety, show its real position alongside the sale crop. It may occupy separate rows or be interplanted, depending on the crop plan. Do not remove it from the irrigation count merely because it is handled differently at harvest or is absent from the marketable-fruit tally.
Penn State Extension's watermelon guidance confirms the need for a pollen-producing variety with seedless watermelon. Obtain the arrangement appropriate to your varieties and location; this irrigation checklist does not set a planting ratio.
Translate that planting arrangement into actual supplied positions. A separate pollenizer row needs an identified water route; interplanted plants need inclusion in the wetting inspection along their shared row. If rows are grouped under different valves, annotate those memberships explicitly so a crew does not mistakenly shut off a required planting while simplifying the harvest map.
Reserve access for both picking and line care
Walk the proposed carrying and loading routes with the people who will harvest. Identify where full crates rest, where a cart turns and where workers cross the row ends. Those repeated movements can compress tubing or catch a projecting handle even when the route seems clear during a quiet planting-day inspection.
Locate service connections outside those contact points wherever the approved layout allows. If an unavoidable supply crossing exists, specify suitable protection or an operating procedure for that crossing. Do not make a loose emitting lateral the carrying path's edge marker. An outlet repeatedly stepped on may deliver differently before obvious damage appears.
Keep flush discharge away from the place where a crew stands or places harvested fruit, using an arrangement suitable for the site and equipment. Plan the approach to the far end as carefully as the approach to the inlet. The guide to serviceable line endings helps distinguish a closure from a puncture repair or another connection role.
Compare line options using a complete identity
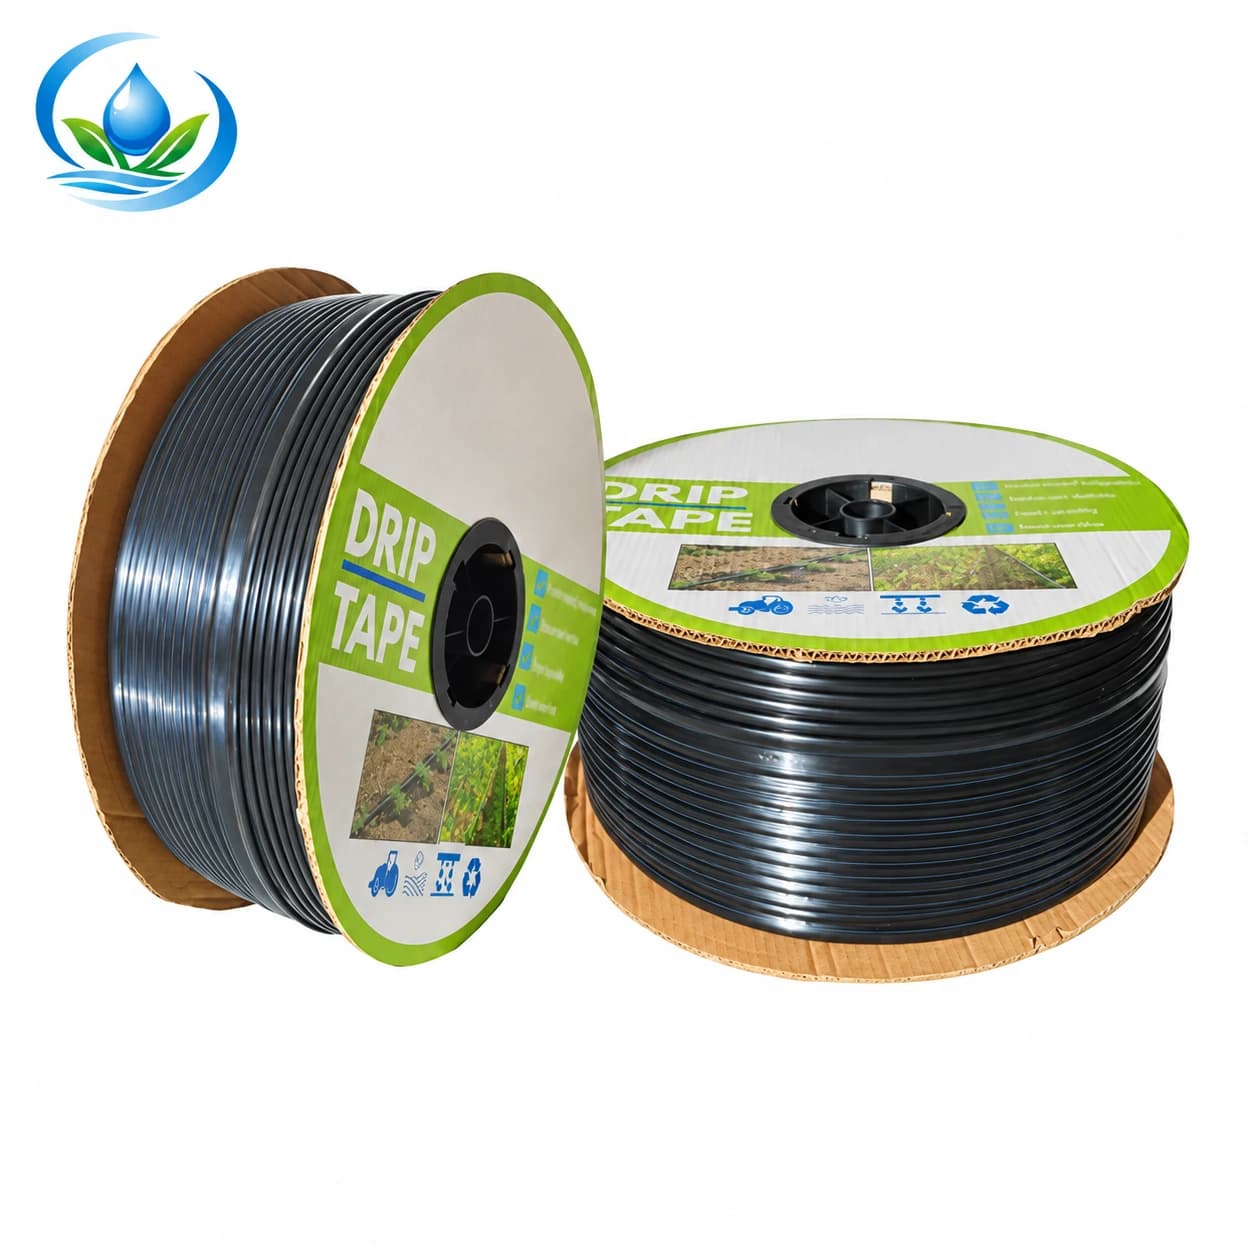
For a tape candidate, flat-emitter tape includes SKU IS-2-C526AC2D85. Its listed combination is a 2000 m roll with 30 cm outlet intervals, a 0.2 mm wall and 16 mm diameter. These figures identify the option for a trial; they do not select a watermelon planting pattern.
The corresponding outlet discharge has to be established for that exact tape before calculating demand. Request the operating limits, filtration instructions and permissible lateral length for the proposed slope and flow. The roll's total metres cannot answer those questions, and a thickness value alone cannot predict how the line will tolerate harvesting traffic or later recovery.
A different candidate is inline emitter pipe, SKU IS-3-8CDA6B18CD: nominal outlet flow 2 L/h, a 30 cm outlet interval, 0.8 mm wall, 16 mm diameter and 500 m supplied per roll. Its stated flow is not evidence of pressure compensation, and the purchase length does not approve a continuous 500 m field run.
Compare those alternatives against the actual route, handling method and soil trial rather than combining their features into an imaginary third option. Preserve the exact label when asking for a replacement. A different emitter interval changes the installed outlet count; a different wall may change the connection question even when the diameter name remains familiar.
Use an isolation valve in the correct connection role
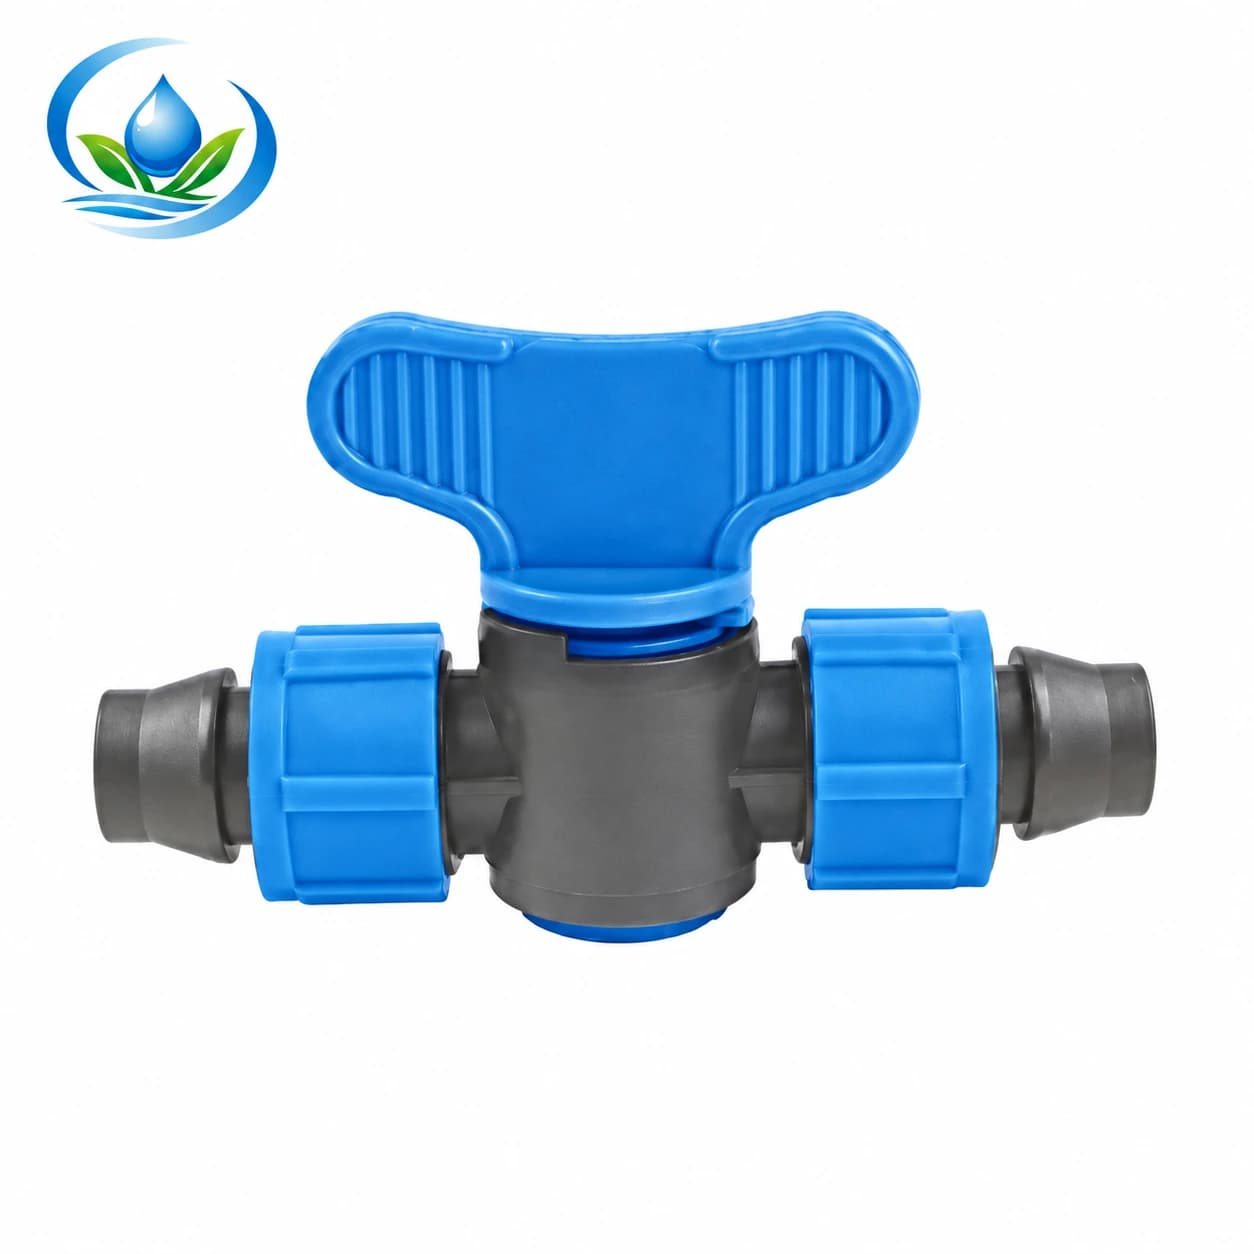
The V161 lock tape coupler valve is identified as 16 × 16 mm. Consider it for an accessible inline joining and shutoff position with confirmed compatible tape. It is not the fitting that creates a new hole or offtake in a header, and it does not regulate pressure automatically.
Describe both mating sides when confirming fit, including the selected tape construction and wall. Do not assume that the inline pipe above uses the same joint simply because its diameter also says 16 mm. If the supply-to-row transition requires another connector, identify it separately instead of stretching the coupler valve's role to cover it.
Try the required hand movement at the intended service position before repeating the assembly. Turning a handle should not twist the whole lateral or pull it sideways through the crop. Review the manual valve selection guide when the isolation arrangement or the number of controlled rows is still unresolved.
Run the trial with the intended rows operating
Assemble a representative section using the proposed line and actual connectors, then test the full operating arrangement needed to assess the production rows. A convenient short sample can expose a bad joint but cannot demonstrate delivery at the end of a longer run. Keep the normal filtration and pressure-control equipment in the test.
Record which rows are open, the water-source condition and pressure measurements while water is flowing. Include a demanding position such as a long or elevated row, not just the nearest outlet. Use the selected component documentation to judge the readings. The crop-row zoning guide addresses the upstream grouping decision if the proposed combination cannot be supplied properly.
Compare collected discharge from representative accessible outlets over the same measured period, following a suitable test method without stretching or damaging the line. Identify each sample by row and position. Investigate an inconsistent result before changing watering time for the entire block; a leak, restriction or wrong operating group needs a different response from a dry but evenly supplied soil.
Inspect the wetting pattern before foliage hides it
Inspect moisture near several intended plant positions, between outlets and across the area the chosen arrangement must serve. Include a soil change or uneven part of the field rather than selecting only the easiest demonstration spot. Examine the relevant soil layer carefully, avoiding damage to roots and equipment; a surface stripe is only part of the evidence.
Write down the starting soil condition, test duration and what was observed. The minutes in this record describe that trial. They do not become a season-long programme or a universal recommendation for watermelon. Outlet spacing is likewise a property to evaluate in the soil, not an instruction to place every transplant beside an emitter.
If the intended area remains poorly wetted, review position, delivery and the proposed number of laterals together. Do not extend a run simply to chase the advancing canopy. If the emitting arrangement changes, revisit demand and duration using the runtime review for changed outlets, with measurements from the revised installation.
Revisit access when vines first cross the working edge
Use visible crop development as a prompt for another access walk. Confirm that row labels can still be read, valve handles can move and the terminal points can be serviced. Correct an access conflict early through the farm's agreed crop-handling procedure, before stems become intertwined around the equipment.
Do not drag a running lateral through the vines to recover a convenient path. Identify and isolate the affected line, release pressure according to the equipment instructions and assess what must actually move. A proposed new position must preserve the watering route to the relevant root area and avoid tension at the retained connections.
After any permitted movement or repair, repeat the leak and delivery checks at the affected row and update its map. Take a new reference photograph if the service location changes. Keeping the old image beside a silently relocated valve can be more confusing than having no photograph at all.
Hand over a usable harvest and repair record
Give the picking crew a compact map showing water entry, named service edges, protected crossings and places that must remain clear. Distinguish fruit collection information from irrigation isolation instructions. Finding fruit ready for a picking pass does not establish that the whole row can be disconnected or that neighboring plants have finished needing water.
If a wet patch appears after traffic, first identify whether it corresponds to a normal outlet or a damaged section. Compare its location and delivery with the earlier record. Fruit appearance alone, including splitting, does not identify an irrigation fault or establish the correct remedy. Avoid changing every valve on the basis of one symptom.
For a confirmed repair, record the damaged line's SKU, connection type and exact position. Keep replacement material clean and use the specified repair method. Check the repaired row under its normal operating group afterward, including delivery farther along the line, so a watertight joint does not conceal a remaining restriction.
Order the layout that passed both checks
Count measured emitting lengths, identified supply transitions, accessible isolation joints and serviceable ends from the accepted map. Include required pollenizer positions in that map before completing quantities. List repair spares separately and keep them labelled by the line they fit. Spare metres in storage do not add water demand, while an added operating lateral does.
Proceed with repeat purchases when the wetting observations, operating measurements and access rehearsal support the arrangement. Revise the route when a handle or end cannot be reached; hold an uncertain connection until its compatibility is confirmed. Request current pricing, quantities and delivery for the exact variants rather than assuming every listed option is ready to ship.
Keep the confirmed order, row map and trial record together through harvest. They should allow a different operator to answer three practical questions: which planted positions this line supplies, where it can be serviced without disturbing the vines, and which exact part should be ordered if a verified fault requires replacement.
Before you order
Compare this guide with the specifications for your exact product, selected option, water supply and field conditions. Your equipment requirements take priority over a general example.
Compare irrigation products