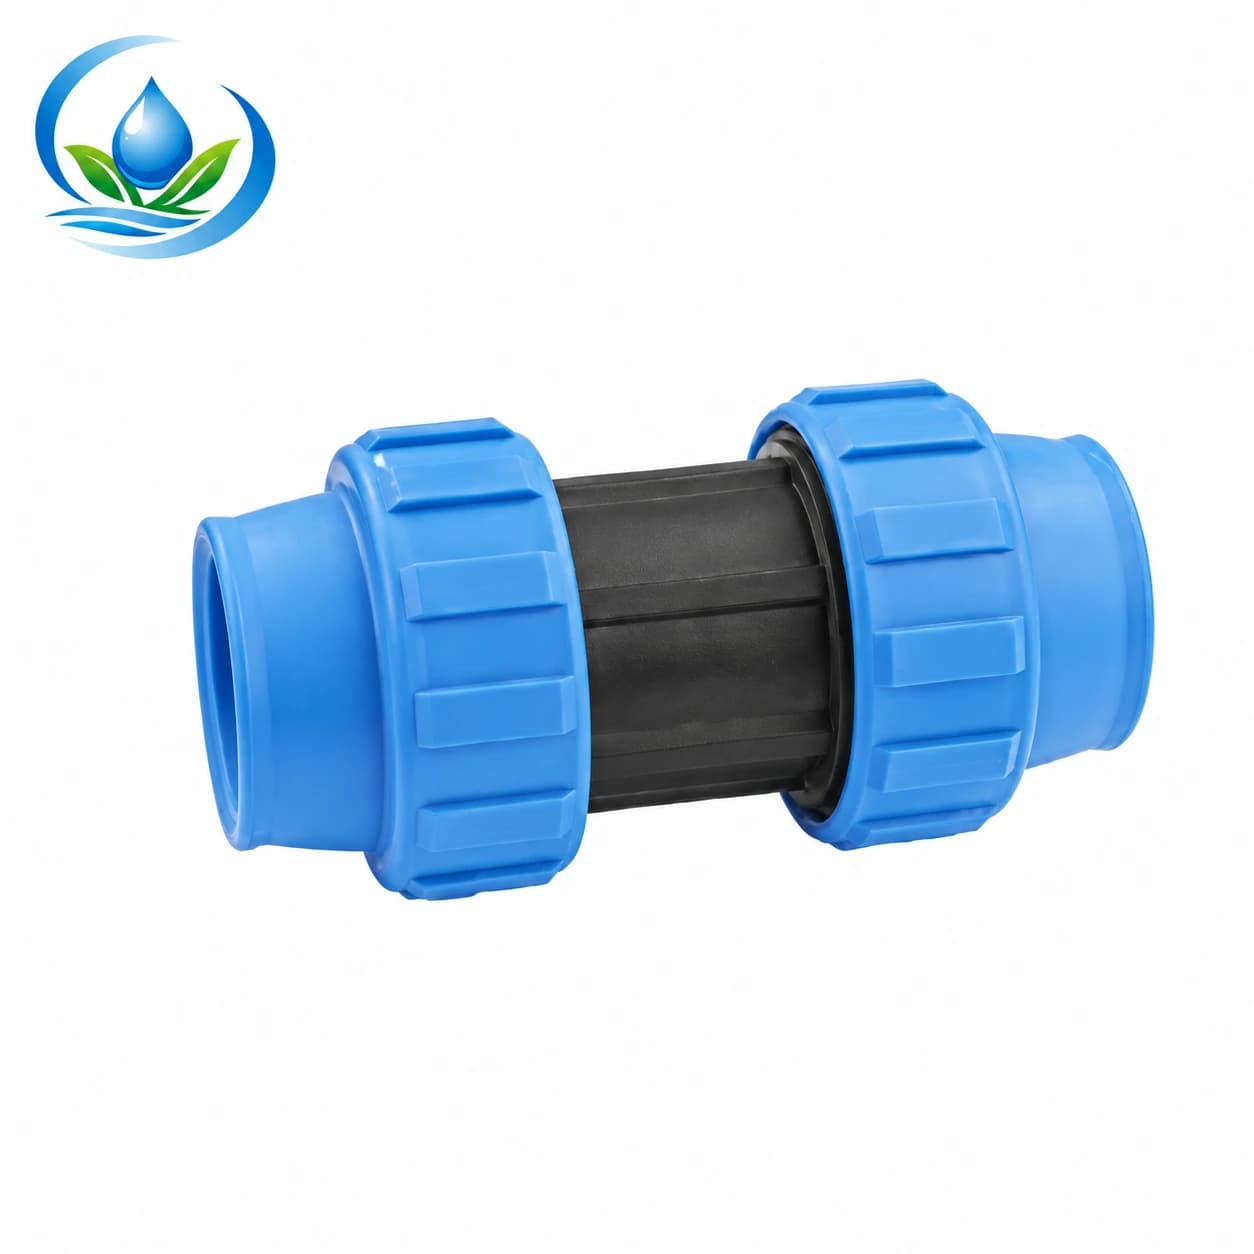
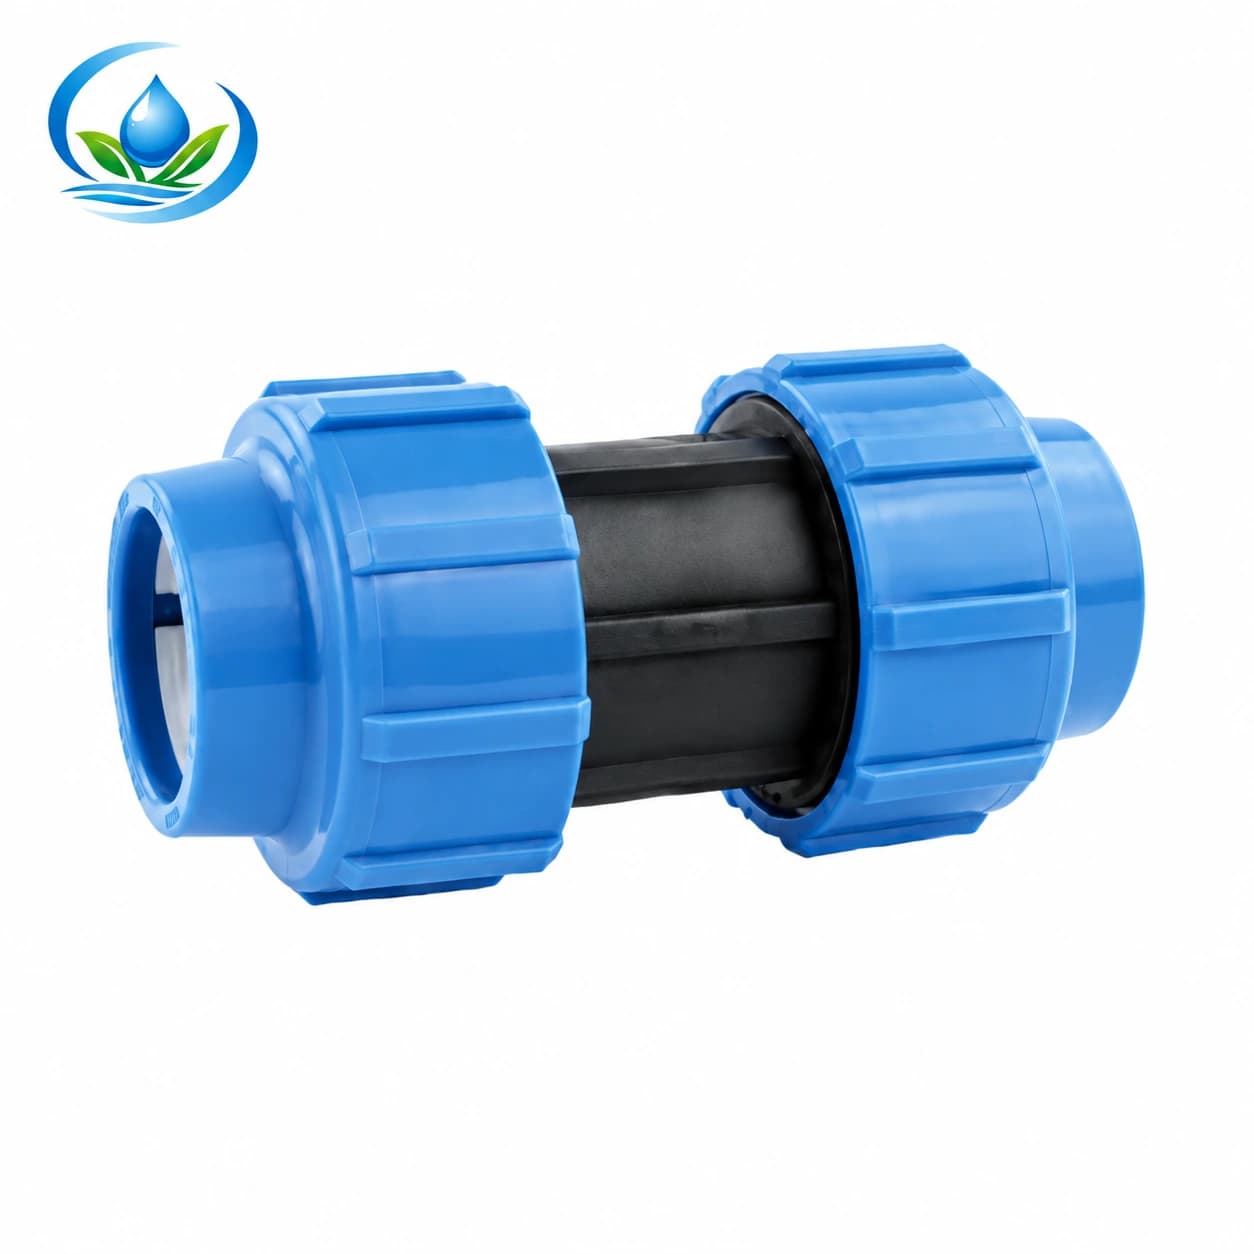
Farm Irrigation Repair: Keep Compression Fitting Parts Matched
A loose nut or seal can resemble a correct repair part without belonging to the fitting. Identify the assembly before ordering an exact spare or complete replacement.
Published by IrriNex Store
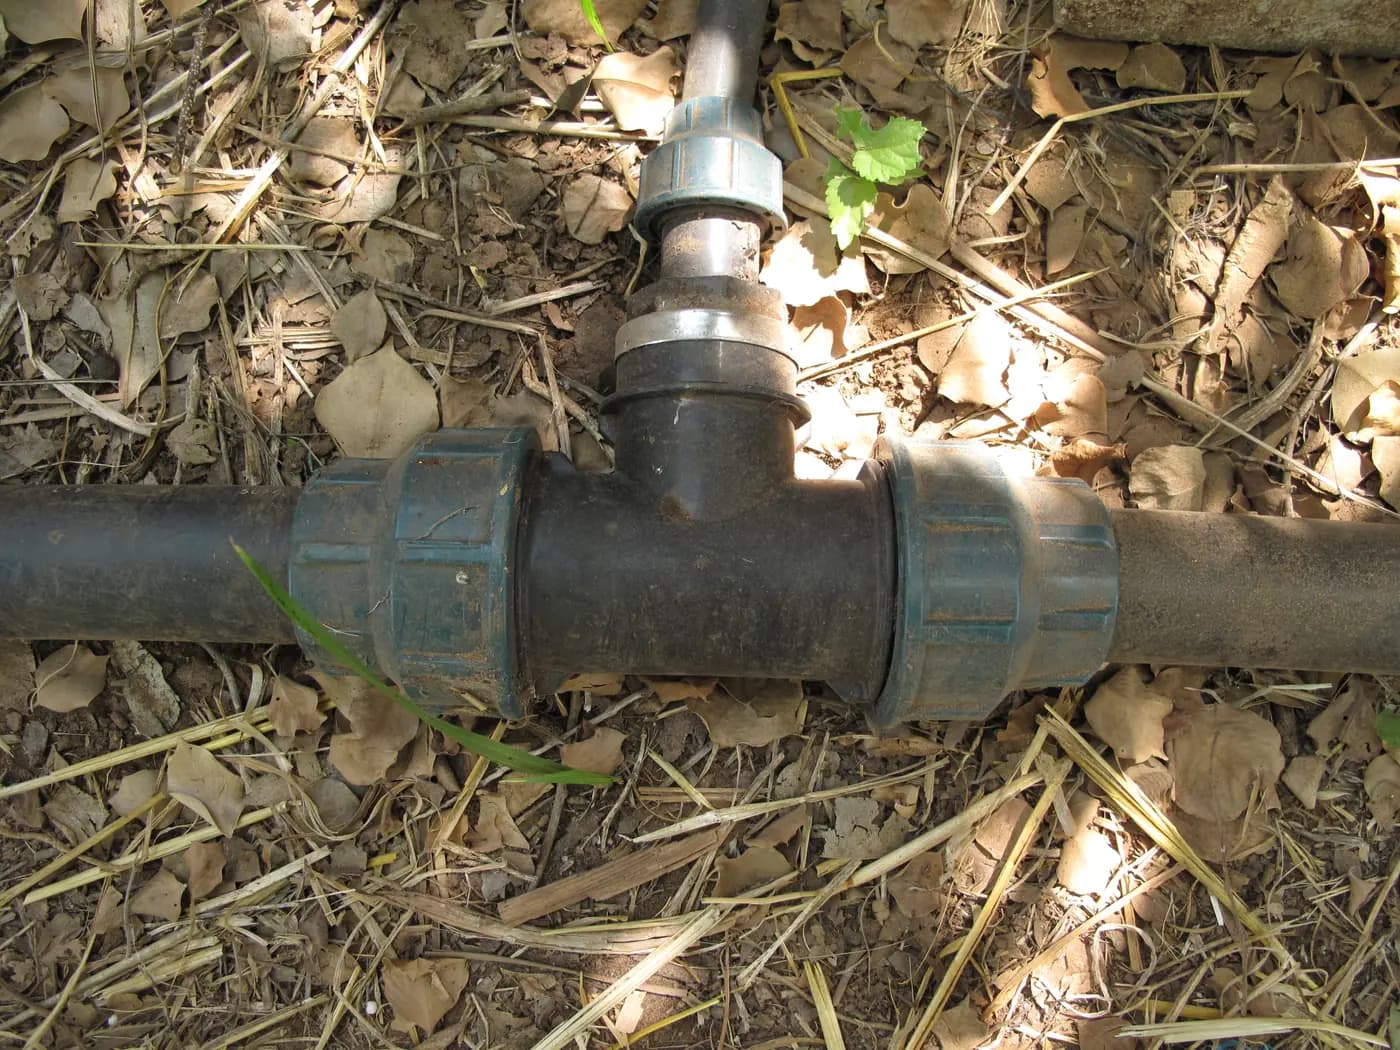
A farm irrigation repair can go wrong before water is turned back on: a loose nut from one compression fitting is put on another body, or an unidentified seal from the toolbox replaces the one that fell into the soil. The pieces may look convincing together, yet their appearance does not establish a compatible assembly. If a nut, gripping component or seal is missing or damaged, identify the complete fitting first. Then choose an exact, documented replacement component or a complete fitting approved for the existing pipe. Keep the removed nut, gripping part and seal with the original body code even when one looks reusable; appearance alone cannot approve mixed internals. For drip irrigation compression fittings, keep the removed nut, gripping part and seal with the original body code before choosing replacements.
This guide addresses a partly dismantled or damaged mechanical compression joint in agricultural pipework. It is a purchasing and identification check, not a universal rebuilding sequence. For choosing between an equal coupling and a reducer, use the two-end coupling selection guide. Here the question is different: which parts belong together, and is the old body worth retaining?
Which compression-fitting nut and seal belong to this body?
Before collecting loose pieces, identify the field location and why the fitting was opened. Was there seepage, a cracked nut, an accidental separation, or routine work that left a part unaccounted for? Record the original symptom and the block being served. A fitting opened for a nearby pipe alteration may have been sound beforehand; one opened after repeated leakage needs its failure investigated as well as its missing pieces replaced.
Photograph the installed joint and any visible markings while they are still associated with that location. Physical examination and removal must follow the installed system's isolation and pressure-release procedure. The planned line-work shutoff guide helps prepare that access. Do not turn a nut on a live joint simply to see whether the drip stops. Once removed, keep the body and all its components in one labeled container, separate from parts taken from another row.
Use a clean tray or bag to retain small items as the approved service procedure allows. Photograph the arrangement before separating more pieces, including components that remain captive inside a nut or body. A diagram from the actual manufacturer is needed to decide whether something is absent; an empty-looking recess is not proof of a missing ring. If a part has already been lost, record that uncertainty instead of filling the gap with the closest object in the spares box.
Buy exact spare internals or a complete matched coupling?
Mechanical compression designs can use a body, nut, sealing element, gripping component and additional retaining or spacing pieces. Their functions are related but different. A seal controls the water path; a gripping arrangement helps retain the pipe; the nut acts through the particular design's assembly. Some pieces may be integrated or captive. The correct list, position and serviceability come from the exact model's drawing, not from a generic illustration of another brand.
Read the body marking and retained packaging before identifying a loose nut by its color. Record the maker, family, complete code, nominal size and any model revision shown in the documentation. Add the pipe material and size series served by that connection. A nut marked for a pipe diameter does not automatically identify the body thread it fits, its internal contact surfaces or the seal geometry needed behind it.
Use the maker's part names when contacting support. “The white ring” may refer to different functions in different products; a clear photograph annotated with the drawing's item number is more useful. Ask whether the offered spare is a single component, a matched assembly or a kit with several required pieces. Do not assume a bag labeled as a seal kit includes a replacement nut, or that a nut assembly contains every item absent from the opened joint.
Inspect the retained body before buying a small spare
An exact replacement seal is only a sensible candidate when the rest of the fitting remains acceptable under its maker's criteria. After safe removal and permitted cleaning, inspect the accessible body, nut threads and mating surfaces for cracks, distortion, damage and embedded dirt. Keep a photograph of the original condition. If a body thread has been crossed or a sealing recess is damaged, replacing a ring alone does not restore the original geometry.
Look at the pipe where the joint engaged it. Grooves, scoring, ovality or a stretched end can matter even when the loose components appear intact. Keep the fitting decision separate from the pipe decision: one may be reusable while the other needs a documented replacement. The pipework leak investigation is useful when the water source has not been established. Water found beside a nut does not prove that the nut itself is the failed component.
Do not sand a seal seat, modify gripping teeth or glue a cracked body to make the inexpensive spare seem sufficient. Ask the manufacturer which observed damage disqualifies reuse and which components, if any, can be serviced. An unanswered question about the body's condition is a reason to hold that body out of service. It is not evidence that every component of the same age elsewhere on the farm has failed.
Choose an exact spare or a complete replacement
Retaining the body can make sense when its identity is certain, its condition is accepted and the manufacturer lists the required spare for that exact assembly. Obtain the component code and instructions together. Confirm whether a changed design requires more than one new part and whether previously used gripping or sealing pieces may be retained. Permission to dismantle one fitting family does not establish that another family can be rebuilt repeatedly.
If the body cannot be identified, the approved spare is unavailable, or its condition fails the maker's reuse criteria, compare a complete replacement. That still requires verification of the existing pipe and the full service conditions. A new fitting is not a remedy for an incompatible tube, an unsupported bend or pressure outside the assembly's limits. Use the PE routing guide where the joint is being pulled sideways or the available pipe is distorted.
| What is established? | Purchase route to investigate | What remains to confirm? |
|---|---|---|
| Identified sound body and documented serviceable component | The maker's exact replacement part or kit | Complete kit contents, reuse limits and assembly instructions |
| Cracked body, damaged thread or rejected seal seat | A complete compatible fitting | Sound pipe ends, fit, working conditions and installation access |
| Loose pieces from unknown or mixed assemblies | Hold the pieces for identification; compare a documented complete alternative | Whether any retained component has a proven identity and approved use |
| Fitting appears sound but pipe is damaged | An approved pipe repair with its required connection parts | Remaining length, engagement and cause of the pipe damage |
Price the actual repair scope. A small kit plus additional missing components and a second site visit may cost differently from one complete fitting. Conversely, discarding an identifiable, serviceable assembly can be unnecessary. Include the verified parts, any required pipe section, delivery and planned field work in the comparison. This is an itemized decision for this joint, not a rule that the cheapest loose part or the newest complete body always wins.
Read H and L coupling codes as separate families
The Store's H-compression coupling catalogue includes 701020 for a 20 × 20 mm pair and 701025 for a 25 × 25 mm pair. The separate L-compression coupling lists N701020 and N701025 for those respective nominal pairs. Keep the complete code, including the initial N where present, on the order record. Similar sizes and similar-looking blue nuts do not merge the two families into one source of interchangeable parts.
These entries identify complete coupling options. They do not supply approved spare-nut codes or certify that a seal from the H family works in an L body. Nor do the family letters establish a pressure classification. Before choosing either complete option, verify the pipe specification, operating limits and instructions for that option. The catalogue's dimensional pairing is a starting point for selecting the whole connection, not permission to exchange its internals.
For example, finding an N701020 nut beside a body recorded as 701020 leaves an identity question even though both records involve nominal 20 mm connections. Do not treat the ability to start the nut on a thread as a compatibility test. Ask for documented approval of the complete assembly or select a properly specified complete replacement. This example is an ordering distinction, not a claim that those two particular nuts will physically engage.
Keep the installation instructions with the chosen assembly
Once the exact parts are agreed, obtain their current instructions before scheduling the work. Manufacturers differ in how components are retained, how pipe is prepared and how engagement or tightening is checked. A requirement to tighten to a visible stop on one design cannot be transferred to an unfamiliar fitting. The same applies to lubricant, chamfering, reusable grip parts and the tools needed for assembly. Do not improvise a component order from photographs of a visually similar product.
Inspect the delivered package against the confirmed order before taking it into the field. Keep newly supplied matched components together and flag missing or damaged contents while their packaging is still available. The delivery inspection checklist helps document a discrepancy. Where several identical-looking repairs are planned, label each accepted assembly by location so pieces from two open packages do not become one untraceable pile.
Return the repaired connection to service using the applicable system and product procedure, at permitted conditions. Observe it without holding or restraining the pipe by hand. If leakage, unusual movement or another fault appears, stop and isolate again before investigating. Record the operating case and the outcome. An initially dry exterior is one observation; follow-up should address the original failure circumstances and the selected manufacturer's requirements.
Leave a repair record that supports the next order
Store the fitting code, pipe identification, approved spare or complete replacement, instruction reference and installation location together. Include photographs of rejected parts and the reason they were removed. A record that says only “changed blue nut” is difficult to use next season. A record naming the assembly and approved replacement gives the next buyer a specific starting point and helps distinguish another local defect from a recurring system problem.
Keep uncertain loose components out of the ready-to-use stock. Do not return them to a bin marked merely by diameter. The field spares purchasing guide can help organize complete, identified items and their reorder codes. A retained component awaiting an answer should remain clearly separate from a new matched fitting that is ready for a confirmed application.
Before paying, check the selected product's present sale unit, price, stock and delivery arrangements. If requesting a spare, send the body code, complete assembly photographs, the part shown on its drawing and the observed damage. If buying a whole fitting, send the pipe data and required service conditions instead of asking for something that resembles the old nut. Keep the repair centered on one documented assembly from purchase through installation; a collection of plausible-looking pieces is not the same thing.
Before you order
Compare this guide with the specifications for your exact product, selected option, water supply and field conditions. Your equipment requirements take priority over a general example.
Compare irrigation products