Irrigation Pipe Fittings: Match Compression Couplings Before Cutting PE Pipe
Identify two sound PE pipe ends, compare equal and reducing compression couplings, and confirm the exact model's fit and assembly space before cutting.
Published by IrriNex Store
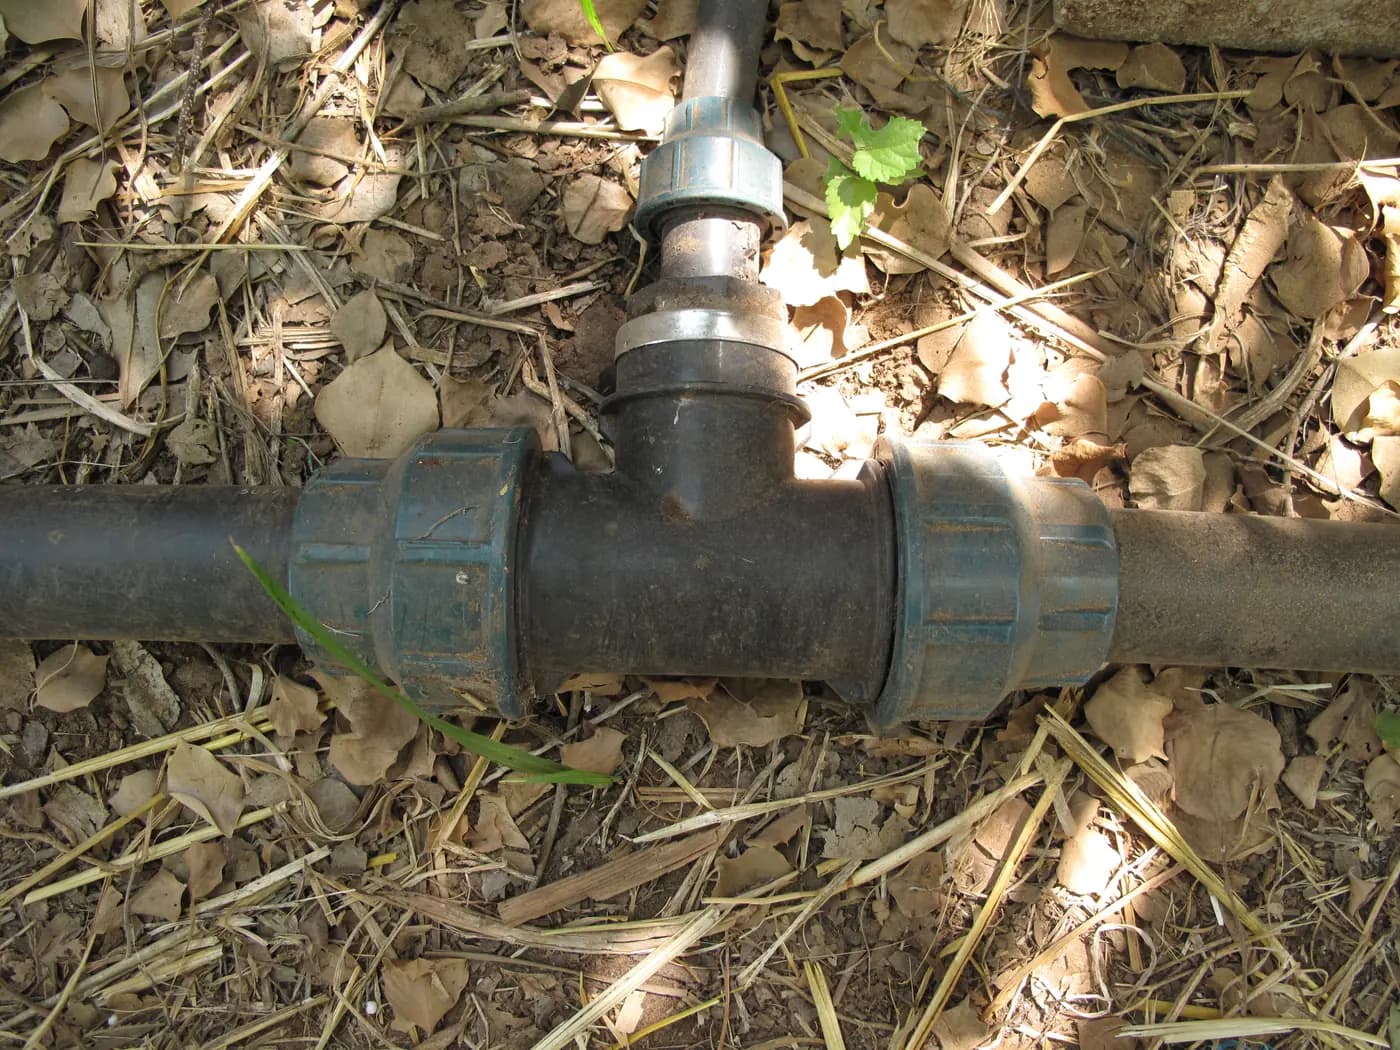
Irrigation pipe fittings are easiest to choose while both pipe ends are still intact. If a field PE line must be joined or a damaged section replaced, identify the two sound ends first, then select a compression coupling for those exact ends. An equal coupling joins a matching nominal pair; a reducing coupling presents different nominal connection sizes at its two sides. Neither choice is established by the colour of a nut or by an approximate tape measurement. Record the pipe identity, examine each end, check the selected fitting's instructions, and only then decide where a cut belongs. Confirm PE compression coupling size from both intact pipe ends before cutting, so the selected fitting matches the actual pair rather than a photograph.
Match poly pipe irrigation fittings to both PE ends
Write down what the finished joint needs to connect. Label the existing supply side A and the continuing line side B so that the larger and smaller reducer connections can be matched to the corresponding pipe ends. For each, record the pipe manufacturer's marking if legible, outside diameter on an undamaged round section, pipe material and series or wall information, and whether the visible end is sound. Photograph markings and the available straight length. The mark on a crushed or oval end may identify its original pipe, but that distorted segment is a poor place to judge the connection. If markings are absent, ask for the pipe specification rather than naming a size from a photograph alone.
Also note why the joint is needed. A planned extension between two intact PE lengths is different from a cut around a leak. For a wet patch of uncertain origin, use the pipework leak-location checklist to separate a split tube, leaking fitting and upstream source before purchasing a replacement. Mark the portion that genuinely needs removal; do not assume a visible drip is the point where water entered the soil. The usable sound ends left after removing damage determine whether there will be enough reach for the chosen coupling's own assembly method.
A quick hand sketch prevents a surprisingly common ordering error. Draw A and B, the measured pipe data, the direction of the intended line, the available straight and supported area, and any nearby elbow, valve, buried transition or fixed manifold that limits movement. If the route has a hard corner or a coil trying to pull the joint sideways, resolve that layout first. Our PE pipe uncoiling and routing guide explains how to remove twist and avoid unsupported sharp bends before making a connection. A coupling should join appropriately prepared ends, not be used as a lever to force a misrouted line into place.
Choose an equal or reducing compression coupling by pipe pair
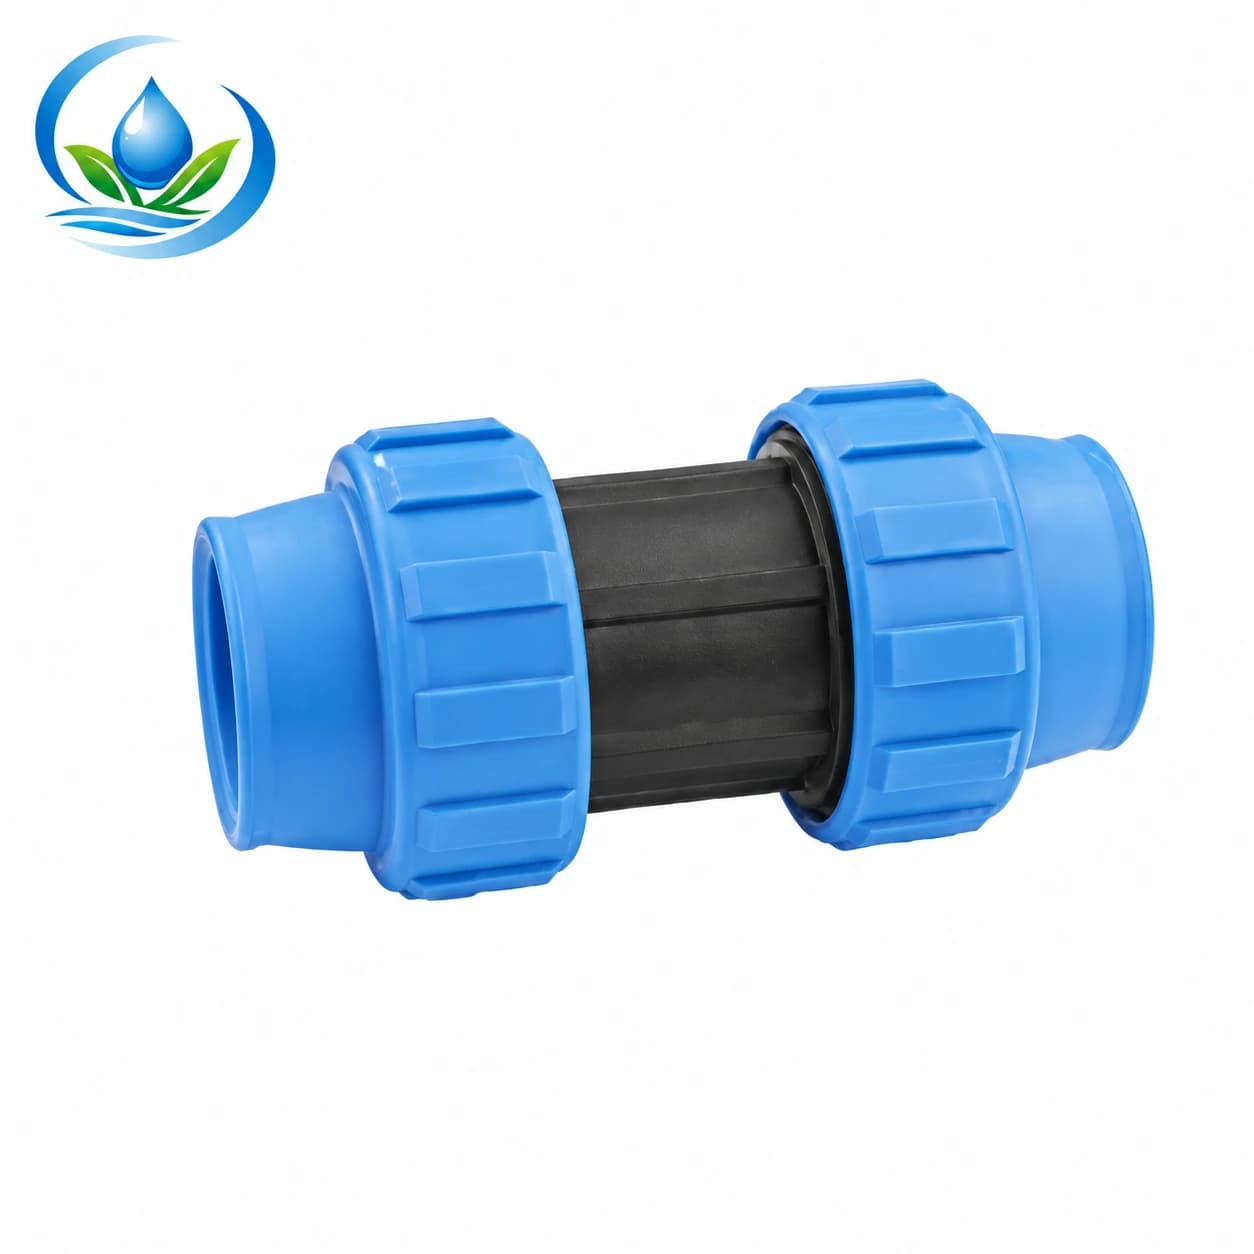
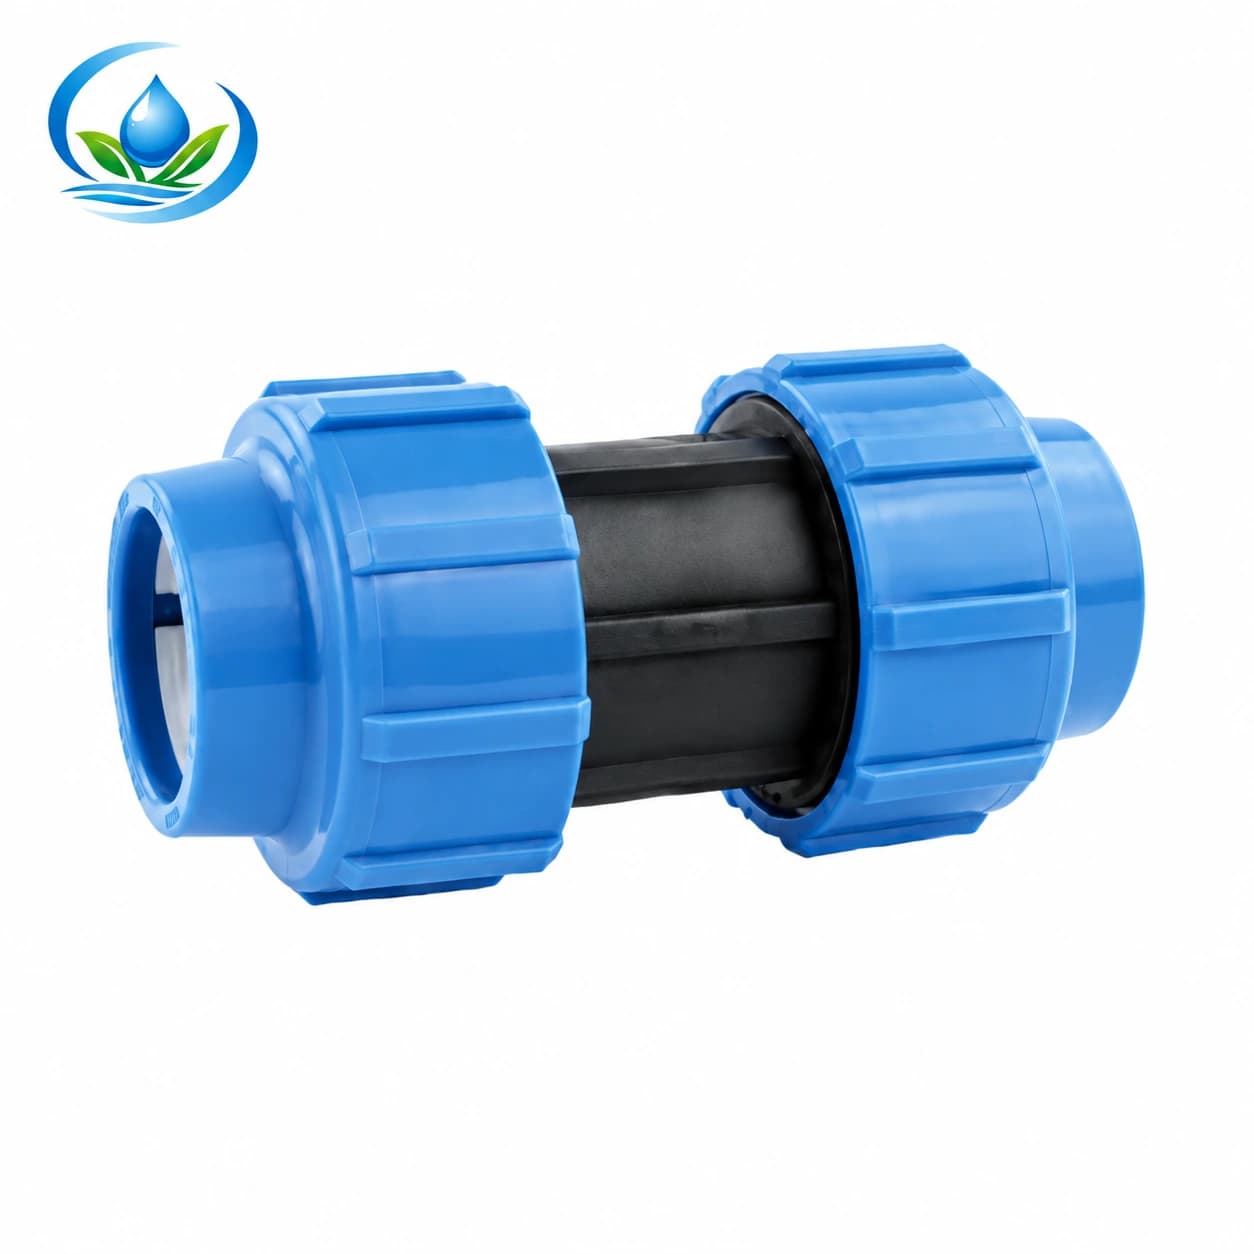
Where A and B have the same verified compatible size, compare an equal coupling in the selected product family. The H compression coupling has catalogue options such as code 701020 labelled 20 × 20 mm and code 701025 labelled 25 × 25 mm. These labels describe the nominal pairing for those particular options. They do not independently establish the allowable pipe series, dimensional tolerance, operating pressure, or assembly procedure. Read the option chosen on the product page and check the manufacturer's data for the real pipe before treating the nominal pair as a fit.
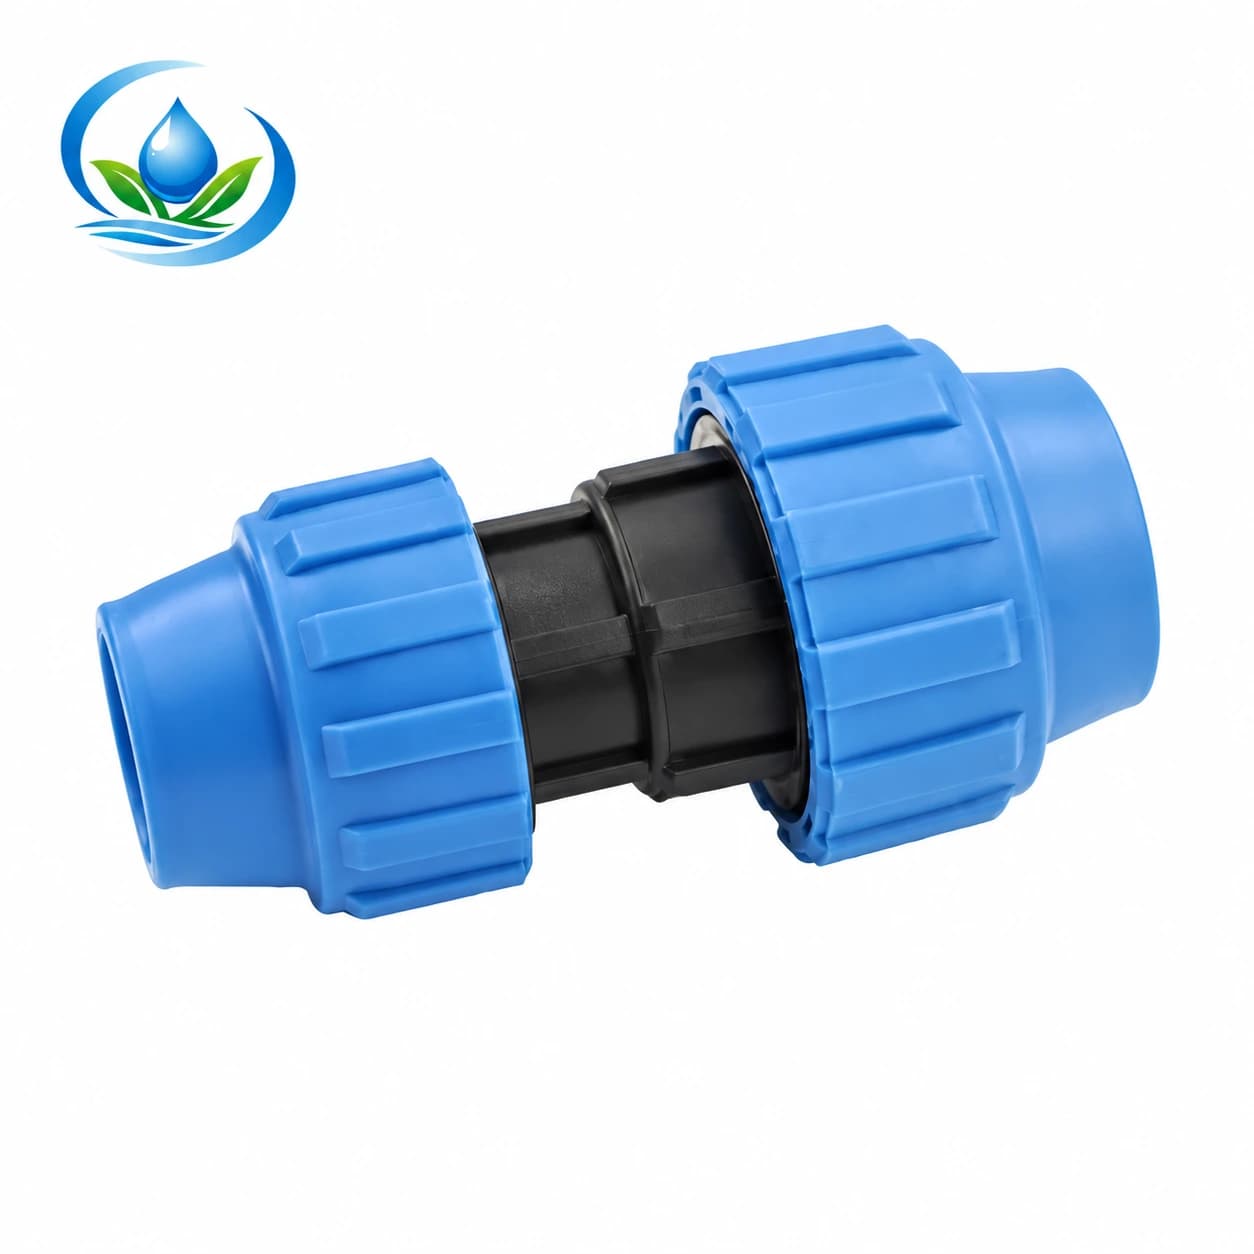
If one sound end is a verified 25 mm pipe and the other a verified 20 mm pipe, an equal 20 × 20 or 25 × 25 coupling does not bridge that change. The H compression reducing coupling includes catalogue code 702025 labelled 25 × 20 mm. Match the larger and smaller pipe to the corresponding connections on the exact selected reducer and confirm the manufacturer's permitted connection; the size pairing does not imply a flow direction. Do not infer that a reducer creates a hydraulic design approval for the downstream line: flow, pressure losses, pipe capacity and operating conditions still need to fit the irrigation design.
The L compression coupling is a separate catalogue family with an option N701020 labelled 20 × 20 mm. Its matching nominal pair should not be read as proof that its internal parts or assembly instructions interchange with 701020 from the H family. H and L are family identifiers here, not a high-pressure and low-pressure classification. Compare the exact model, supported pipe specification and manufacturer instructions, rather than choosing a family letter as a pressure rating. If that information is missing for the pipe in the field, hold the cut and resolve the fit first.
A compression coupling for two PE pipe ends also serves a different interface from a barbed connection into flexible drip tubing or a threaded transition. The barbed drip fittings guide helps identify a hose or lateral connection, while the thread identification guide is useful when one side has a male or female thread. If the job adds a tee, elbow or branch, inspect the wider agricultural fitting layout guide as well. Do not substitute a nominally similar barb or threaded adapter for a compression joint between two PE pipe ends.
Check compatibility beyond the printed millimetres
Outside diameter is the first screening measurement, not the entire compatibility decision. Identify the PE pipe type and series, its condition, the selected coupling's exact size range and the maker's approved pipe applications. Ask whether that model requires a particular seal, grip arrangement, support liner or other component for the pipe being joined; do not assume it does or does not. Confirm the allowable operating pressure and temperature for the full assembly at the intended site, including the pipe and all attached parts. A catalogue size table alone is not an installation certificate for every PE tube that carries the same nominal number.
Look at the practical assembly path before cutting. The selected manufacturer's instructions control preparation of the pipe end, insertion, seating, tightening and any permitted disassembly. Some compression systems use different internal geometry and supplied parts from others. Advice for one brand about leaving parts preassembled, omitting a chamfer, using no lubricant, counting visible threads or tightening to a stop cannot be transferred to another fitting. Use the instructions for the precise option you will install, including any stated tool and inspection requirements. If they are unavailable, get them or choose a component with clear documentation.
Measure the length of sound pipe that will remain after the proposed cut against that model's actual engagement and working clearance. A damaged section may be longer than the visible crack. Removing it can leave two fixed ends that cannot be moved into the coupling according to the approved sequence. In that case, the appropriate repair may need a different pipe section or layout designed for the available movement. Do not bridge a gap by barely engaging either side, pushing a bent line inward, or trimming more material until the coupling seems to reach. Make the length decision on the sketch while all options are still open.
Plan the work around an isolated line
Locate a reliable upstream isolation point and follow the existing system and equipment instructions to stop flow, relieve pressure and confirm the work area is safe before cutting or opening a joint. A valve that is itself leaking or unverified is not a dependable sole isolation method. Keep the excavation and support plan clear: soil or grit introduced into the pipe can affect the new seal and downstream irrigation parts. Protect the open ends as permitted by the pipe and fitting instructions. Never cut a pressurised line or try to tighten a leaking compression joint while water is running.
When the manufacturer calls for a square, sound cut, use an appropriate cutter and check the end against that instruction. The point is an intact, correctly prepared end, not a universal workshop ritual. Avoid heating PE to change a diameter, filing away material until a wrong coupling appears to fit, gluing a mechanical joint, or forcing an out-of-round end into the fitting. Each can conceal a mismatch and damage a sealing surface. If an old end has a deep crease, gouge or embedded grit, move the proposed joint to a sound area only after checking that the remaining line and chosen connection still have enough space.
Keep the planned pipe route and supports during assembly. A reducing connection requires attention to which pipe matches each connection size; an equal coupling still needs both pipe axes aligned according to the selected model's requirements. A connection that seals during a brief hand check can be loaded sideways once the line warms, settles or is covered. Leave accessible support and inspection space until the manufacturer-prescribed assembly and the system's normal approved restart checks are complete. Do not claim that backfilling or a quick dry exterior automatically demonstrates long-term sealing.
Check the joint without confusing a symptom with the cause
After assembly, restore the line using the equipment's approved restart sequence and inspect the accessible joint during normal operation. Look for seepage around each side, unexpected movement, and a nearby pipe end or fitting that still wets the ground. If a leak appears, isolate and depressurise again before investigating. Review the pipe identity, end condition, alignment, correct seal and the actual assembly instructions; do not respond by live tightening or assuming the new coupling is the only possible source. A wet patch down slope may travel from a different connection.
Observe the downstream irrigation while the line operates at its intended condition. A dry external joint does not prove that debris has not entered, that the downstream pressure is appropriate or that a different restriction has been cleared. If a repair altered pipe diameter, changed the route or added a section, revisit the design's flow and pressure checks. The coupling selection solves the mechanical interface between the two specified ends; it does not by itself make a changed system hydraulically equivalent to the old one.
Keep the identity record for later service: the pipe markings from A and B, selected product and option code, its documented compatibility, date and location of the repair, and an accessible photograph before burial or covering. This helps the next person distinguish an equal joint from a reducer and order a replacement without guessing from exposed nut colour. It also makes a repeat seepage report easier to locate. If the site has several identical-looking lines, add its block or row identifier to the record.
Build the cart from the confirmed connection
Choose the equal or reducing option only after the two-end worksheet and the manufacturer's fit data agree. Check the selected product listing for the precise variant, selling unit or pack, current price, quantity available and delivery details. Account for any additional approved pipe or components required by the repair layout. If the existing pipe cannot be identified or its compatibility remains unresolved, contact support with clear markings, measurements and photographs before cutting. That preserves the option to choose a different documented fitting or pipe route without wasting a sound length of PE.
For a planned join, the final decision is straightforward: identify two sound PE ends, confirm their exact pairing with one documented coupling, measure the real assembly space and isolate the line before work. For a leak repair, locate the source and determine the sound cut positions first. Then purchase the specific option that fits those ends, install by its own instructions, and inspect the completed connection under the system's approved operation. The cut follows the confirmed fitting and layout, never the other way around.
Before you order
Compare this guide with the specifications for your exact product, selected option, water supply and field conditions. Your equipment requirements take priority over a general example.
Compare irrigation products