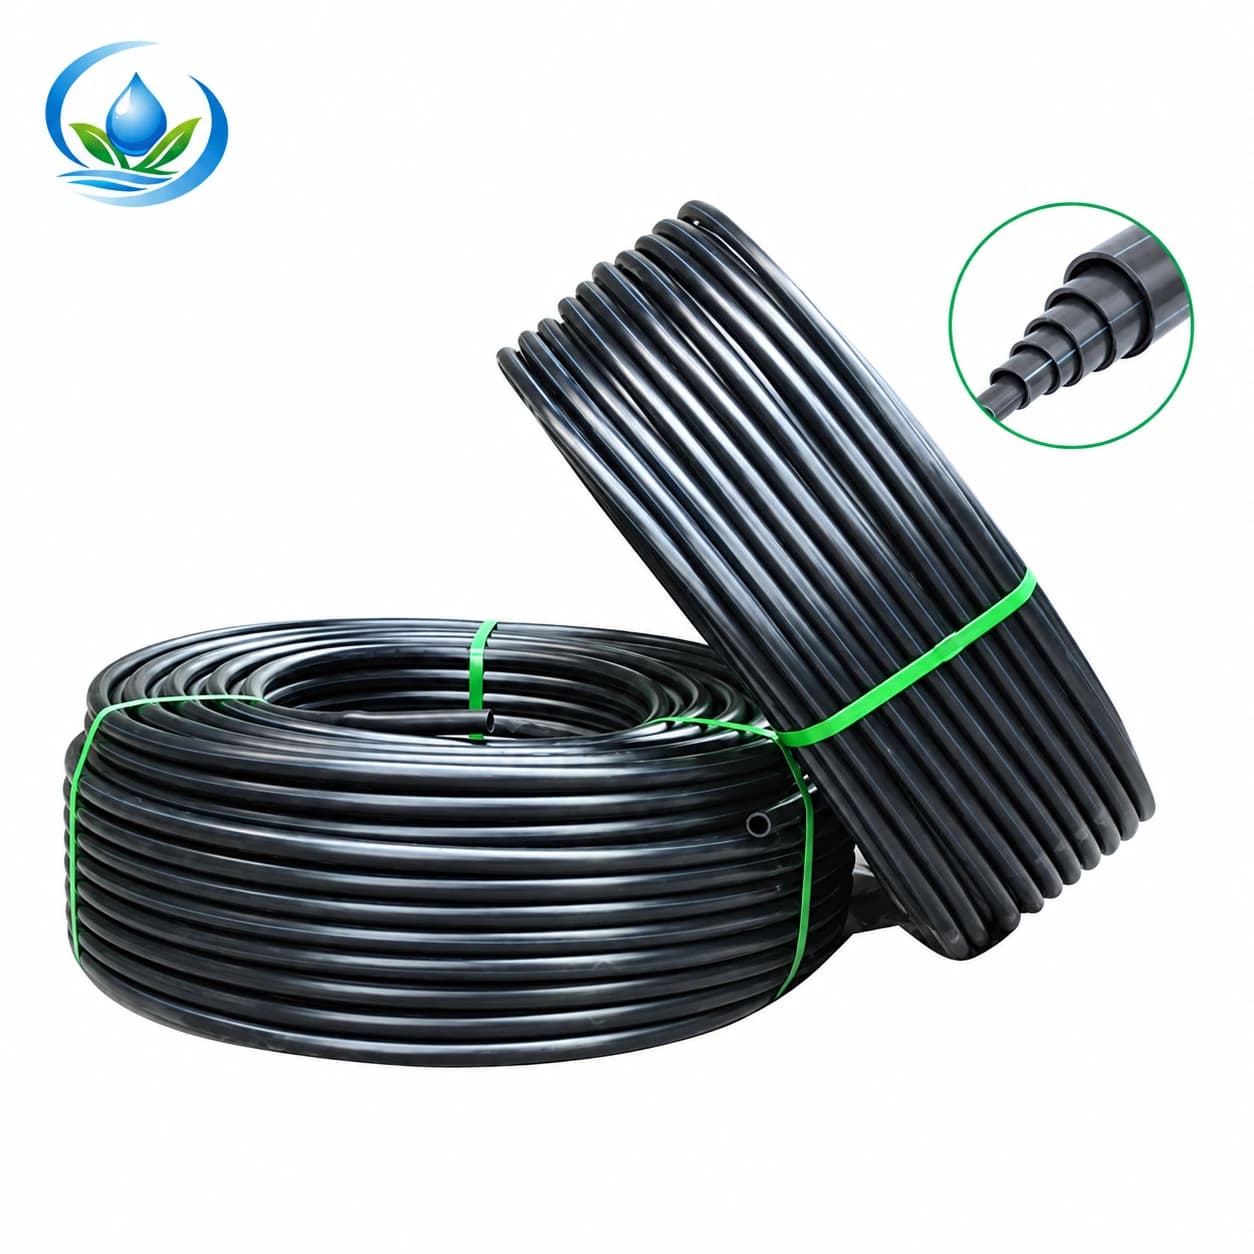
Agricultural Irrigation Pipes: Uncoil and Route PE Without Sharp Bends
Map the field route before cutting a PE coil, control twist, distinguish an approved curve from a damaged crease and choose exact corner or repair fittings only where needed.
Published by IrriNex Store
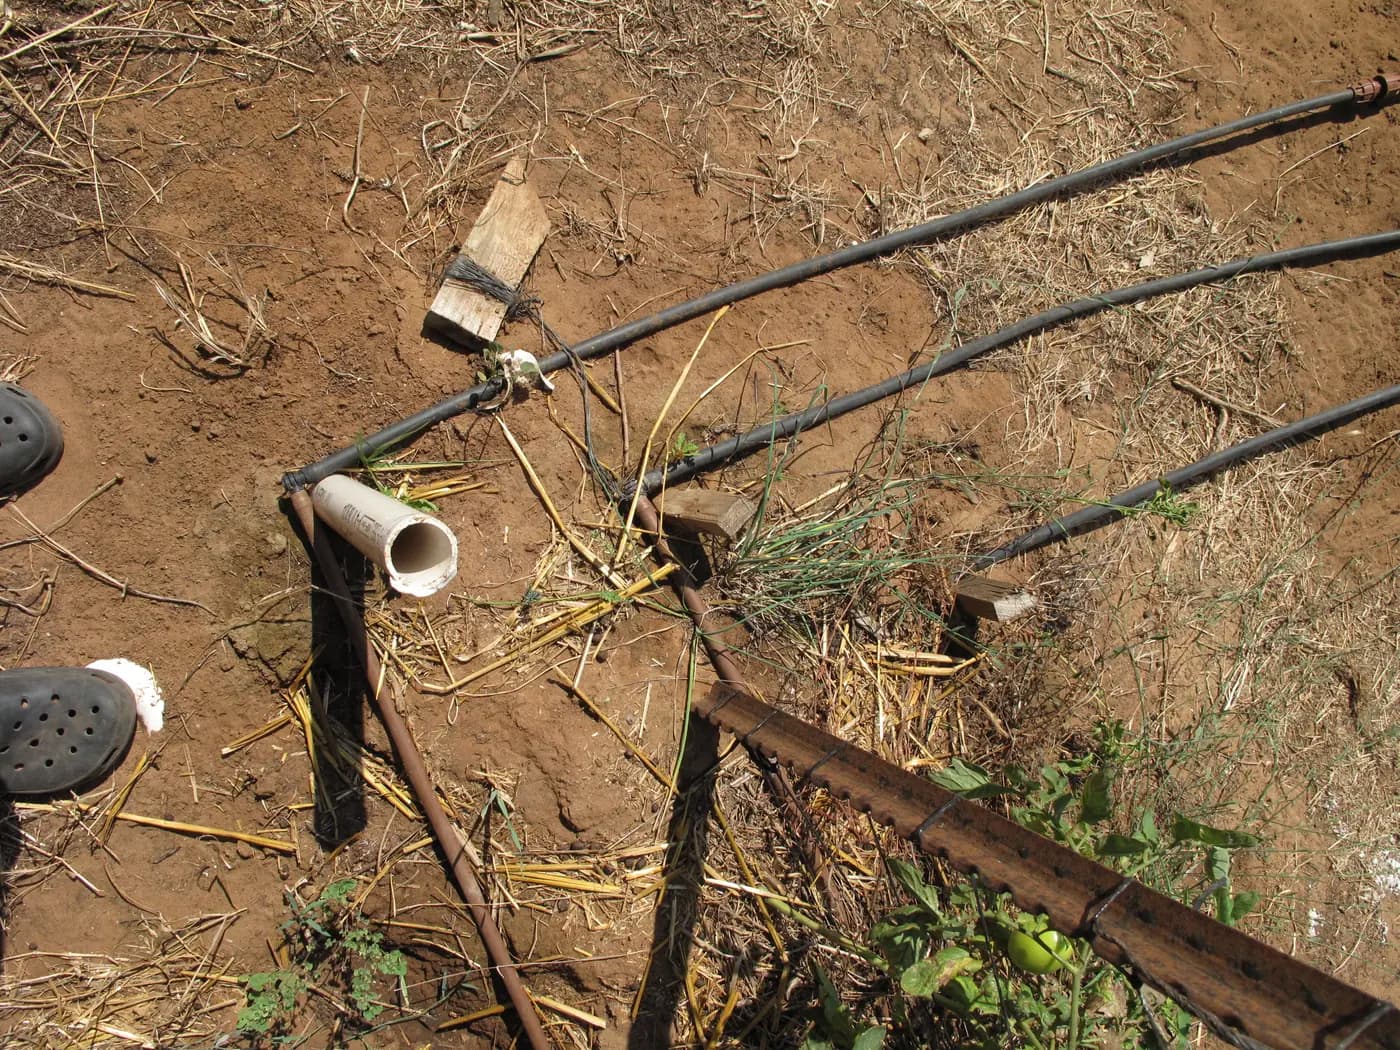
Agricultural irrigation pipes can leave a coil looking straight enough to cut, then form a tight fold when the last metres are pulled around a field corner. Before making a connection, place the blank polyethylene (PE) feed on its actual route, release the coil's tendency to twist under control, and inspect every turn where it meets a header, branch or service point. A fitting can solve a necessary change of direction, but it cannot make an overstretched or damaged run sound again. The PE irrigation pipe uncoiling route should mark each turn before the coil is released, especially where the feed reaches a header without a tight fold.
The useful result is a marked route and a short parts list: pipe of the identified construction, the exact corner or repair pieces actually needed, and enough accessible straight material to make the approved connections. Work from the water entry to the last intended outlet, then check the route against crop work and maintenance access before cutting the sale coil. A bend that the original pipe maker permits is different from a sharply flattened crease; neither the nominal size nor a photograph supplies that maker's limit. The opening field photograph shows irrigation tubing and elbow joints, but it does not identify their polymer or certify the pictured installation method.
Plan the PE irrigation pipe route before uncoiling
Mark the supply connection, every branch take-off, the last planned service point and any road, cultivation or harvest crossing. Notice where equipment turns, where a support post or concrete edge projects into the path, and where workers need to reach a valve or lateral end. A route sketched as a straight line on an order sheet may have several turns in the field. Follow the actual ground line with a tape or wheel and record each change in direction separately.
Choose a path that does not put the pipe in the wheel track, drag it across a cutting edge or hide a coupling under a point that will be difficult to inspect. If the crop arrangement changes the location of a branch, mark the new position first. Treat the header, blank PE feed and emitter-bearing lateral as different parts of the system. This article concerns the coiled blank feed's route; the lateral end-access guide helps plan service for the emitting line supplied by it.
Note the direction from which the coil will enter the route and where it can be set down safely. A second person or suitable dispensing reel can keep the coil controlled while another follows the marked line, but the handling method must suit the actual coil's mass and the maker's instructions. Keep bystanders away from a springing coil and avoid standing in the path of a released loop. Do not loosen all restraints and try to hold a large coil by hand after it starts moving.
Check coil twist and connection space along the route
Read the actual roll label and purchase record before relying on a colour or nominal number. Record outside diameter, wall or series, manufacturer, the stated operating limits and any required joining method for that specific pipe. Confirm whether the material is blank PE feed, round inline dripline with integral emitters, or thin-wall drip tape. Their listed nominal diameters and fitting families can overlap without sharing a mating bore, wall or retention profile. The pipe buying guide helps compare sale sizes and order quantities; here the field route decides how much of a known coil can be installed without forced bends.
For a concrete current option, the IrriNex blank PE tubing lists a 16 mm outside diameter with 1.0 mm wall under option IS-4-DD62380CF7. The same family also lists 20 mm outside diameter with 1.5 mm wall and 25 mm outside diameter with 1.8 mm wall as separate options. The original catalogue pairs those dimensions, but neither its photograph nor wall thickness alone gives a safe bend radius, a permitted installation temperature, a pressure class for the selected option or a sale coil length. Get the exact selected pipe's installation and hydraulic data before making those decisions.
Look at both ends of an older or partly used coil. A label on the outside is unreliable if pieces from different orders were rewound together. If the pipe has been stored, review the field-parts storage record for identity and condition, then inspect the actual material again. A stored roll can be identified correctly yet still contain a flattened section near the inner turns. Mark such a section; do not silently count it as sound length.
Uncoil along the chosen path without adding twist
Place the coil or dispensing reel so the pipe feeds toward the first measured straight stretch. Release restraints gradually and control each loop as it comes off. Lay a manageable portion on clear ground, then move along the path while letting the material follow its natural curve. Pulling the free end far ahead while the coil stays fixed can tighten the loops and transfer twist into the run. If a section begins to spiral, stop and remove the twist at the source under control before advancing.
Do not try to straighten a coil by dragging it over gravel, a metal frame or a sharp bed edge. Keep the surface supported so it does not snag under a parked machine or a pile of fittings. Avoid a taut line between two fixed points. Leave the movement allowance and support required by the actual pipe maker and installation, without inventing a universal percentage or extra length. A little room for the approved route is useful; uncontrolled loops that can catch a wheel or tool are not.
Where the path crosses a doorway, service lane or cultivated strip, plan the approved crossing protection before the pipe is laid through it. A temporary unprotected shortcut may let the installation crew reach the far end but create the first crush or abrasion point during planting. Mark the crossing on the route sheet and keep both sides accessible for inspection. If the route cannot protect the pipe in that position, move the path or specify an approved crossing method rather than relying on thicker-looking wall.
Set each corner before you decide to cut
Approach a turn with enough free material to see how the PE lies when it is not held under tension. Compare the natural curve with the original manufacturer's allowable bend for that exact diameter, construction and installation condition. There is no single radius multiplier that works for every coil or site. A broad permitted curve may keep a clean uninterrupted feed and avoid two extra sealing surfaces. A tight route around a rigid post or wall may require a properly supported directional fitting instead.
Do not force a 90-degree path by pressing a pipe against a stake and calling the flattened corner a bend. Equally, do not add an elbow to every change in direction without assessing whether the maker permits a smooth curve. Position any necessary elbow where it remains visible and serviceable, and where both adjacent pipe ends can approach it straight without spring tension. A fitting that is constantly pulled sideways by the coil is a poor way to hide an unresolved route problem.
Walk the first and last few metres again after setting a middle corner. Moving one turn can steal the insertion length from a header connection or leave the far outlet short. Mark the intended cuts only when all branches, crossings and ends align. The PE fitting comparison helps distinguish connection families; the route drawing decides whether a corner needs an elbow, an existing straight joint needs a coupler, or no new fitting is needed at all.
Separate a permitted curve from a damaged crease
Inspect the pipe before it is cut or connected. Look for a sharp fold, lasting flattening, white stress marks, cracked surface, gouge or a section that springs back into a narrow pinch when unsupported. Record its measured location and compare with adjacent undamaged material. A visible smooth curve within the maker's installation guidance is not automatically a defect. A crease that appears round again after handling is not automatically restored to its original strength or internal passage.
Do not use a heat gun, hot-water bath, prolonged sun exposure, twisting, massage or extra internal pressure as a general repair prescription. Those methods may alter the material or mask damage; use only the exact pipe maker's approved handling and repair method. If a section is suspect, follow the original manufacturer's rejection criteria. Remove it from the planned route when required, then recalculate the remaining sound lengths and connection positions before ordering a replacement section or coupler.
A wet spot or reduced downstream delivery in a previously operated line needs diagnosis beyond visual inspection of a bend. Isolate whether water escapes at the pipe wall, a branch, a joint or an emitter-bearing line. The leak-location guide organizes that observation. On a new route, photograph and mark a visible crease before any water run so an actual installation defect is not mistaken later for a clogged emitter or a weak supply.
Choose an elbow or straight coupler for a defined reason
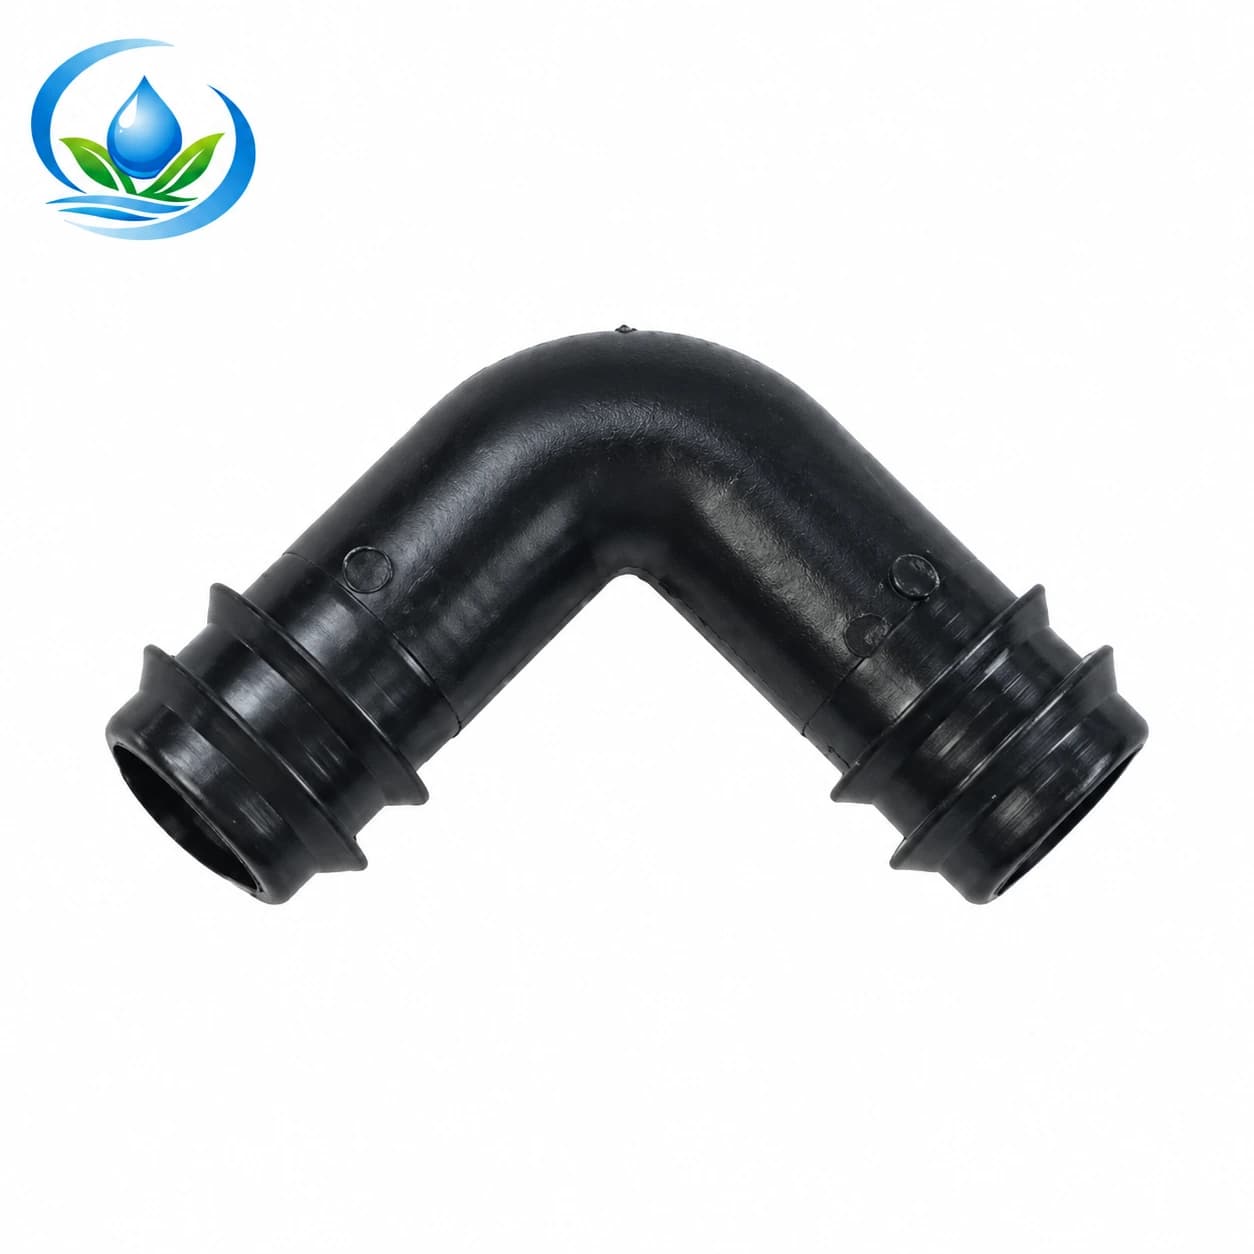
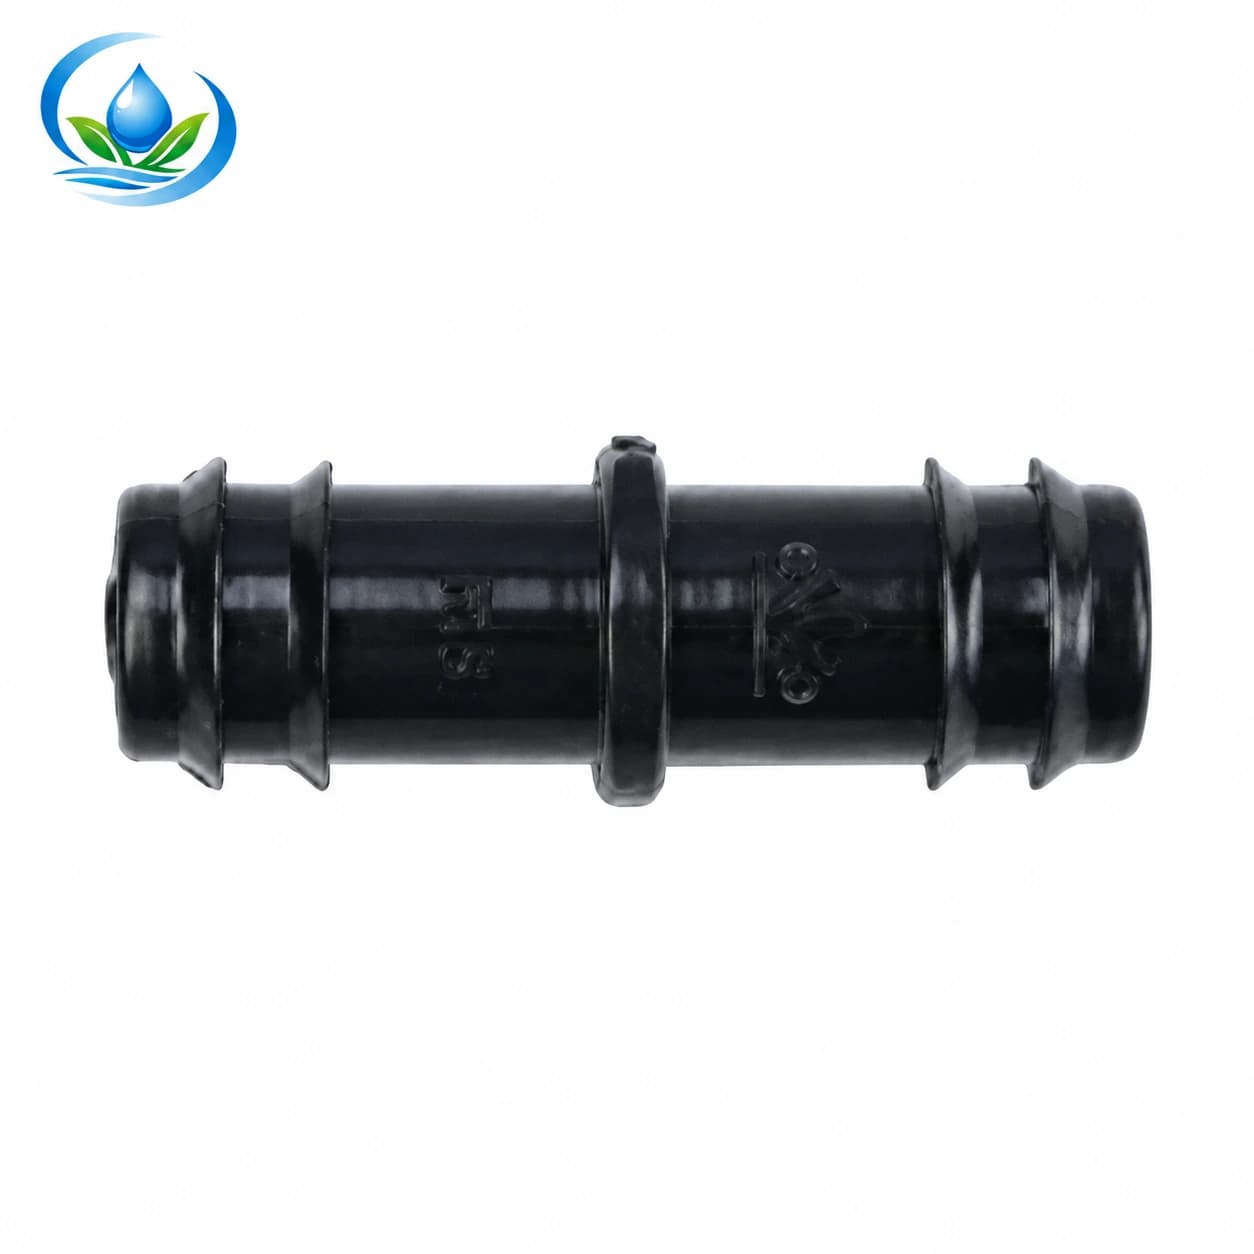
At a fixed corner that the selected PE pipe cannot follow within its approved bend limit, an elbow can provide a deliberate change of direction. The IrriNex barb elbow includes catalogue code EC0116 for the nominal 16 mm size; EC0120 and EC0125 are separate 20 mm and 25 mm options. A straight barb coupling includes SC0116 for a nominal 16 mm straight join, with SC0120 and SC0125 as separate larger options. The catalogue depicts different geometries; an SC straight coupler is not a substitute for a forced corner.
Use a straight coupler when sound, compatible ends need to be joined on a route that allows a straight fitting without strain. If an approved damaged-section cut leaves too little reach, a short replacement section may require two compatible joints or a longer replacement run. Count those joints and their accessible positions before cutting the original line. A joint hidden under a traffic crossing is harder to check and can be loaded by movement. A kink immediately beside a connector may call for rerouting as well as material replacement, because a new coupler at the same forced angle will inherit the cause.
Nominal 16 mm on a pipe label and a fitting label does not prove that the actual bore, outer diameter, wall and barb retention will work together. Verify the exact paired pipe and fitting using both makers' instructions, including any specified securing method and operating limits. Do not transfer a tape lock-ring fitting to round PE pipe just because the numbers match. If the product listing does not show a required compatible pair, ask support to check that pair before purchase. Do not force a trial by over-tightening or heating an unverified connection.
Cut and connect only after the route is accepted
For an existing system, use a dependable upstream isolation point, stop the equipment and release pressure according to its manual before removing or cutting any line. A closed suspect fitting is not a reliable isolation device by itself. Keep people clear of stored coil movement during the work. For a new dry route, still secure the coil and prepare a clean working area before cutting. Do not cut a pressurized pipe, use compressed air as a quick proof test or restart a pump against an improvised closed line.
Check the maker's specified cut and insertion procedure for the exact pipe and selected fitting. Keep cuts square and clean where that procedure requires it; remove debris without putting it into the line. Hold the pipe's natural approach to a connection while fitting it, rather than using the connector to pull the pipe into position. Restore any prescribed restraint or protection, then trace the route again to confirm that a splice did not pull a corner tight or shift a branch. Count the finished length to the intended service end, not to the edge of a sale coil.
On an already operating field, make a brief record of the pressure and delivery conditions before intervention if the system allows a safe reading. After reassembly, return to service by the equipment's approved sequence and compare like-for-like operating conditions. Inspect the new joints and the previously marked bends for leakage, movement and flattening, then check that the intended downstream branches receive water. A dry fitting exterior alone does not prove the route has adequate hydraulic capacity or that every emitter operates correctly.
Check the installed route during crop work, not only at startup
Make a second walk after the first normal irrigation cycle and after the first nearby cultivation or harvest pass. See whether wheels, hoses, crates or foot traffic moved the PE against a hard corner. Watch whether a formerly relaxed bend is now being pulled by a settling support or a changed branch position. If a new crease appears, record its location and isolate the cause before selecting another fitting. Repeated damage at one position usually points to an unresolved route or protection problem.
Keep the route map with the pipe identity, actual cut lengths, corner decisions, fitting codes and photographs of any rejected sections. This makes later work easier without assuming that a replacement coil will have the same construction. If an emitter line connected downstream needs a flush, the accessible lateral flushing plan addresses its end closure and discharge route. The blank PE feed still needs its own supported path and connection inspection.
If some material came from storage or another field, separate that history from the new route decision. The used drip-tape allocation guide deals with retained thin-wall tape and its integral outlets. A recovered blank PE coil likewise needs identification and condition checks, but neither tape wear assumptions nor tape couplers establish what this PE feed can safely do.
Build the order from the marked route and exact connection
Take the measured route, identify which portions can follow an approved natural curve, and list only the corners that need a compatible elbow. Add straight couplers only for deliberate joins or approved damaged-section replacements, with the necessary accessible straight pipe on each side. Confirm the selected outside diameter and wall against the current PE option, then check the actual product-page purchase route, pack quantity, current price, availability and delivery for each part. The PE tubing page may require a direct availability enquiry rather than immediate checkout; do not treat a listed pipe size as a promise of stock.
The listed pipe and fitting options establish catalogue choices, but their mating compatibility still needs verification. Keep the exact PE option, EC elbow code and SC coupling code on the list, and resolve any doubtful mating or retention detail before ordering. Do not infer a coil length, allowable bend, pressure rating or maximum field run from a catalogue photograph. Those limits come from the chosen model's installation data and the field hydraulics.
| Field checkpoint | What to record | Buying or installation decision |
|---|---|---|
| PE identity | Maker, exact pipe option, outside diameter, wall and approved installation limits | Choose a known coil and matching joining method |
| Route | Entry, branch positions, crop crossings, corners and reachable service end | Measure before cutting and protect access |
| Uncoiling | Twist, snags, stored-energy control and any marked crease | Keep sound length separate from suspect material |
| Corner | Approved smooth curve or exact accessible elbow position | Avoid a forced fold or unnecessary fitting |
| Join and trial | Exact fitting pair, isolation, normal-run leakage and downstream delivery | Accept, reroute or replace the affected section |
Finish with the pipe lying on the route it will actually serve, each intended corner supported and each connection reachable. If an identified section cannot make that path without a prohibited bend or a damaged crease, change the route or replace the section before crop access becomes difficult. Then order the confirmed pipe and fitting options for the measured installation, and keep the route record for the next inspection.
Before you order
Compare this guide with the specifications for your exact product, selected option, water supply and field conditions. Your equipment requirements take priority over a general example.
Compare irrigation products