Irrigation Screen Water Filters: Clean, Check the Seal or Replace the Unit?
Diagnose an installed screen filter from comparable pressure readings, safe inspection and verified element or seal fit before ordering a replacement.
Published by IrriNex Store
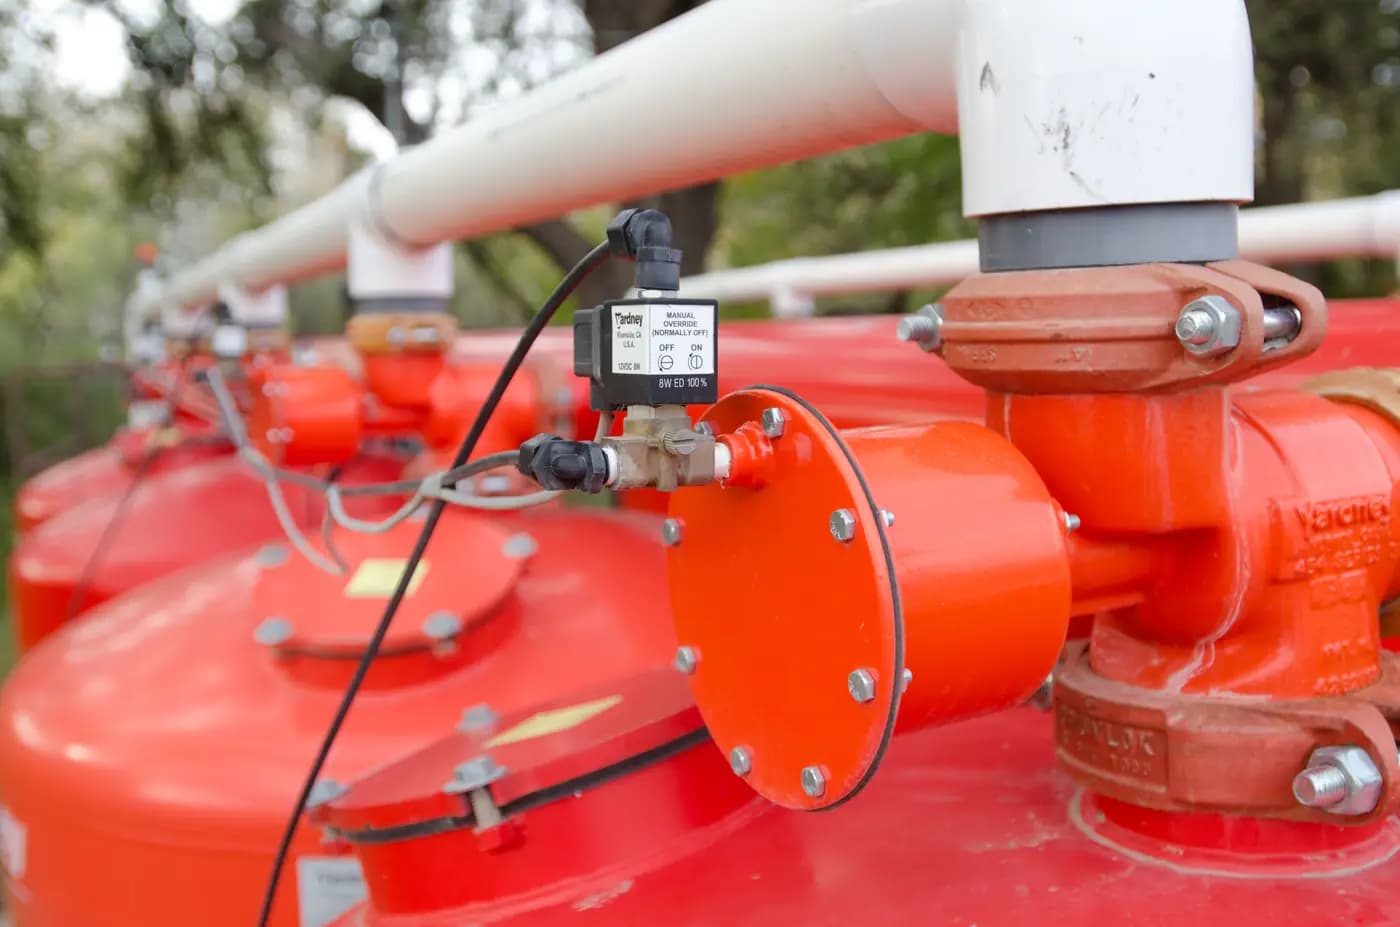
When irrigation screen water filters lose flow or pass grit into a drip line, growers need to identify whether the screen, seal or housing is at fault. When row delivery weakens or grit appears after the filter, first document the operating condition. Compare inlet and outlet pressure at a comparable flow with a known clean reading; then isolate and depressurize the exact unit according to its manual before inspecting the element and seals. A loaded but intact screen may need approved cleaning. A torn screen, damaged seal or housing, or unidentifiable replacement part points to a different purchase decision. This guide turns those observations into a safe, model-specific repair or replacement request. The opening photograph shows farm media-filter tanks as filtration context; the steps below concern an identified screen-filter model.
Start with the symptom and the installed unit
A filter can restrict a drip system when its screen fills with material. It can also fail to protect the downstream line when water passes around a poorly seated element or through a tear. Those two failures may occur together, but they call for different actions. A lower outlet pressure by itself does not prove that the screen is dirty: a source or pump change, an open extra zone, a partially closed valve, a pipe leak, and a blocked pressure gauge can change the reading. Debris at a dripper does not prove that every particle passed through the screen; a downstream repair or open line may have introduced material.
Walk the headworks before ordering anything. Photograph the filter body, flow arrow, connection ends, label, element marking, gauge locations and any leak marks. Write down the installed model, screen grade where legible, original seal arrangement and the downstream emitter requirement. If the label is gone, record dimensions and connections for a manufacturer or supplier to identify; similar-looking housings are not interchangeable. Keep this record alongside the water-source filtration guide, which addresses choosing a complete filtration train rather than troubleshooting an installed screen.
Compare screen-filter pressures under the same operating case
Use the upstream and downstream gauge positions specified for the installation, if they exist. At a steady irrigation condition, record both pressures, the zone or combination of zones running, the measured or reliably known flow, source condition, and time since the last service. The difference across the filter is useful only with that operating context. If there is an earlier clean-screen record, compare readings at a similar flow and valve state; do not compare a full-field run with a single-row run and call the difference screen loading. An irrigation screen filter pressure comparison should note the valve state and zone flow for each reading so a changed load is not mistaken for a clogged screen.
If no clean record exists, write “baseline unavailable” rather than invent one. A later reading after model-approved cleaning can become a useful reference when the same flow case is repeated. The manufacturer’s criterion and the downstream pressure needed by the emitters govern intervention; there is no universal pressure difference or calendar interval suitable for every screen, source and flow. Use the zone-flow calculation guide to reconstruct which outlets were operating when the readings were taken.
Watch where the change occurs. A rising difference across the filter with otherwise comparable source and flow conditions supports an investigation of loading. A fall in both inlet and outlet pressure calls for an upstream check as well. Stable filter differential with weaker far-row delivery points beyond the element too. If particles appear only after the filter, inspect possible bypass paths and downstream work before buying a finer screen. The pressure troubleshooting guide helps separate regulator and source behaviour from a filter issue.
Make the inspection safe for that exact model
Do not unscrew or unlatch a filter because a gauge appears low. The housing may retain pressure even after a pump stops or a valve is closed. Identify the correct isolation points, drain or vent, and depressurization sequence in the installed equipment manual. Stop the relevant water supply and follow that sequence; confirm the pressure state in the way the manual requires before opening the housing. A technician responsible for the headworks should handle uncertain valve layouts, automatic starts, elevated tanks or unfamiliar pressure vessels.
Prevent irrigation to drip rows through an unfiltered bypass during service. If the headworks has a bypass, label and control it so a later operator does not mistake the temporary arrangement for normal operation. Have a clean place to set the screen and seal; dirt introduced while the body is open can be carried into emitters after restart. Photograph the position and orientation before removal, because reassembly must follow the exact model instructions rather than a generic Y-filter sketch.
What to inspect once the housing is open
Look at where the material sits on the screen. An even layer of grit, silt or plant residue may explain a rising pressure difference. A thick patch in one area can suggest uneven entry, a collapsed or distorted element, or a changed source load. Check the element for holes, stretched mesh, separated seams, crushed ends, deformed frames and damage at the seating edge. Cleaning cannot restore a torn barrier. Do not assume a screen is intact merely because a rinsed surface looks bright; examine it against light and inspect the rim where water can pass around it.
Inspect the gasket or O-ring for cuts, flattening, swelling, hardening, incorrect position and contamination in its groove. Check the body mating surfaces, threads, cover and closure for cracks, distortion or abrasion. A seal that no longer seats can let unfiltered water bypass the element or leak externally. A damaged housing can be a pressure-safety issue; its replacement decision is separate from the screen’s condition. Record which defect was actually observed, rather than writing “filter clogged” for every failure.
Keep the element and seal identities together. Housing model, revision, element dimensions, grade, end-cap shape and the seal profile may all matter. A nominal 120-mesh description does not establish that a screen from another body fits or seals. Mesh is an opening-count description, not a universal micron conversion across every wire and manufacturer. Match the downstream emitter’s documented requirement and the original element reference, then ask the original maker or supplier to confirm a compatible part. Do not order a look-alike cartridge solely by its photographed colour.
When cleaning is the justified first action
If the body, screen structure and seals remain sound and the observed load is removable, clean the element using the specific filter manual’s approved method. Keep track of flow direction and any internal supports. Rinse collected debris away from clean-side openings. Avoid a wire brush, pressure jet or chemical treatment unless that exact model permits it; harsh cleaning can enlarge openings or damage a seal while making the screen appear clean. Do not add an acid or chlorine recipe to a mechanical-filter task without a verified water-chemistry diagnosis and a separate approved procedure.
Cleaning is a test, not proof that the unit is fixed. Reassemble with the correct element seat, intact matched seal, cover alignment and torque or closure procedure specified by the manufacturer. Restore the installation according to its start-up instructions. Check externally for leaks and verify that no bypass is delivering untreated water. Repeat the pressure record at a comparable flow, then inspect representative near and far outlets for delivery and new debris. If the pressure difference improves but grit still appears after the filter, inspect the seal path and downstream pipe rather than repeatedly washing the same screen.
Frequent loading deserves a source investigation. Compare the retained material with what enters the headworks during the actual pumping cycle. A well that produces sand at start-up, a reservoir disturbed by intake movement, or a newly repaired main can change loading sharply. If a sound screen repeatedly needs attention sooner than the farm can maintain it, revisit area, pretreatment, source intake and service access with the filtration selection guide. A larger connection or finer mesh alone may not solve the cause.
Decide when a matched screen element or seal is worth replacing
A screen with a tear, warped frame, loose seam or damaged end connection should be replaced with a confirmed part before the drip zone runs again. An intact screen with a damaged seal may need only the exact matched gasket or O-ring if the housing seats are sound. A leaking cover can also result from grit in a groove or improper assembly; inspection distinguishes this from a permanently damaged part. Record the observed defect and the installed filter identification before asking for a part reference.
Ask the seller or maker for the exact element and seal identifiers for the installed model and revision, the grade required by the downstream emitters, the approved cleaning method and the pressure limit. Confirm availability and fit in writing. The filter pages below describe complete units; they do not establish that a loose screen or seal for an existing unit is available. If a compatible element cannot be verified, buying a complete assembly may be less risky than forcing an unconfirmed part into a pressure housing.
When replacing the whole filter is the sound decision
Replace the assembly when the housing, cover or load-bearing connection is cracked or distorted; when the sealing seat cannot hold the correct gasket; when the installed body cannot be identified well enough to source a safe part; or when the exact required element is no longer obtainable. Persistent failure after correctly verified cleaning and reassembly also warrants a broader diagnosis before repeating purchases. A replacement is an opportunity to verify the whole operating case: source debris, actual flow, allowable pressure, connections, element grade and room to withdraw the screen.
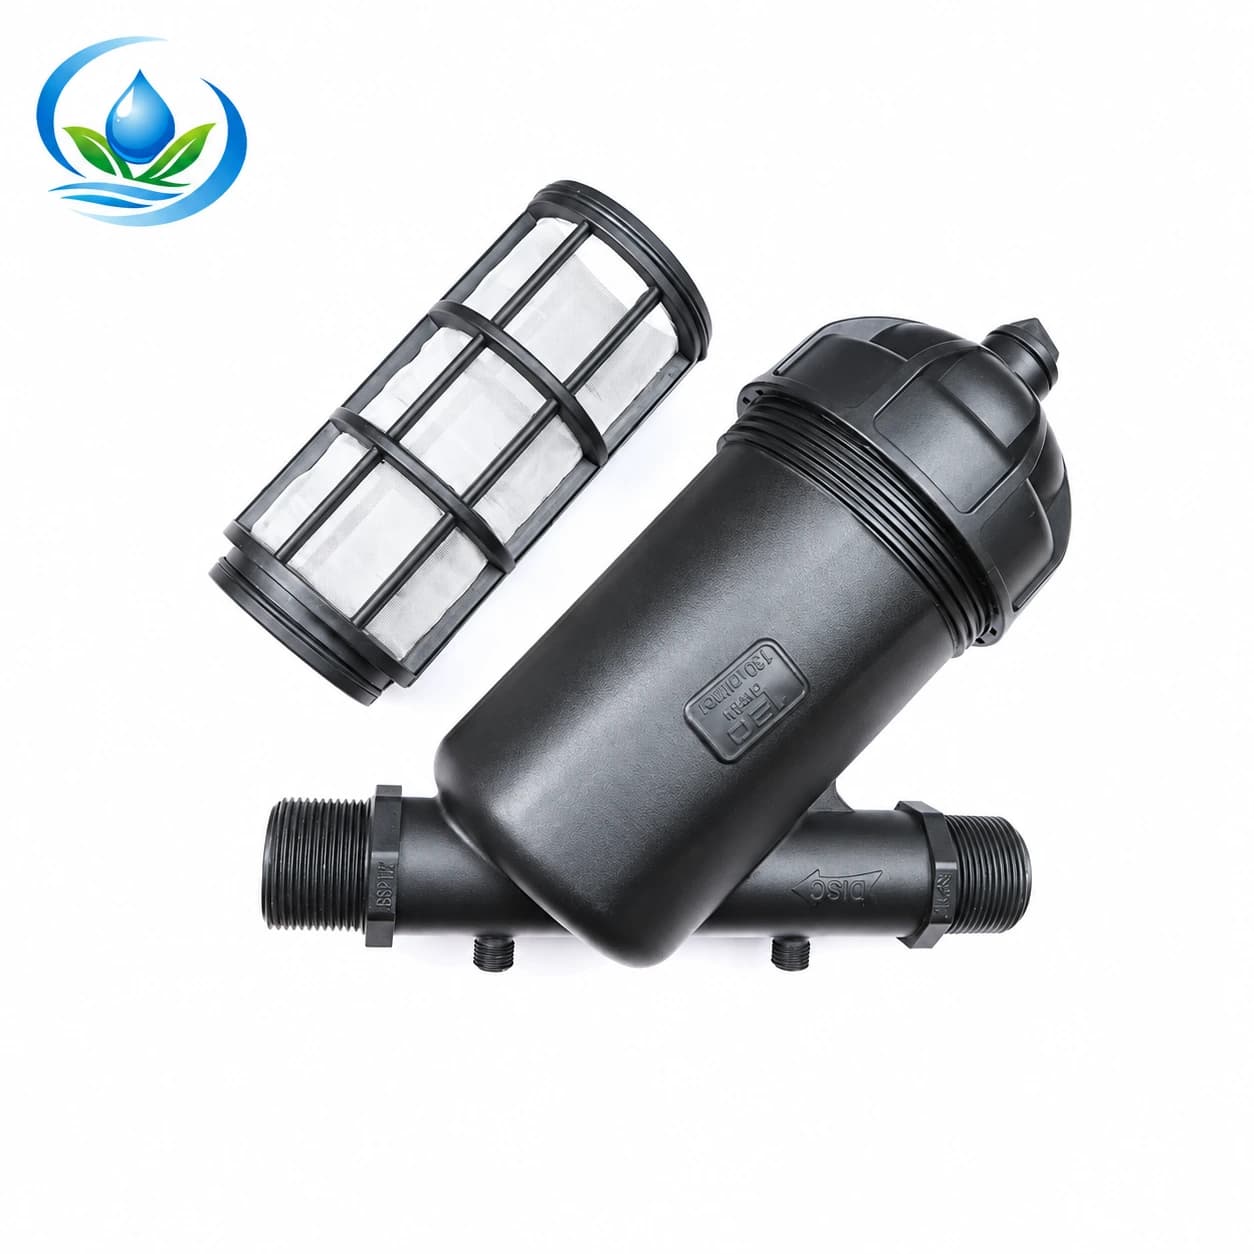
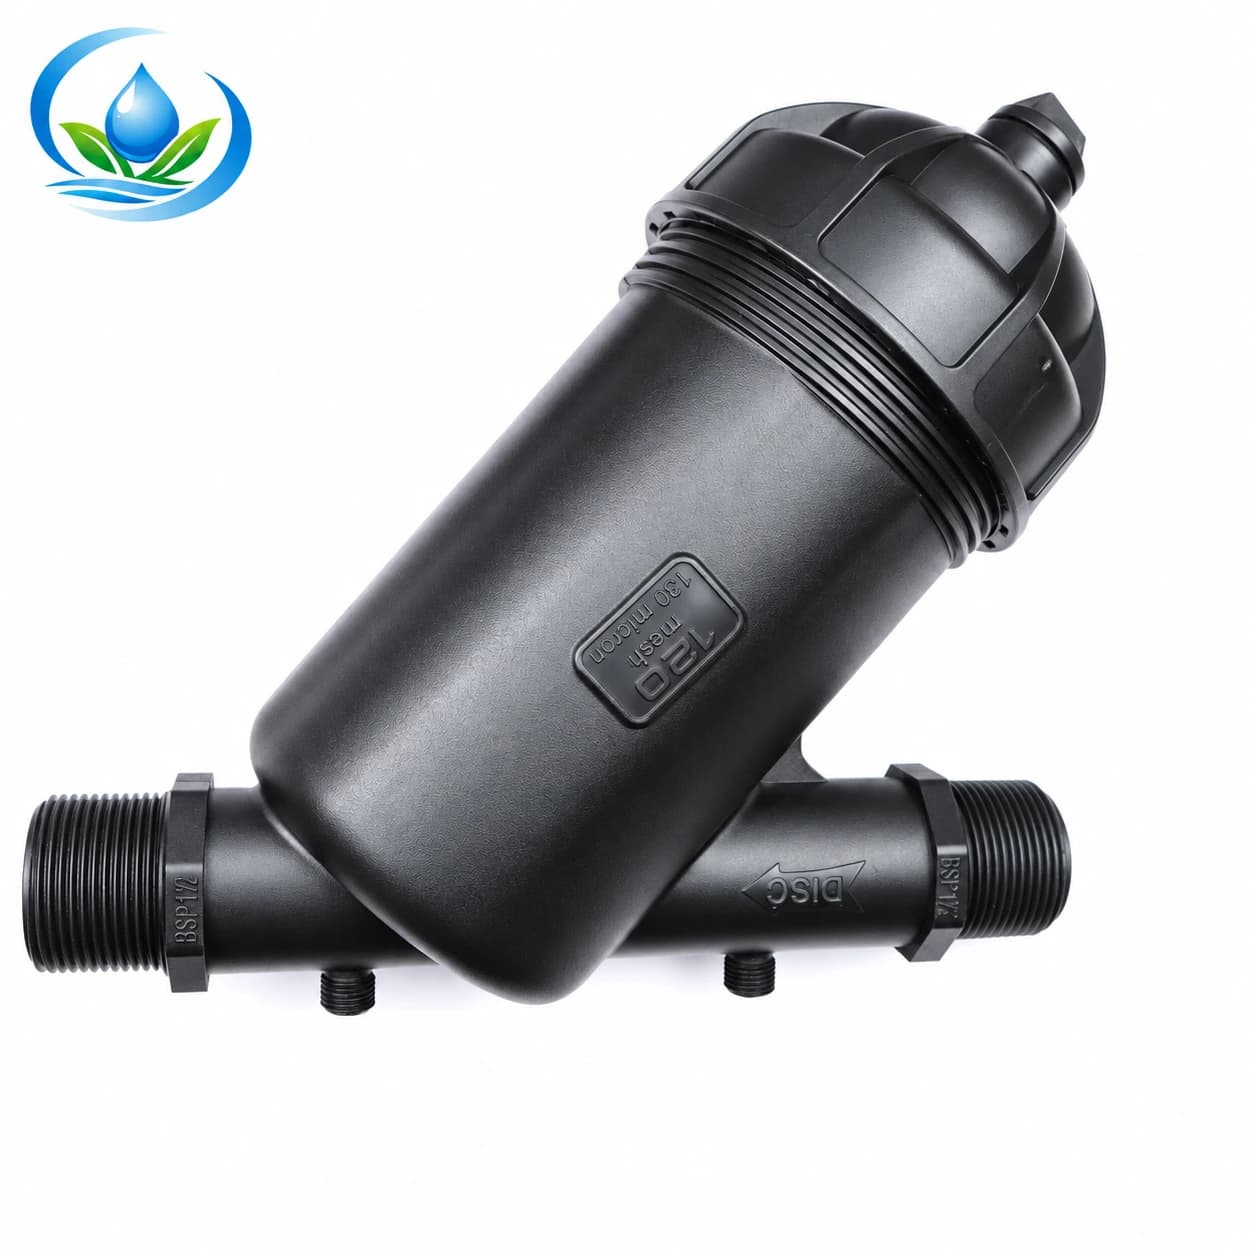
For a small agricultural line, compare the compact plastic screen-filter options using the exact F25YS or F32YS model reference. The catalogue records F25YS as a 3/4-inch, 120-mesh screen with 5 m³/h maximum discharge and 8 bar maximum pressure, and F32YS as a 1-inch, 120-mesh screen with 6 m³/h and 8 bar maxima. These are independent limits, not a pressure-loss curve or a promise of continuous-pressure suitability. Check the actual connection standard, normal running flow, required element and service clearance before choosing.
For a larger connection, the 1–2 inch plastic screen-filter family includes F32YS at 1 inch and 6 m³/h, F50YS at 1½ inches and 20 m³/h, and F63YS at 2 inches and 25 m³/h. The listed variants show 120 mesh and 8 bar maximum pressure. F32YS appears in both the compact and medium product families; its repetition is not evidence of a different internal cartridge or a confirmed spare. Use the exact model and current seller confirmation to establish what assembly and element would arrive.
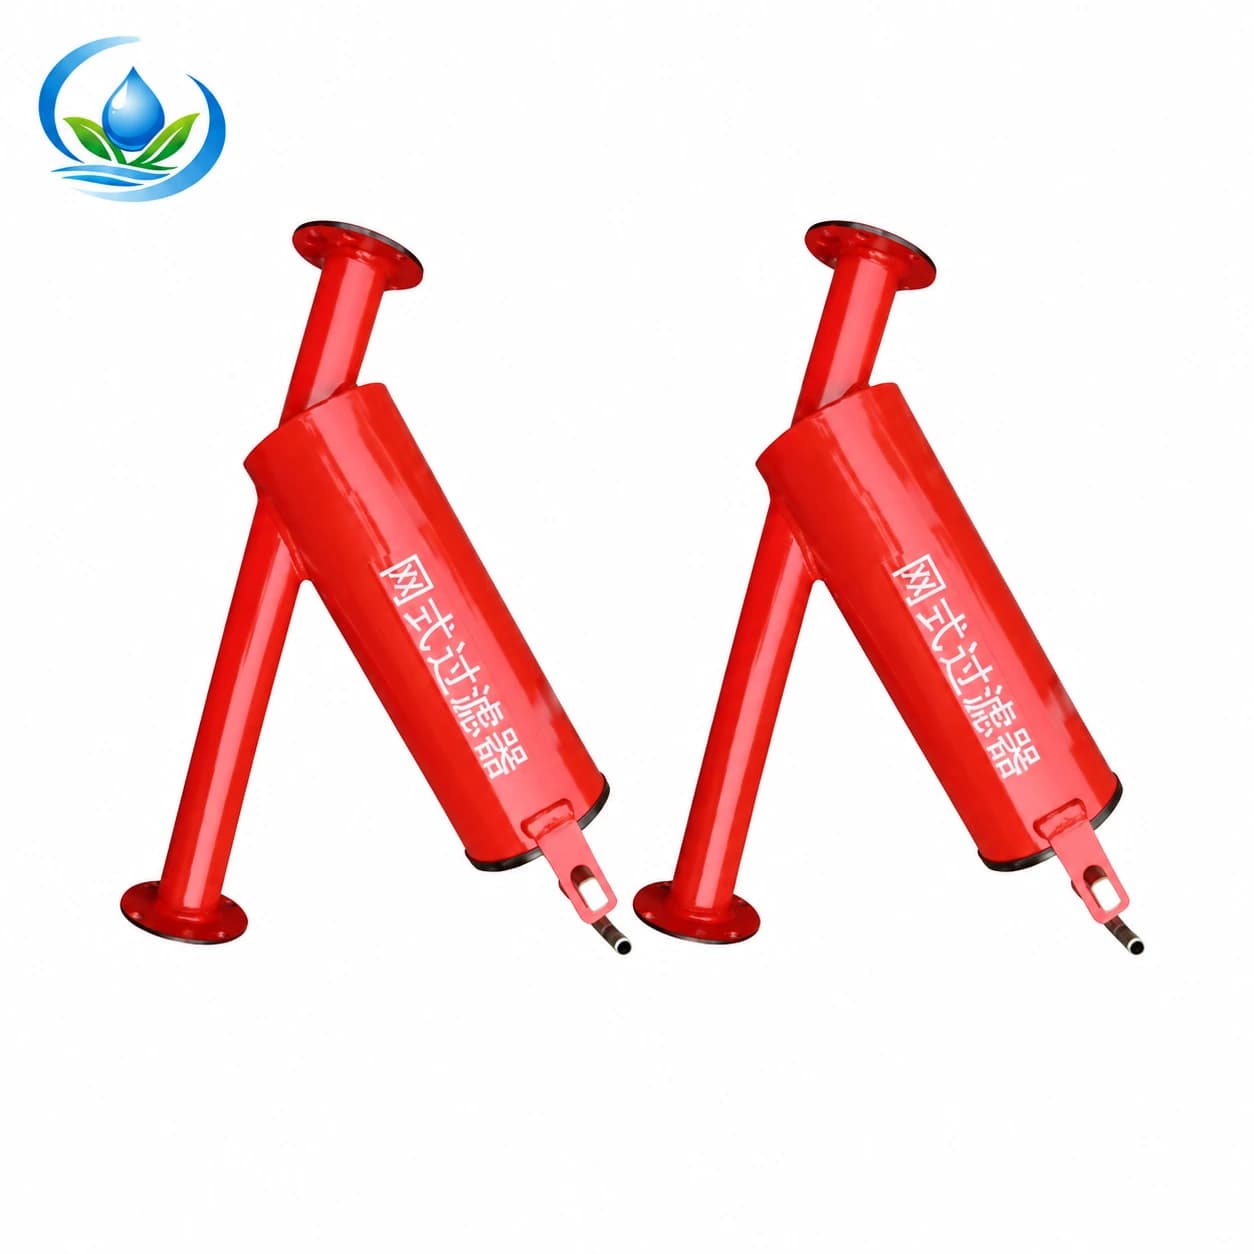
The steel Y-screen filter is another comparison when the installation calls for that body family. Its listing describes 2-, 3- and 4-inch connections, mesh options of 80, 120, 150 and 200, and a broad maximum-flow range of 20–80 m³/h. Those family values do not pair each connection with a particular mesh, flow, element, seal or pressure-loss curve. Ask for the exact configuration and current model documentation before treating it as a replacement for a known plastic housing. Do not assume the original element can be transferred between the two bodies.
Check the replacement against the operating system
A product page’s maximum flow is a ceiling, not the pressure loss at the farm’s real flow. Calculate the simultaneous zone demand and confirm the selected filter’s operating information with the supplier. The body’s pressure limit must cover the intended installation and any credible pressure excursions described by the equipment maker. Determine whether the exact model is approved for the installation’s pressure pattern, especially if the headworks stays pressurized between irrigations. Neither a nominal connection diameter nor a catalogue mesh figure answers those questions.
Measure pipe connections rather than assuming every “1 inch” end has the same thread or joint. List adapters, unions and supports separately; an unsupported headworks can stress the filter body. Leave enough space to withdraw the screen and inspect the seal without cutting pipe. Consider where retained dirt and drain water will go. If several zones can operate together, the zone planning guide can help document their combined demand; buying to the smallest individual zone could undersize a shared head filter.
Commission and keep a service record
After installation or repair, follow the model’s filling and venting instructions, then inspect the housing and joints while operating. Record inlet pressure, outlet pressure and flow under a named zone condition with the clean element. Note source conditions and the screen grade and part reference. Check representative emitters for clean delivery and walk the downstream line for leaks or sediment introduced during repair. Keep photographs of the fitted seal and element marking in the maintenance file.
At later checks, repeat the same operating case as closely as practical. A changed differential can justify inspection, while the exact manufacturer limit and field delivery determine urgency. If the differential does not return toward its clean baseline after approved cleaning, stop treating every recurrence as a routine rinse: inspect element seating, gauge function, source load and downstream restrictions. If particles return while the differential looks normal, investigate bypass and damage. The seasonal restart guide provides a broader zone-by-zone restart sequence after storage.
Send a useful part or replacement request
Provide the installed model and revision, label and element photos, connection measurements, original and current screen grade, seal condition, water source, downstream emitter requirement, zone flow, inlet/outlet readings under the same flow case, and the observed failure. Say whether the housing is sound, the element is torn, the seal is damaged, or the only finding is removable loading. Request the current part reference, price, available quantity and delivery for a matching element or seal; if none is confirmed, request a complete-unit option with model-specific operating and service information.
That record avoids buying a whole filter to cure a washable load and avoids returning a damaged barrier to the field. It also makes the next service decision measurable: the farm can compare a known clean condition with a later loaded condition and check that protected drip outlets still receive water. For a compatibility review, send the record to IrriNex Store support with the exact product option you are considering.
Before you order
Compare this guide with the specifications for your exact product, selected option, water supply and field conditions. Your equipment requirements take priority over a general example.
Compare irrigation products