Skip to content
IrriNex logo symbolIrriNex Store

Fruit trees. Orchard rows. Lasting layouts.

Orchard Drip Irrigation Systems

Plan orchard drip irrigation for young trees and established plantings. Compare dripline, individual drippers and micro sprinklers, then choose parts around root coverage, row length and terrain.

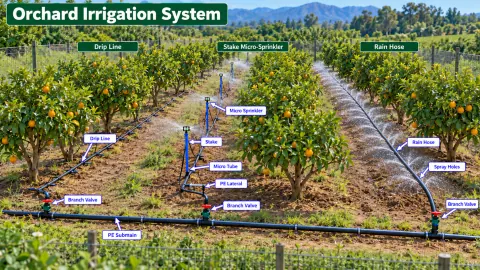
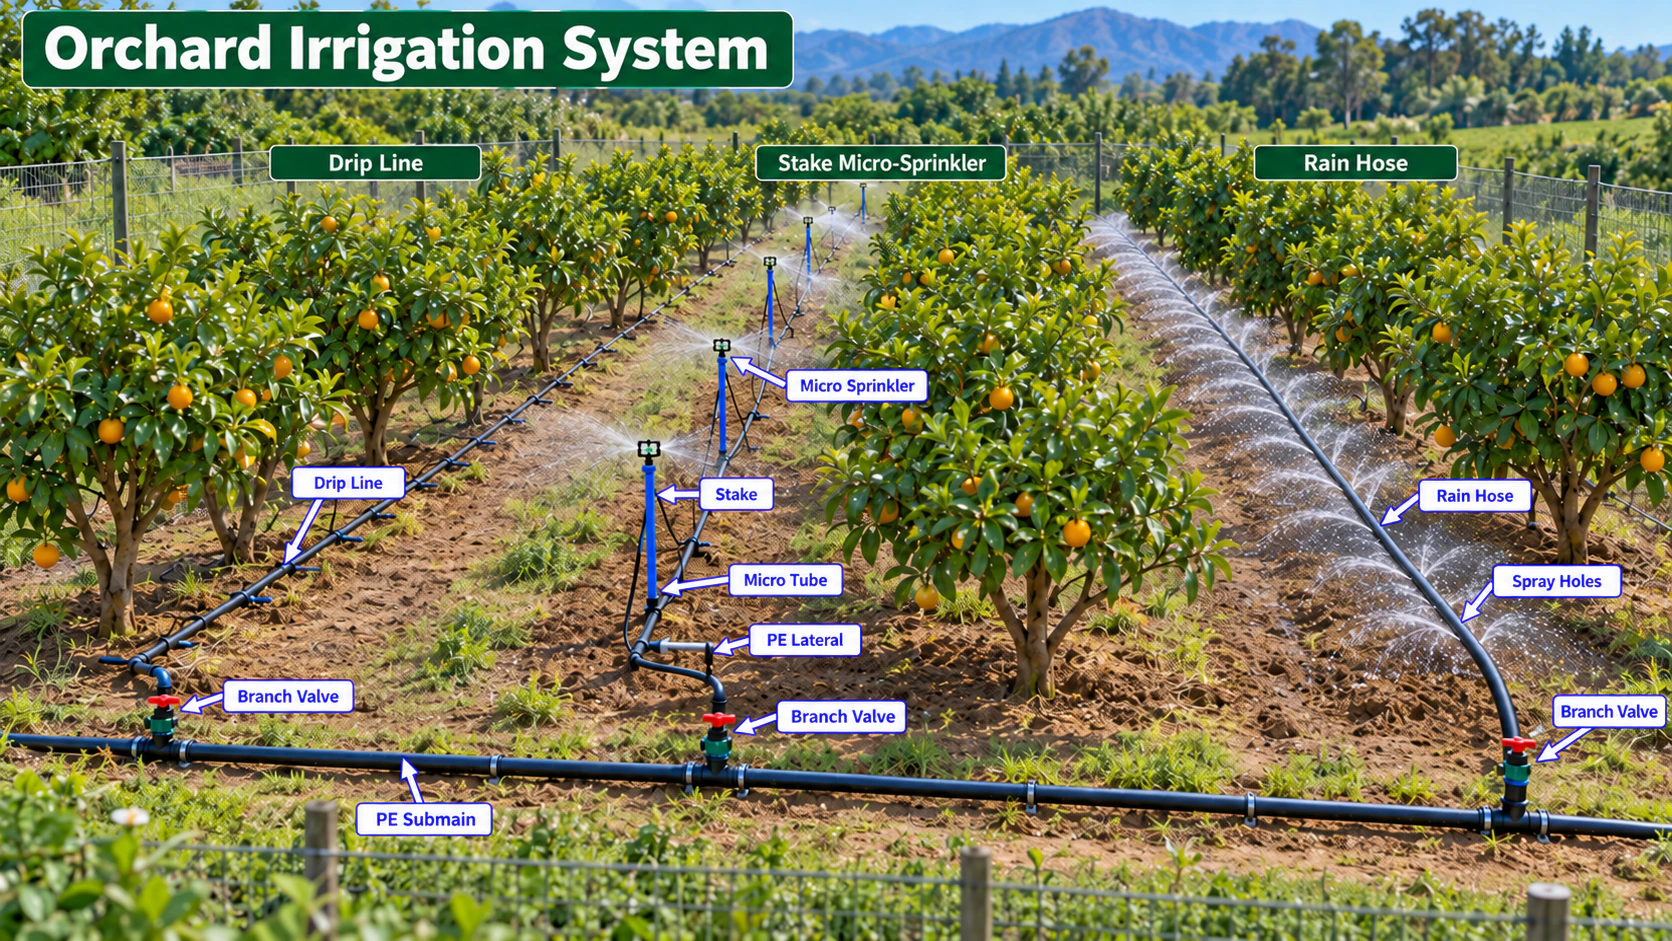
Labeled orchard drip irrigation systems diagram showing the water distribution components
View full diagram
Explore the labeled system. Confirm final sizes, layout and settings for your water supply and crop.
  • Place watering points around the active root area.
  • Adapt the wetted area as young trees mature.
  • Select separate watering zones for different orchard blocks.

From the supply to the crop

Find each part of your system.

Explore compatible sizes and specifications in the current product categories.

Filter & regulate

Prepare water for the selected emitters.

Connect & distribute

Match the lines, branches and fittings.

Control each zone

Manage flow, timing and nutrient delivery.

Water the crop

Choose the outlets for your planting layout.

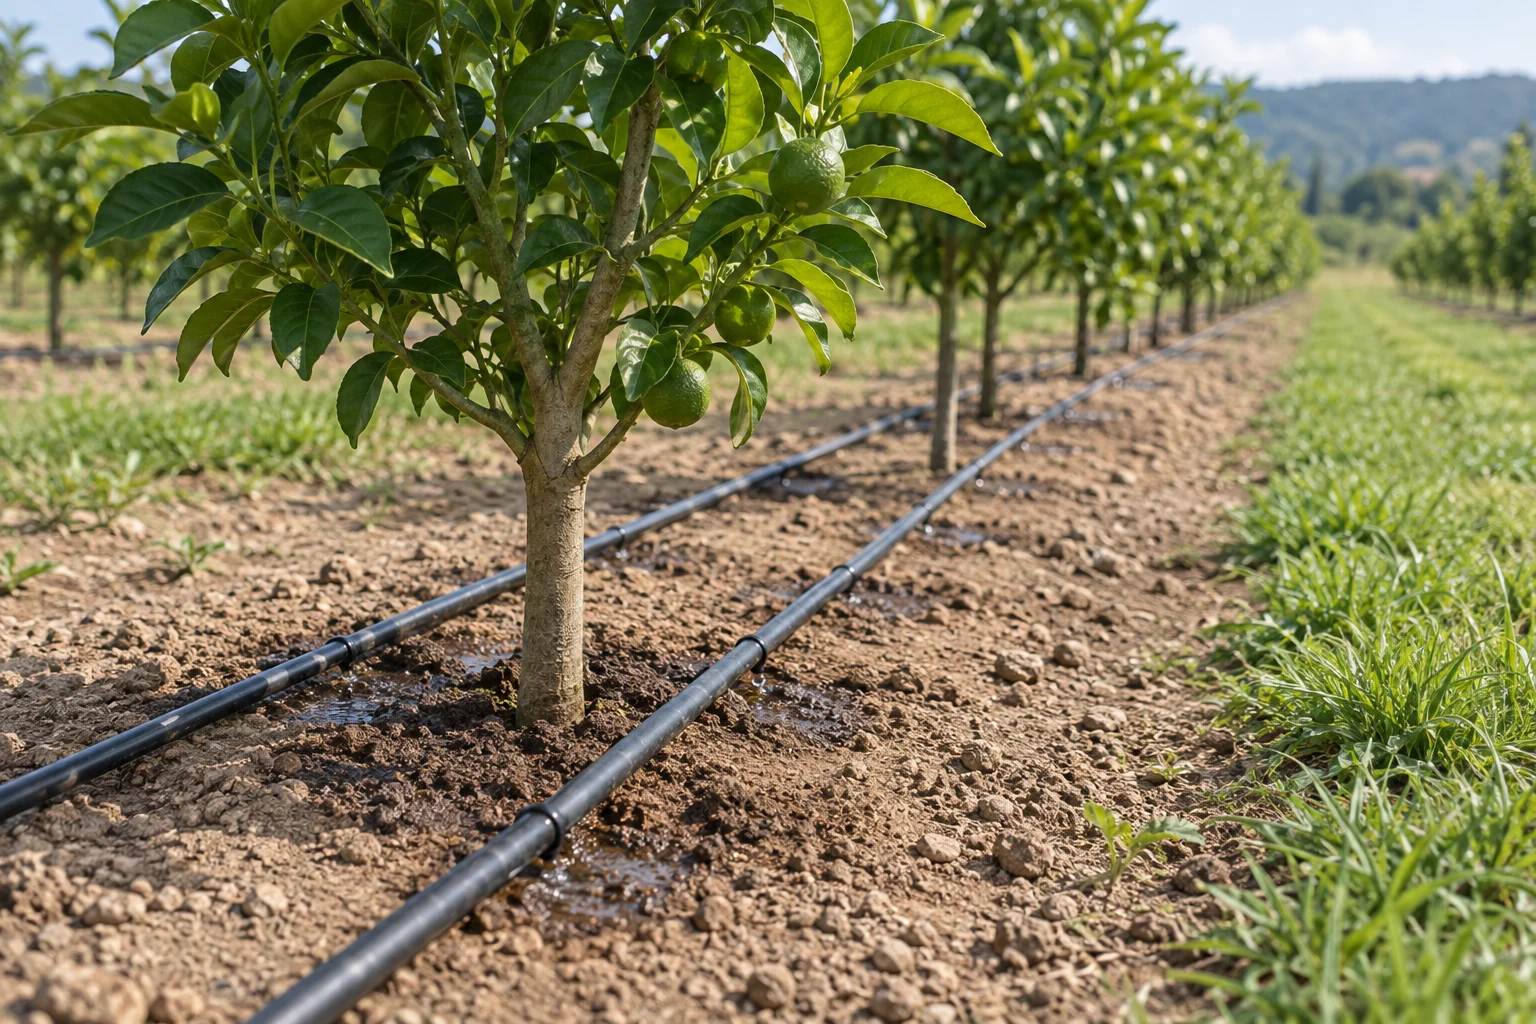
Two drip irrigation laterals running along a row of orchard trees.
Illustrative orchard layout with watering lines distributed on both sides of a tree row.

Made for your growing space

Drip irrigation for fruit trees, from planting onward

Fruit trees. Orchard rows. Lasting layouts.

Orchard drip irrigation places water at selected points along a tree row or around individual trees. The aim is to wet the active root area. As a tree grows, a small wetted patch near the original planting hole may no longer provide the coverage it needs.

Mark tree rows, young replacement trees, slopes and access lanes. Check how far water spreads through the soil during a trial. Use these observations to choose the number and location of watering points, then reserve enough distribution capacity for the intended mature planting.

Plan the details

Good choices start with your layout.

Match water delivery, component connections and operating conditions before choosing quantities.

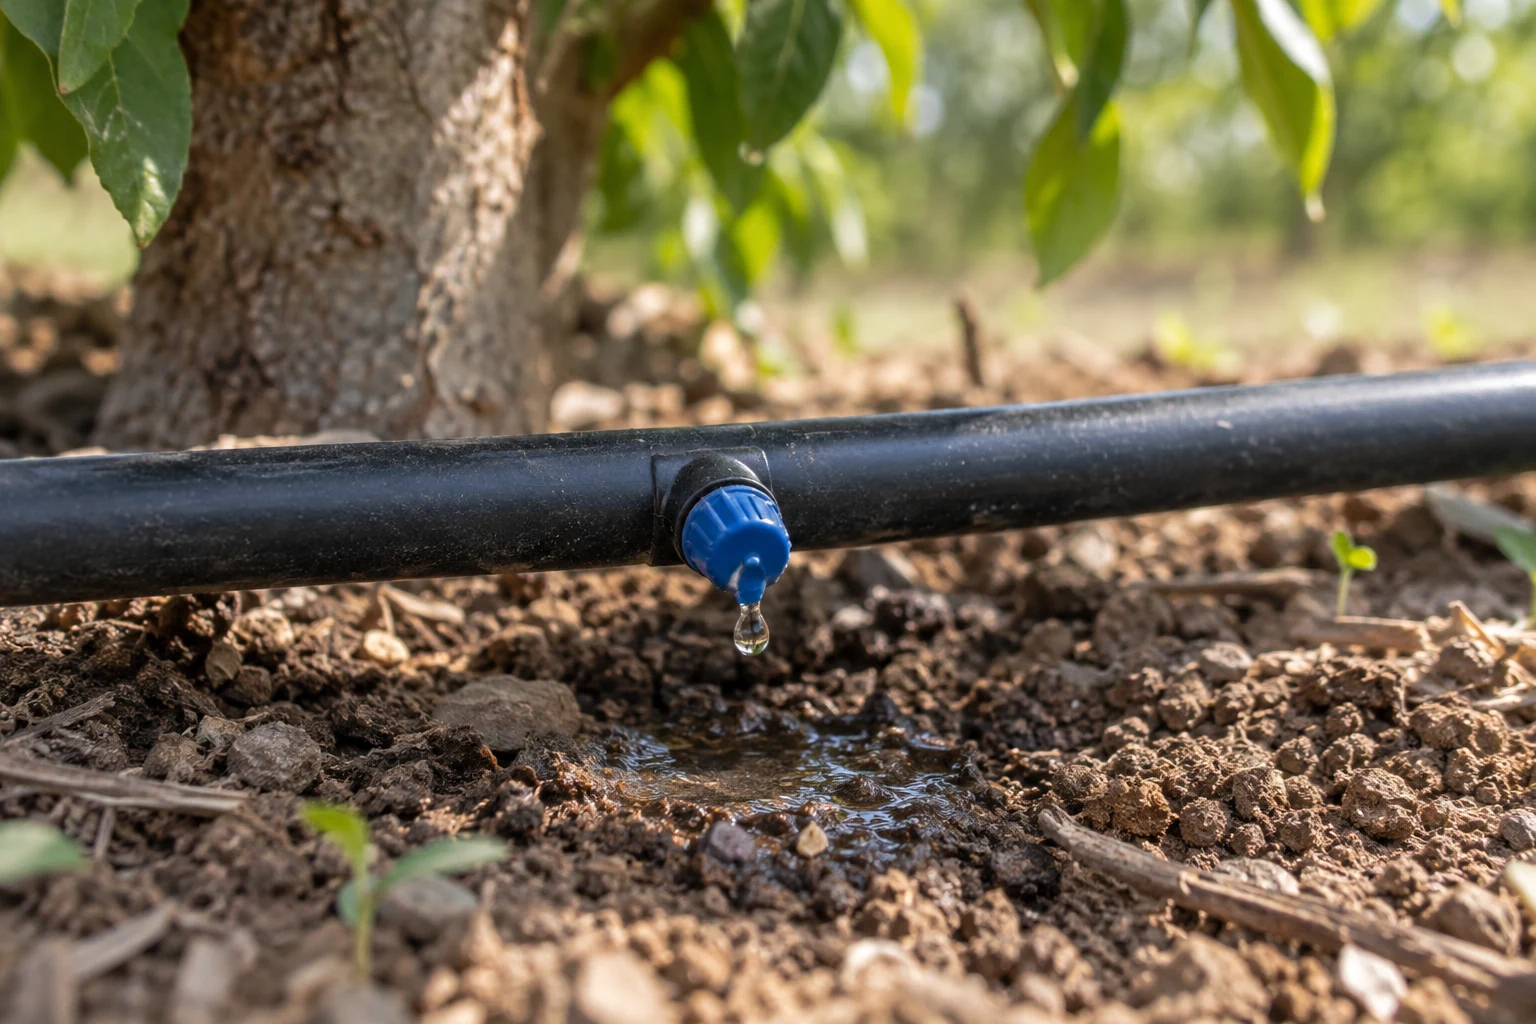
Close view of an irrigation dripper releasing water beside an orchard tree.
Illustrative dripper detail showing a selected watering point within the tree root area.

Choose how water reaches each tree

Inline dripline supplies repeated outlets along a row. Individual online drippers allow watering points to be placed around particular trees. Orchard micro sprinklers distribute water over a broader surface area and can be useful where the design calls for a wider wetted pattern. Each method needs its own pressure, flow and spacing checks.

The orchard illustration includes a micro sprinkler arrangement. Use it to identify the pipe and component route, then choose the outlet method that fits your planting. A spray pattern and a drip outlet require different flow, pressure and coverage checks.

  • Dripline: compare one or more laterals along each tree row.
  • Online drippers: allow room to add or reposition outlets as trees grow.
  • Micro sprinklers: check wetted radius, mounting height and obstructions.
  • Different emitter types: normally plan separate hydraulic and scheduling zones.

Pressure-compensating drippers for changing terrain

Pressure changes with elevation and is lost as water moves through pipe and fittings. That makes the highest tree, the longest row and the low end of a sloping block useful places to inspect. Divide a difficult site into zones where needed instead of relying on one regulator to solve every variation.

Pressure-compensating emitters can help limit changes in output within their stated operating range. They do not create pressure or correct an undersized supply. Verify the exact emitter specification and the available pressure with all outlets in the zone operating.

Build an orchard system you can service

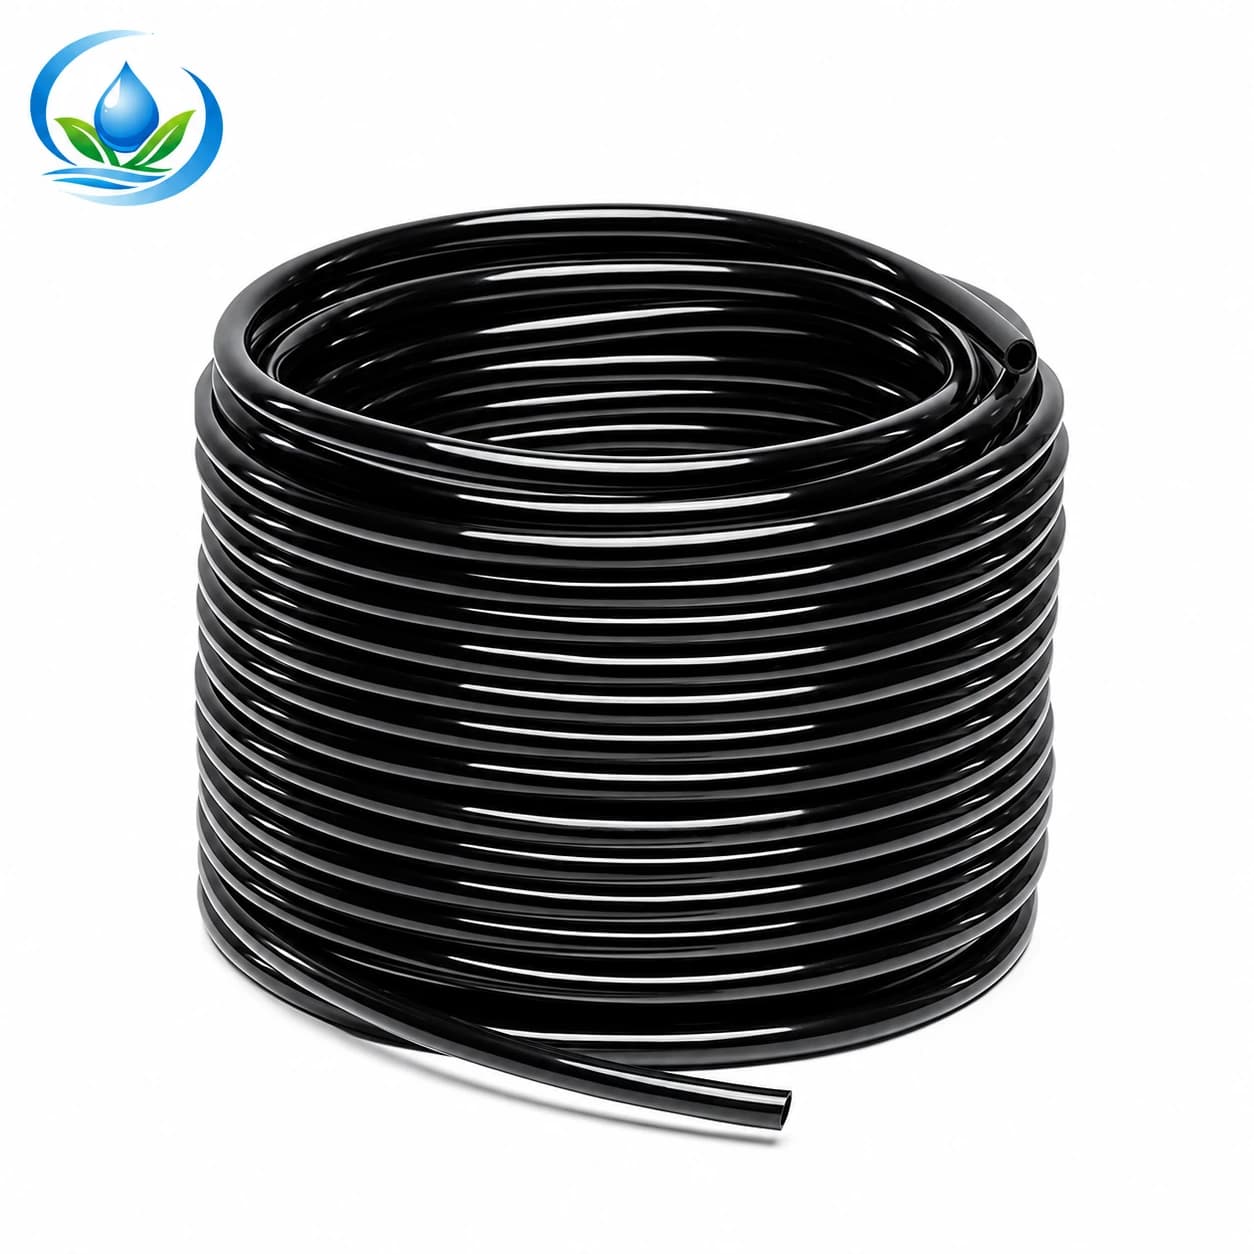
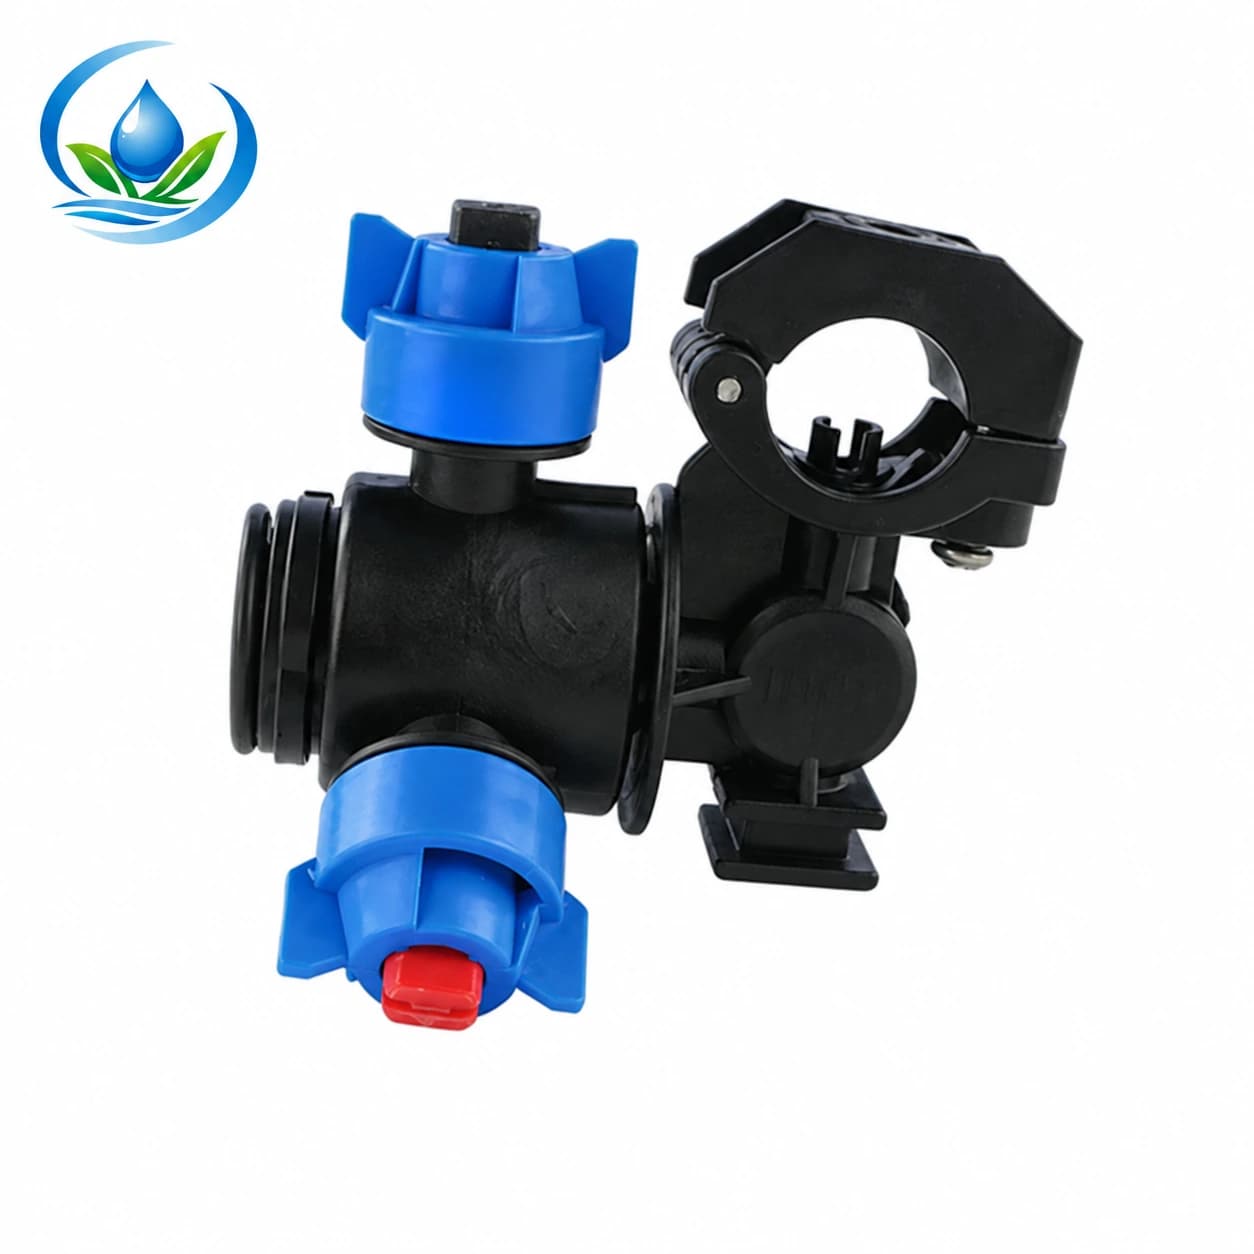
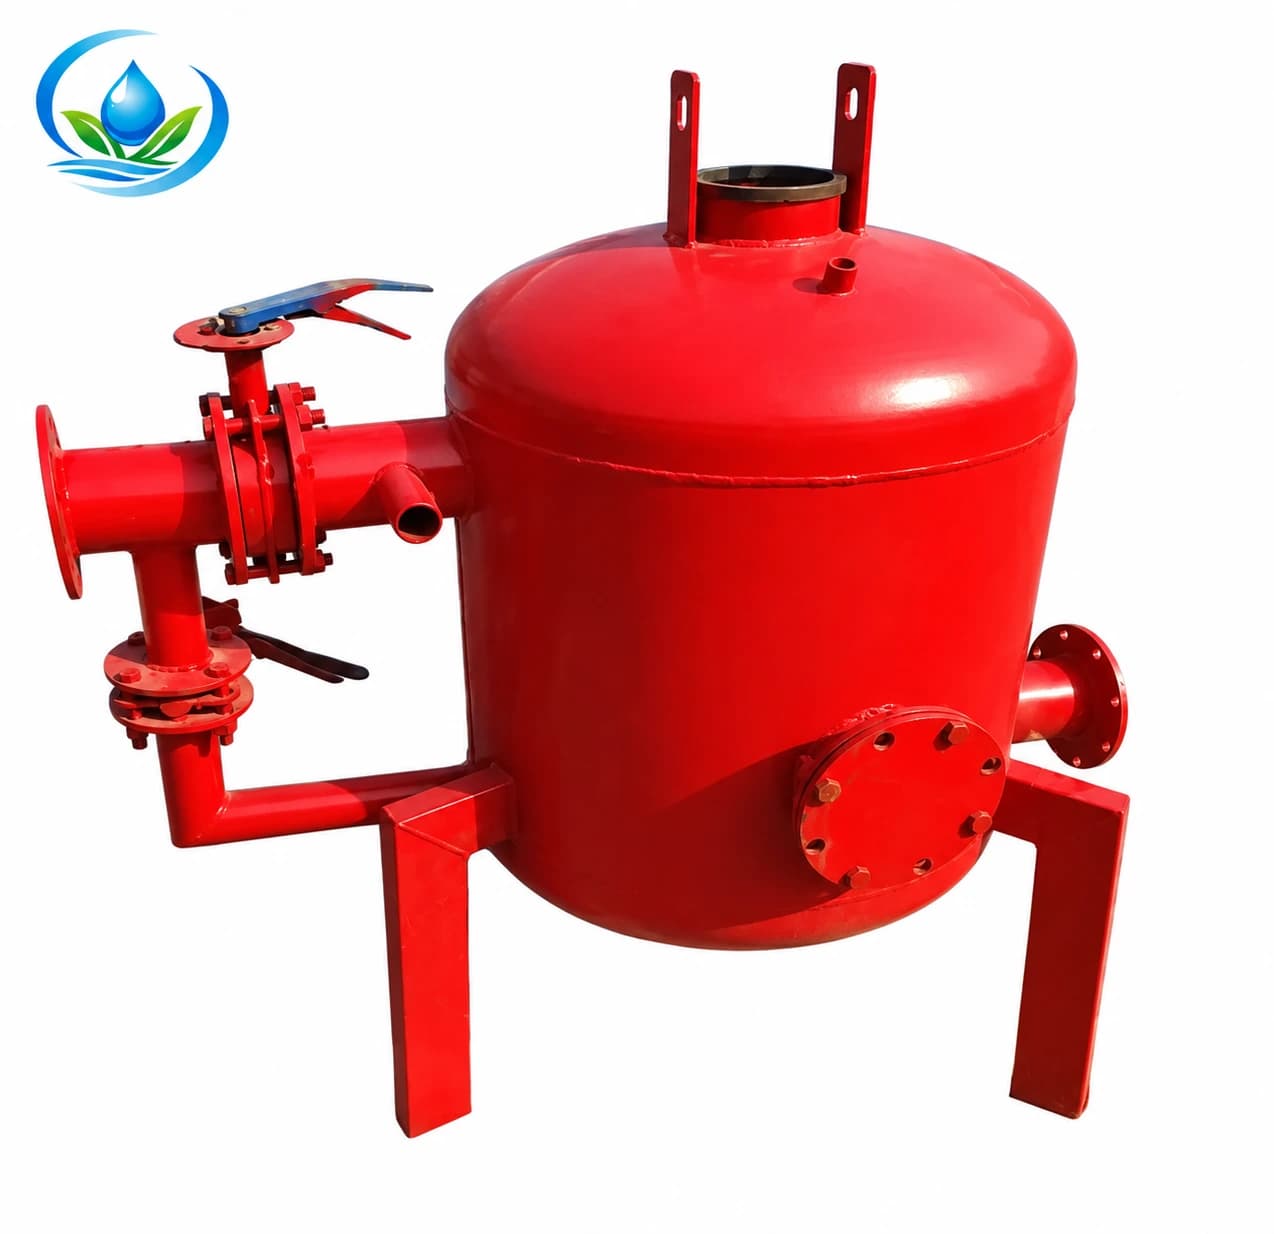
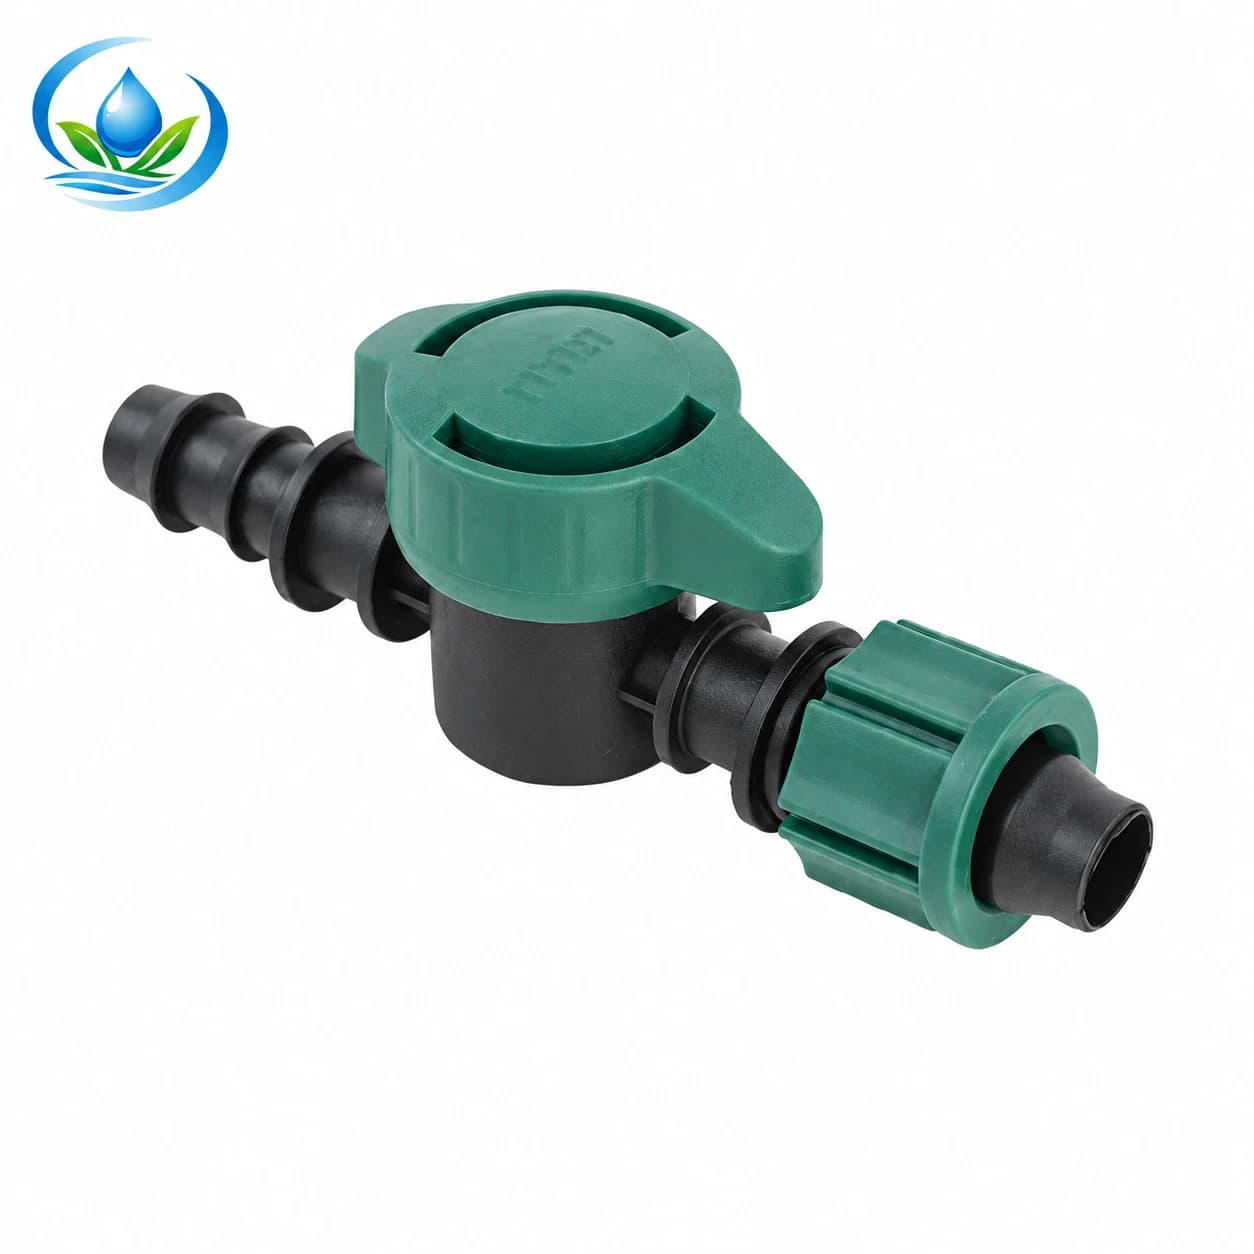
An orchard layout commonly combines filtration, main and submain pipes, isolation valves, dripline or individual emitters, connectors and accessible flushing ends. Where micro sprinklers are chosen, add compatible branch tubing, stakes or supports and the specified nozzle assemblies.

Think through mowing, pruning, harvest traffic and repairs before fixing the line position. Make shut-off points easy to find and label each zone. Keep a record of tubing dimensions, thread standards, emitter models and selected flow ratings; matching a replacement by appearance alone can change the delivery to a tree.

  • Compare fittings with the tubing’s actual dimensions and connection type.
  • Keep filter servicing and line-end flushing points reachable.
  • Include replacement trees in the watering and inspection plan.
  • Record where lines cross traffic routes or change elevation.

Check coverage as well as watering time

Use local crop guidance, weather and root-zone moisture to develop a schedule. Inspect the area between outlets as well as the soil immediately beneath them. On a sloping or variable-soil block, use representative monitoring locations rather than a single sensor for the whole orchard.

Wet soil needs air as well as water. If a low area stays saturated while other trees are dry, check drainage, layout and emitter delivery before increasing run time. Plan any fertilizer injection around water quality, the crop nutrition program, equipment compatibility and source-water protection.

Build your component list

Shop parts for orchard drip.

Explore individual components from our catalogue. Match dimensions, pressure ratings and quantities to your own system plan.

All irrigation products

Set up. Check. Keep growing.

A repeatable start-up and seasonal check

Keep a record of your first working setup.

At start-up, flush lines, inspect connections and check representative emitters at the beginning, middle and end of a zone. For micro sprinklers, also look for blocked spray paths, leaning stakes and damaged or missing nozzle parts. Record pressure and discharge so a later change is easier to spot.

Revisit the layout as trees establish. Add or reposition watering points when root coverage requires it, while recalculating total zone flow. Review frost-season storage and drainage requirements for your equipment and climate. Ordinary orchard drip components should not be assumed to provide frost protection.

  • Before the season: flush lines, inspect joints and record operating pressure.
  • During growth: check root-zone moisture and watering-point coverage.
  • After layout changes: recalculate flow and retest the complete zone.

A little more clarity

Questions before you choose?

Start with these practical answers, then check the specifications of the parts you plan to use.

Talk to our team
How many drip emitters does a fruit tree need?

Emitter count depends on tree size, root coverage, soil wetting and outlet flow. Test how water spreads, distribute outlets across the intended root area and reassess as the tree grows. One fixed number does not suit every tree or soil.

Is drip irrigation or a micro sprinkler better for an orchard?

Use dripline or online drippers where selected watering points provide the required root coverage. Consider micro sprinklers where a broader surface pattern fits the planting. Compare water supply, pressure, soil wetting and maintenance access for each option.

Can drip and micro sprinklers share a water source?

They can be supplied from a suitably sized common source, but they often need different pressure regulation, zone flow and run times. Separate zones make those requirements easier to manage.

Do pressure-compensating drippers solve every slope problem?

No. Compensation works only within the model’s specified pressure range. Distribution losses, elevation, drainage after shutdown and total supply capacity still need to be assessed.

Bring your growing plan. Find the right parts.

Share your layout, water flow and pressure, connection sizes, and the crop you grow. Our team can help you compare product options.

Get selection help