
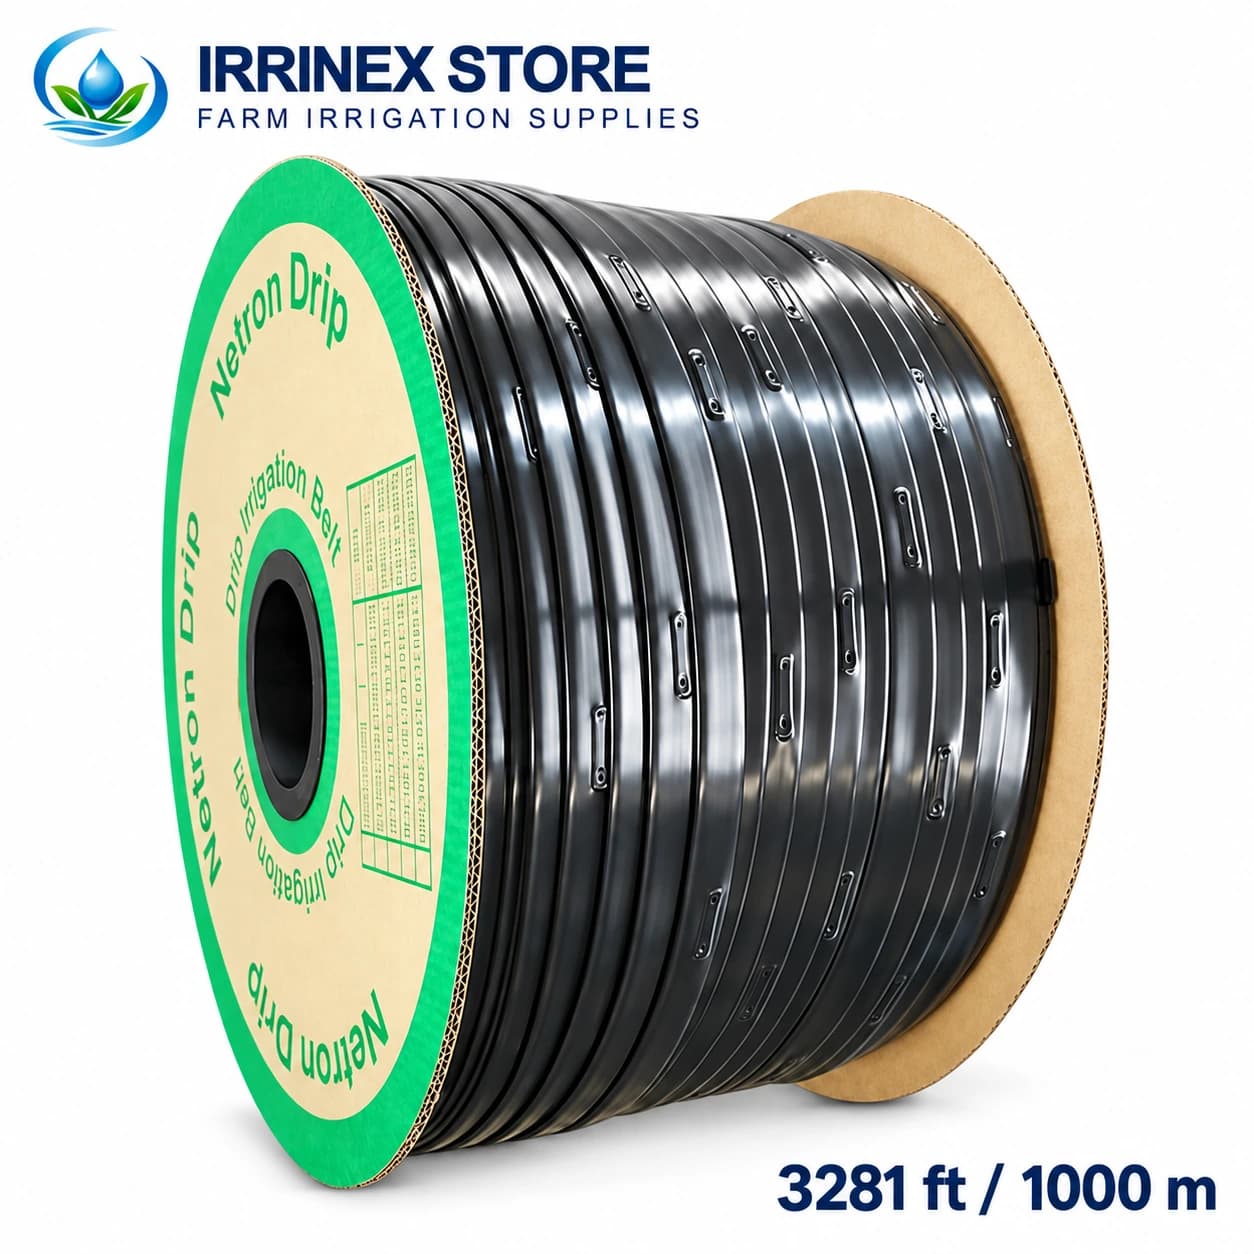
dripline drip tape
5/8-Inch Drip Tape Roll with 6-Inch Emitter Spacing
5/8 inch (16 mm) nominal; 3281 ft roll
$149.99
Agricultural irrigation, direct to you
Vegetable beds. Crop rows. Open fields.
Build a drip tape irrigation system around your crop rows. Compare drip tape, row fittings, filters and pressure control, then select the parts that match your field layout and water supply.
From the supply to the crop
Explore compatible sizes and specifications in the current product categories.
Made for your growing space
Vegetable beds. Crop rows. Open fields.
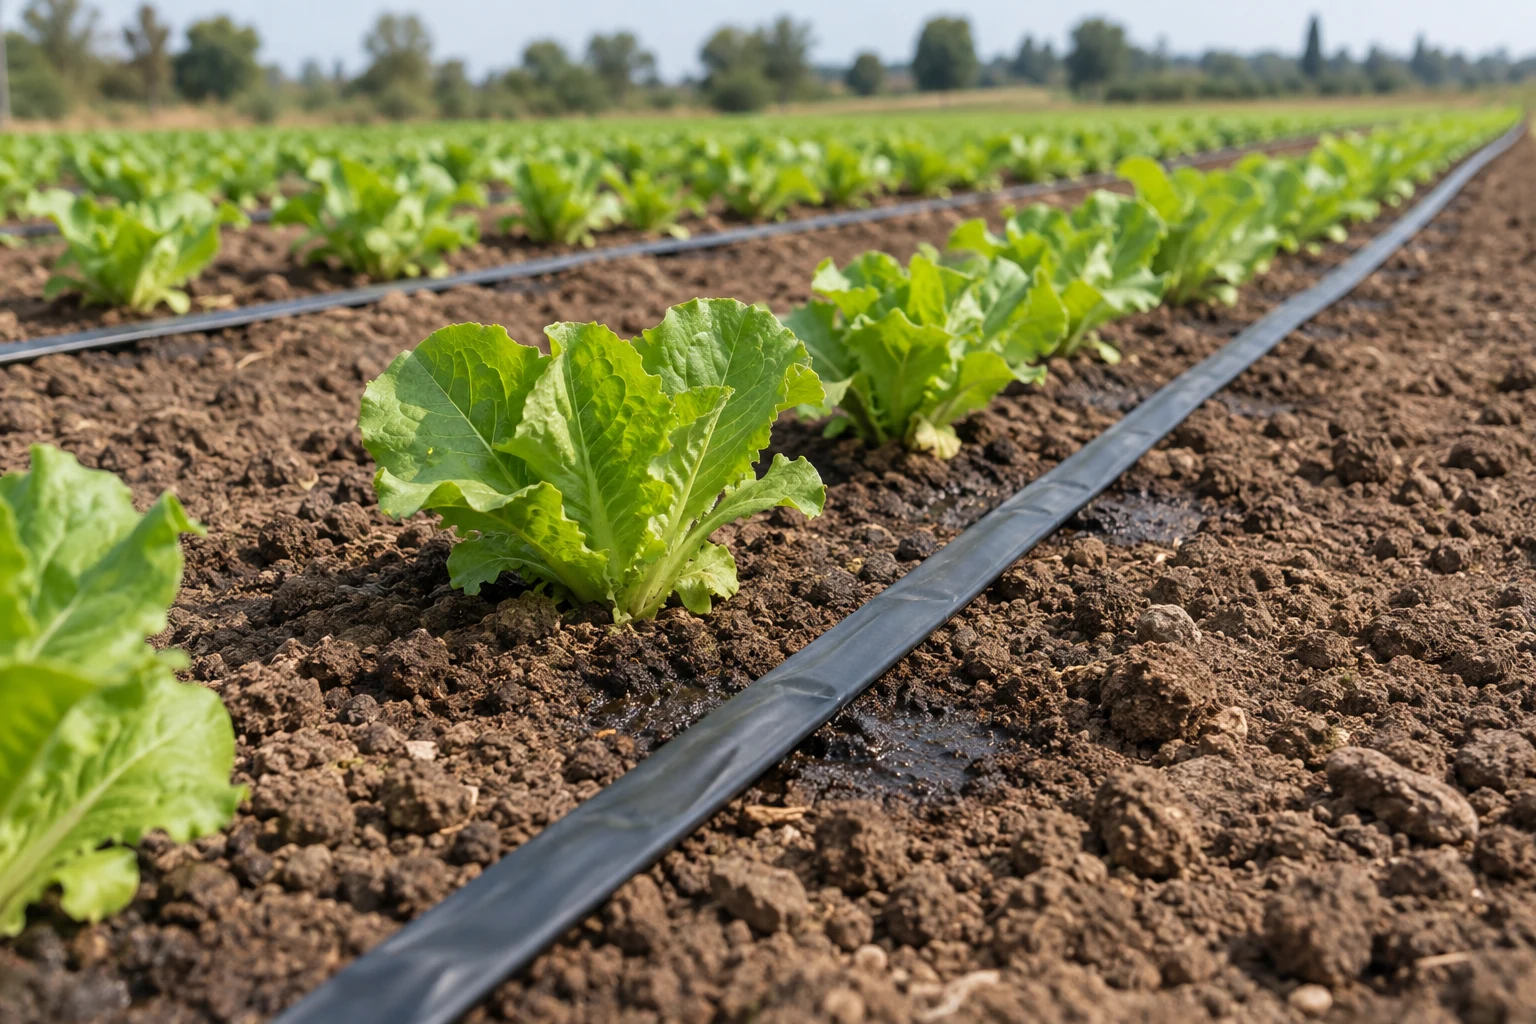
Field drip irrigation supplies water through regularly spaced emitters in drip tape or dripline. The laterals run beside the crop, creating a wetted strip along the bed. This layout suits defined planting rows, including vegetable beds under plastic mulch.
Start with a sketch of the field: bed width, rows per bed, row length, slope and supply location. For seasonal plantings, compare tape that can be removed after harvest. For a layout used across multiple seasons, consider more durable dripline and accessible isolation points.
Plan the details
Match water delivery, component connections and operating conditions before choosing quantities.
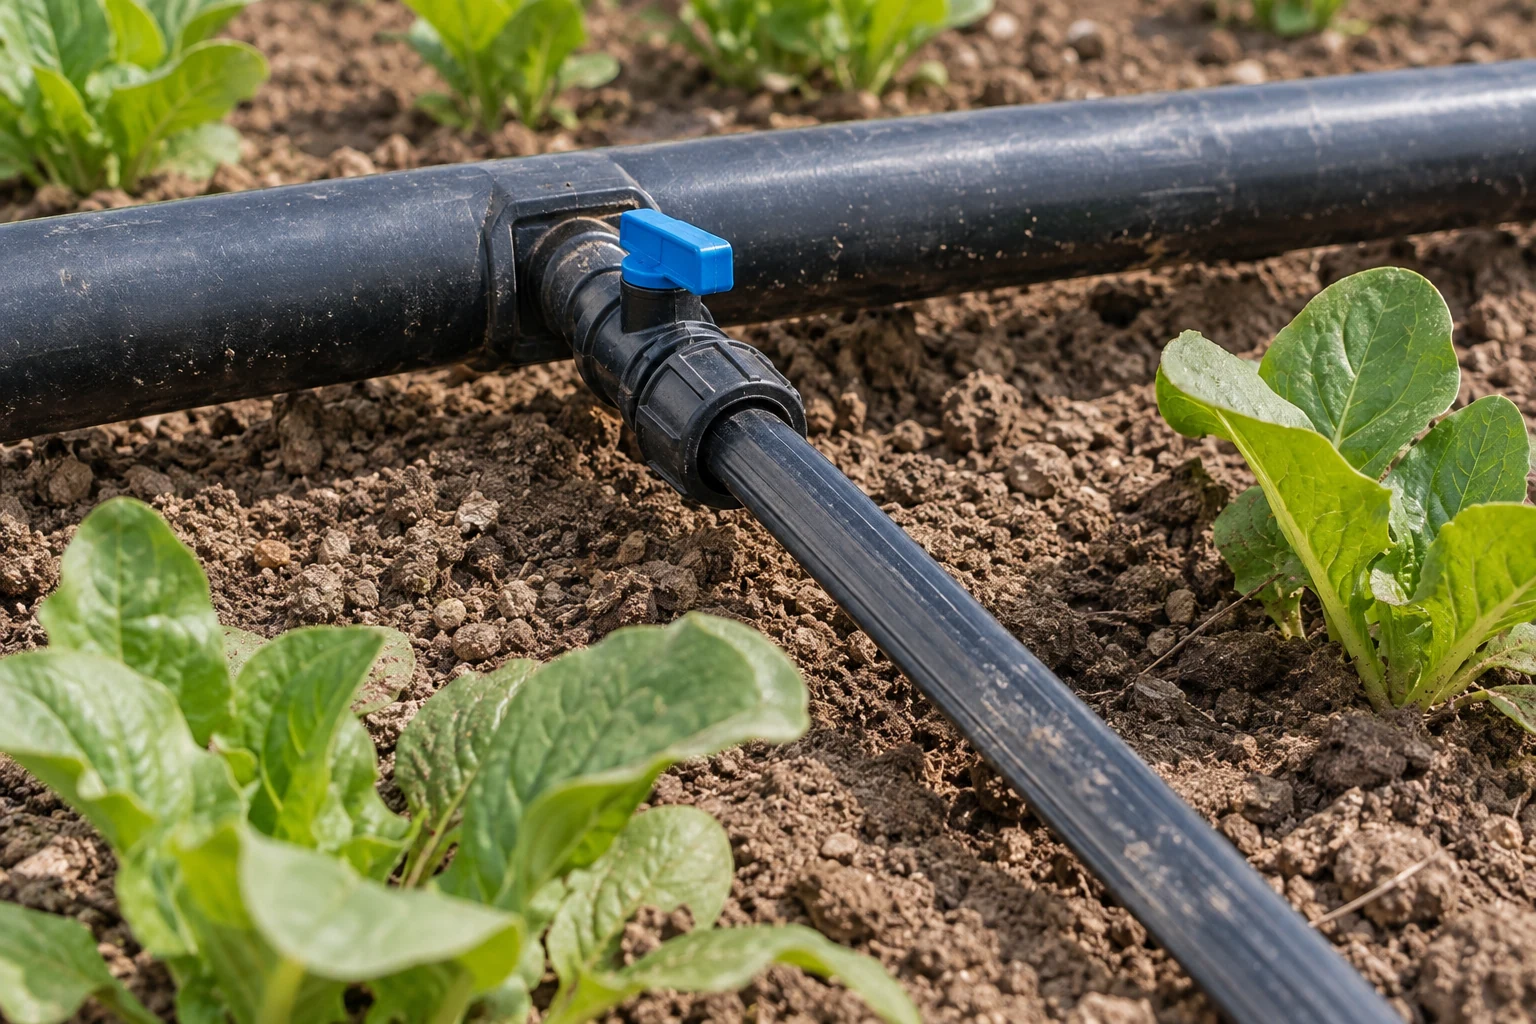
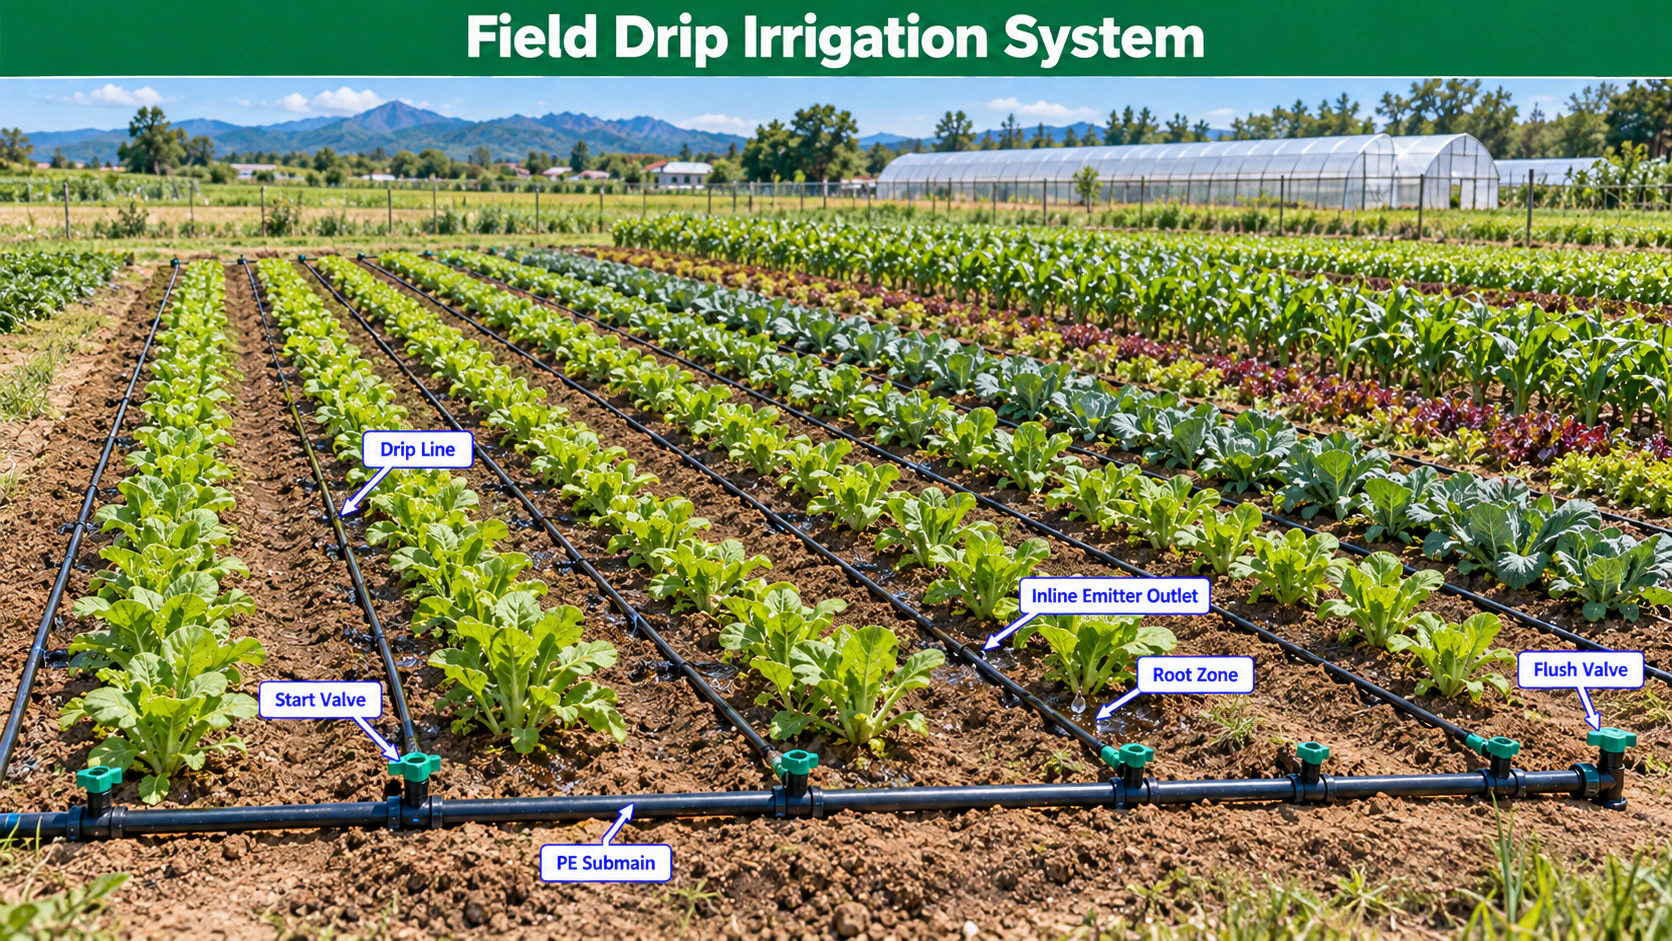
Build the route in order: water supply, filtration and pressure control, distribution pipe, zone valve, header and drip laterals. Each row needs a compatible take-off connection and an end that can be opened for flushing. The diagram helps identify these component groups.
Use the categories below to compare individual irrigation parts. Choose quantities from your field plan and confirm dimensions on each product variant; products shown together are not automatically a complete or pre-matched kit.
Soil wetting must reach the planted root zone. Test a short length in the actual soil before committing to emitter spacing or the number of tapes per bed. A wet mark on the surface does not show the whole wetting pattern: inspect below the surface and between adjacent emitters after a trial irrigation.
Add the rated flow of every lateral operating in the same zone. As a simple planning example, 20 laterals rated at 100 litres per hour each require 2,000 litres per hour, or about 33.3 litres per minute, before any separate service allowance. This arithmetic does not establish pipe size or available pressure. Compare the complete layout with manufacturer length limits and pressure-loss data.
Water that looks clear can still carry particles or dissolved substances that affect a drip system. Start with a water-quality assessment. A screen or disc filter may suit some supplies; water containing sand or substantial organic material can need additional treatment. Use the selected emitter manufacturer’s filtration requirement instead of assuming one mesh rating works for every product.
If fertigation is part of the design, select the injector as part of the hydraulic system. Check its flow and pressure requirements, fertilizer compatibility and the necessary source-water backflow protection. A fertilizer injector in the illustration does not mean one is required for every installation.
A fixed timer setting cannot account for every crop stage or weather change. Use root-zone moisture observations or suitable sensors alongside crop water demand, recent rainfall and the measured system output. Check more than one location so a single wet or dry patch does not determine irrigation for the entire field.
Record each zone’s run time and response. If water remains too close to the emitter or moves below the active roots, review application duration, spacing and soil conditions. During germination, verify that the seed zone receives moisture; a layout that works for an established plant may leave shallow seeds dry.
Build your component list
Explore individual components from our catalogue. Match dimensions, pressure ratings and quantities to your own system plan.
dripline drip tape
5/8 inch (16 mm) nominal; 3281 ft roll
$149.99
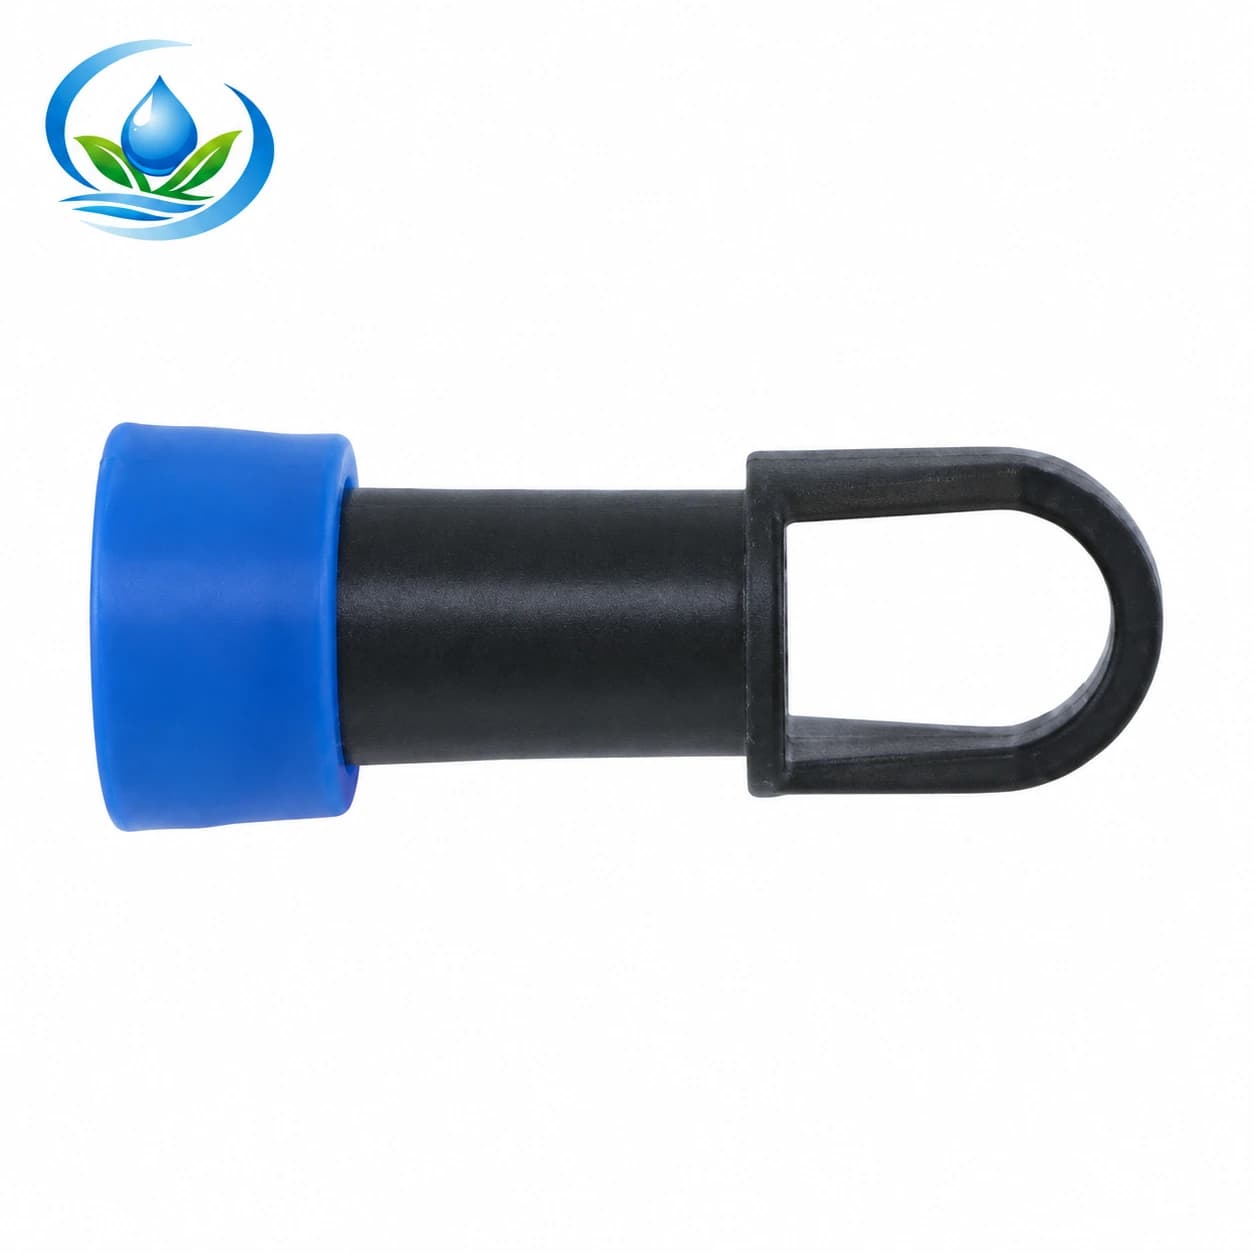
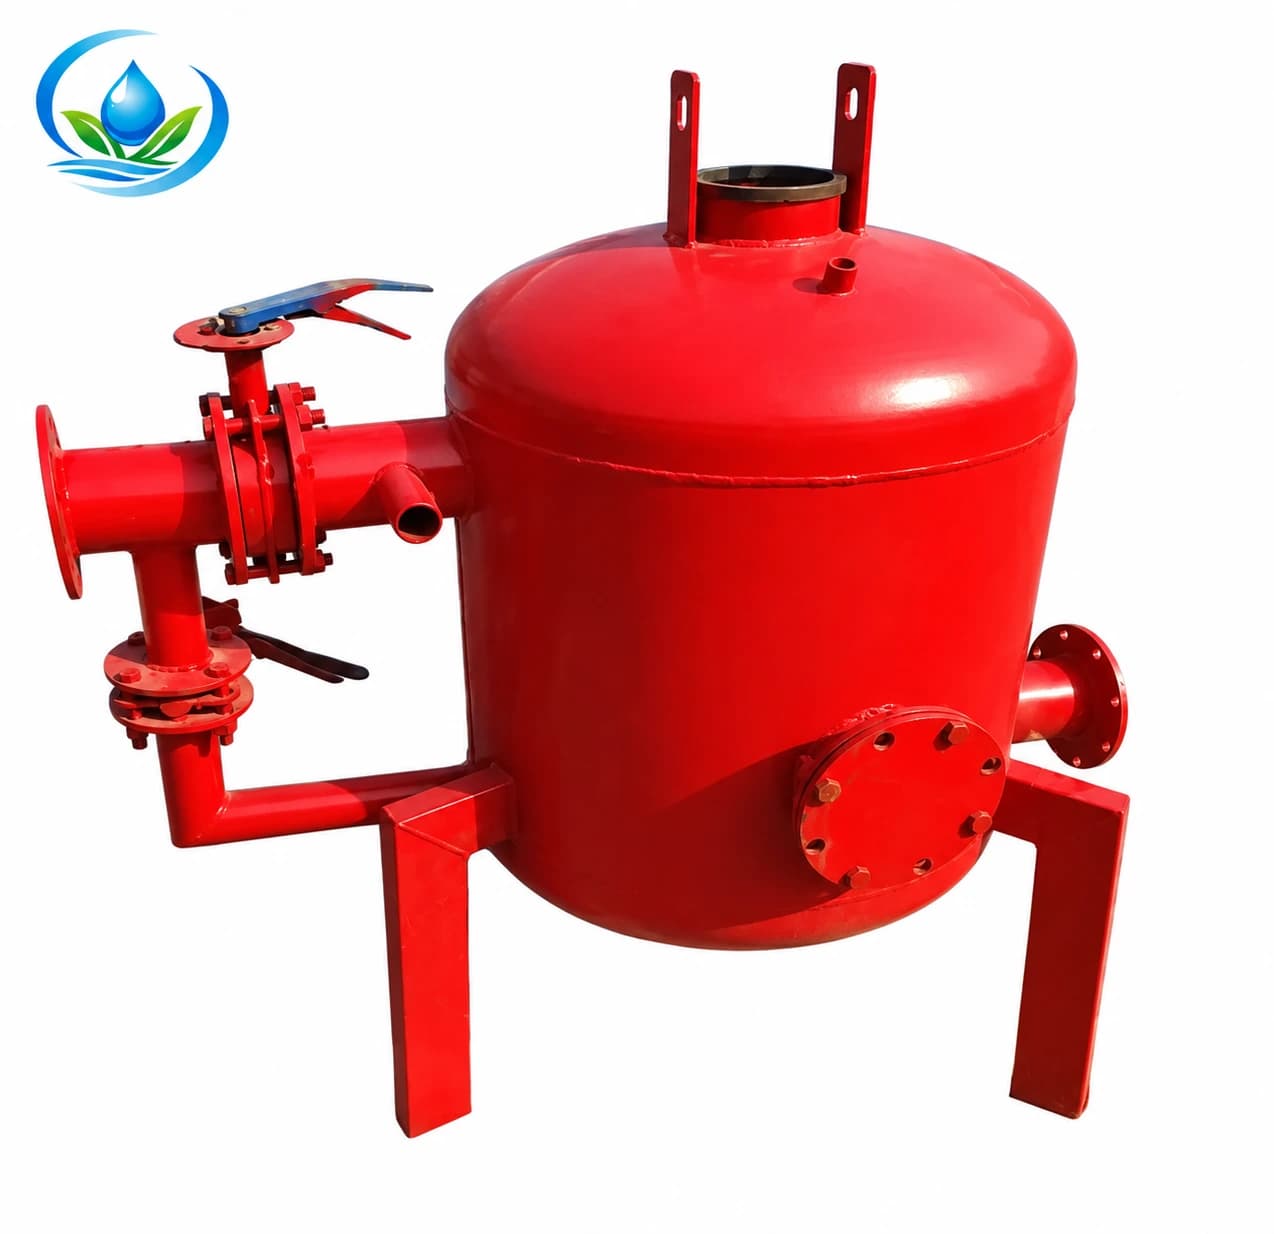
filters
Filter organic debris from irrigation water with a single sand media vessel. Leave room for media service and a planned backwash outlet.
Out of stock
View details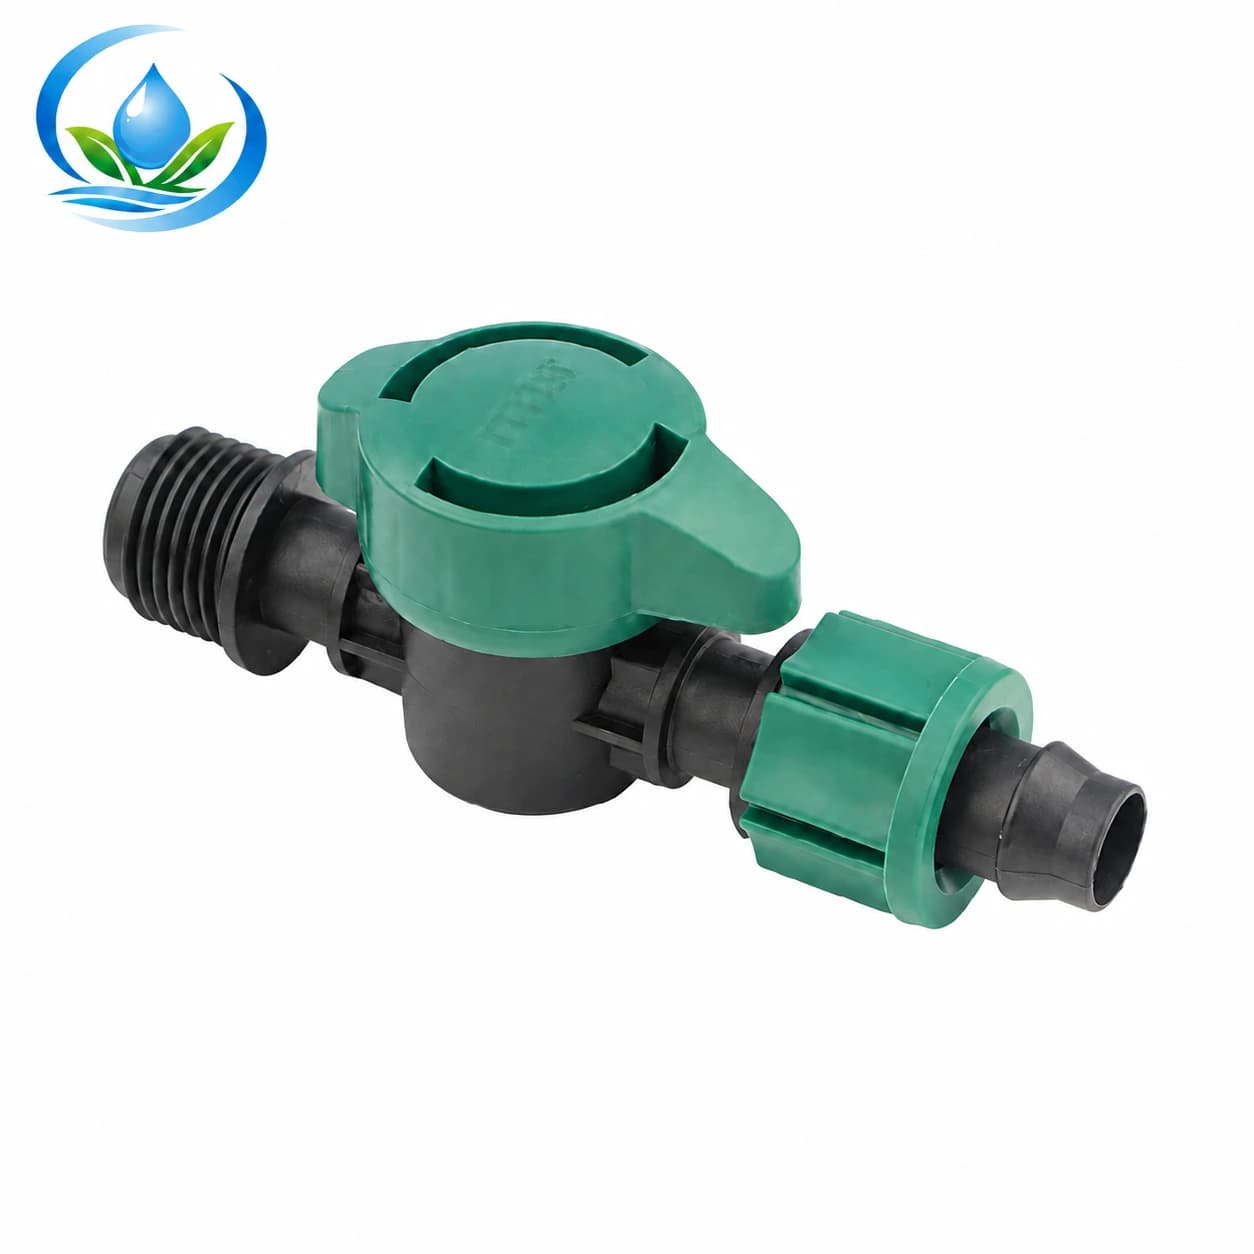
valves
16 × 1/2" / 16 × 3/4" / 20 × 1/2" / 20 × 3/4"
Out of stock
View details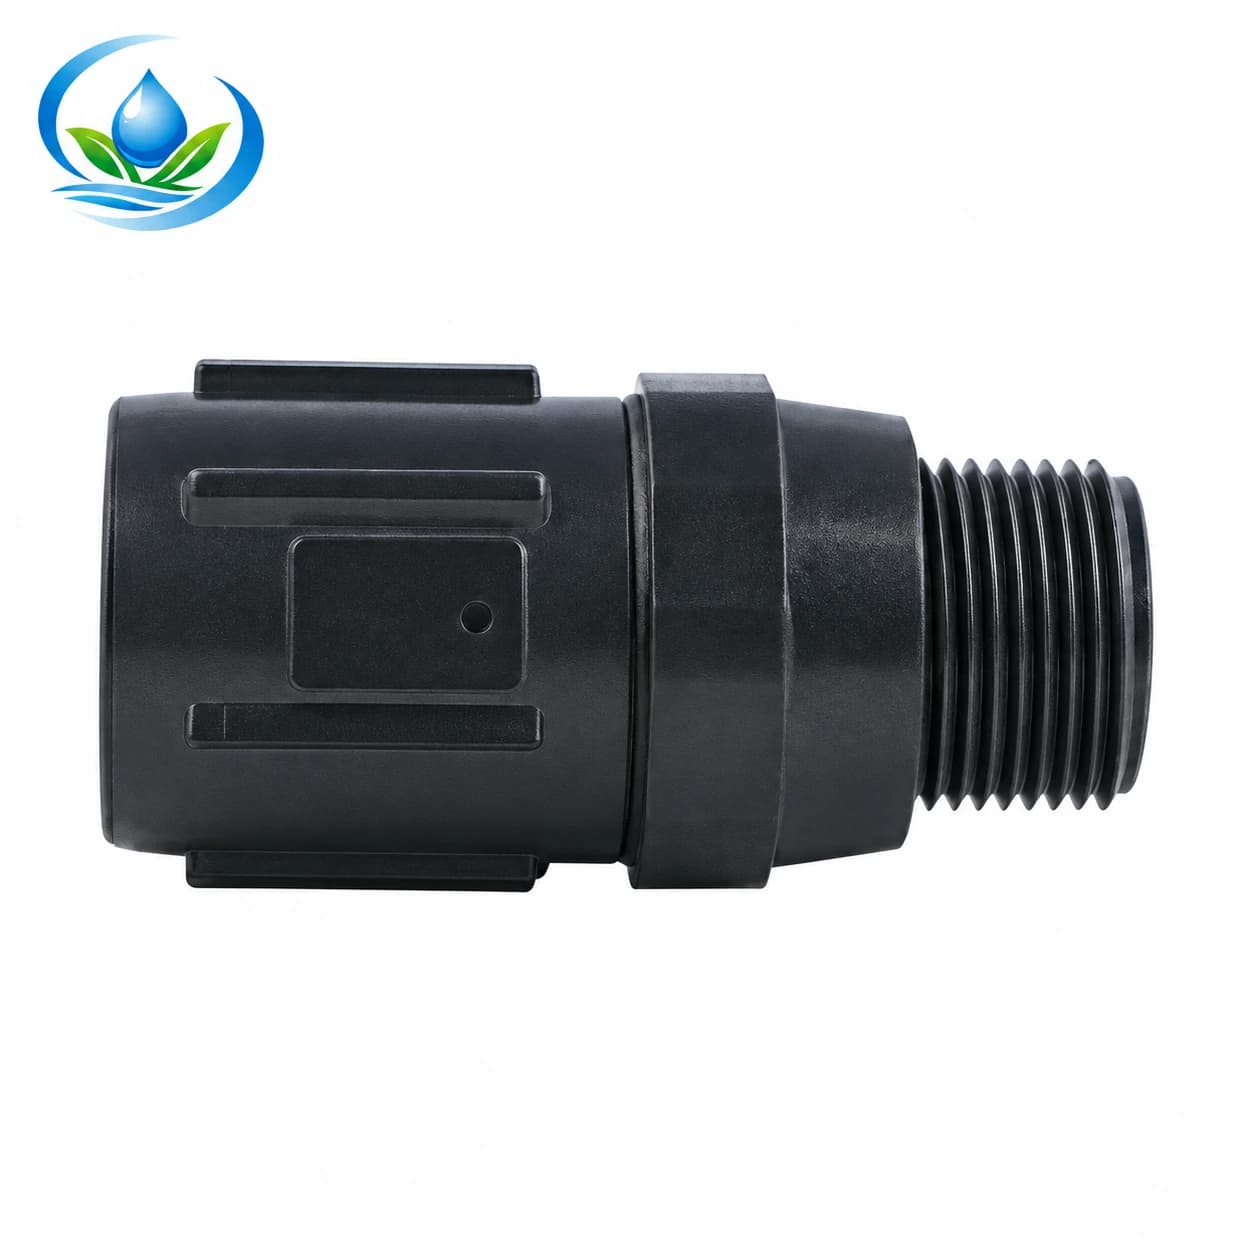
pressure regulators
F3/4" × M3/4" — 15 PSI / F3/4" × M3/4" — 20 PSI / F3/4" × M3/4" — 25 PSI / F3/4" × M3/4" — 30 PSI
From$14.30
Choose options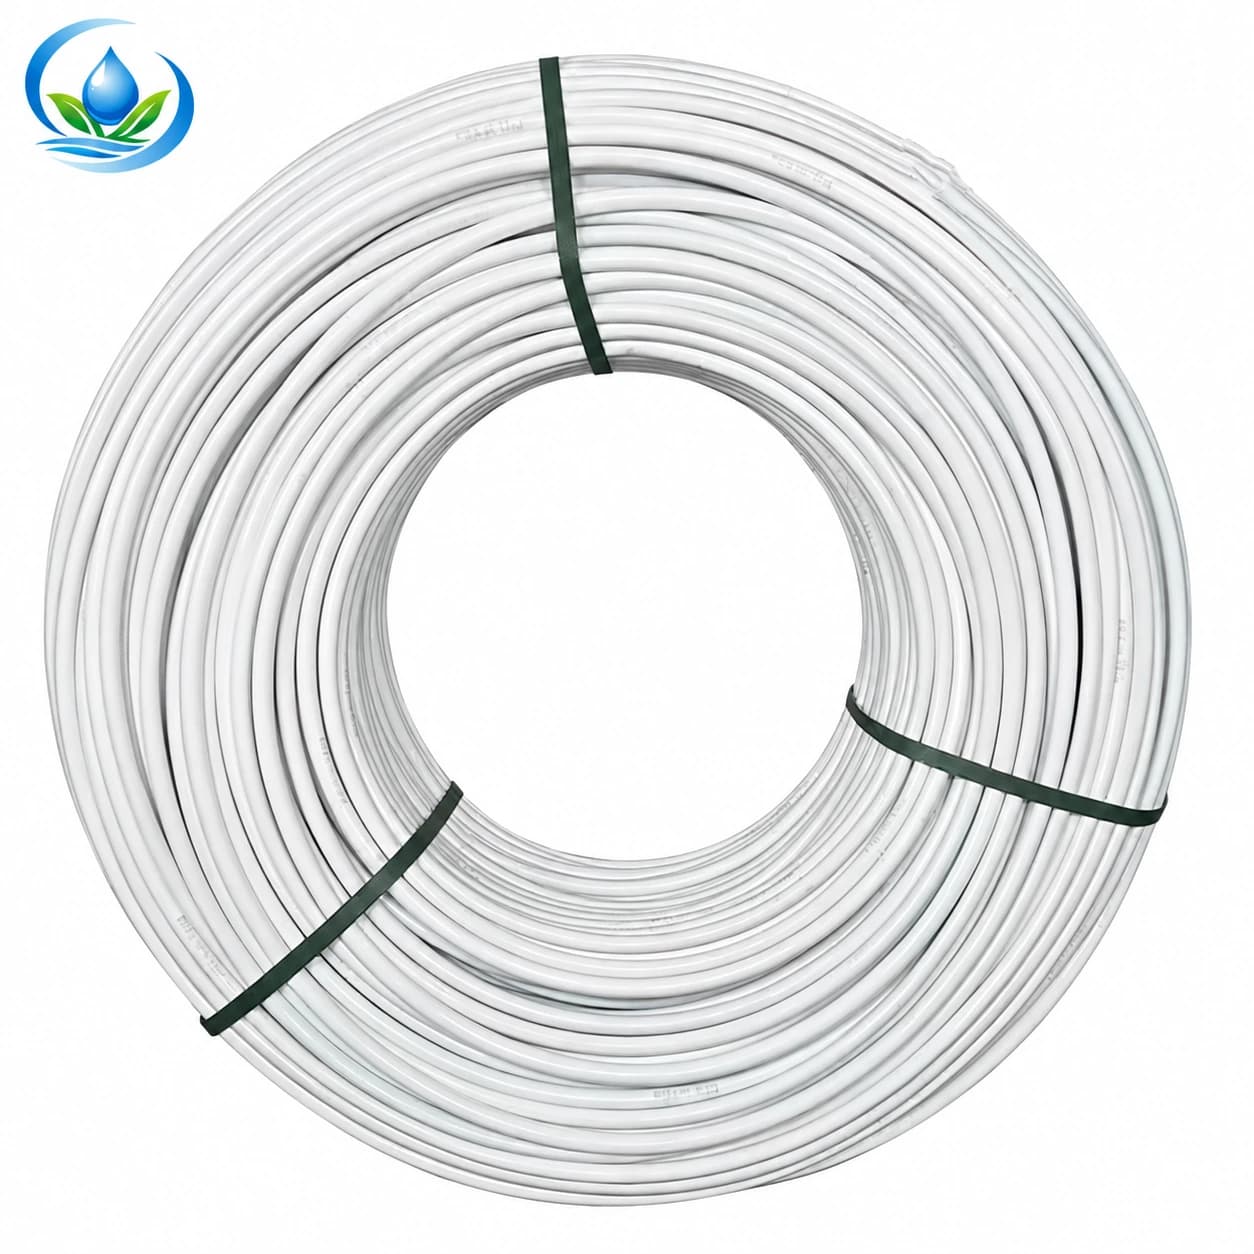
pipe tubing hose
Route irrigation water through greenhouse benches or rows with white PE tubing. Add compatible take-offs and emitters where each crop needs them.
Out of stock
View details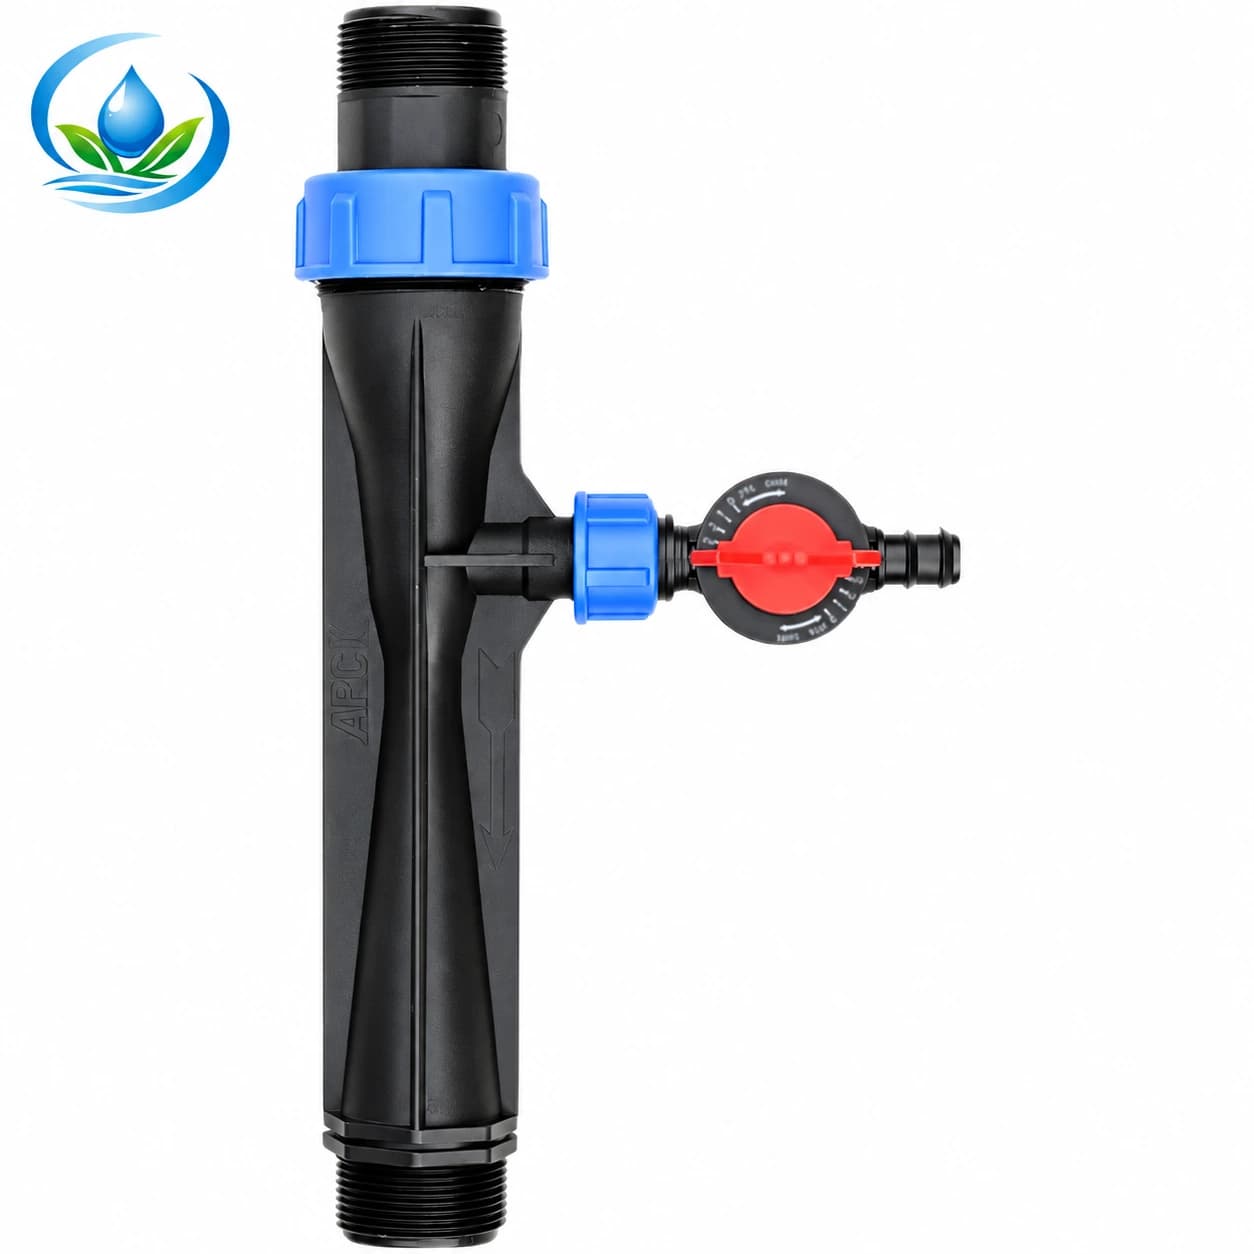
fertilizer injectors
Build a controlled fertilizer injection branch with a Venturi tube and bypass valve. Adjust the valve while the irrigation system is running to establish suction.
Out of stock
View details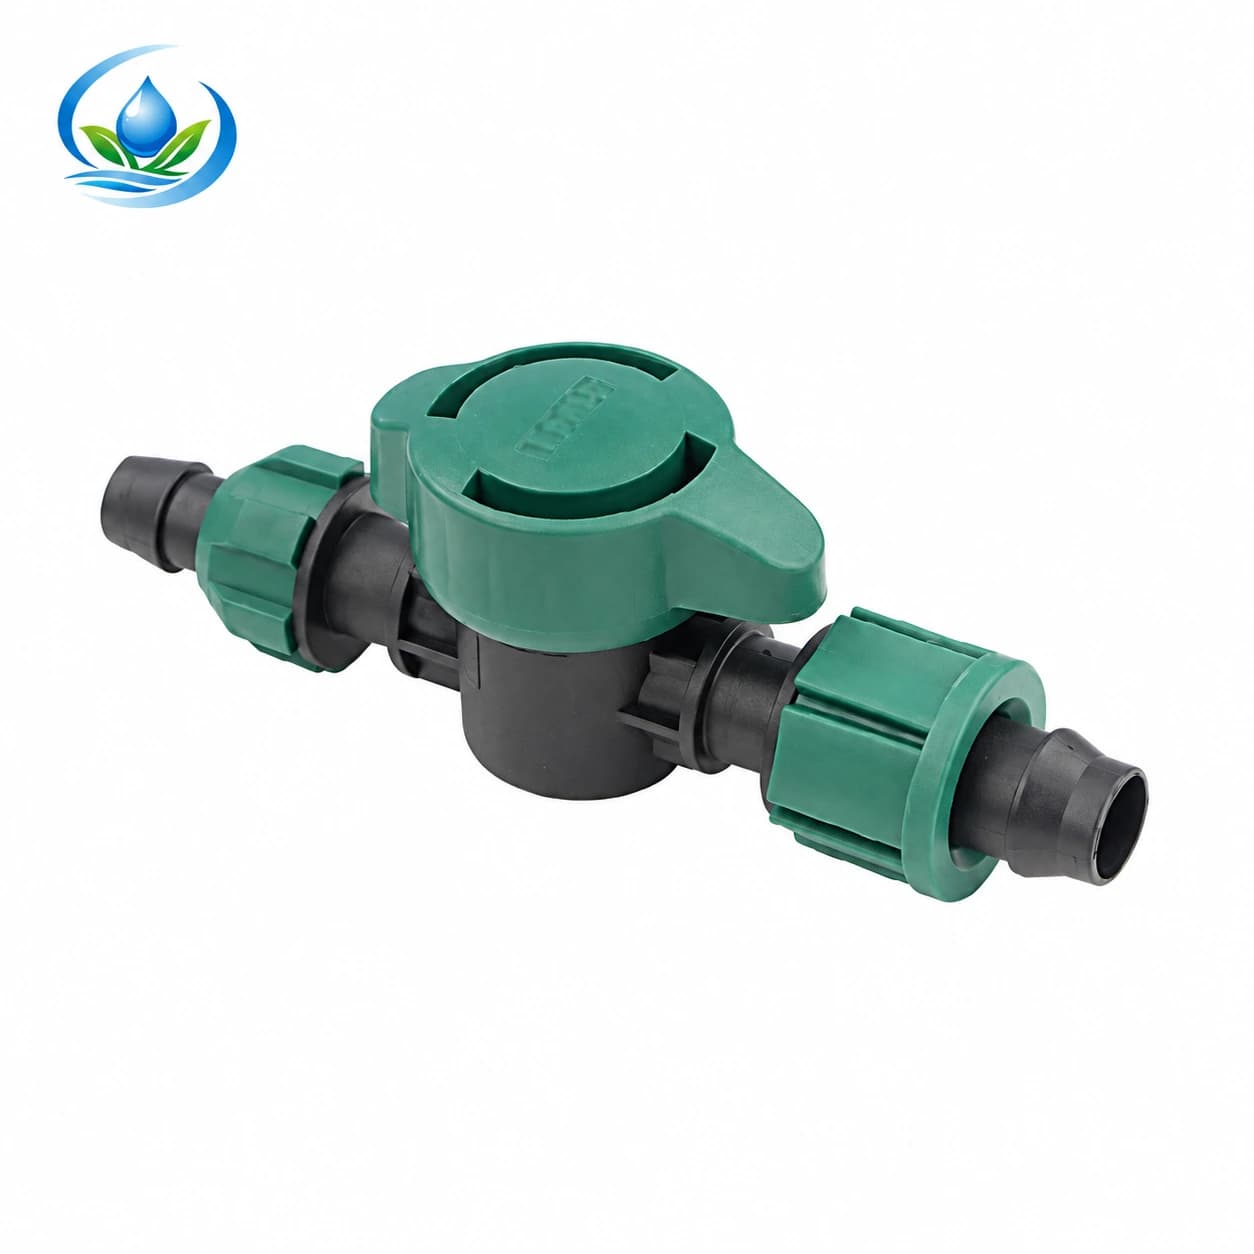
Set up. Check. Keep growing.
Flush the distribution lines before closing the ends and putting emitters into service. With a complete zone operating, compare pressure at its start and far end, inspect take-offs for leaks and collect discharge from representative emitters. Save these baseline observations for later troubleshooting.
During the season, watch for damaged tape, disconnected fittings, rising filter pressure loss and dry sections. Open the line ends for flushing according to the equipment instructions and water conditions. At the end of the crop, isolate and drain the system as appropriate, identify reusable parts and record the fittings needed for the next planting.
Match the way you grow
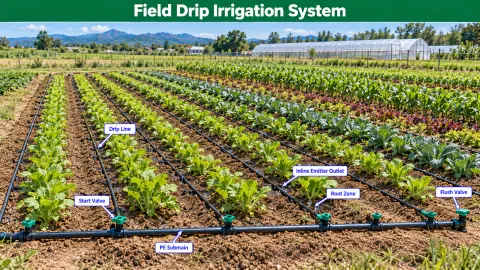
Vegetable beds. Crop rows. Open fields.
Deliver water along planted rows.
You are exploring this system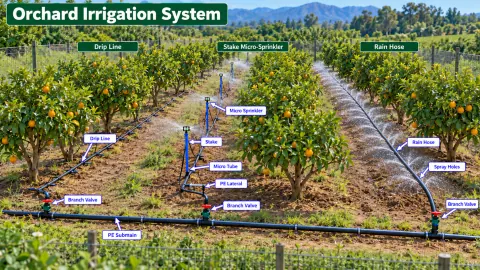
Fruit trees. Orchard rows. Lasting layouts.
Place watering points around the active root area.
Explore this system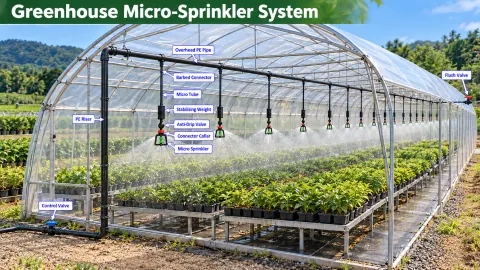
Nursery benches. Protected crops. Even coverage.
Water a planted bed or bench area from a planned spray layout.
Explore this system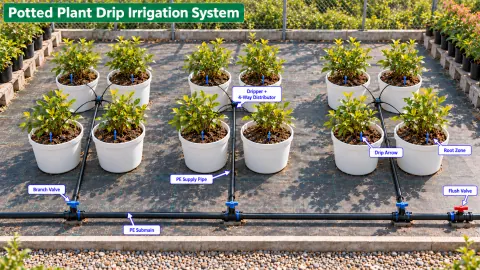
Pots. Planters. Grow bags. Individual care.
Direct water into individual pots or grow bags.
Explore this systemA little more clarity
Start with these practical answers, then check the specifications of the parts you plan to use.
Talk to our teamPlan for filtration, pressure control where required, distribution pipe, zone valves, drip tape, compatible row connectors and flushing ends. The water source and field layout determine sizes and quantities. Use the product categories on this page to compare those parts individually.
Compare expected service life, row length, emitter spacing and pressure requirements. Seasonal beds may suit replaceable drip tape; a longer-term layout may justify more durable dripline. Confirm the exact model specifications and soil wetting pattern before ordering.
There is no universal maximum. Diameter, emitter spacing and flow, slope, inlet pressure and acceptable variation all matter. Use the length table for the exact tape model and verify the pressure and delivery at the far end.
Only if the complete design provides the required filtration, pressure control and compatible connections. Pump discharge pressure alone does not tell you the pressure available at the tape while the zone is operating.
No. The linked products are components to compare. Quantities and compatibility depend on your field plan, water supply and the specifications of the selected variants.
Share your layout, water flow and pressure, connection sizes, and the crop you grow. Our team can help you compare product options.
Planning information from extension and manufacturer resources. Use selected equipment specifications for final operating values.