Skip to content
IrriNex logo symbolIrriNex Store

Pots. Planters. Grow bags. Individual care.

Drip Irrigation for Potted Plants

Build drip irrigation for potted plants with a watering point in each container. Compare drippers, stakes, microtubing and fittings for patio pots, nursery containers and grow bags.

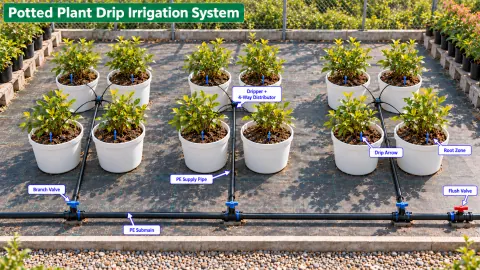
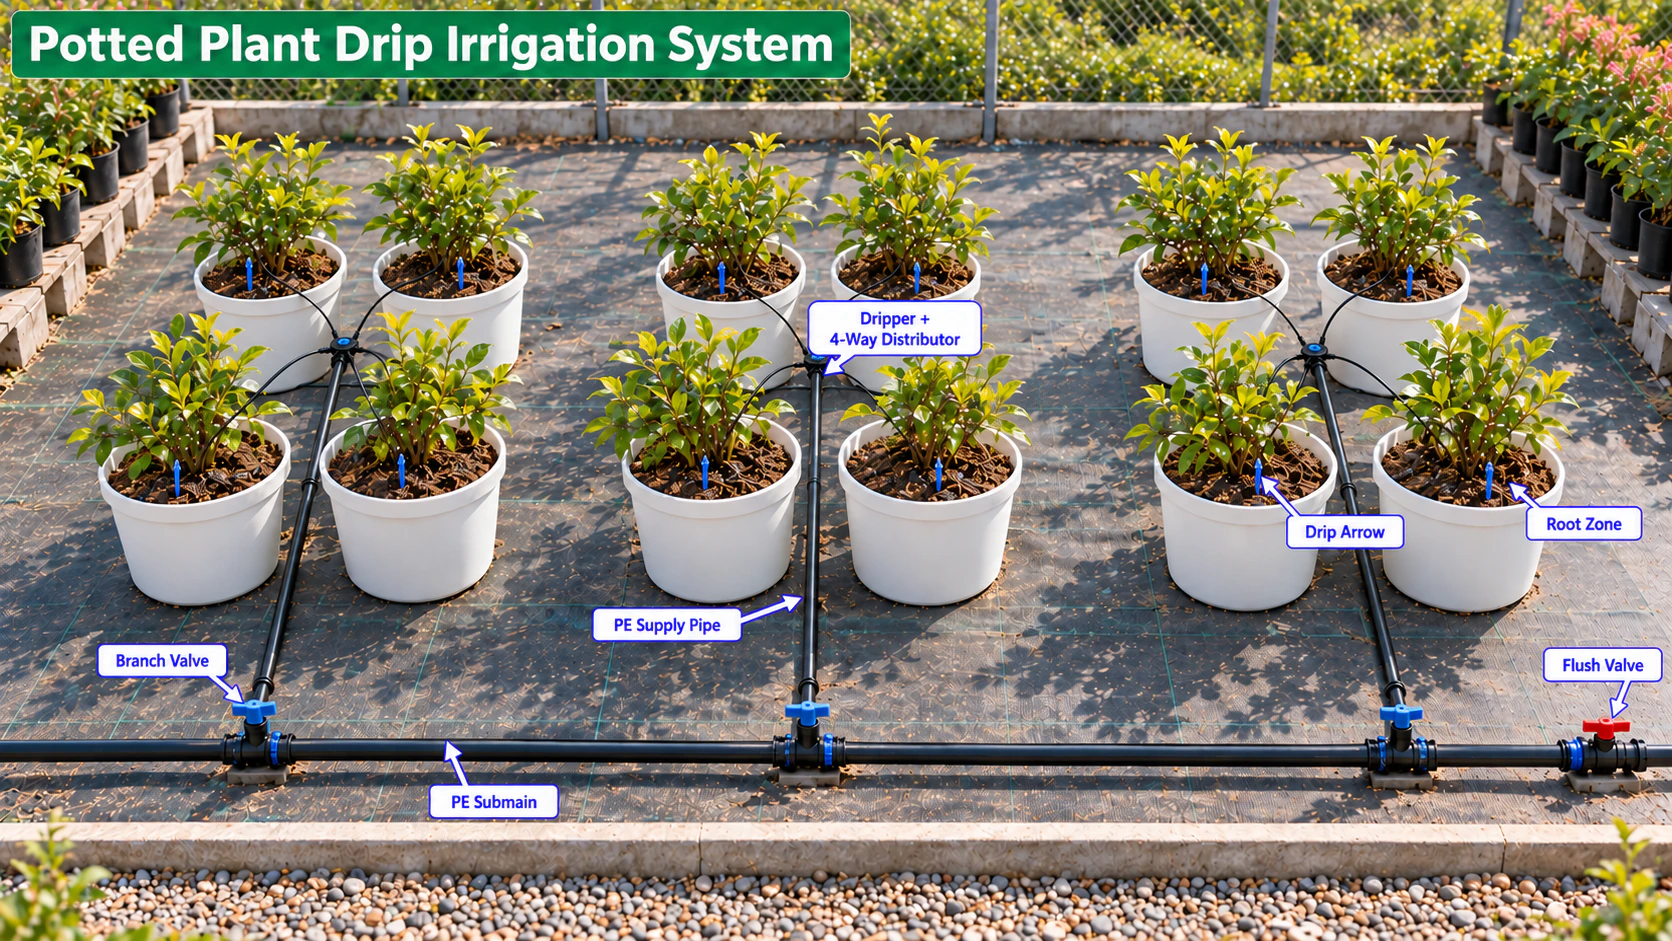
Labeled drip irrigation for potted plants diagram showing the water distribution components
View full diagram
Explore the labeled system. Confirm final sizes, layout and settings for your water supply and crop.
  • Direct water into individual pots or grow bags.
  • Position delivery points with branch tubes and stakes.
  • Group similar containers for simpler watering decisions.

From the supply to the crop

Find each part of your system.

Explore compatible sizes and specifications in the current product categories.

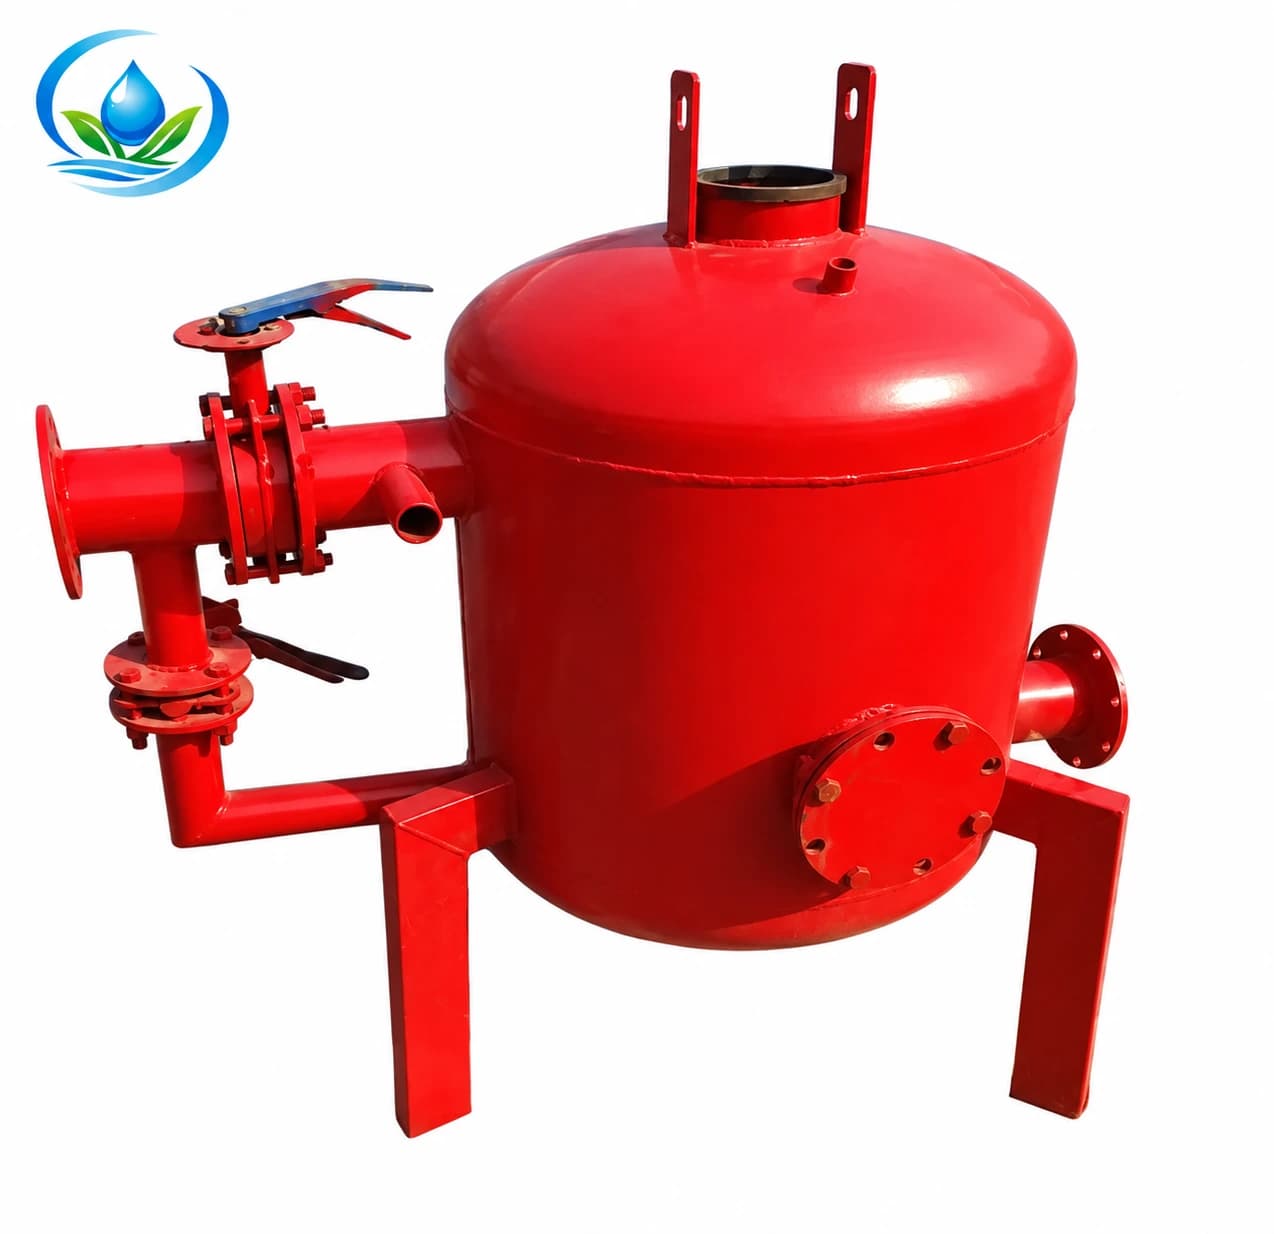
Filter & regulate

Prepare water for the selected emitters.

Connect & distribute

Match the lines, branches and fittings.

Water the crop

Choose the outlets for your planting layout.

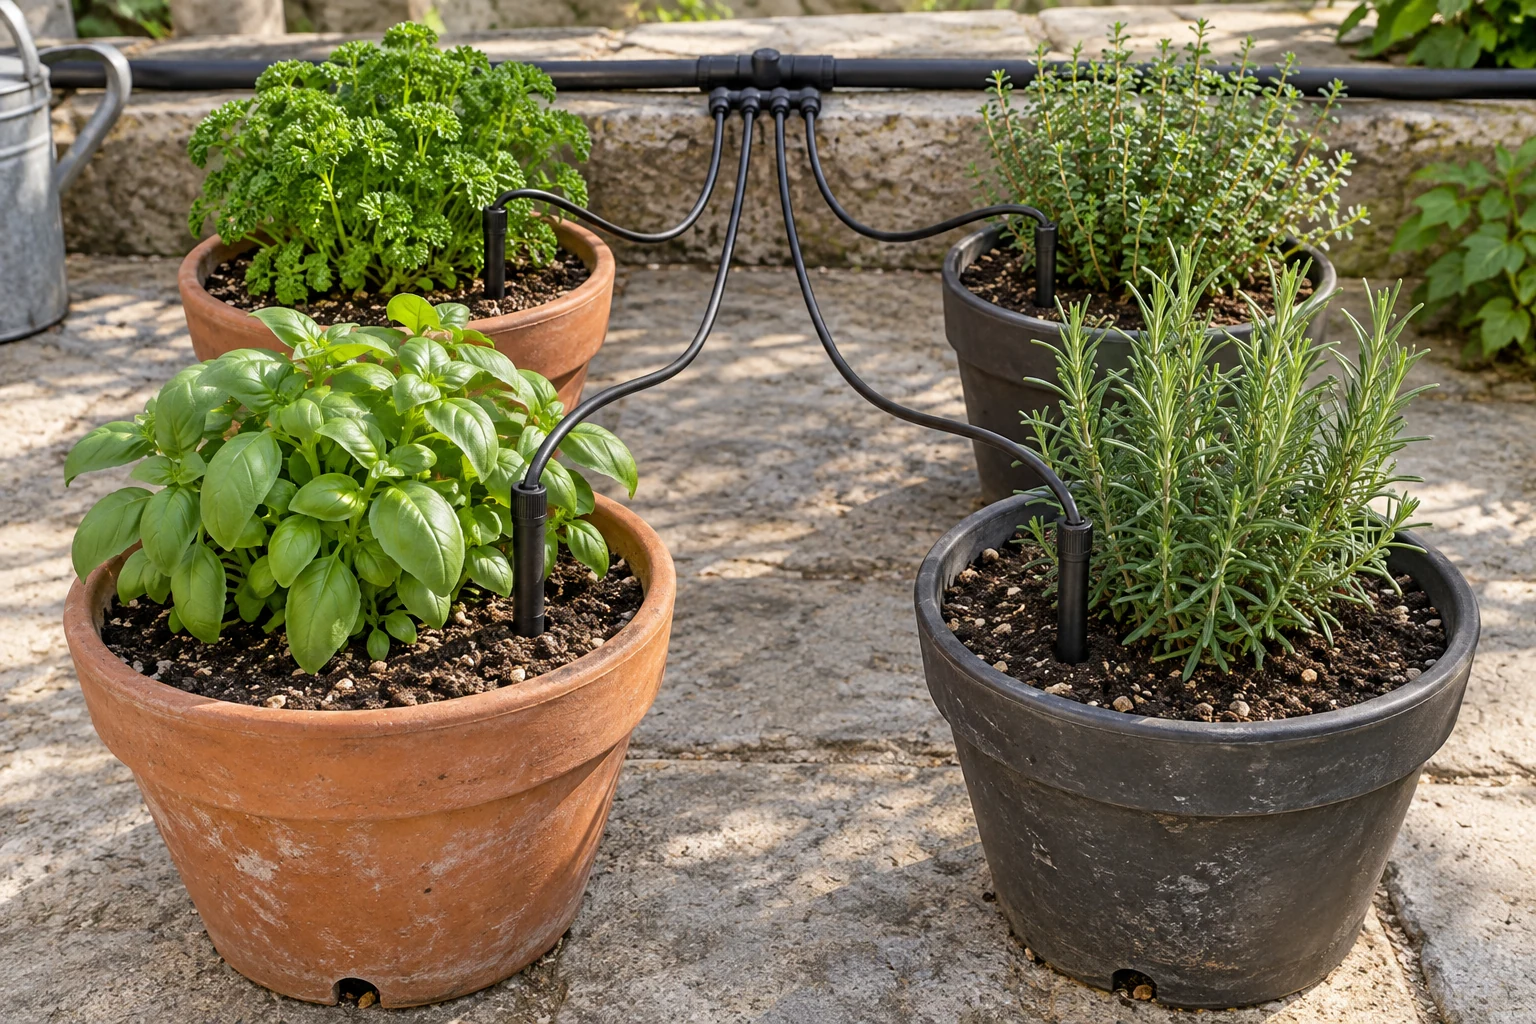
Individual microtube branches connecting a supply line to a group of potted plants.
Illustrative container layout with a separate watering branch reaching each pot.

Made for your growing space

Container drip irrigation that fits your layout

Pots. Planters. Grow bags. Individual care.

Container drip irrigation carries water from a supply tube into individual pots through smaller branches and emitters. It suits spaced planters, grow bags and nursery containers where watering the gaps between plants serves little purpose. Each branch can be positioned at the pot it supplies.

Group containers with similar crop needs, size, growing medium and exposure. A small herb pot in shade and a large fruiting plant on a sunny bench should not automatically receive the same schedule. Use separate zones when their watering needs cannot be balanced sensibly with emitter selection.

Plan the details

Good choices start with your layout.

Match water delivery, component connections and operating conditions before choosing quantities.

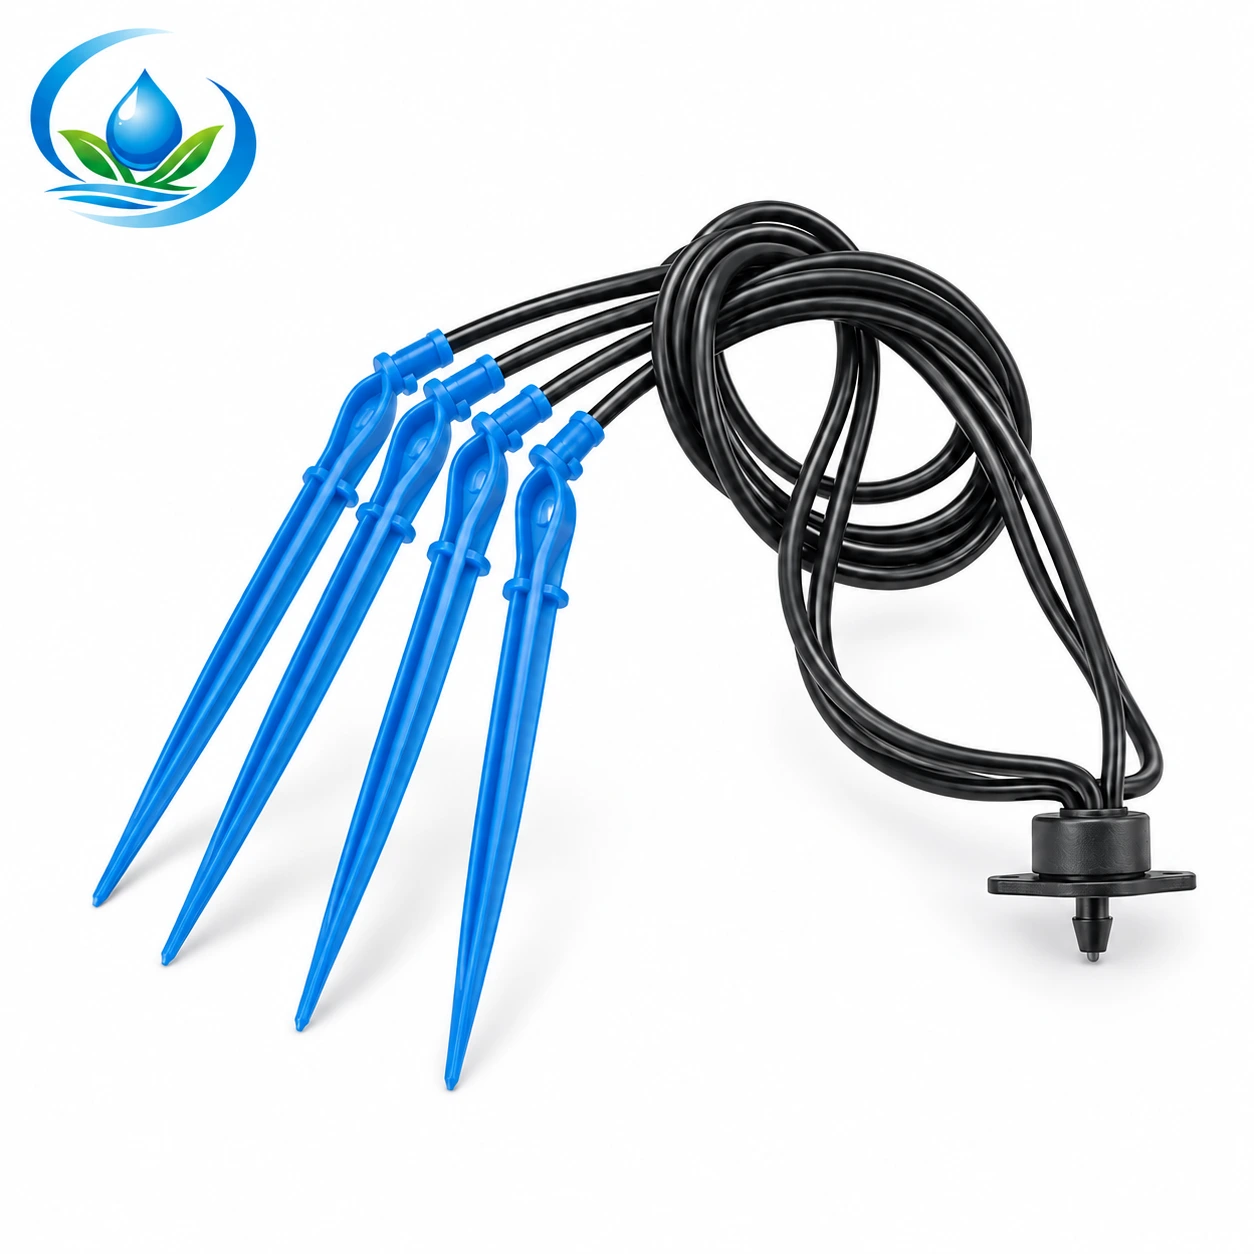
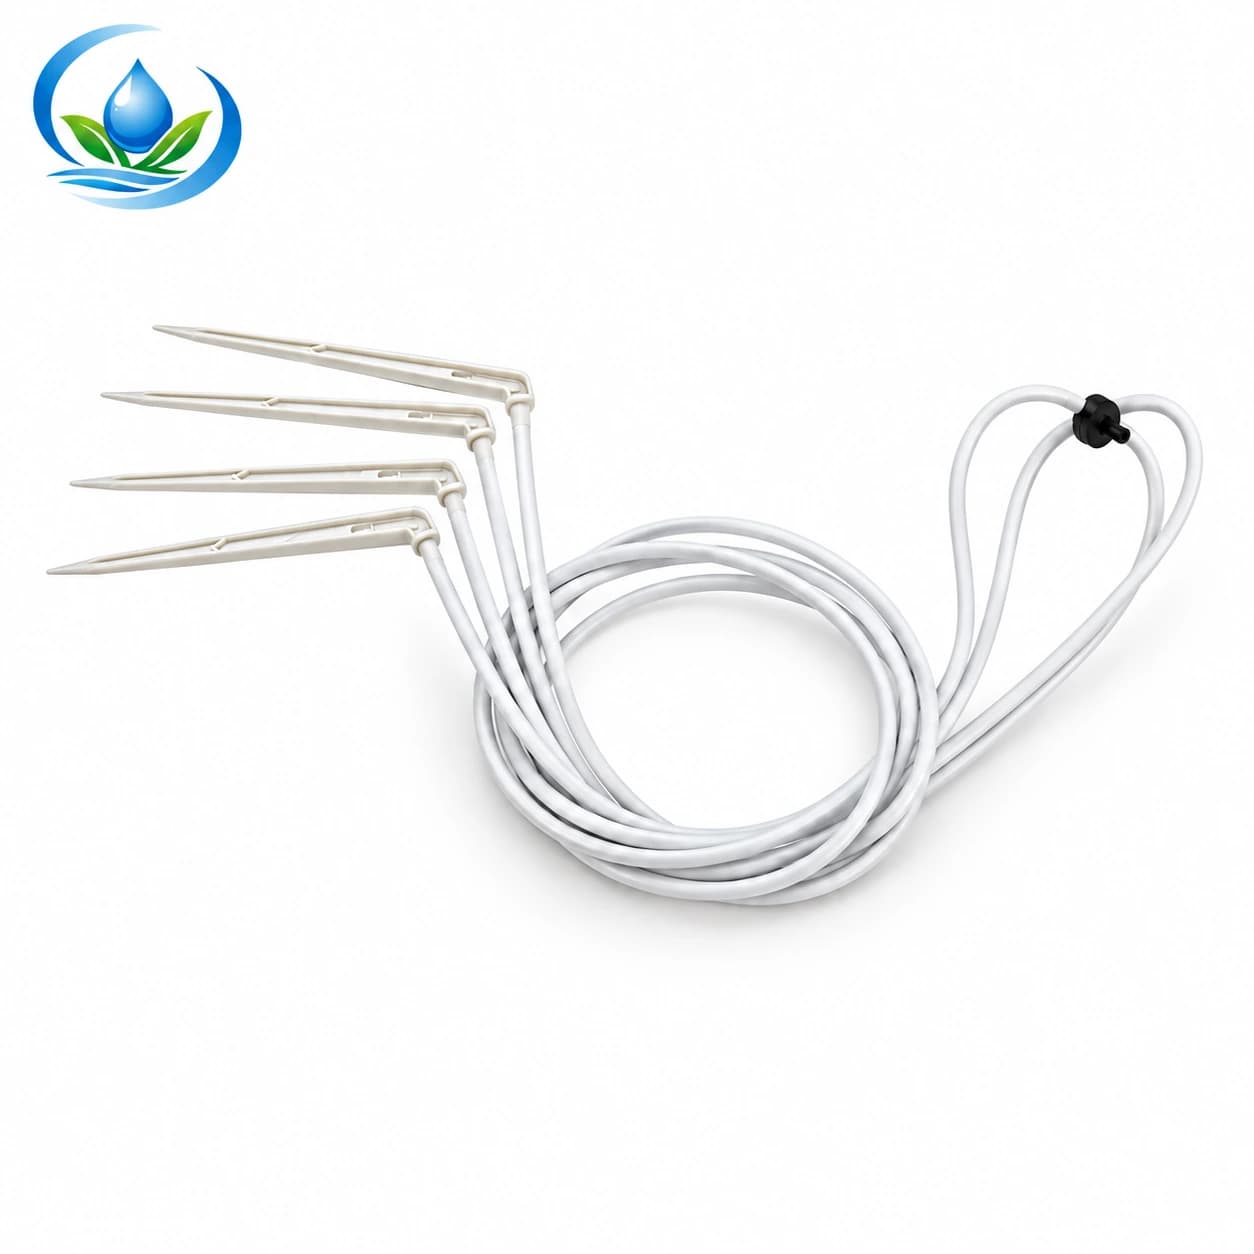
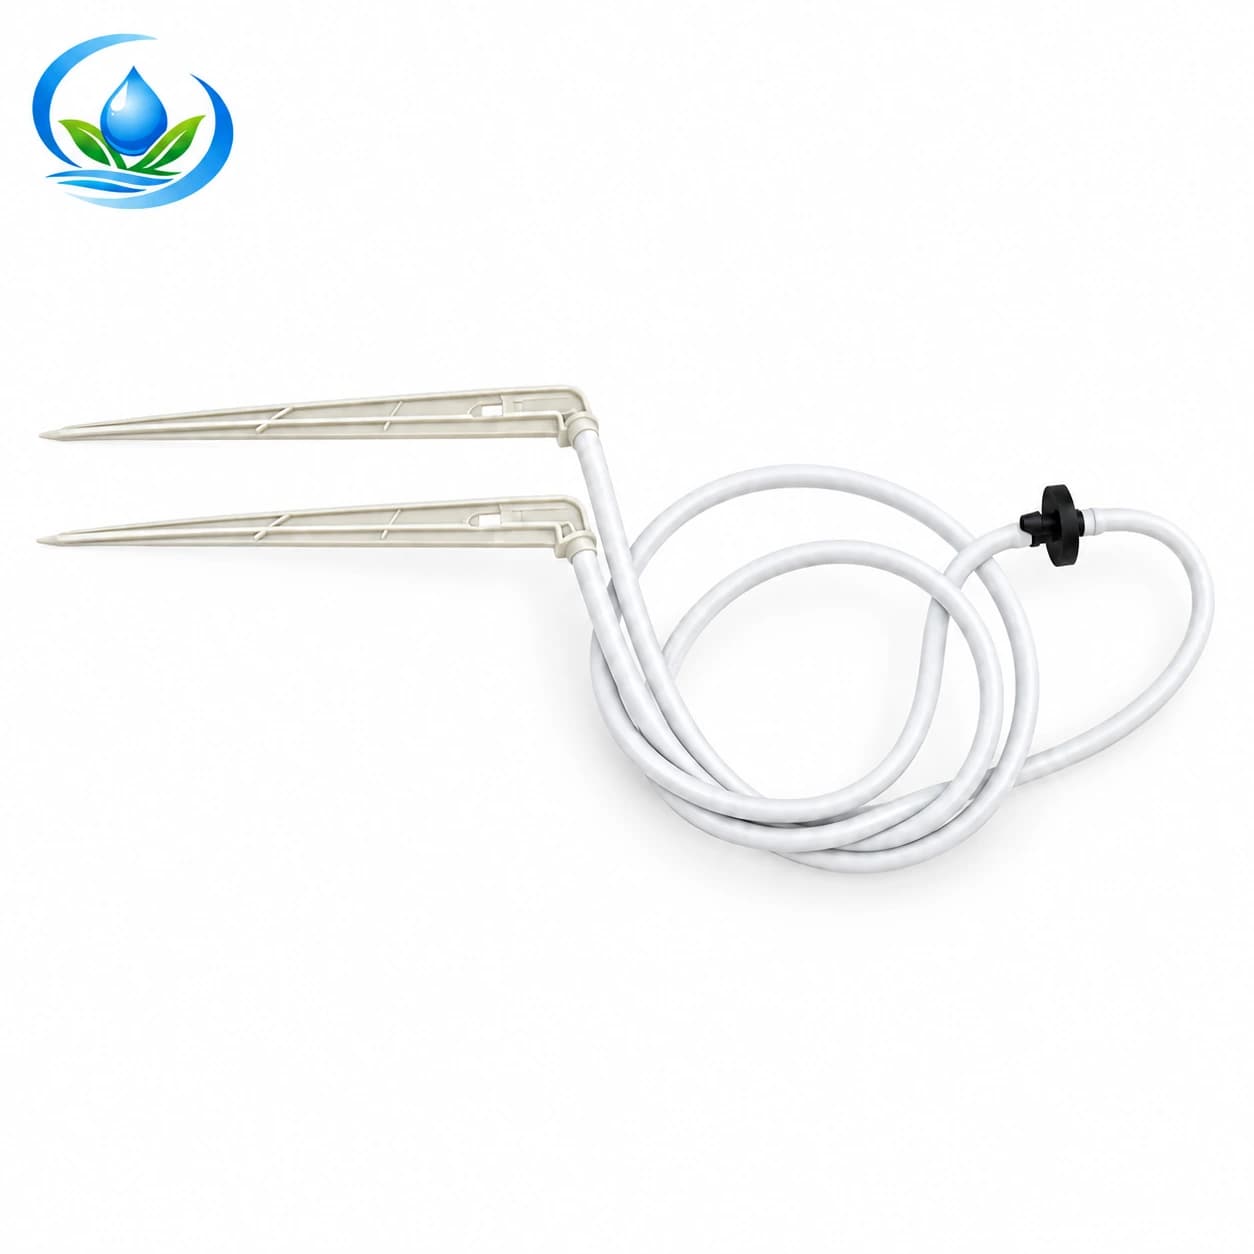
Four blue bent arrow drippers connected by black microtubes to a common inlet assembly.
Catalogue illustration of a four-branch arrow dripper assembly. Compare the inlet, microtube and stake connections when choosing parts.

Choose the route from supply tube to pot

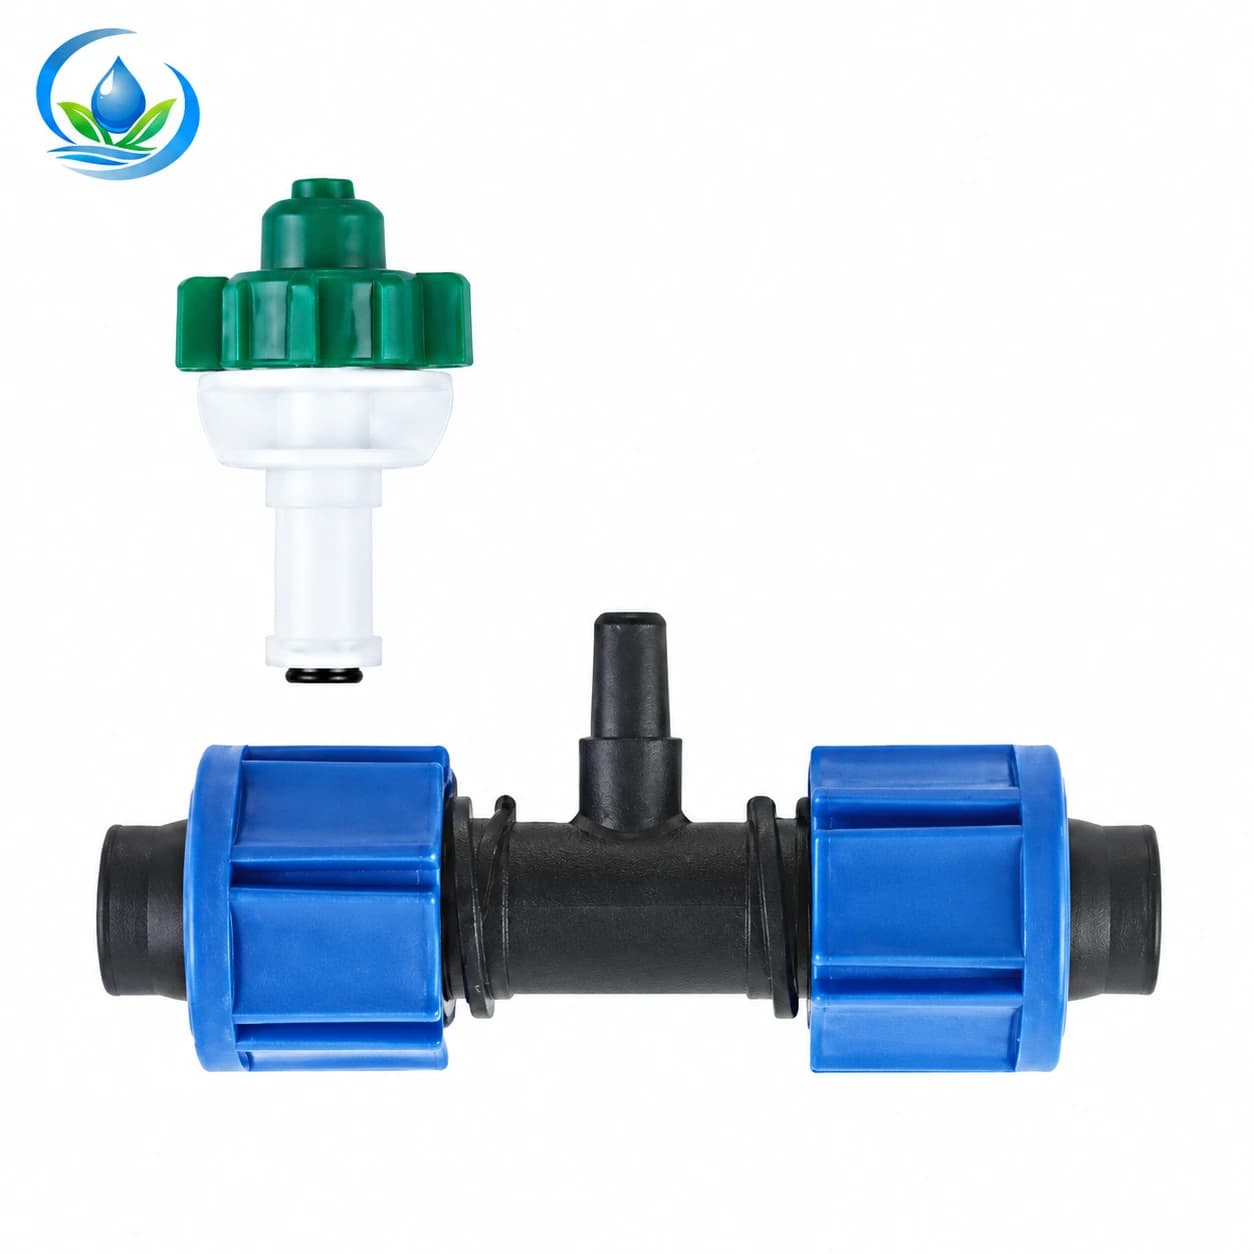
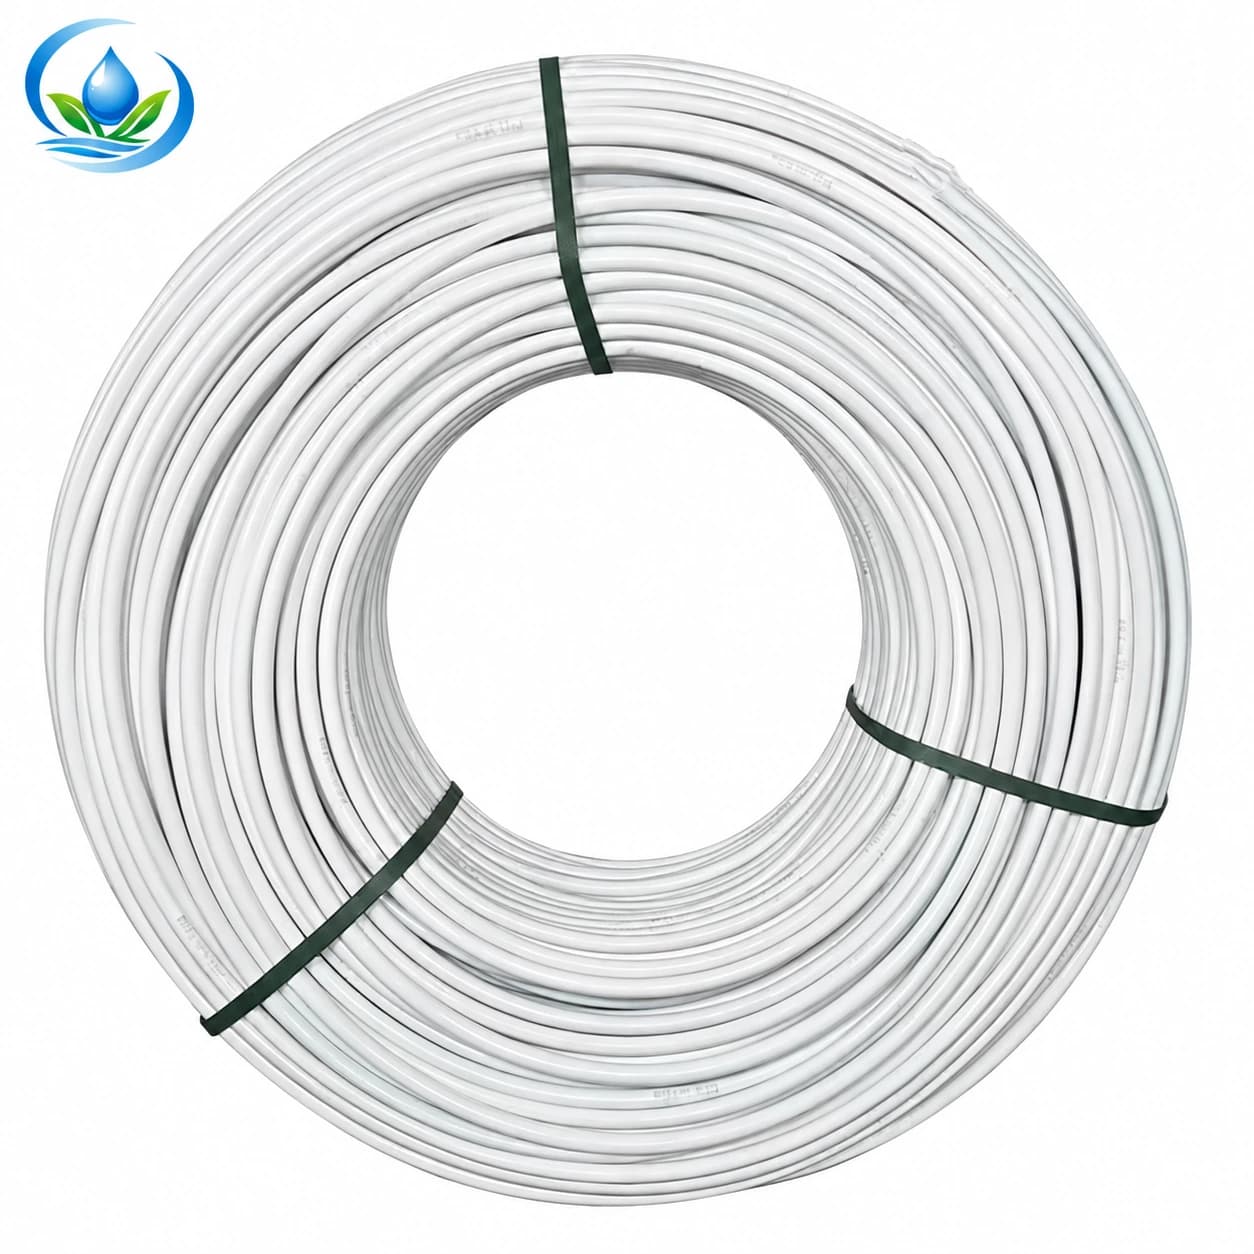
A typical system uses a controlled water supply, appropriate filtration and pressure regulation, a distribution tube and smaller branches to the pots. The water outlet may be an online dripper, a compatible multi-outlet assembly or a purpose-designed drip stake. End fittings allow the distribution line to be closed and reopened for flushing.

Check what actually regulates the flow. Some stakes mainly hold an outlet in place; others contain a flow path. A splitter does not necessarily provide an independently regulated flow at every branch. Compare the complete emitter, connector, microtube and stake assembly before choosing replacement parts.

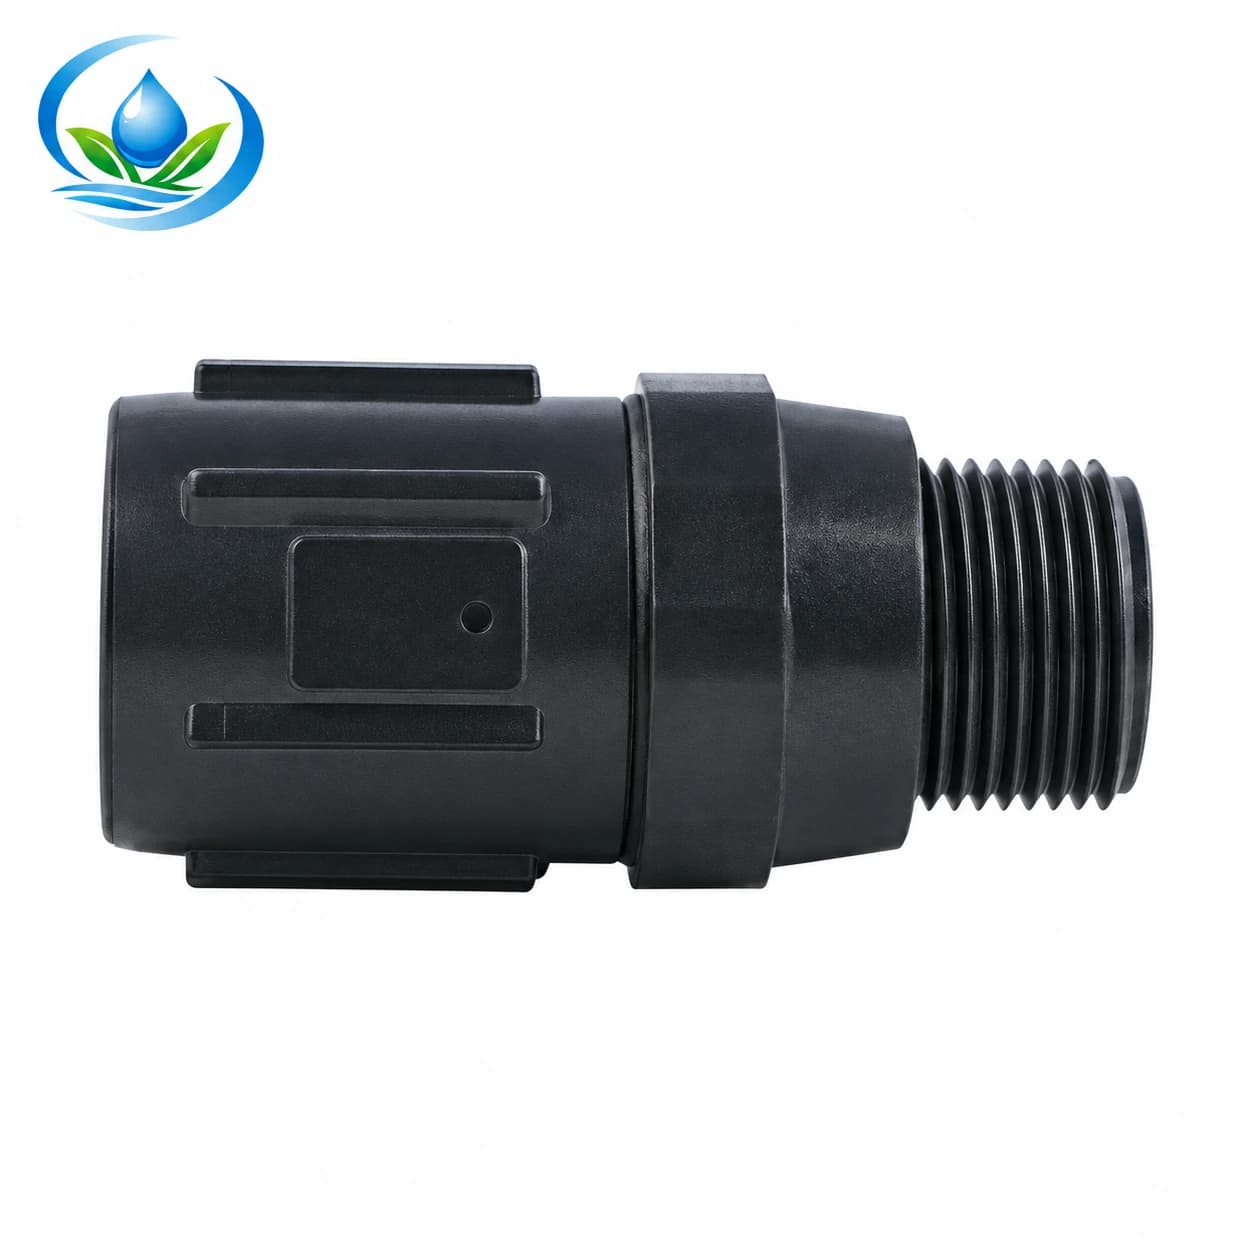
  • Check both tube size and connector type, including the microtube branches.
  • Allow enough branch length to reach the pot without kinks or tension.
  • Secure the outlet so normal crop work will not pull it out.
  • Keep shut-off and flushing points accessible after pots are in position.

Choose dripper flow and outlets per container

Drip irrigation for pots works best when the outlet arrangement wets the intended root area. A larger planter or grow bag may need multiple delivery points. Run a trial and inspect moisture through the medium; a small wet circle on top does not prove that the root ball is evenly watered.

As a calculation example, an outlet delivering 2 litres per hour applies about 0.5 litre in 15 minutes. Two such outlets apply about 1 litre in the same time. This estimates applied volume only; it is not a recommended dose or run time for a particular plant. Measure actual output and adjust from container moisture and drainage.

Check hanging baskets and the furthest pot

Hanging baskets, raised benches and long runs can place emitters at different elevations and distances from the supply. Compare delivery at those extremes with the full zone running. Pressure-compensating emitters can help within their specified operating range, while check-valve designs may help manage drainage from elevated arrangements.

Do not assume a small tank can drive a conventional pressure-rated dripper. A gravity-fed design needs products and a layout suited to the available head. Likewise, a household tap or pump may supply more pressure than the selected microtube system allows. Use the product’s pressure and flow data to choose the control equipment.

Set automatic watering from what the pots need

Container size, crop stage, sunlight, temperature and growing medium all affect drying. Inspect moisture below the surface and compare the weight of representative pots. Adjust as roots fill the pot or the crop moves into a new stage; the schedule used at planting may no longer suit an established plant.

Make sure containers can drain. Observe whether water spreads through the medium or exits rapidly while part of the root ball remains dry. Address poor wetting or drainage rather than simply increasing the timer. Outdoor pots may also receive rainfall, while pots under cover may stay dry despite a wet forecast.

Build your component list

Shop parts for potted plant drip.

Explore individual components from our catalogue. Match dimensions, pressure ratings and quantities to your own system plan.

All irrigation products

Set up. Check. Keep growing.

Test every branch before relying on the timer

Keep a record of your first working setup.

Flush the supply tubing before connecting small outlets. Run the finished zone and collect water from representative emitters for the same measured interval. Check the first and last pots, different elevations and every type of outlet. Then inspect each pot again to confirm the stake stayed in place and water reached the medium.

Keep a small record of emitter models, tube sizes and the timer settings you have tested. Recheck after moving pots, replacing parts or changing the layout. Clean the filter as required, replace damaged branches and isolate unused outlets. Before leaving the system unattended, verify the timer power supply and observe several normal watering cycles.

  • Flush: clear installation debris from the distribution tubing.
  • Secure: position branches and stakes so outlets remain inside each pot.
  • Verify: compare discharge, root-ball moisture and drainage during a trial.

A little more clarity

Questions before you choose?

Start with these practical answers, then check the specifications of the parts you plan to use.

Talk to our team
How many drippers do I need per pot?

Use pot size, growing medium, plant demand and the observed wetting pattern to decide. A large container may need multiple outlets. Test moisture across the root area instead of assuming one dripper will suit every pot.

Can I use one watering timer for different potted plants?

You can group containers with similar watering frequency and use suitable emitter flows. If shaded pots and sunny planters dry at very different rates, separate watering zones provide more useful control than one shared schedule.

Can I run drip irrigation for container plants from a water tank?

Yes, if the equipment and layout suit the available pressure. A gravity-fed system needs emitters intended for that water head, while a pumped tank needs appropriate flow and pressure control. Verify output at the furthest and highest pot.

Can an arrow stake be connected directly to the supply tube?

It depends on the assembly. Confirm whether the stake meters water or needs a separate dripper, and match its tube and connector requirements. A stake that holds a tube is not automatically a regulated emitter.

Can I use a timer and stop checking the pots?

A timer repeats a schedule; it cannot confirm that each outlet remains in place or that plant needs have stayed the same. Check moisture and delivery regularly, particularly after changes in weather or plant growth.

Bring your growing plan. Find the right parts.

Share your layout, water flow and pressure, connection sizes, and the crop you grow. Our team can help you compare product options.

Get selection help