Drip Irrigation Cucumbers Need: A Buying Guide for Beds and Bags
Choose tape, integrated dripline or individual cucumber outlets by soil-bed coverage, bag layout, flow, quantities and first-installation checks.
Published by IrriNex Store
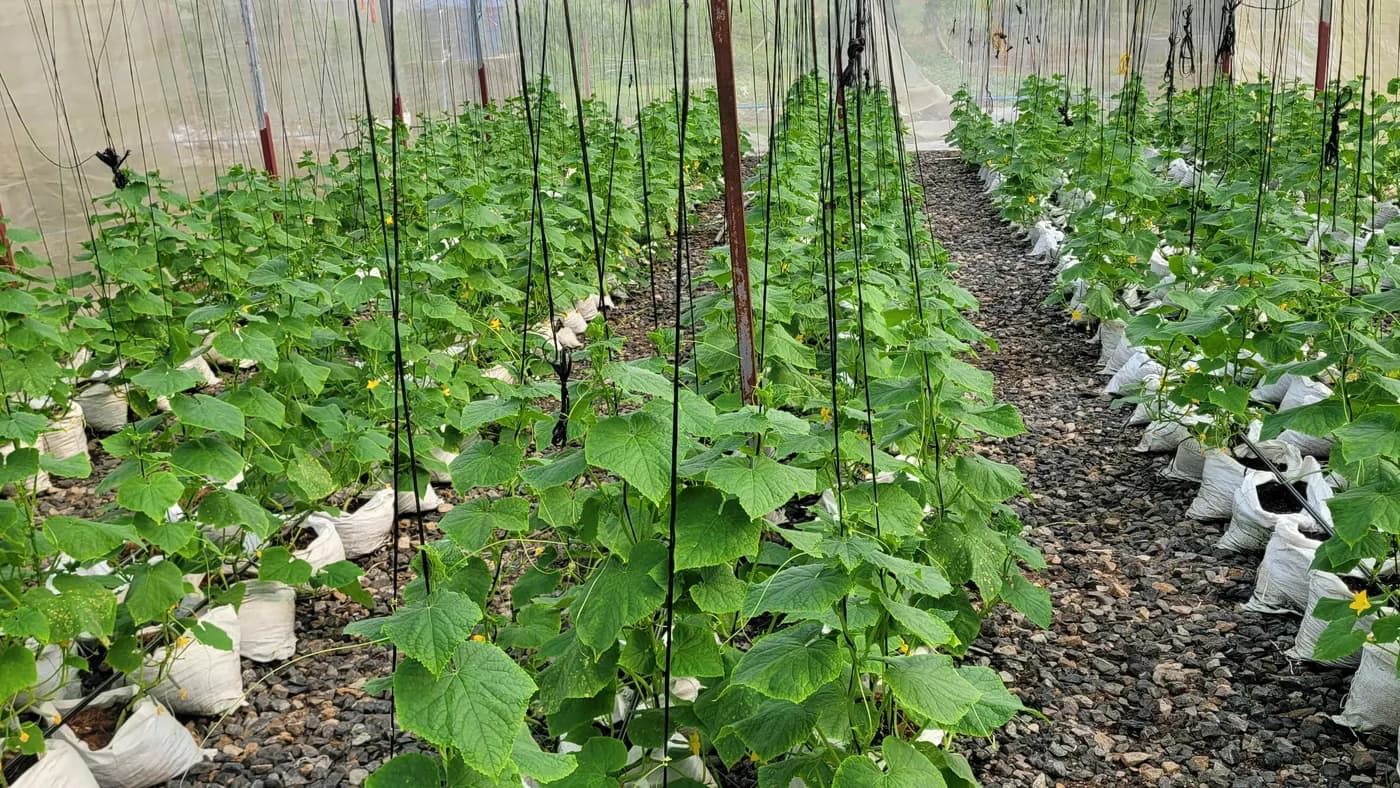
The drip irrigation cucumbers need depends on whether they grow in a continuous soil bed, along a trellis or in separate growing bags. Choose the outlet arrangement before choosing a roll or a pack of drippers. Then match spacing, flow, wall thickness, fittings and quantities to that arrangement. This buying guide compares four listed IrriNex Store product families and gives you a practical way to check the first installation. Confirm the selected variant, package contents, price and supply before ordering.
Draw cucumber roots and working routes on the same plan
Mark the actual planting positions, bed width, row length and number of plant rows in each bed. Add trellis posts, harvest paths, covers and the location of the water supply. For bags or containers, count individual root zones and record their distance from the supply tube. A hose that conveniently follows a trellis is only useful if its outlets wet the intended roots without obstructing picking or cultivation.
Separate planting distance from emitter spacing. One plant does not automatically need one built-in emitter, and two rows of plants do not automatically need two irrigation lines. The answer depends on the wetting pattern in that soil or medium. Begin with a representative test section so the final purchase reflects observed coverage rather than a photograph of someone else's cucumber crop.
Wetted strip or separate outlets for cucumber beds and bags?
A continuous cucumber bed can suit a line with factory-spaced emitters when adjacent wet areas reach the intended root zone. A sequence of isolated bags usually needs a delivery route into each bag, because water applied between containers does not travel through their separate media. Irregular gaps, replacement plants and removable containers can make individual outlets convenient, but they also add small tubes and connections to count. A cucumber bed drip irrigation layout should start with the rooted receiving area, then choose a continuous wetted strip or individual delivery points.
For a trellised soil crop, treat the trellis as a support and access constraint, not a reason by itself to buy point emitters. Mark where lines would cross posts and where a picker might step. You can retain a continuous line along the bed if its wetting pattern and hydraulic limits are appropriate.
Compare flat-emitter tape for straight cucumber beds
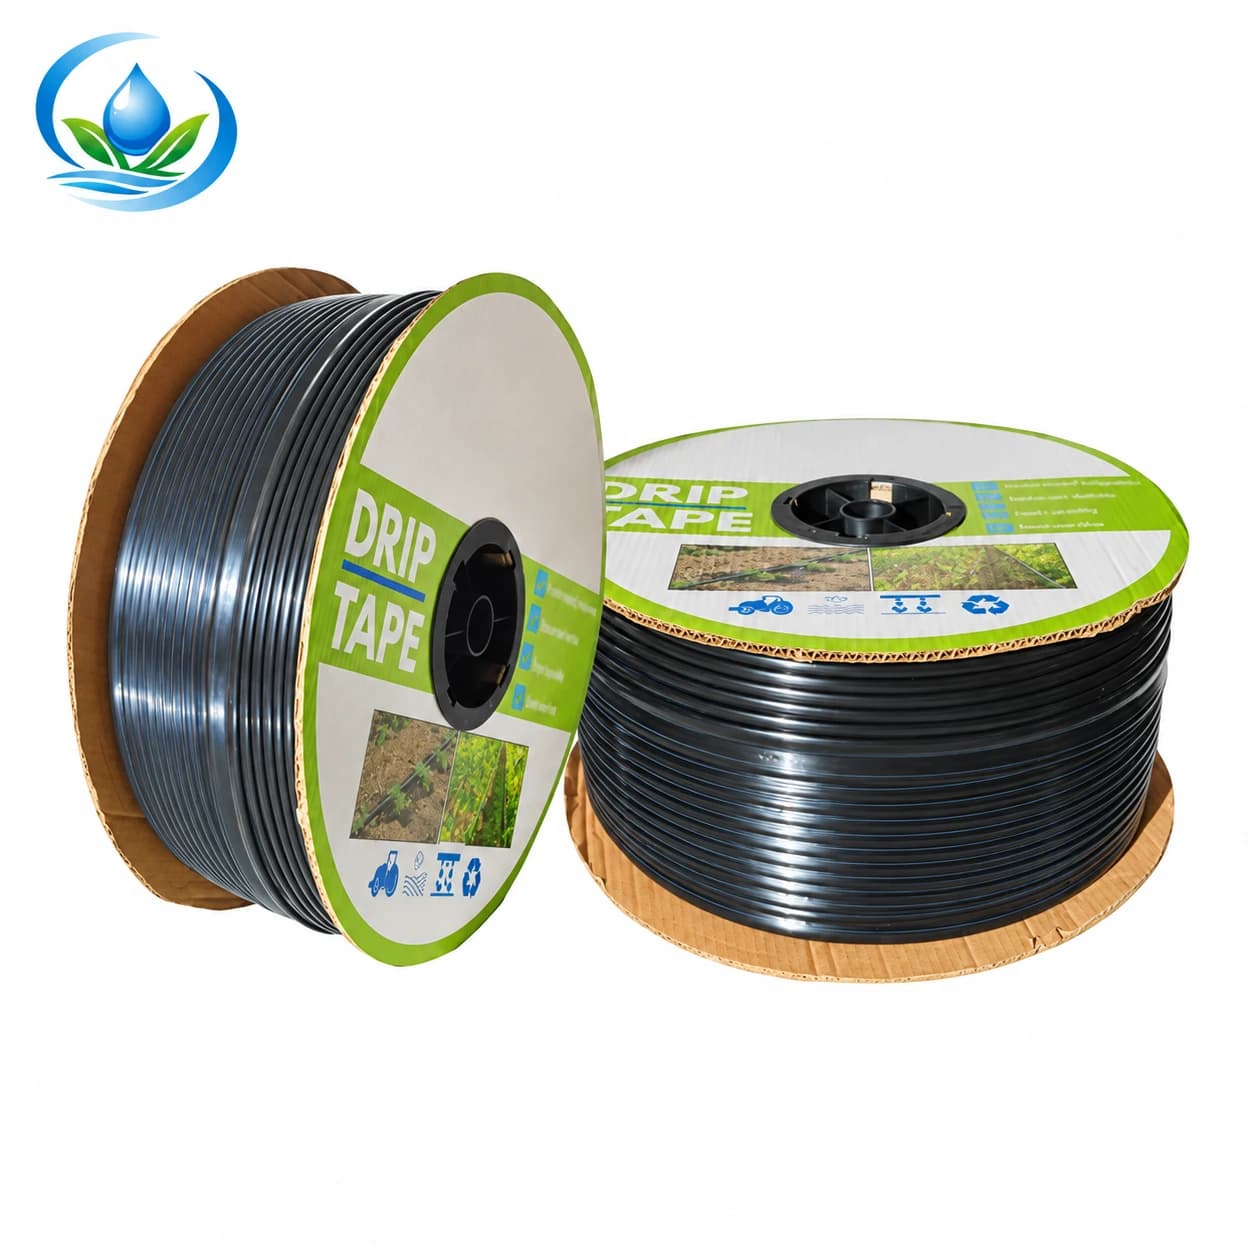
Flat-emitter drip tape for vegetable rows is one option for straight soil-bed runs. Its documented variants include 16 mm tape with a 0.15 mm wall, 30 cm emitter spacing and a 3000 m roll. Other spacing and wall combinations are listed separately. This example identifies a real selectable combination; it is not a recommendation that every cucumber planting should use 30 cm spacing.
Choose the wall around handling, installation method and the intended crop cycle, and confirm flow and operating limits for the exact variant. Avoid assuming thin tape has the same fittings or handling tolerance as a round dripline. Record how you will lay, secure, flush and recover it before comparing the material price per metre.
Consider integrated dripline for a defined row layout
Dripline with built-in emitters provides another route for beds where a repeated outlet pattern fits. One documented option is 16 mm diameter, 0.8 mm wall, 30 cm spacing, 2 L/h nominal emitter flow and a 500 m roll. Confirm that complete combination in the selected option rather than combining individual figures from different listings.
The larger wall measurement does not by itself promise a number of reusable seasons or pressure compensation. Check the emitter type, installation limits and suitable tubing fittings. A 500 m roll is a supply quantity, not permission to create a 500 m lateral. If you plan to lift the line after harvest, include storage, labeling and inspection of the ends in that decision.
Use point emitters when each cucumber has a separate delivery point
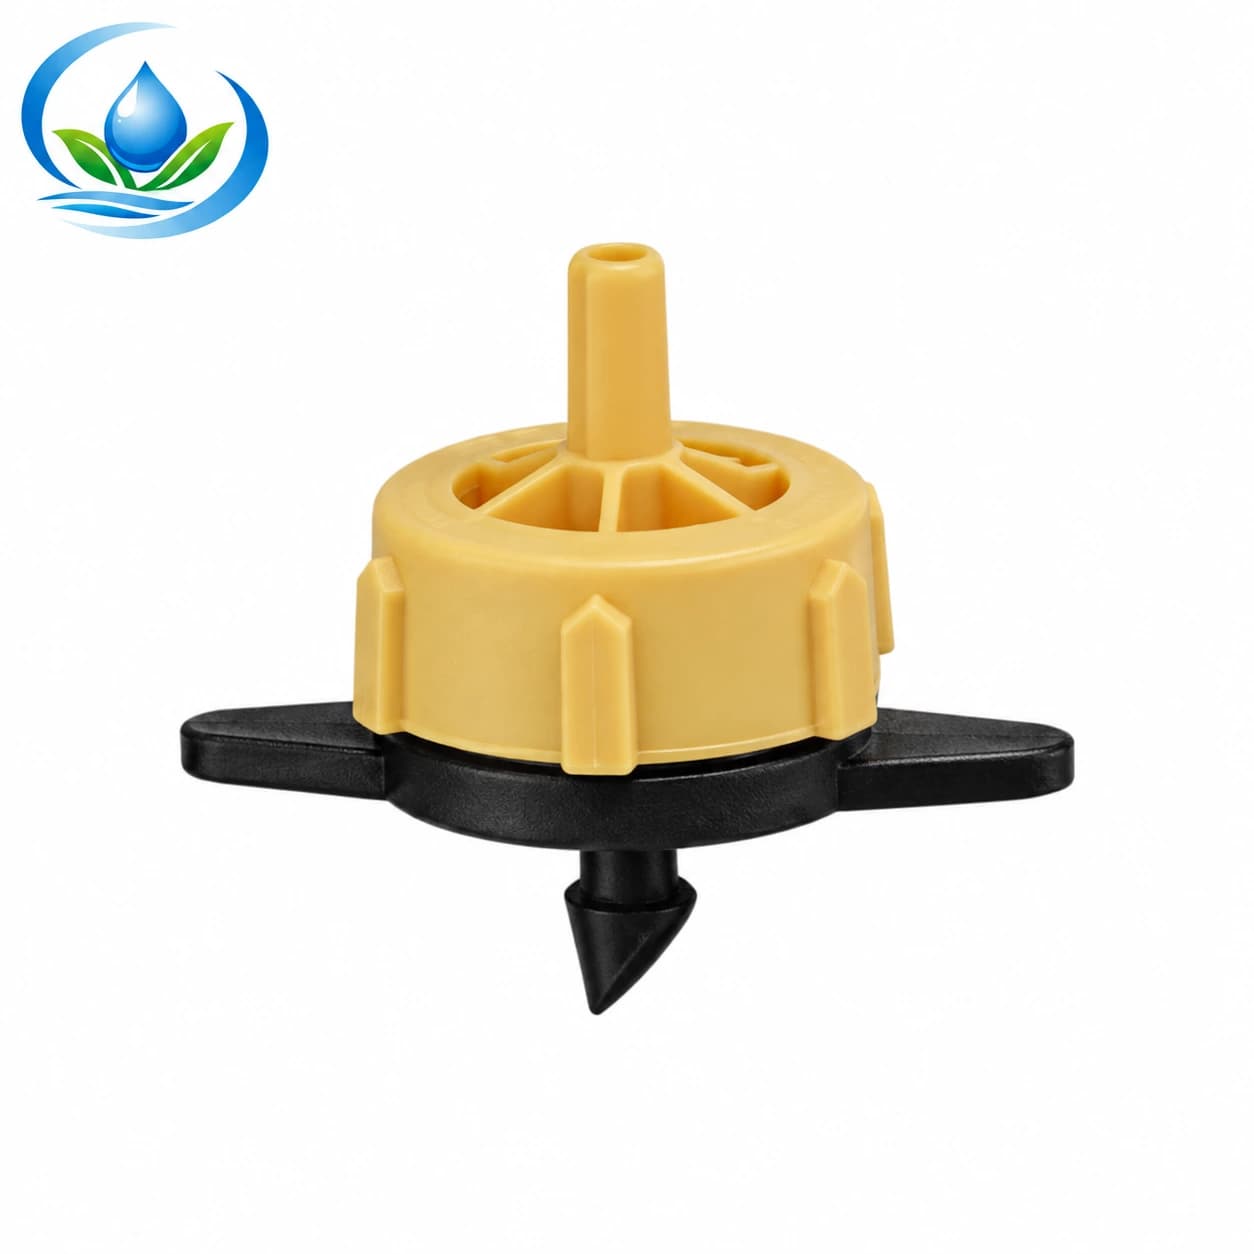
The pressure-compensating emitter family includes TANDPCD02 at 2 L/h, TANDPCD04 at 4 L/h and TANDPCD08 at 8 L/h. Those outputs are distinct options. Choose around the volume and operating window required at the delivery point, then verify inlet compatibility and the manufacturer's working range. Pressure compensation is not a remedy for insufficient supply, a clogged outlet or an unmatched feeder tube.
For soil-grown cucumbers, place outlets so the intended root area receives water and check how the wet area expands. For a bag, verify that the selected arrangement wets its medium rather than one narrow channel beside it. If several emitters serve one plant, count all their nominal flow when calculating demand. Do not choose the highest output solely because the plant is fruiting.
Check what an arrow stake assembly actually contains
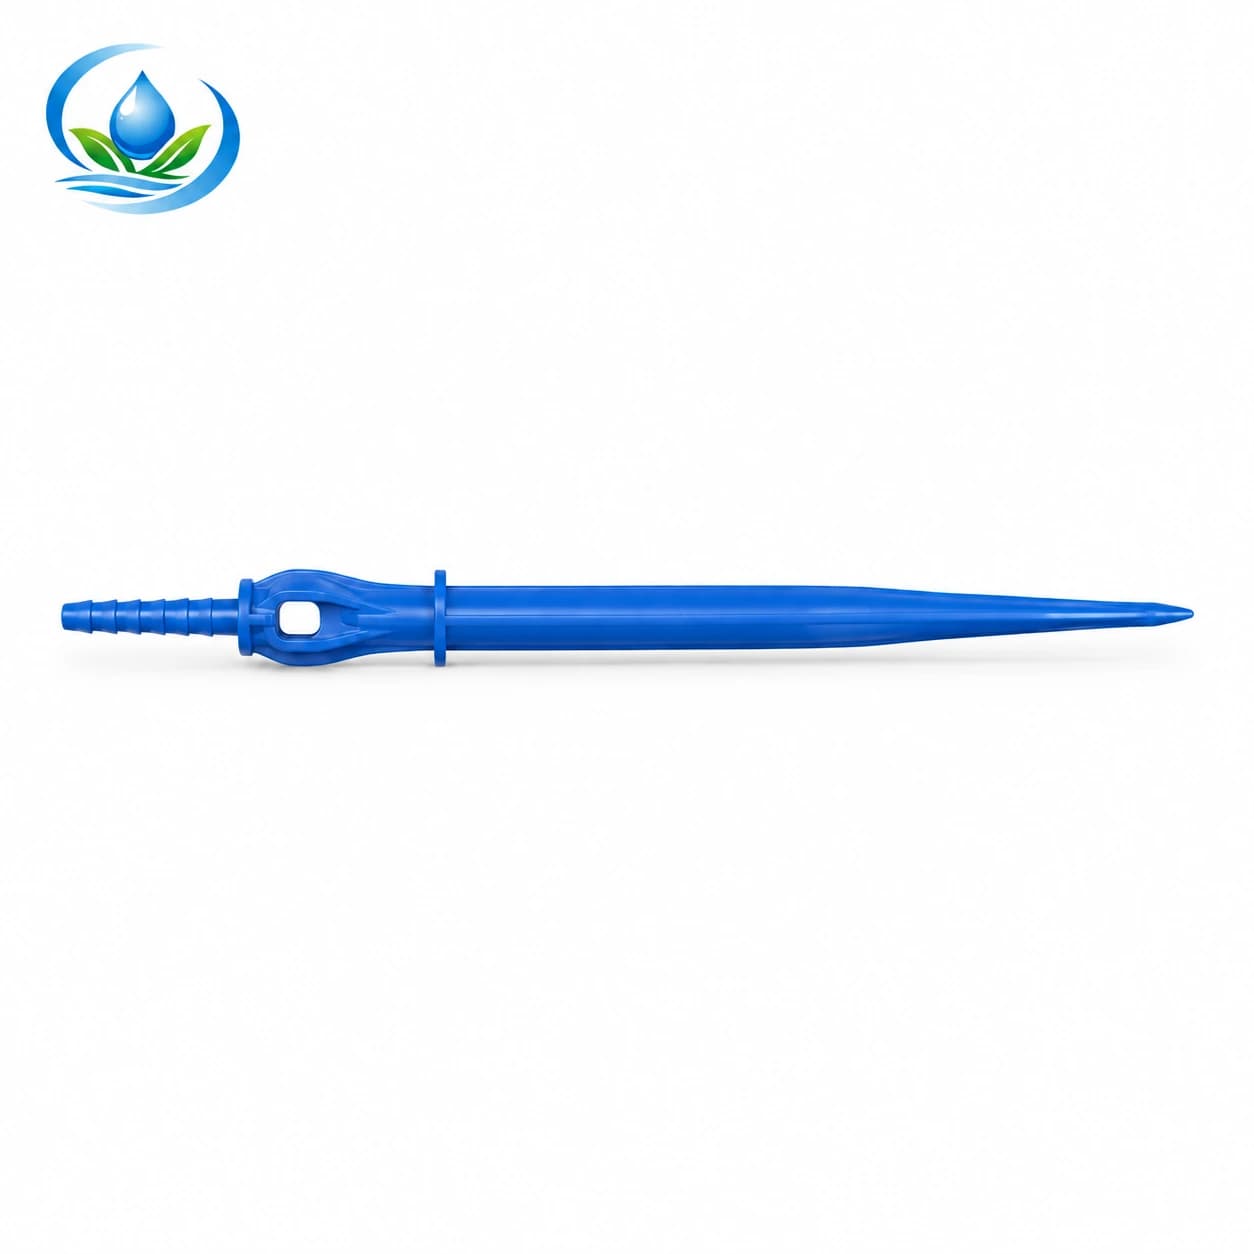
A single arrow drip stake can position a delivery point in a growing bag or beside a plant. Separate model listings include the straight arrow dripper 2101 and bent arrow dripper 2102, each with a nominal discharge of 2 L/h. Confirm which feeder tube, connection and flow-control components need to be obtained separately. A picture of two shapes does not mean both arrive in one pack.
Do not add an extra upstream emitter to an assembly without confirming the intended arrangement. Likewise, a stake's shape does not establish pressure compensation. Measure the actual water delivered after the entire connection chain is assembled. Keep the stake supported in the medium and route its tube without a tight bend over the bag edge or a loop across the harvesting path.
Use a small comparison table before buying quantities
| Crop arrangement | Product route to compare | Acceptance question |
|---|---|---|
| Straight continuous soil bed | Flat-emitter tape | Does the wetted strip reach the roots without dry gaps? |
| Repeated row with suitable tubing connections | Integrated dripline | Do spacing, flow and allowed run length fit together? |
| Irregular individual planting points | Separate pressure-compensating emitters | Does each assembled point deliver the intended volume? |
| Separate bags or pots | Confirmed arrow stake assembly | Are all media volumes served and all components counted? |
These are alternatives to evaluate, not four products that every bed needs. Select a delivery route for each distinct part of the cucumber crop. Keep any genuinely different soil and bag arrangements on separate lines of the shopping list.
Test wetting before fixing the number of laterals
Lay a short representative section using the same outlet type, soil condition and mulch arrangement planned for the crop. Run it under the intended operating conditions and inspect moisture between outlets and toward the planting positions. Look below the surface carefully without damaging roots or the line. A dark stripe visible beside the tube does not prove the whole intended root area is supplied.
Test both a recently transplanted root ball and the wider area that must be served as the plant develops. If the planting point stays dry, consider outlet position or additional coverage before simply lengthening every watering event. In a bag, inspect distribution within the medium and drainage from the container. Keep the test results with the selected spacing and number of lines per bed.
Keep cucumber care separate from a fixed timer promise
University of Minnesota Extension's cucumber guide recommends monitoring soil moisture and watering the soil while keeping leaves dry. Use those observations to guide placement and checks.
A fruiting cucumber in a covered bag and a young plant in an outdoor bed do not automatically share one schedule. Rain reaching an open bed may not reach the crop inside a tunnel. Read soil or medium conditions and observe the crop before changing duration. The product's nominal flow tells you how to calculate delivery; it does not supply a universal number of minutes for every cucumber.
Count cucumber line metres, emitters and end fittings separately
Consider an illustrative installation of eight beds, each 30 m long. If the wetting test supports two lines per bed, you need sixteen laterals and 480 m of installed line. A 500 m roll leaves 20 m before extra cut allowances or deliberate spares. If one line per bed proves sufficient, the installed amount is 240 m. Decide coverage first, because doubling laterals changes both material and demand.
At 30 cm spacing, a 30 m line has approximately 100 emitter intervals; exact outlet count depends on where the ends are cut. Sixteen such runs with 2 L/h emitters would have about 3200 L/h nominal combined demand if all operate together. Verify the actual count and supply before choosing sectors. Use the line-length calculation guide for roll and cutting details.
Make a different count for growing bags
For sixty bags with one confirmed 2 L/h delivery assembly per bag, the nominal total is 120 L/h. Two independent 2 L/h emitters per bag would make 240 L/h. A single 2 L/h emitter feeding a splitter does not automatically become two independent 2 L/h outputs. Confirm where flow is regulated and how the assembly distributes it before buying by the number of stakes shown.
Count microtube lengths from their real routes. Sixty connections requiring 0.6 m each consume 36 m before routing allowances and spares, but use your own measurements. Include supply connections, retainers and any required adapters. Label the bag layout so a missing plant or a replacement container does not lead to a disconnected outlet watering the aisle unnoticed.
Check pressure and filtration for the chosen option
Measure under operation with the intended group of lines open. Compare the result with the exact line or emitter specification, including conditions at the far end. Do not apply the pressure limit of a thick line to thin tape or assume every compensating emitter works at the same minimum. The pressure checklist helps organize measurements before selecting a variant.
Match filtration to the water and the selected outlet's requirements. Include the effect of a dirty filter when investigating low delivery. Read the filter buying guide for the upstream equipment decision. No emitter option makes filtration unnecessary, and a regular flush does not guarantee removal of deposits already inside an outlet.
Build a cucumber-specific shopping list
- Selected tape or dripline combination, with roll quantity and cutting plan.
- Alternatively, the exact number and flow option of separate plant assemblies.
- Compatible starts and joints for the chosen wall and connection family.
- A suitable serviceable end for every independent lateral.
- Measured feeder tubing and required adapters for bags or individual points.
- Supports that protect lines near trellis posts and working paths.
- Required filtration, pressure-control arrangements and measurement access.
- Clearly separated spare quantities for the installed variants.
For line endings, the end closure guide distinguishes tube plugs, tape closures and flushing access. Confirm the appropriate product for your material. Do not treat every black end fitting as interchangeable or assume the related product list supplies a complete packaged cucumber kit.
Install around supports, mulch and harvest access
Set out the line before access becomes difficult. Keep soil out of unfinished ends, follow the manufacturer's outlet orientation instructions and flush as directed before final closure or sensitive outlet attachment. Avoid pinching a line under a trellis foot, trapping it beneath a sharp edge or pulling a small tube tight across a bag rim. Record the routes before covering them.
Maintain accessible isolation and flush points at the ends of beds. Place connections where you can inspect them without moving the cucumber vine. After installing or adjusting supports, inspect for accidental punctures and newly tightened bends. Crop access is part of the purchase decision: an arrangement that is awkward to reach will also be awkward to repair while harvesting.
Accept the delivery by testing complete assemblies
Check roll labels for diameter, wall, spacing, flow and length against the selected option. Check individual emitter model codes and the contents of stake packs. Separate mismatched or unidentified parts before cutting all the laterals. A family page containing several variations is not proof that every combination is supplied in one order.
After installation, compare collected water from several representative positions over the same measured time, including the first and last points. Investigate differences, leaks, loose stakes and dry planting positions. Recheck after a full watering event and after moving bags or changing the active row count. Record the tested conditions so the result can guide a replacement order or a later extension.
Finish the choice with evidence from your cucumber crop
Keep the crop layout, wetting observations, selected variant and quantity calculation together. A useful final order identifies where water must arrive and exactly which parts create that route. Confirm price, available supply and included components without assuming the website's listed family is stocked in every size.
Choose continuous tape or dripline when it fits the soil-bed pattern, or a verified individual outlet arrangement when separate root zones need their own feeds. Keep quantities and operating limits tied to the chosen option. Your first installation check should demonstrate that water reaches the intended roots, the connections remain sound and the system can still be serviced during cucumber harvest.
Before you order
Compare this guide with the specifications for your exact product, selected option, water supply and field conditions. Your equipment requirements take priority over a general example.
Compare irrigation products