Drip Irrigation for Strawberry Plants: Buy and Test Tape Before Laying Mulch
Choose a verified tape configuration, match service connections and test a strawberry bed before plastic mulch and planting holes conceal the line.
Published by IrriNex Store
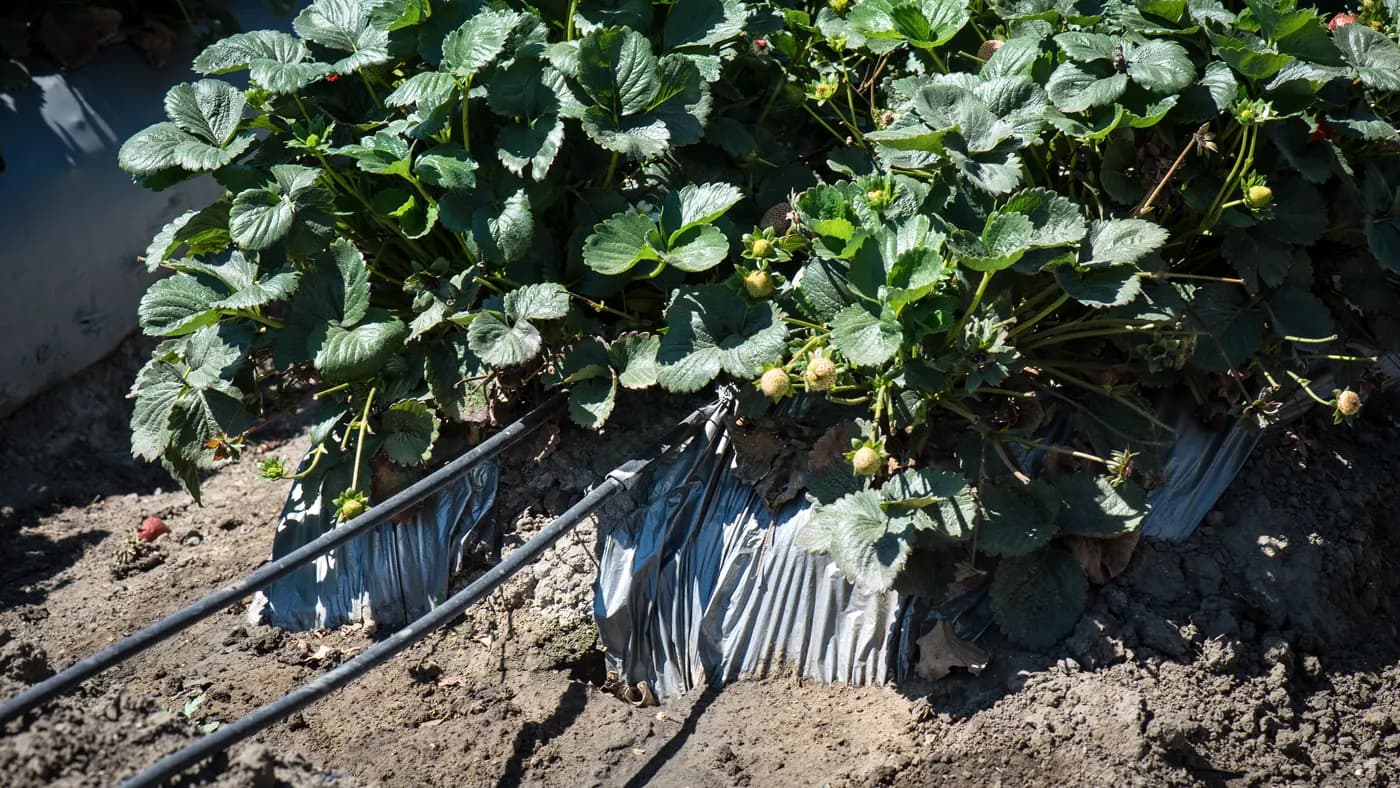
Drip irrigation for strawberry plants is easier to buy correctly while the bed surface and proposed tape route are still visible. Before covering a raised bed with plastic mulch, choose a specific tape configuration, verify its connections and test a representative section. A leak or misplaced line discovered after planting is harder to reach without disturbing the mulch and plants.
This guide concerns strawberry beds with drip tape beneath plastic mulch. It helps you prepare the purchase list, check a first installation and keep planting tools clear of the irrigation line. It does not prescribe a universal plant spacing, watering duration or fertilizer programme. Those decisions depend on the actual crop, bed and operating conditions.
Record strawberry bed and plant positions before ordering tape
Draw each bed as a separate rectangle and record its usable length, top width, plant-row positions and proposed water entry point. Mark the intended tape route independently of the planting holes. A drawing that only counts plants misses the distance between the irrigation line and the parts of the bed that need wetting. A strawberry drip tape trial before plastic mulch should confirm water reaches the future plant positions while the route is still visible and correctable.
Record whether the film and tape will be installed by hand or with a bed-laying implement. Keep enough access at the bed ends for connections, inspection and flushing. Note changes in elevation, interruptions and unusually long beds so they are included when the supplier checks the selected tape's installation limits.
Do not turn another farm's photograph into a planting specification. One central line may be used in some bed arrangements, while a different width or soil may require another layout. Decide the arrangement using a wetting check and appropriate crop guidance before buying all the tape and making every planting hole.
Choose an identifiable tape configuration
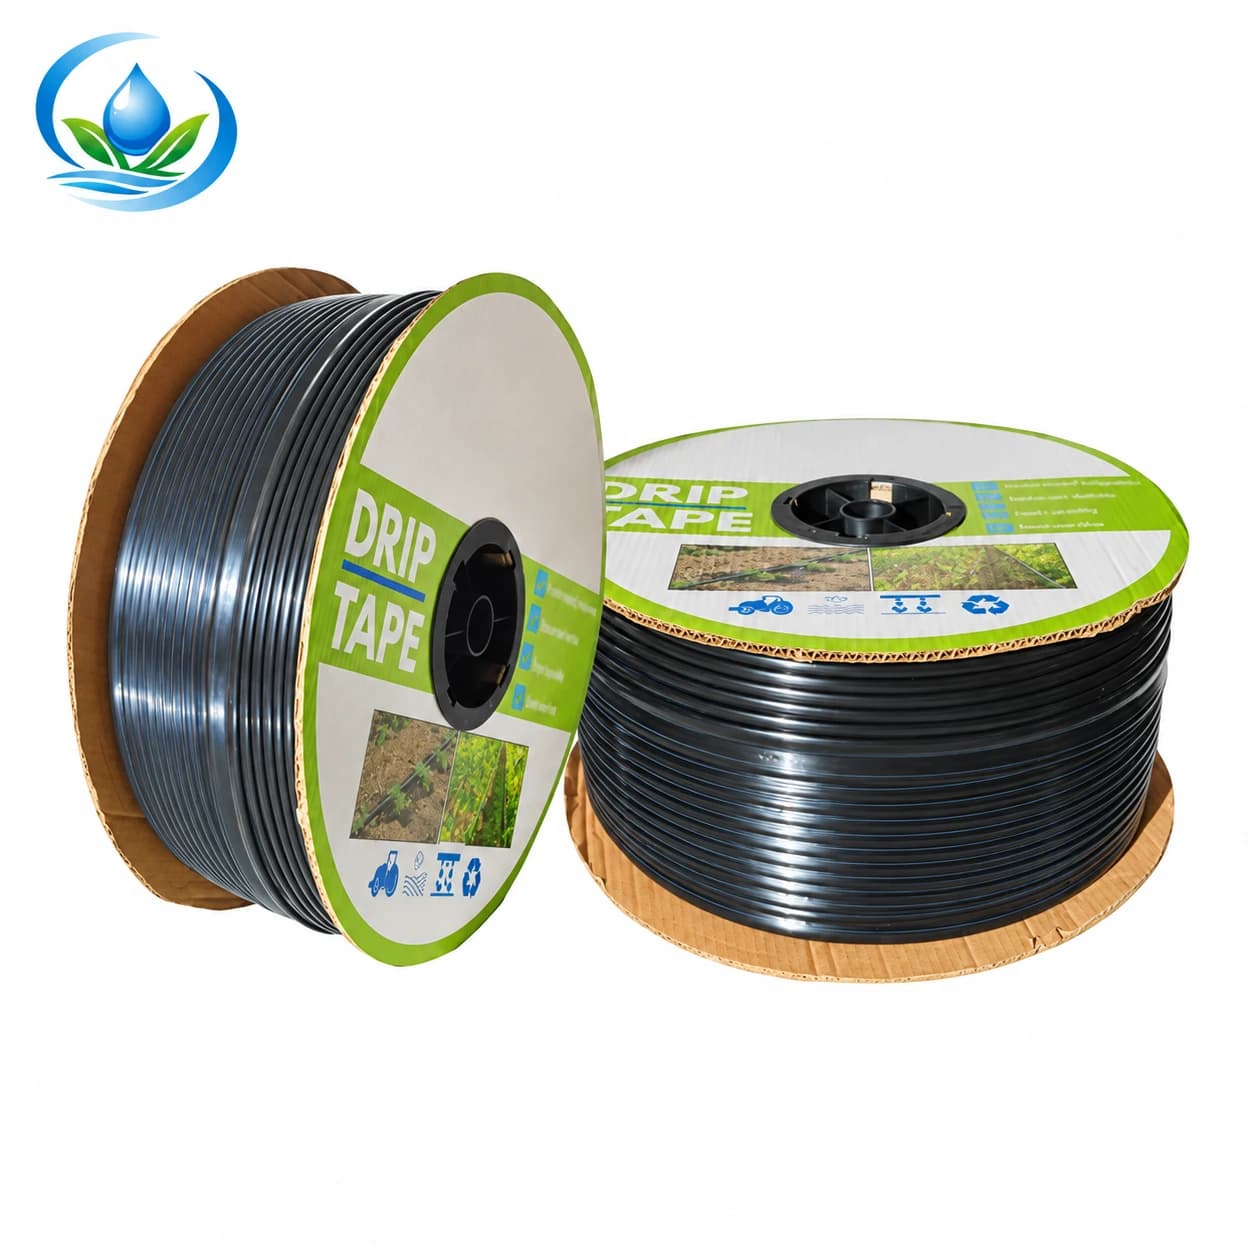
The flat-emitter drip tape listing contains several diameters, wall thicknesses, emitter spacings and roll lengths. These fields describe different purchasing decisions. Copy the complete selected option into your order record; “strawberry tape” or “16 mm tape” is not enough to identify the supplied configuration.
| Listed tape option | Diameter | Wall | Emitter spacing | Roll length | Emitter flow |
|---|---|---|---|---|---|
| IS-2-5CBC94B892 | 16 mm | 0.2 mm | 20 cm | 2000 m | Confirm selected configuration |
| IS-2-09293756EF | 16 mm | 0.2 mm | 15 cm | 2000 m | Confirm selected configuration |
These are two verified separate options, not universal strawberry recommendations. A 2000 m roll describes purchased material, not an allowable 2000 m lateral. Neither option supplies enough information to calculate demand until emitter flow at the specified operating pressure is confirmed.
Ask for the pressure range, filtration requirement and maximum run information for the exact tape being offered. Wall thickness alone does not establish those limits. A thicker wall also does not prove that every existing connector will seal it correctly. Retain the configuration details with the roll label when the order arrives.
Keep emitter spacing separate from strawberry spacing
Emitter spacing is the interval between outlets in the tape. Plant spacing is the position of the strawberry plants. They do not automatically have to be identical, because water spreads through soil after leaving an emitter. The useful question is whether the selected line wets the intended root area across the actual bed.
Describe the bed soil and the proposed planting pattern when requesting a tape configuration. Then inspect moisture around the planned plant positions during the trial. A damp stripe directly below the tape does not demonstrate that both plant rows receive adequate moisture. Equally, a dry-looking surface does not fully describe moisture below it.
Changing outlet spacing can also change total line demand when emitter flow and length are otherwise unchanged. Obtain the missing discharge information before evaluating that effect. The simultaneous-flow calculation guide covers the arithmetic; use the confirmed values for this tape rather than a convenient value from another product.
Separate the supply inlet, service valve and end closure
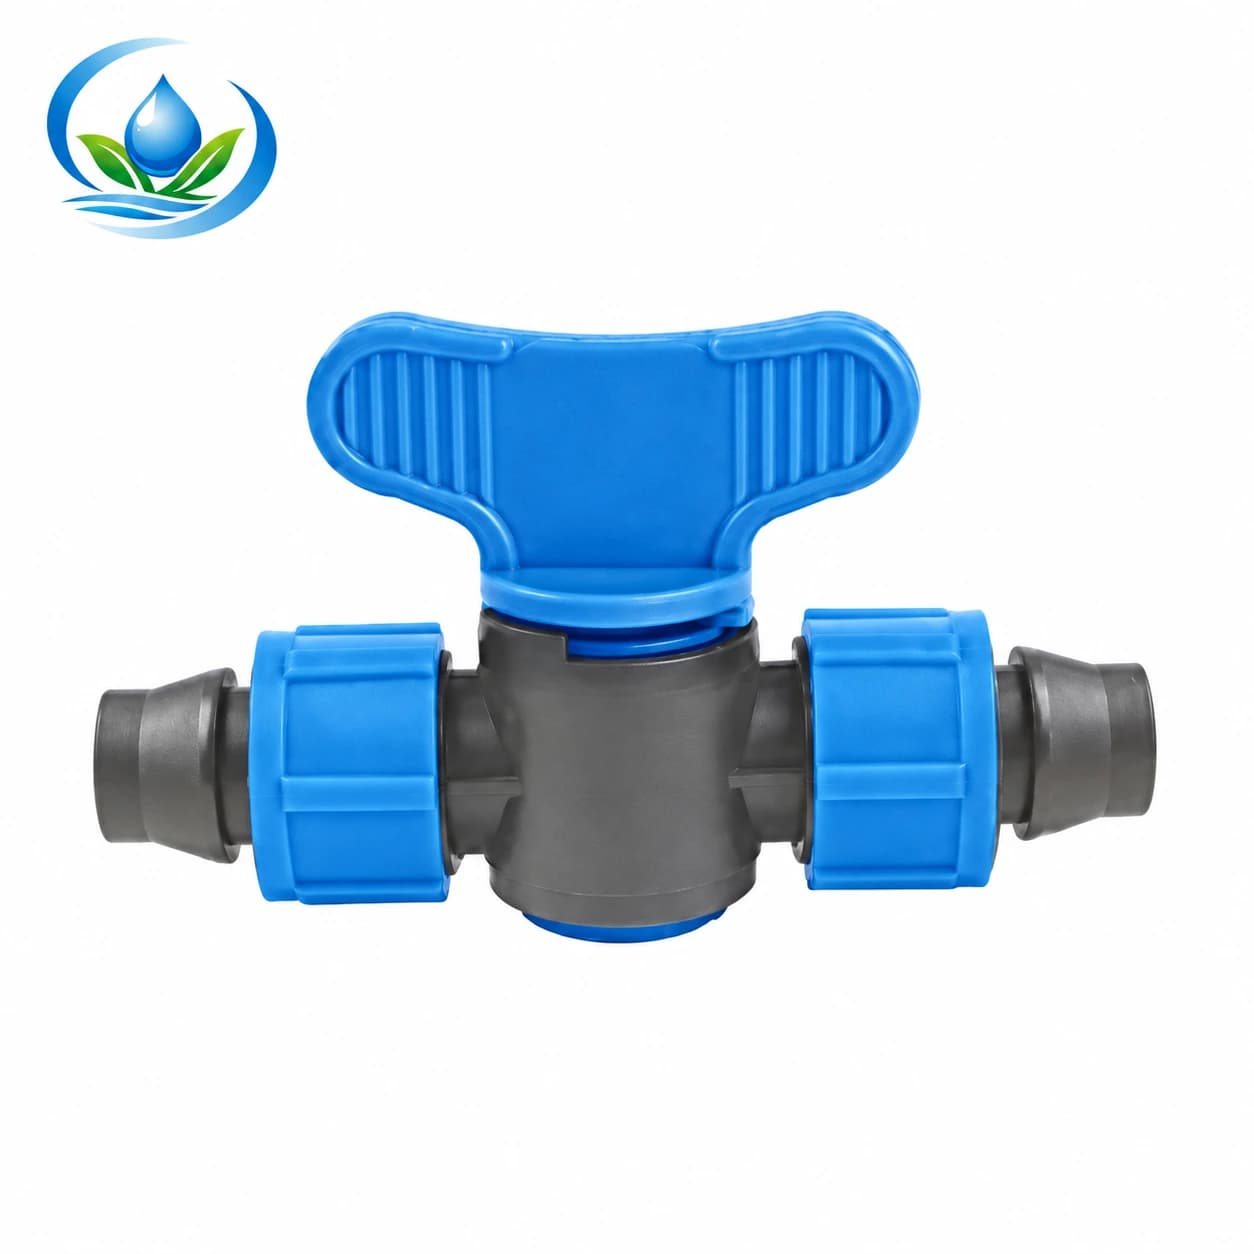
The V161 lock tape coupler valve has a listed 16 × 16 mm connection. It is an inline coupling and isolation item, not a new mainline offtake or a pressure regulator. Confirm its fit with the selected tape wall before adding it to the service list.
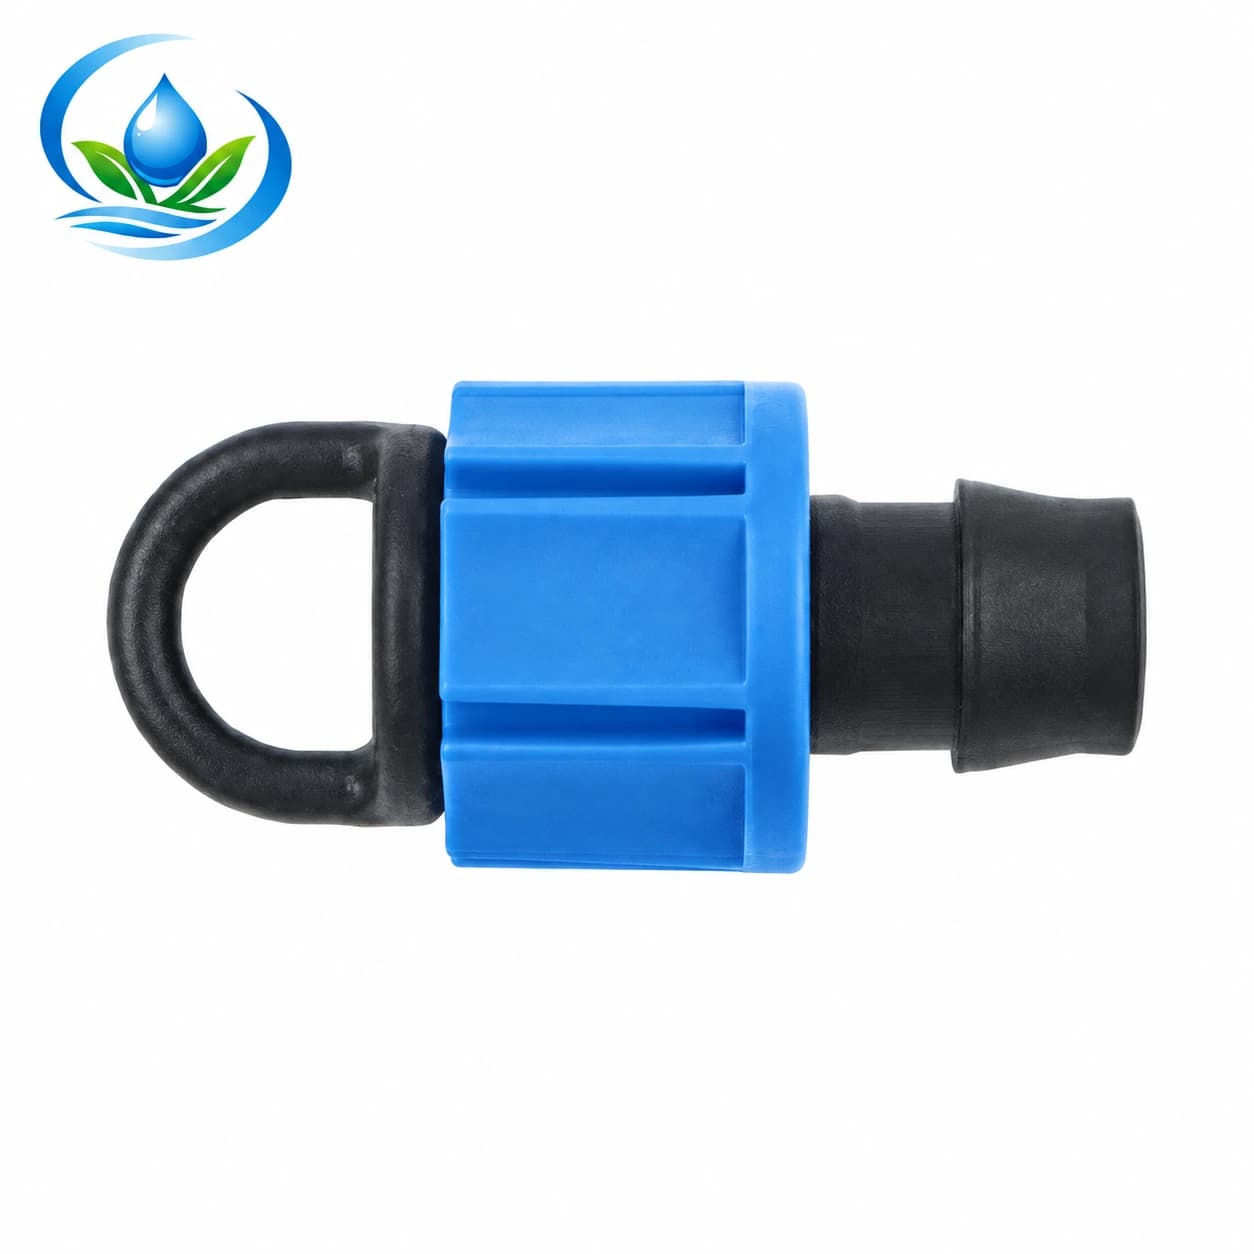
The lock-nut end-cap family lists TP0117 at 16 mm and TP0120 at 20 mm. Confirm the exact tube or tape fit and keep the closure reachable for servicing. Do not treat it as a planting-puncture plug or an automatic drain. Neither a nominal size nor a photograph proves complete compatibility.
Identify the separate supply inlet and ask which hole, seal and locking details it requires before drilling. A roll does not establish which fittings are included. The agricultural fittings buying guide helps organize extra interfaces. Keep any inline service joint accessible rather than hiding it beneath an inconvenient part of the mulch.
Trial one strawberry drip-tape section before laying mulch
Prepare a section that represents the intended bed arrangement and uses the actual tape and connection. Follow the selected product's instructions for orientation, handling and installation. A short test can reveal connection or placement problems, but it cannot certify the pressure and uniformity of a much longer production run.
Flush the upstream supply appropriately before connecting clean tape, and arrange the tape's end so it remains accessible for the required flushing procedure. Keep loose soil out of open ends. Open the supply in a controlled way and check the connection, tape surface and end closure for leakage under the intended operating conditions.
Use suitable measurements to confirm that operating pressure stays within the selected tape's documented limits. Static pressure alone is insufficient. If the tape twists, a connection leaks or a section remains poorly supplied, resolve that problem while the bed is accessible. Do not use mulch to conceal an unfinished installation check.
Check wetting where the plants will grow
During the trial, examine several planned plant positions along and across the bed. Record the test duration, operating conditions and observed moisture at those positions. The duration is part of your record, not a universal recommendation for future irrigation. A different starting moisture level or weather condition can change the result.
University of Minnesota Extension's strawberry guide connects line arrangement to planting layout and soil water movement. Use this regional guidance alongside the field check, not as an IrriNex product specification.
If the wetted area does not match the intended planting area, reconsider the line arrangement before repeating it across every bed. Increasing runtime without checking the cause may leave some positions insufficiently wetted while adding excess water elsewhere. Recheck the modified arrangement before finalizing the remaining purchase quantity.
Protect the tape when laying mulch and making planting holes
Mark the tested tape route at both bed ends and keep a sketch or photograph before it disappears beneath the film. Share that record with whoever makes the planting holes. The person planting may not be the person who laid the tape, and the hidden route should not depend on memory.
Check that covering or bed-forming operations have not dragged the line across the intended hole positions. Keep puncturing tools, pegs and anchors clear of the known route. If the tape position is uncertain, expose and identify it carefully before pushing a tool into the bed; do not rely on a guessed clearance.
Inspect the first completed bed again after mulch laying and planting-hole preparation. Look for new leakage and compare operation with the earlier test. A trial that passed before machinery or tools crossed the bed does not rule out later damage. Correct the process before repeating it across the block.
Count tape, connections and usable roll lengths separately
Calculate tape length from the agreed number of lines per bed and the measured route. For example, four 25 m beds with one 25 m line each require 100 m of installed tape. If the confirmed design uses two such lines per bed, the installed amount is 200 m. These are quantity examples, not layout recommendations.
Add measured connection tails and planned replacement lengths separately so their purpose is visible. Compare the resulting cutting list with the actual roll length. A leftover piece may be too short for the next bed even when the total unused metres appear sufficient. Avoid introducing extra buried joints merely to consume every offcut.
Count each independent line's inlet and end arrangement from the drawing. Separate purchased spare fittings from installed fittings. Keep the selected tape option and compatible connection identification together; this prevents a later reorder of a different spacing or wall thickness under the same general product name.
Keep filtration and fertilizer questions tied to the chosen system
Describe the water source and existing filter before ordering. Obtain the filtration requirement for the selected emitter configuration and check how the filter will be serviced. The irrigation filtration buying guide helps organize source and filter questions without substituting a universal mesh value for product documentation.
If fertilizer injection is planned, treat it as a separate compatibility and management question. Confirm the injector, water protection and material requirements, and obtain a crop-specific nutrient plan. The injector contents guide helps identify the supplied body, suction pieces and bypass-set parts before ordering; it does not supply a strawberry fertilizer dose or prove chemical compatibility for every tape.
Routine drip equipment does not provide frost protection. Any separate transplant-establishment or frost-protection system needs its own suitable design; purchasing tape does not establish that those tasks are covered.
Finally, retain the roll label, connection record, initial measurements and bed sketch where the operator can find them. The opening photograph shows actual drip lines entering a plastic-covered strawberry bed in California. It illustrates the application, not the identity or specifications of the products linked here. Use your verified configuration and field test to complete the purchase.
Before you order
Compare this guide with the specifications for your exact product, selected option, water supply and field conditions. Your equipment requirements take priority over a general example.
Compare irrigation products