How to Install Drip Irrigation to Existing Sprinkler System Outlets
Map the old sprinkler zone, check riser threads and reduced flow, then choose adapters, dripline and separate closures for a crop-row conversion.
Published by IrriNex Store
To decide how to install drip irrigation to existing sprinkler system outlets, start by mapping the complete watering zone and identifying what can remain in service. An old sprinkler riser can provide a useful connection point, but a matching thread does not confirm suitable pressure, filtration, valve operation or crop coverage. Those checks determine the conversion parts you need.
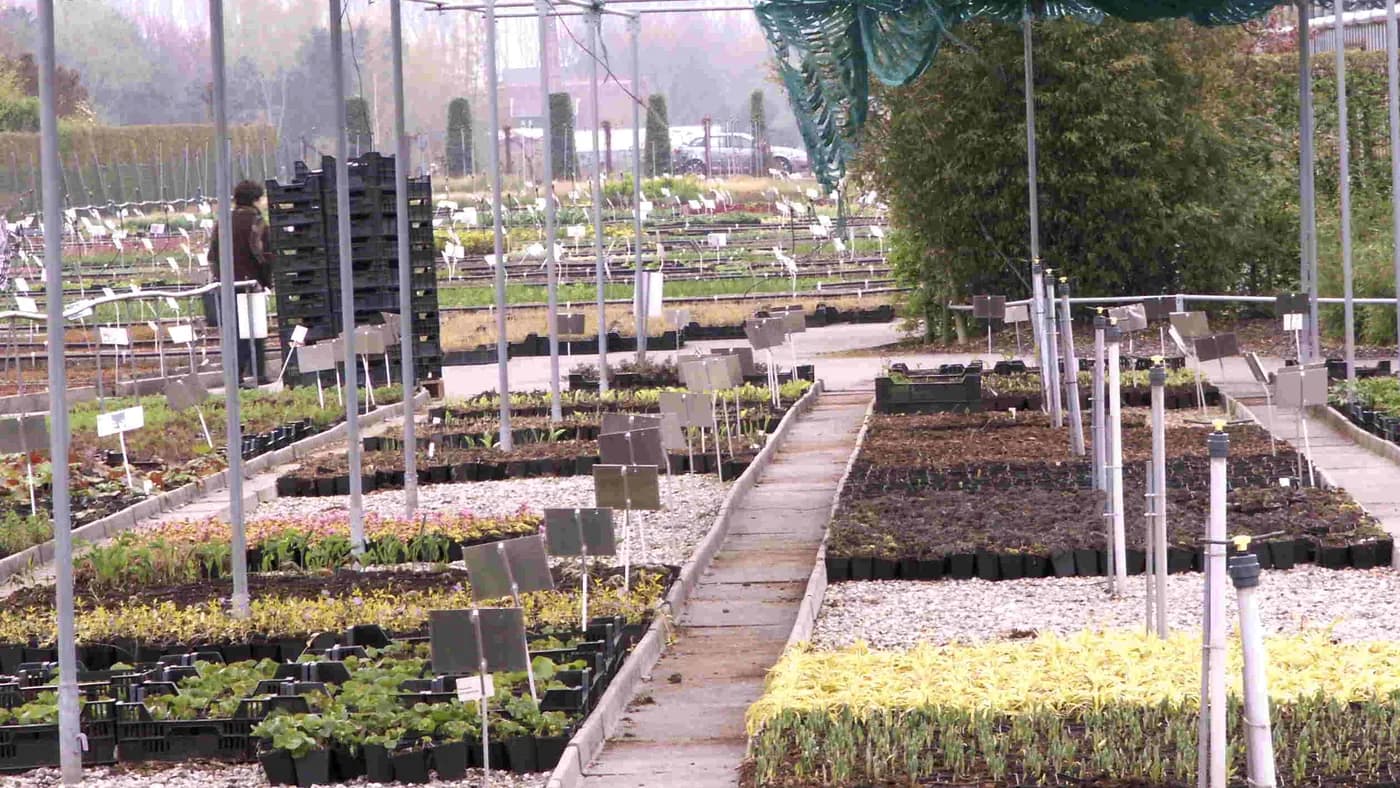
This guide concerns an existing sprinkler zone being adapted to crop rows or nursery beds. It explains how to compare the retained equipment with new adapters, dripline and closures, then inspect one complete transition before extending it. The nursery photograph shows an existing sprinkler installation; it does not show a completed conversion or identify the products discussed below.
Map every sprinkler outlet served by the existing valve
Operate the existing system according to its instructions and identify all the sprinklers controlled together. Mark their locations, the supply route and any branches disappearing under beds or paths. A sprinkler beside the intended crop does not necessarily belong to the valve you expect. Record the actual response rather than relying only on a controller label. A sprinkler-to-drip irrigation conversion plan should include all outlets that share the valve, including unused risers that still need a defined treatment.
Give each riser a simple reference and photograph its surroundings. Mark the proposed drip supply point, outlets that might remain useful and outlets that would become redundant. Note other crops or nursery areas sharing the valve. Their watering needs remain part of the decision even if the physical work occurs in only one corner.
Use the crop-zone planning guide when the boundary is uncertain. Complete that map before ordering a conversion quantity. Counting visible heads alone can miss a buried outlet, an extension or a second branch that still releases water.
Decide whether the whole zone can change its watering method
A straightforward conversion gives the new drip area its own suitable operating schedule. If some sprinklers must continue serving another crop, determine whether they can be controlled separately. Do not assume that attaching drip tubing to one riser makes the old sprinkler schedule appropriate for both delivery methods.
Compare the crops, soil or growing media, wetted area and intended application before selecting the new outlets. A nursery container needs water delivered into its medium; a continuous crop bed may suit a line with repeated emitters. The old sprinkler positions were chosen for spray coverage, so they do not automatically define sensible dripline starts.
Where independent operation cannot be established, resolve the zone arrangement first. That may change which riser is retained and where new supply tubing runs. A small adapter purchase should follow that decision instead of locking you into an inconvenient watering arrangement.
Inspect the retained riser and record the connection
Isolate the water and release pressure before removing a sprinkler or disturbing its connection. Expose the relevant fitting carefully and keep soil out of open pipe. Identify the riser material, nominal thread size, male or female end, thread standard and prescribed sealing method. Retain the removed part or a clear photograph of its markings.
Check whether the riser is sound and supported. A cracked thread, leaning pipe or inaccessible connection beneath a bed edge needs attention before it carries a new assembly. Leave space to assemble and service the transition without twisting the buried supply line.
Do not identify a thread by appearance alone. Two fittings can begin to engage yet have incompatible forms. Likewise, a pipe thread and a garden-hose thread are different connection systems. Ask for a confirmed match using the actual riser information rather than buying whichever half-inch fitting looks familiar.
Check the new flow and pressure conditions
The converted zone may draw considerably less water than the sprinkler arrangement. Confirm that the existing zone valve and any regulator operate properly at that reduced flow. A valve that served several sprinklers is not automatically suitable for a small group of drip outlets. Obtain the installed equipment's operating information before assuming it can be retained.
Measure pressure while the intended flow is moving, at useful points before and after the proposed treatment and control assembly. Compare the result with the selected dripline and fitting limits. The drip pressure checklist helps distinguish these readings from static pressure with all outlets closed.
Keep any pump requirements in the review. Closing redundant outlets changes demand, and an unsuitable operating point cannot be corrected simply by partly closing a small manual valve. Follow the pump and system instructions, including their approved control arrangement, before running the converted block.
Read both ends of a sprinkler-to-drip female adapter
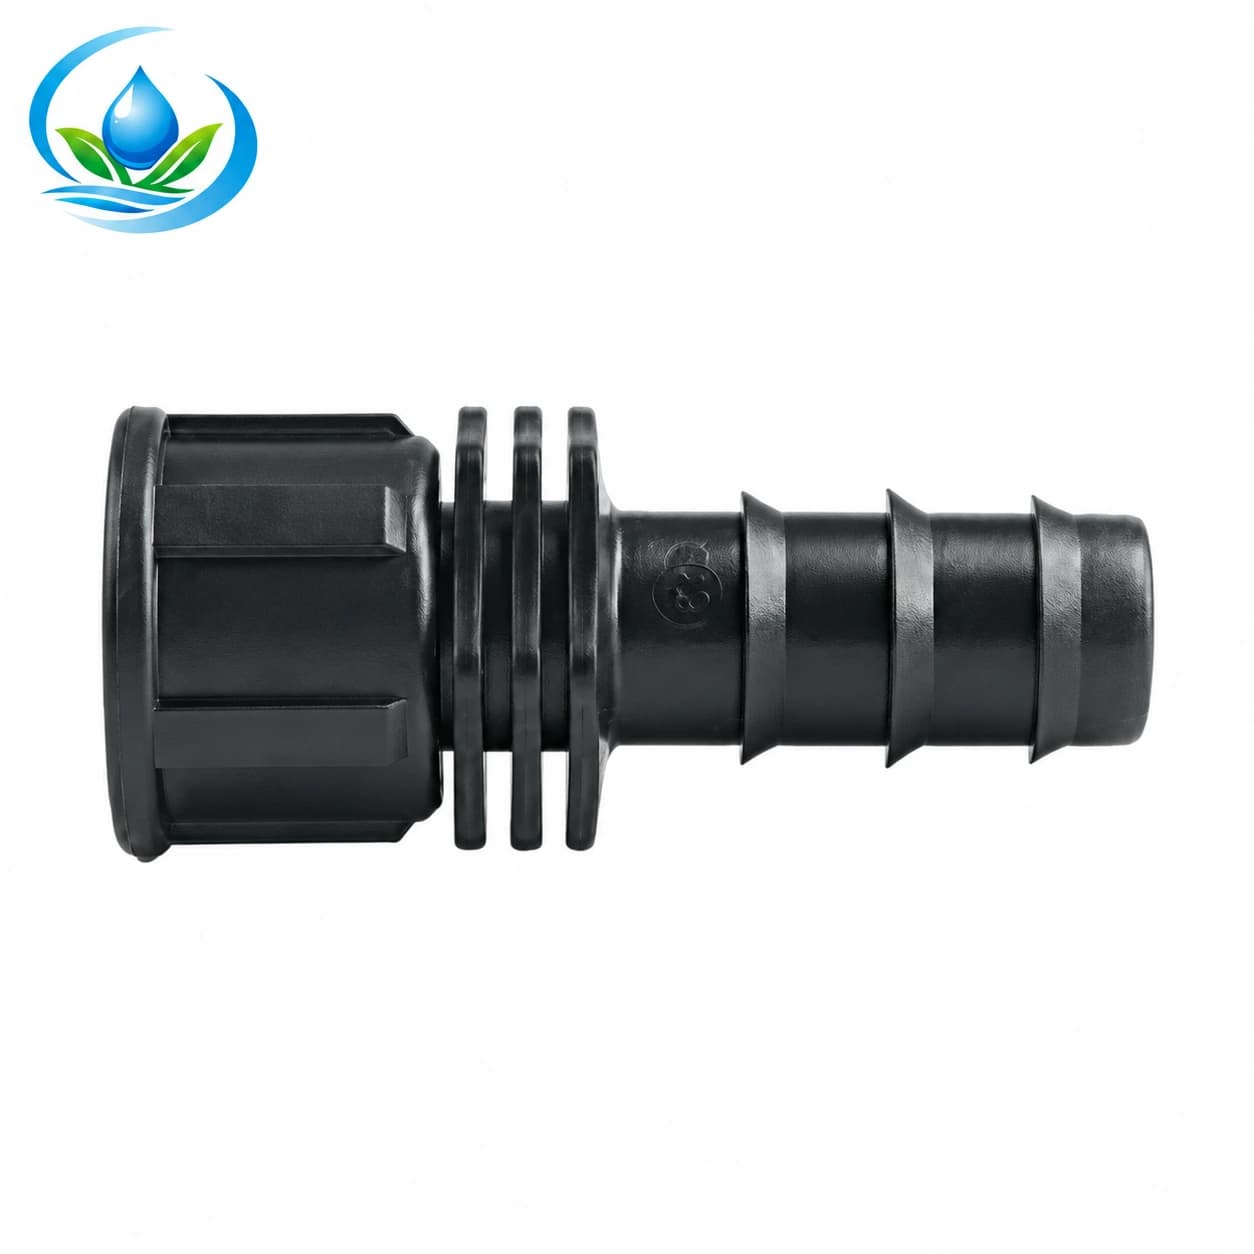
The barb female-thread adapter provides a threaded interface on one side and a tubing interface on the other. Current catalogue model designations are listed below. They identify connection options; they do not establish a universal match to sprinkler risers.
| Model | Listed tube connection | Listed female thread size |
|---|---|---|
| F609216 | 16 mm | 1/2 inch |
| F609316 | 16 mm | 3/4 inch |
| F609220 | 20 mm | 1/2 inch |
| F609320 | 20 mm | 3/4 inch |
Confirm thread standard, sealing method, accepted tube construction and wall range, and permitted operating conditions for the selected model. The table does not supply those details. A 16 mm tube label alone is insufficient to prove that its bore and wall suit a particular barb.
This adapter does not filter water or regulate pressure. It also does not include every component needed for a conversion. Draw the complete sequence from the existing riser to the new line and resolve each interface, including any separate treatment equipment between them.
Keep treatment and source protection in the purchase plan
Check the existing filtration against the requirement of the new emitters and the actual water source. A screen that previously protected sprinkler nozzles may not satisfy the selected dripline. Consider service access and operating flow as well as connection size. The irrigation filtration guide explains the separate selection questions.
Confirm any necessary pressure-control and backflow-protection equipment for the installation. Keep required protection in service; do not remove it to make a connection fit. These requirements belong on the drawing even when the corresponding equipment must be obtained separately.
Request the exact selected configuration and installation instructions. A photograph of a compact conversion assembly from another supplier does not show which functions an ordinary adapter provides. Compare the complete protected water path, not just the number of pieces in a picture.
Choose the line for the new crop arrangement
The dripline with built-in emitters is a product route to compare for repeated crop-row delivery. Record the complete selected option: diameter, wall, emitter spacing, nominal discharge and roll length. Do not combine attractive figures from several variants into a configuration that has not been confirmed.
Route supply tubing from a suitable retained riser to the intended start of the crop rows. That route is a water-carrying connection, while the emitting line distributes water within the crop. Count the two roles separately so an inconvenient riser position does not leave emitters watering a path.
Check the permitted lateral length and operating conditions for the chosen line. A roll's supplied length is a purchase quantity, not the maximum distance that one uninterrupted lateral can irrigate. Test root-zone wetting in a representative section before ordering the full layout.
Count unused risers and dripline ends separately
Every unused sprinkler outlet needs a suitable closure for its actual connection. A threaded riser cap and a tubing end cap are different parts. Record the thread and closure requirement at each abandoned sprinkler position; do not leave an open outlet hidden beneath mulch.
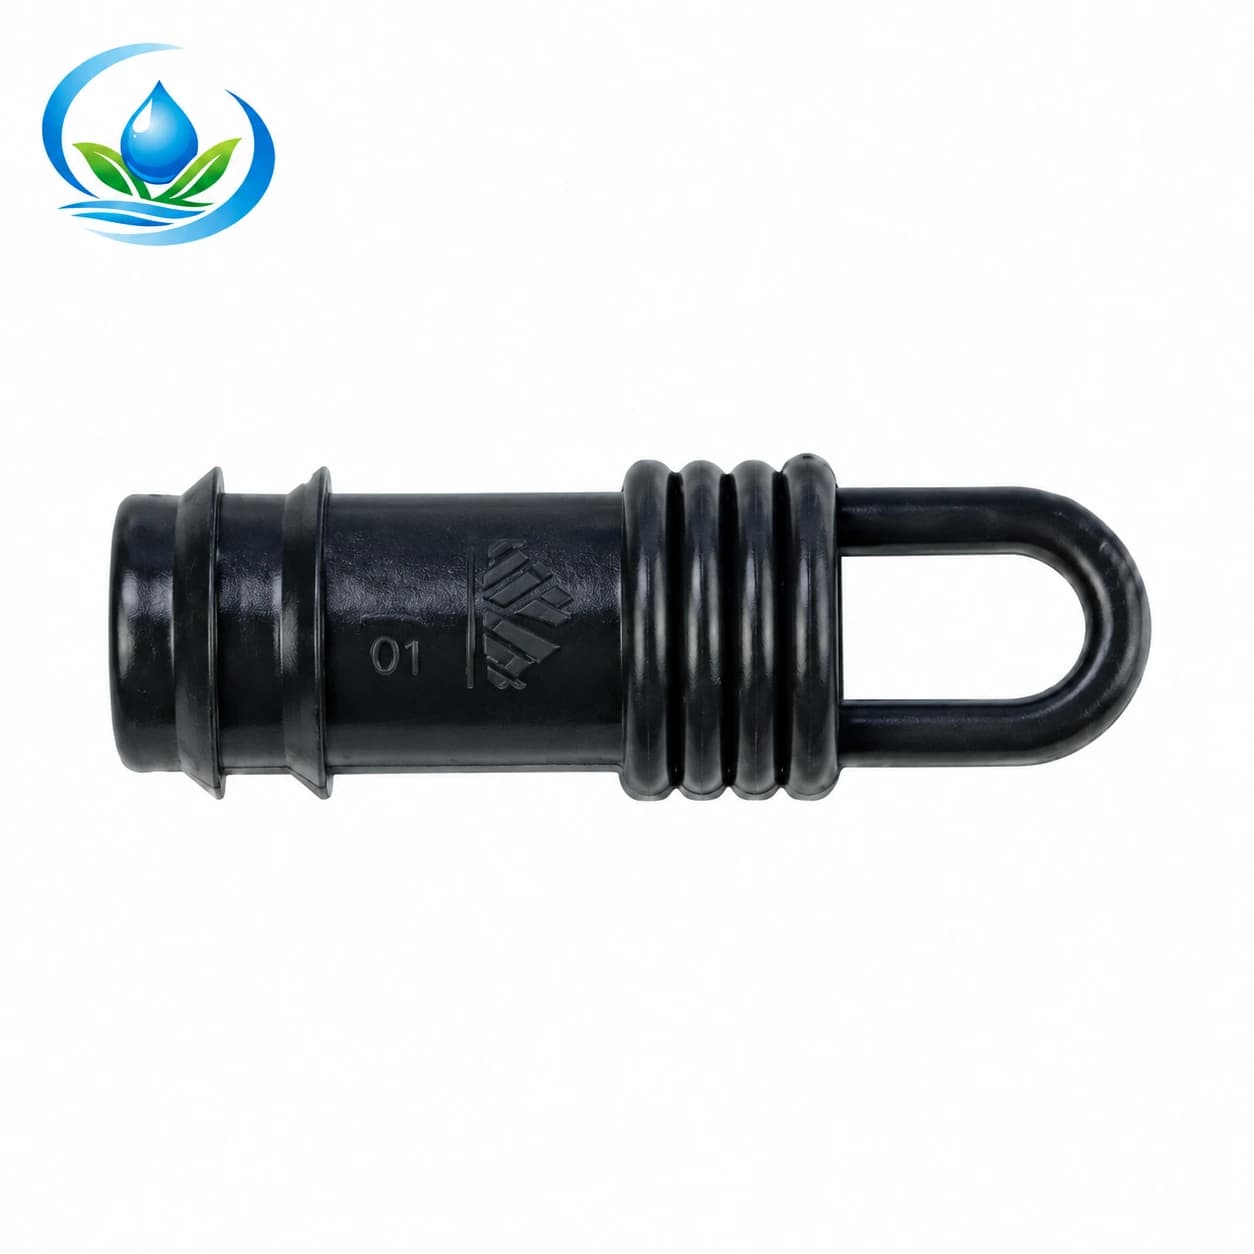
The barbed tubing end cap has listed models EL0116, EL0120, EL0125 and EL0132 for 16, 20, 25 and 32 mm connections. These close compatible open tube ends. They are not threaded sprinkler-riser caps, small punched-hole plugs or automatic flush devices.
For an illustrative zone with six existing sprinkler outlets, retaining one supply point and retiring five creates five riser-closure positions. If the new layout has eight independent laterals, it also creates eight far-end termination positions. Neither count specifies a product until the interfaces are confirmed, and neither proves that one retained riser can supply all eight rows.
Build a retrofit list around what remains usable
Use three columns: retain and verify, replace, and source separately. Put each old valve, riser and supply section into the first two columns after inspection. Put new line, transitions, suitable closures and any missing treatment or control equipment against the actual drawing.
Record model codes, dimensions, required seals and quantities. Confirm whether the selling unit is one piece or a pack, then compare the complete cost with delivery included. Keep unresolved thread or pressure details visible; an apparently complete basket is not useful if one essential interface is still a guess.
The barbed fittings buying guide can help identify additional joins and branches. Use it for the relevant connection rather than adding tees or repair couplings automatically to every retained riser.
When the order arrives, compare labels, quantities and supplied seals with the confirmed list before mixing parts. Keep the old riser reference beside the new adapter packet. Set aside damaged or unidentified pieces, and resolve a different model code before treating a similar appearance as an acceptable substitution.
Test one complete transition before repeating the installation
Follow the equipment instructions for preparation, sealing, support, flushing and gradual admission of water. Check one accessible assembly with the actual selected line and fittings before cutting or assembling the whole block. Keep sensitive outlets protected from debris during the prescribed flushing sequence.
Observe the retained riser, every new interface and the downstream line under the intended operating conditions. Check for leakage, movement and inadequate delivery. Confirm that redundant outlets remain correctly closed and that the existing valve starts and stops the new zone as intended.
Re-establish watering duration from crop requirements and measured delivery; do not apply a fixed multiplier to the old sprinkler time. Inspect the first complete watering event and record the accepted parts, settings and observations. That record makes the conversion a known installation and gives the next replacement order a reliable starting point.
Before you order
Compare this guide with the specifications for your exact product, selected option, water supply and field conditions. Your equipment requirements take priority over a general example.
Compare irrigation products