Irrigation with Hose: Choose Layflat Row Outlets Before Cutting the Header
Choose valved or plain layflat row outlets, confirm the mounting hole and tape size, and test one branch before preparing the full header.
Published by IrriNex Store
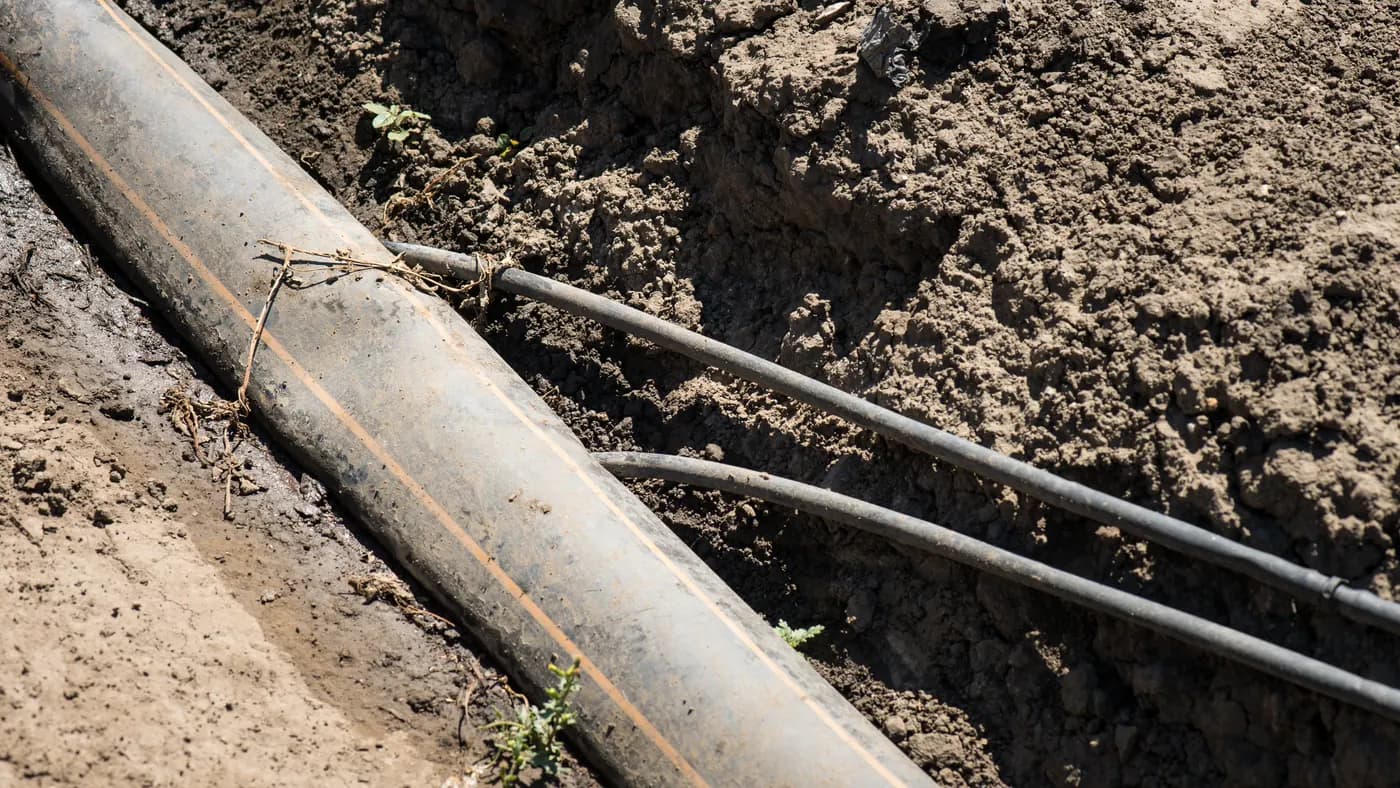
Irrigation with hose becomes a different buying task when the hose supplies many crop rows. Each branch needs a reliable connection through the distribution hose and a suitable connection to the drip tape. Before cutting the header, decide which rows need a local valve, which can use a plain offtake, and what dimensions the supplier must confirm. A useful order identifies the complete branch, not merely a fitting that looks similar.
This guide focuses on field-installed outlets in a layflat header. It compares two current IrriNex Store fitting families and explains how to prepare a small trial assembly, count the remaining parts and preserve their identity for next season. The listed sizes describe documented options; they do not establish a universal hole size or guarantee compatibility with every flexible hose.
Map layflat-hose row outlets before punching the header
Walk the proposed header route and mark where each working drip line begins. Record gaps for access lanes, different bed lengths and any rows that will remain unused. Count the actual supply connections. A bed with two independently supplied tapes needs two outlets, while a gap reserved for machinery needs none. Do not copy planting distance directly onto the header as a punching interval. A layflat irrigation hose row-outlet layout should mark only the branches that the actual valve group will feed, leaving machinery gaps unpunched.
Give each proposed connection a simple reference such as A1, A2 and A3. Beside it, note tape size, whether local isolation is needed and whether the branch leaves the header to the left or right. This makes a mixed order understandable to the person assembling it. It also exposes missing decisions before a permanent hole is made.
Keep simultaneous operation separate from the physical outlet count. Use the crop-block zoning guide if different groups will run at different times. Having twelve installed branches does not establish that the water supply can operate all twelve together.
Choose where a local valve earns its place
A valve at a row start can be useful when one row must be isolated for a repair or when a planted section finishes earlier than its neighbours. The practical benefit is access to that branch without changing every other connection. Check that the handle will remain reachable after the crop, mulch or support structure is in place.
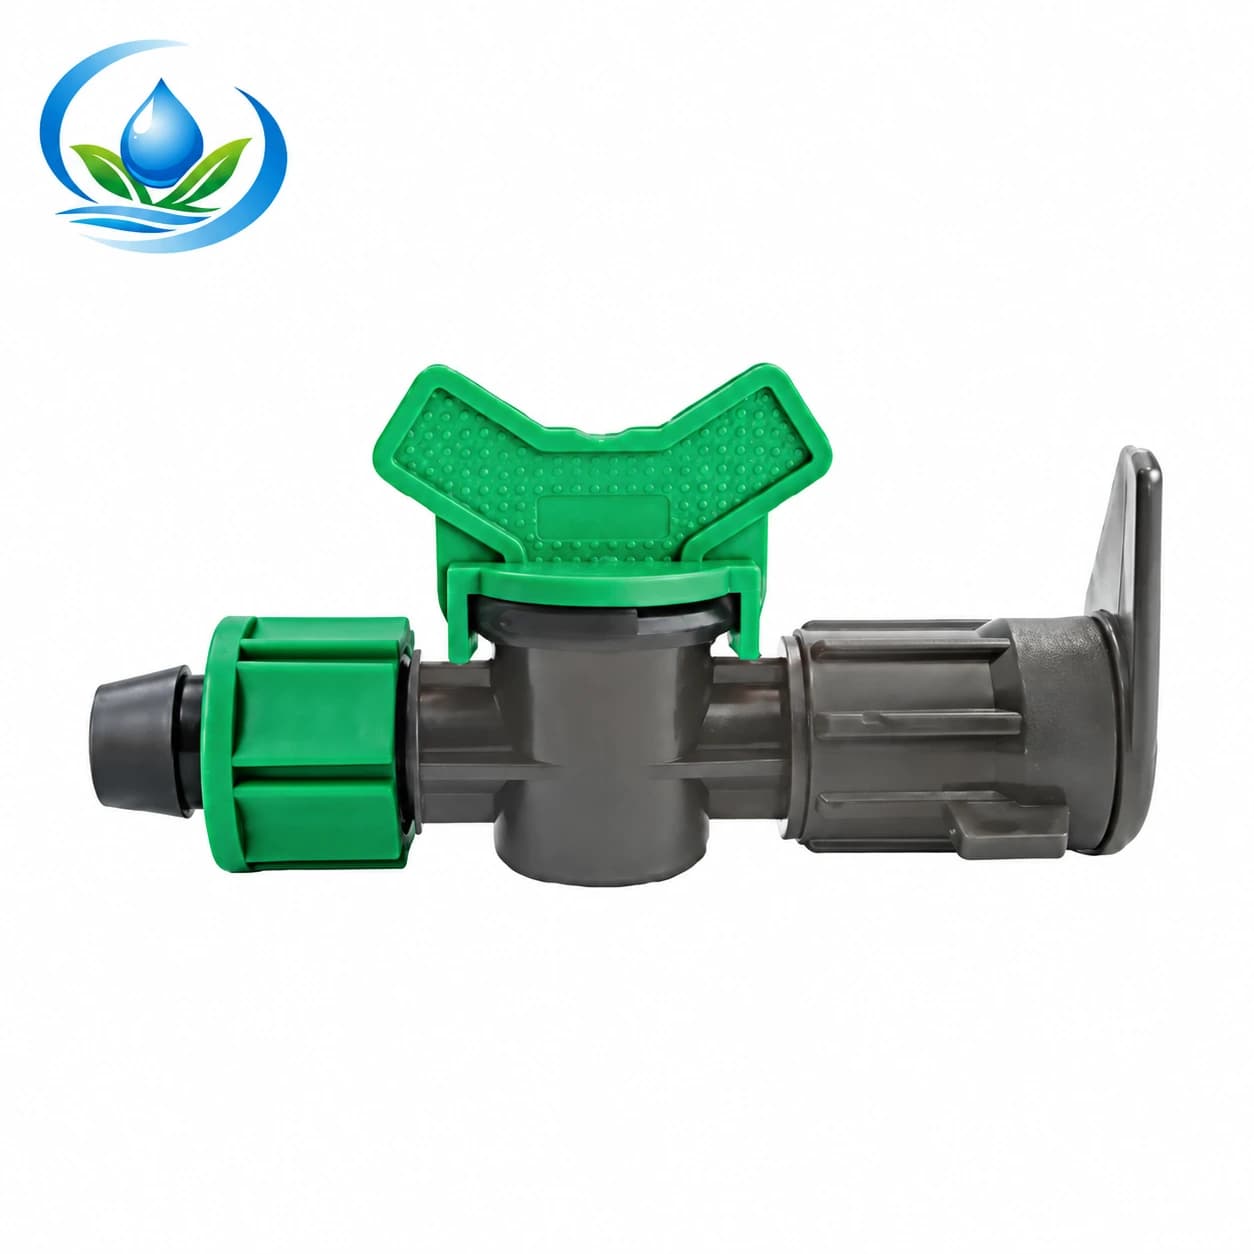
The spike-body tape valve for layflat hose lists V16J1B in 16 mm and V20J1B in 20 mm. These are separate connection options. Choose the reference that matches the intended tape arrangement after confirming the tape wall and fitting requirements. The size label does not specify a hole to cut through the header.
Do not buy a manual valve expecting pressure regulation or automatic scheduling. Its suitability also depends on the permitted pressure and the actual installation. The manual irrigation valve guide explains how to describe the isolation job before choosing the two connections.
Use a plain offtake for a branch controlled elsewhere
A plain offtake creates a supply route without adding a valve at that point. It may fit a layout in which the whole group is isolated upstream and individual rows do not require independent control. That is an operating choice, not proof that the plain fitting will suit every hose or that a local valve is unnecessary on every farm.
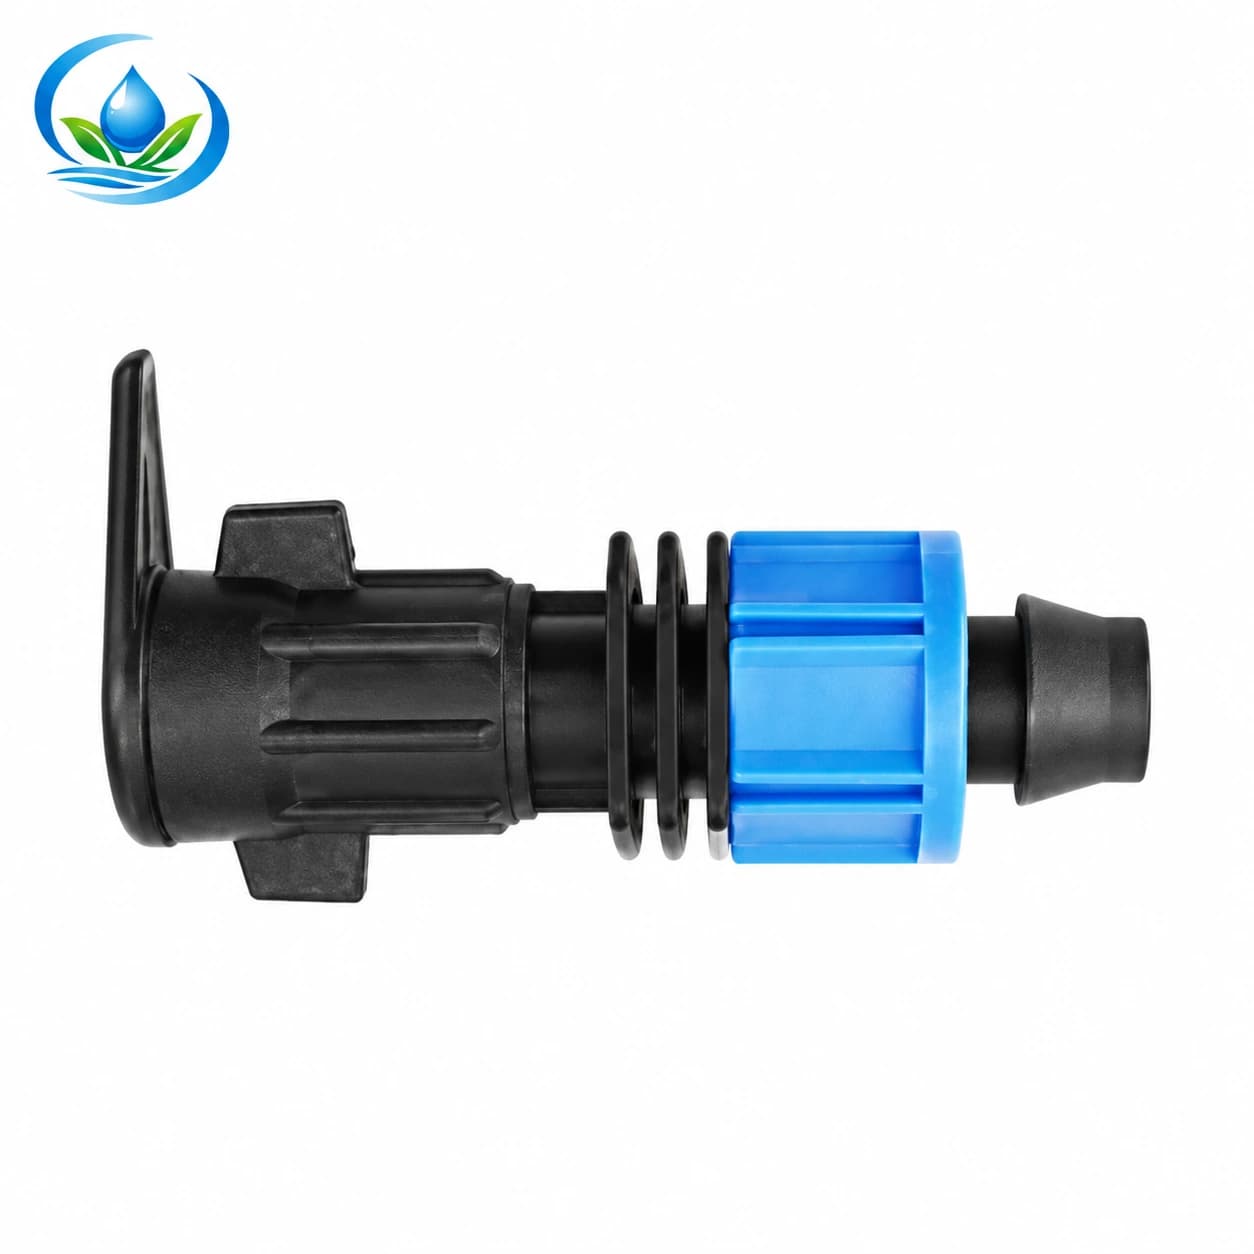
The duckbill layflat hose offtake has two documented options: CT0317B at 16 mm and CT0320B at 20 mm. Keep these codes distinct from V16J1B and V20J1B. Similar outlet sizes do not make the mounting bodies identical, and the duckbill product is not a shutoff valve.
For a mixed block, identify which row receives each family on the schedule. Avoid relying only on handle colour or a photograph when ordering replacements. Record the product code and connection size, together with the hose specification that was actually confirmed for the installation.
Check hose, hole and offtake dimensions separately
The tape connection, the opening through the header wall and the header itself are three different measurements. A fitting described as 16 mm may refer to its tape outlet. It does not automatically require a 16 mm hole. Likewise, the nominal diameter of a layflat hose does not describe its flat width or wall thickness.
Ask for the mounting instructions for the exact offtake code. Confirm the required hole diameter and shape, the allowed hose-wall range, the sealing arrangement and any installation tool. Establish whether a separate seal, retaining piece or tool is included or must be ordered. A competitor's hole-size chart is not a compatibility chart for these parts.
If replacing an outlet, identify the original body and inspect the existing opening while the line is isolated and depressurized. A stretched hole or a tear is a different problem from an intact opening with a damaged fitting. Enlarging the hole or adding an improvised seal can make a later correct repair harder.
Confirm the hose as a separate order item
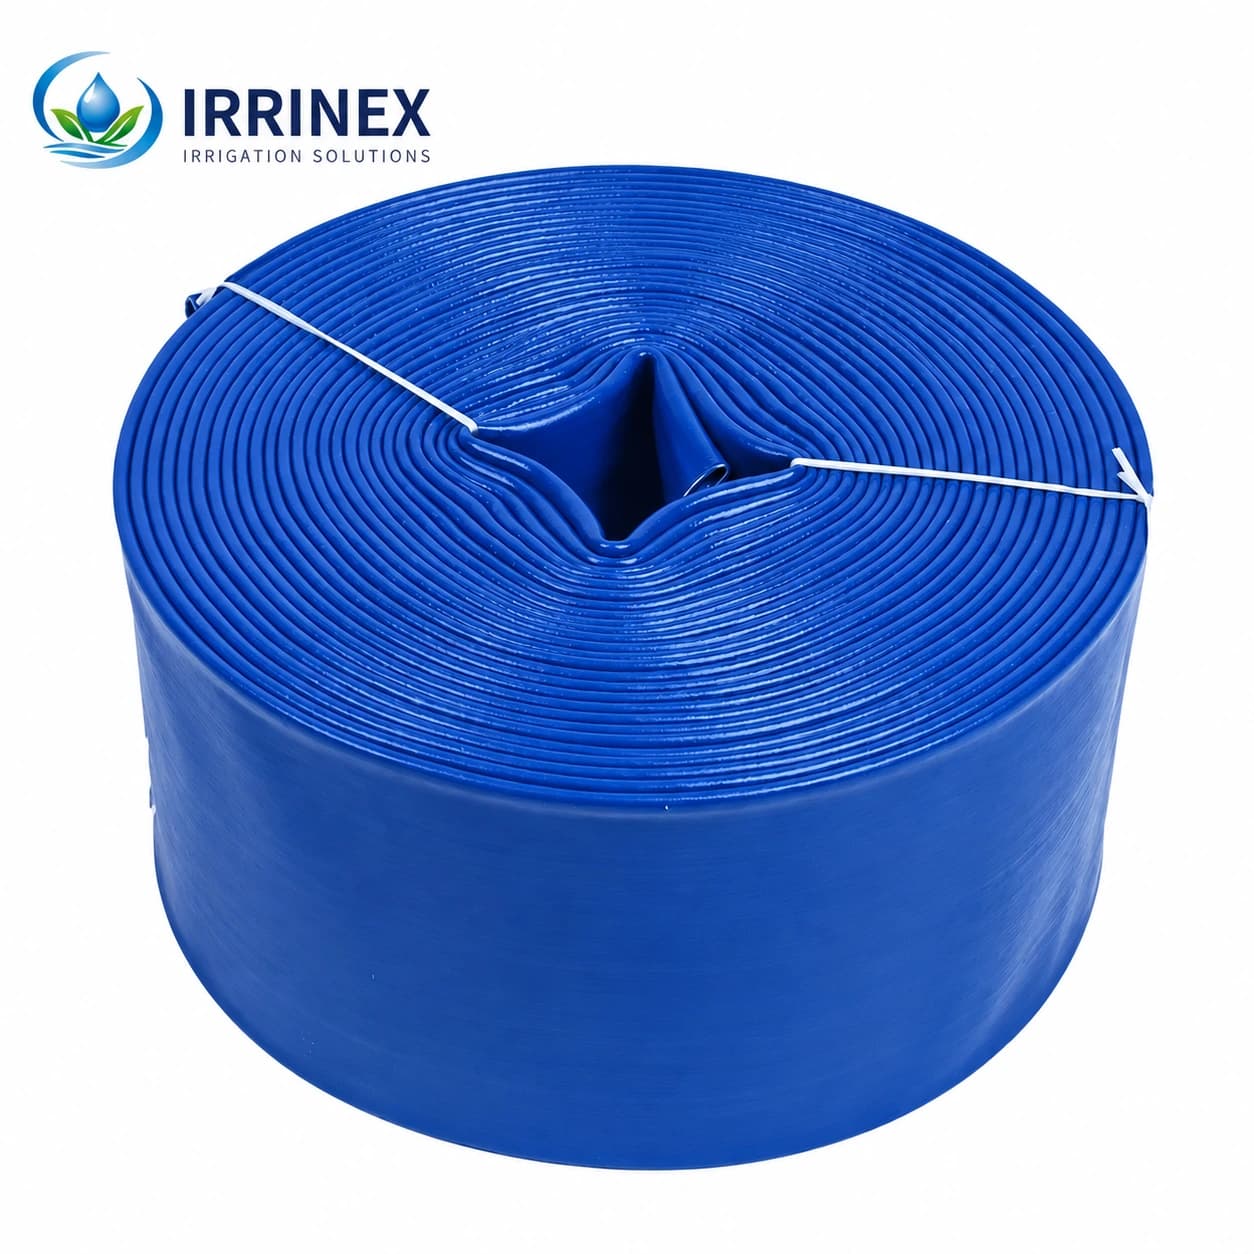
The PVC layflat hose listing is a current family page for moving irrigation water. Confirm the precise diameter, working-pressure rating, wall construction and supplied length before ordering it. A family page or catalogue range does not establish that every size and rating is available together, so confirm the selected hose price, quantity and supply terms before placing the order.
Describe the intended job as a distribution header with field-installed row outlets. Ask whether the selected hose and mounting method are suitable together. Do not assume that a fitting approved for one PE or PVC hose also fits another material, reinforcement or wall. Obtain the confirmation for the actual items on the order.
Keep pressure and flow checks attached to the complete installation. An adequate header does not remove the requirements of the downstream tape. Use the component flow-rate guide to count demand after the exact tape output and active row group are known.
Turn the layout into a clear parts count
Consider an illustrative block with twelve rows, each supplied by one tape. If four rows need local isolation and eight are controlled as a group elsewhere, the branch list contains four suitable valve assemblies and eight suitable plain offtake assemblies. It does not contain twelve of each. If two rows later receive a second separately supplied tape, count those additional supply routes explicitly.
These numbers are a counting example, not a recommendation for your block. Add the corresponding tape connections, any specified seals and the terminal closures needed for the real layout. Keep the header inlet and end termination on separate lines in the order so they are not confused with small row outlets.
A service spare is also a separate quantity. Select it from the installed model family and likely repair task, rather than buying an arbitrary percentage of unrelated fittings. The drip-tape shopping-list guide helps check the remaining component roles without treating this branch order as a complete irrigation kit.
Prove one branch before repeating the holes
Receive the hose and fittings before preparing the entire header. Compare labels with the order, check the selected sizes and inspect visible damage. Keep uncertain or mismatched parts separate. A supplier's written confirmation is useful only when the delivered references and hose specification match it.
Make one representative assembly using the confirmed hole and installation method. Follow the component instructions for pressurization and keep the test within the verified operating limits. Inspect the hose-wall seal and the tape connection independently. A leak at one location does not prove that the other connection needs replacing.
Observe how the branch sits as the flexible header fills. Allow the actual hose behaviour to inform alignment, keeping the outlet free from unnecessary twisting or tension. Shut down and release pressure before correcting it. Once that sample performs properly, use the same verified parts and method for the remaining scheduled outlets.
Make inspection possible during the crop
Place the header and branches so workers can find the reference marks and reach the service points. Avoid routes where a branch becomes a footstep, a stretched bridge across a path or a handle buried under mulch. If the cultivation route changes, review the connections before equipment passes through it.
Keep water treatment and row maintenance in the plan. A correctly mounted outlet does not prevent sediment from reaching emitters. Consult the irrigation filtration buying guide for the supply and emitter requirements, and retain access to the row ends for the specified flushing procedure.
When one row underperforms, note whether its valve is open, the tape is kinked or a connection is leaking. Compare it with a neighbouring row under the same operating conditions. Avoid immediately cutting another hole or purchasing a larger outlet when the cause could be downstream damage or insufficient supply.
Recover the header without losing its identity
Before seasonal removal, label each header section with its block and orientation. Photograph the outlet sequence and update the schedule if rows were added or moved. Mark damaged locations separately from serviceable outlets. This record is especially useful when two connection sizes or both fitting families appear in the same block.
Isolate and drain the line using the applicable equipment instructions before handling it. Clean away material that hides damage and let the hose's specified storage method guide rolling and whether protruding fittings must be removed. Do not assume every fitted header can be tightly rolled with its outlets still attached.
Keep removed parts grouped by code and size, with seals protected and worn components clearly identified. Next season, compare the new row layout with the recorded outlet positions before reusing the hose. A changed planting pattern is a reason to reassess the header, not to force every old hole to serve a new row.
Place the order around confirmed branches
The useful final purchase record contains the hose specification, each offtake code, tape connection size, confirmed mounting-hole requirements, included components and quantity. Add the reason for choosing a valve or plain branch at each location. Confirm price, supply and any missing installation information before committing to the full order.
Keep the successful trial assembly and its details as the reference for future purchases. The aim is a header whose outlets can be identified, checked and serviced throughout the crop cycle. Choosing the branch method before punching gives you a practical way to avoid buying the right-looking part for the wrong connection.
Before you order
Compare this guide with the specifications for your exact product, selected option, water supply and field conditions. Your equipment requirements take priority over a general example.
Compare irrigation products