How to Set Up a Fertigation System That Keeps a Water-Only Route
Map a small injector station from protected water source to drip zone, then commission its injection-on and water-only paths with clean water.
Published by IrriNex Store
How to set up a fertigation system starts with two complete operating paths: crop water with injection enabled under an approved plan, and crop water that continues after injection stops. A compact injector and tank can fit beside a small drip header, but their presence alone does not establish source protection, filtration, valve order, safe isolation or a usable water-only finish. Draw those paths before buying parts. The aim is a station that a trained operator can identify, test with clean water, service and leave in a known state.
This guide walks through the physical layout and acceptance of one small station. It does not calculate fertilizer concentration or replace local design and safety requirements. The injector package guide checks what a particular order line contains; the ratio-test guide handles measured injector output. Here the decisions are where each component belongs, which parts must be verified before assembly, and how the system can return reliably to plain irrigation water.
Start with the water-only route and the named crop zone
On a sketch, begin at the water source and trace the normal irrigation route through the required source protection, pump if present, water filtration, pressure management, injector station, zone valve and last emitter. Mark flow direction and the points where pressure or flow can be observed. Write the names of the crop zones that this station is allowed to serve. If more than one zone may run at once, include that exact operating combination rather than drawing only the easiest single-zone case.
Now trace the same route with injection disabled. Crop water must still reach the selected zone according to the approved design. Depending on the chosen injector and plumbing, this may use the same water path with stock pickup isolated or a designed bypass around the injection section. The water-only state is not “everything off”; it is a deliberate operating arrangement. Mark which valve changes state, who performs the change and how another person can tell injection is truly stopped while water continues.
Show an accessible isolation point for maintenance and a safe way to relieve pressure under the selected equipment instructions. Do not place a suction tank where it blocks the filter cover or makes a gauge unreadable. If the water-only path sends water through another branch or bypass, trace where that water rejoins the crop line. A line that accidentally leaves an untreated shortcut around a required filter is not a usable alternative merely because it keeps the emitters flowing.
Confirm source protection and water preparation first
Fertigation can create a path for concentrated material or mixed irrigation water to move back toward a water source if the installation fails or shuts down incorrectly. The required prevention and shutdown arrangement depends on source type, injected material, jurisdiction and site design. Have the responsible qualified designer identify the actual devices and order before installation. A check piece on a suction tube is not automatically adequate protection for the well or supply main, and a printed plumbing diagram from a different region is not a universal approval.
Record filtration needs from the source water and from the most restrictive downstream emitter or injector component. The filtration buying guide helps describe those questions, but the exact filter grade and capacity still require the selected equipment data. Identify where the filter can be isolated and cleaned without spraying the tank or electrical controls. A plugged filter can change pressure and therefore injector behavior, so the pressure check during operation belongs in the commissioning record.
Leave room to inspect the protection device, filter, gauges and injector connections. Arrange stock-container access so its label is visible and a spill can be addressed according to the site procedure. Keep the supplier's assembly and service documents with the station. The University of Maryland Extension injector care and calibration guide explains why filters, seals, stock tanks and actual output checks matter. Its device examples are not a substitute for the approved installation drawing for this farm.
Choose an injector format that works in the stated water cases
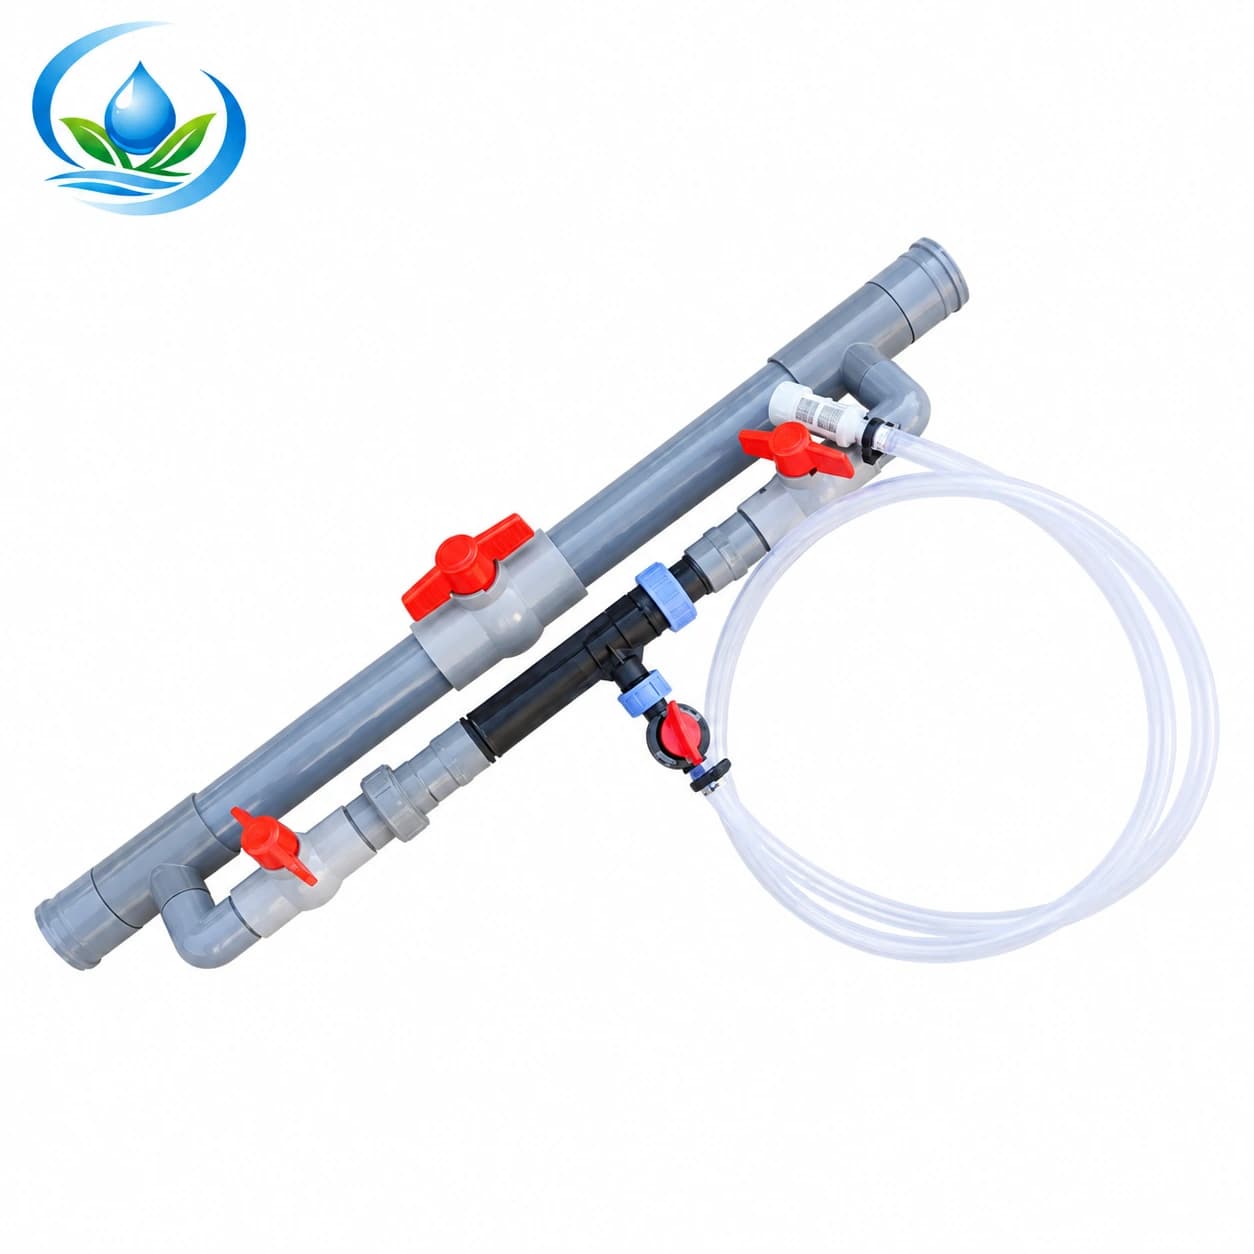
A Venturi uses an installed pressure difference to pull solution into a moving water stream. The assembled Venturi injector set lists a Venturi, bypass valves and fittings. Online ordering is not currently available for this model. Confirm the exact connection sizes, included valves, suction parts, working pressure conditions and how the bypass is meant to operate. A photographed loop does not prove it includes source protection, a tank, measurement points or every adapter needed at the site.
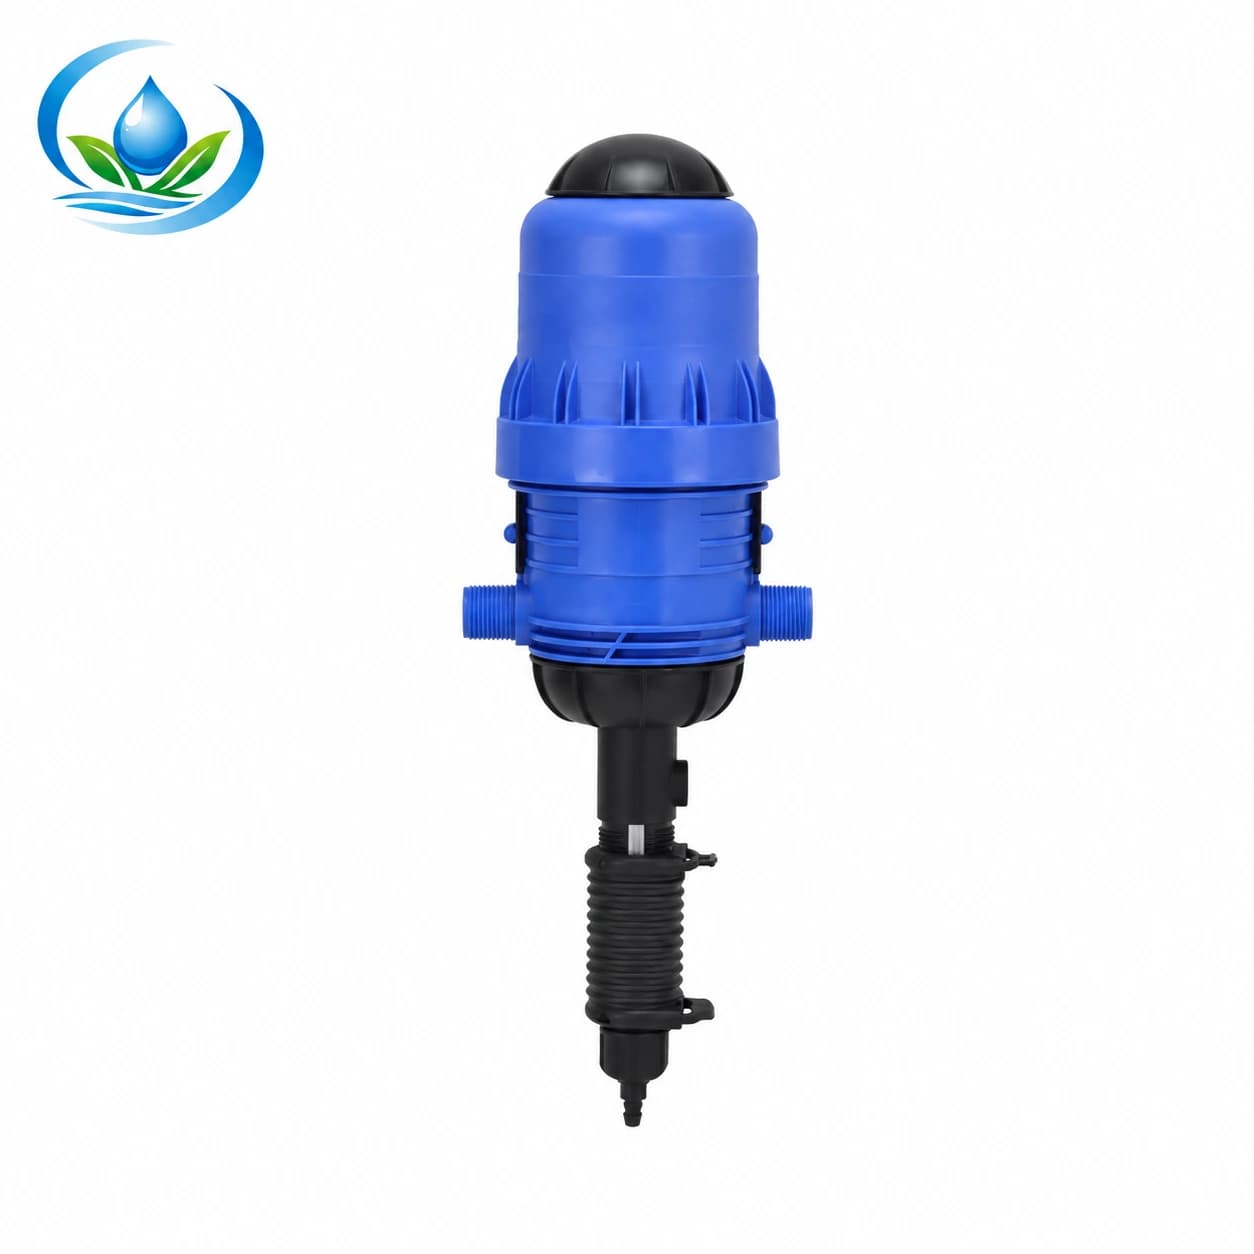
The published water-driven proportional fertilizer injector is another candidate when its selected model fits the actual flow, pressure and solution-contact requirements. Its family data provide a range for initial screening, not proof that the chosen unit will work at every small-zone flow or with every concentrate. Identify a supported water-only state for this format as well. Do not assume that turning a ratio dial to zero or removing a suction tube is an approved way to finish an event; follow the exact unit's instructions.
Compare the smallest normal irrigation zone, the largest one and any allowed overlap against the exact injector option, including the filter's clean and loaded conditions. A Venturi can stop drawing if the required pressure relationship disappears; a water-driven proportioner may have its own minimum carrier-water flow. The existing Venturi bypass troubleshooting guide is for a no-draw problem after a suitable installation has been identified. For a new station, settle the working cases on paper before choosing hardware.
Place and specify the stock container without guessing its role
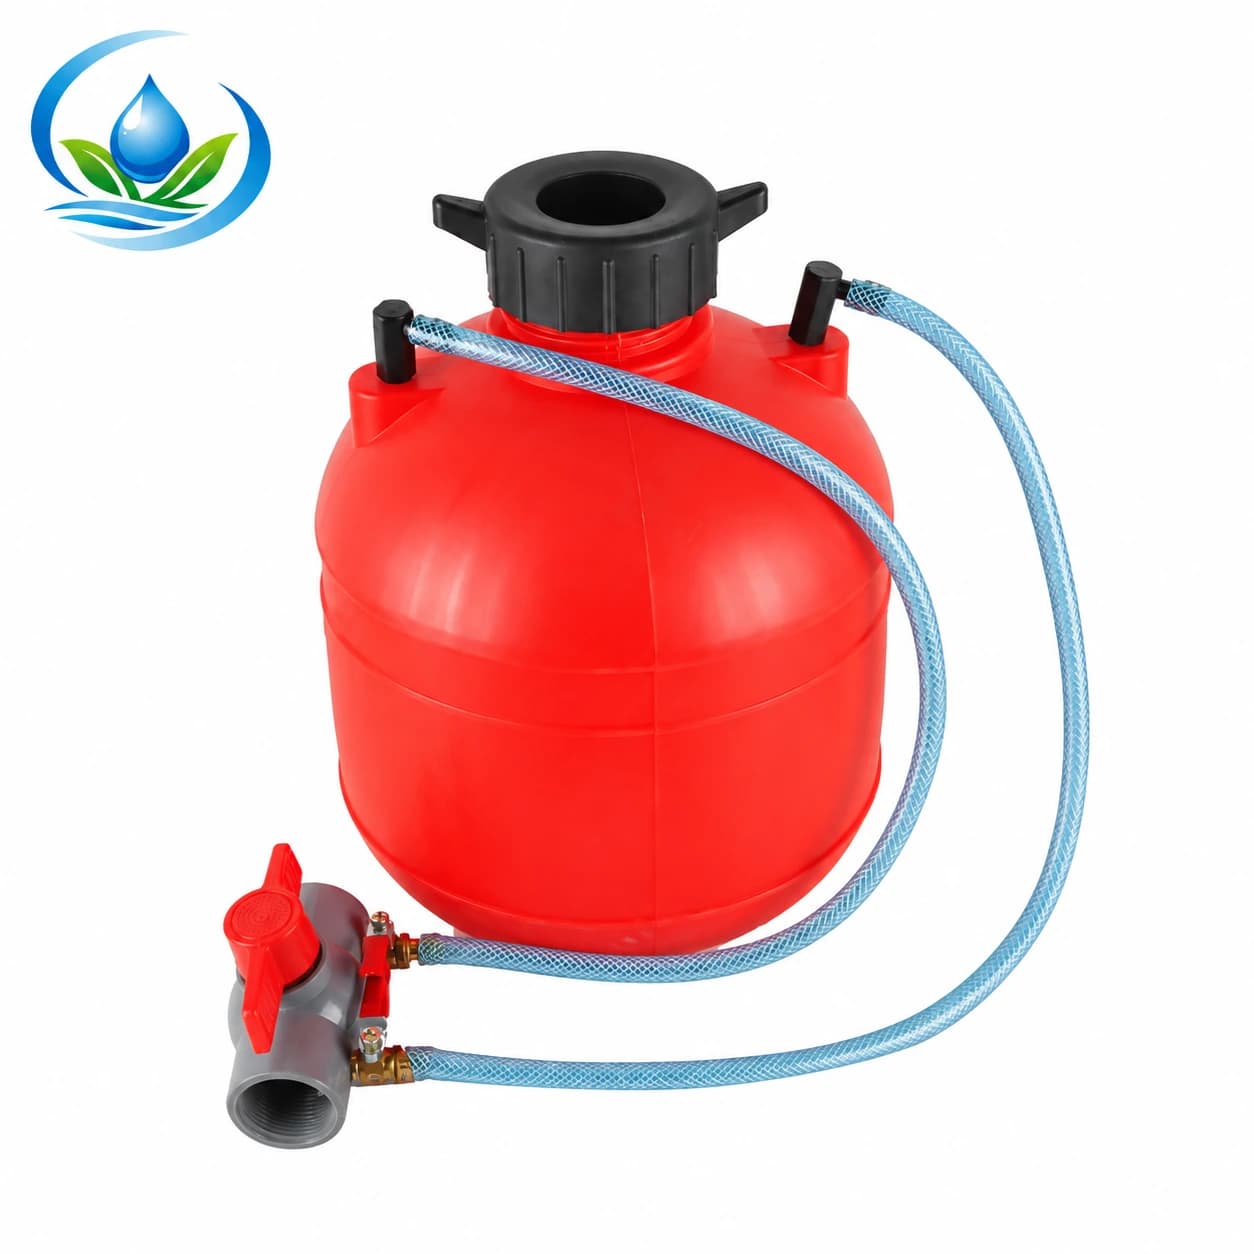
Write down where the stock vessel stands, how it is labelled, how the approved solution is prepared by the responsible person, and how the suction tube reaches the injector without a trip hazard or a kink. The compact plastic fertilizer tank lists 10, 20 and 30 L size labels; online ordering is not currently available for this model. A family label and photograph do not establish the exact lid, pickup, material compatibility, restraint, pressure use, spill containment or included fittings. Confirm the selected vessel and its approved installation with the supplier and site designer. Do not improvise a pressurized container arrangement.
Keep the suction path short enough and arranged as the injector manufacturer allows, with access to its pickup screen and any approved check or isolation components. Mark the direction of each tube and name both ends. Where a station may change stock products, write an approved changeover and cleaning procedure rather than simply swapping containers. If the operator cannot see which crop and material a tank serves, physical labels and valve-state records are part of the installation, not optional paperwork.
Plan where residual water or cleaning liquid goes according to the product and local site procedure. The tank location must allow inspection and cleaning without opening a pressurized line or lifting it across crop plumbing. A compact footprint is useful only when service can still be carried out. Do not let an attractive small-tank option determine the entire station if the approved event duration, uptake and refill work are still unknown.
Prepare an installed-parts list before joining the pipe
Turn the sketch into an itemized bill of materials: exact injector option, permitted stock vessel, all mating pipe connections, support, isolation valves, source-protection devices, filter, gauges or sample points, suction tubing and pickup pieces, required controls, and the water-only path. Identify whether each part is included in a product listing, already installed on the farm or still unquoted. This prevents a Venturi “set” and a proportional unit from being compared as if both boxes contain identical site hardware.
Measure the actual mating pipe and fitting standards at both ends. A nominal inch description does not establish thread form, wall thickness or the way a particular hose seals. If the exact product page does not provide the needed dimensions, request a technical drawing. Protect pipe and tank from unsupported mechanical load using the chosen manufacturer's directions. A station that can be assembled by forcing mismatched threads is not ready to commission.
Confirm current availability and delivery before a work crew is scheduled. Request a current price for the compact tank. The proportional injector can be ordered online, but its price does not mean other safety, control or connection parts are included. Request an option-specific quote naming the selling unit, pieces supplied and remaining installation work. Keep unresolved facts visible on the parts list until answered.
Assemble under the exact instructions, then test with clean water
Use the approved site drawing and product instructions to install the devices in the confirmed order, with the irrigation line isolated and depressurized before opening joints. This article cannot specify a universal backflow assembly, electrical interlock or chemical connection for every water source. Have the qualified person responsible for those requirements inspect the installed station. Check every flow-direction marking and confirm that no temporary construction bypass remains open around a required protective stage.
Before preparing any fertilizer stock, run an approved clean-water test. Record the selected zone and valve states, carrier-water flow, pressure before and after the filter where measured, pressure at the injector, and water at the farthest relevant outlet. Confirm that water reaches the crop in water-only mode. Then use the equipment's permitted clean-water test procedure to observe whether the injector draws and stops as intended. Measure output by the method given in the ratio-test guide only after defining one stable operating case; a dial setting alone is not a measurement.
Repeat the check for each distinct water case the station is expected to serve. Note air leaks, loose connections, unstable pressure, a stalled Venturi draw or an unexpected change in crop-line flow. Do not add fertilizer to make a faulty pickup more visible. Repair or redesign a failed water test before nutrient use. Keep the labelled test record with the actual installed schematic, not merely with a catalogue picture of the purchased parts.
Demonstrate the injection-off transition and handover
Use a simple state sheet with at least three named states: ordinary water-only irrigation, approved injection event, and water-only finish after injection stops. Record which valves and controls change at each transition. A second trained operator should be able to tell from labels and readings whether the station is injecting or simply irrigating. The clean-water finish guide develops that transition in detail; commissioning here confirms that the required path physically works in this installed station.
With clean water in the test setup, stop the simulated stock feed while keeping the named crop route wet under the approved procedure. Observe whether the injector actually stops drawing, whether an unintended zone becomes open, and whether the water-only mode can be maintained for the required operating period. The duration of a real nutrient finish depends on the selected design and approved agronomic procedure; do not use a universal minute count from another farm. Confirm any alarm or shutdown condition required by the site's responsible designer.
Finally, give the operator the station diagram, valve labels, exact model manuals, current product and crop programme, test readings, protection inspection responsibility, stock-change procedure and the person to call when readings differ. The purchase is ready for use only when those items match the installed equipment and the required local checks are complete. A small fertigation station is genuinely complete when it can deliver plain water on purpose, introduce an approved solution only under defined conditions, and return visibly to plain water without guessing at valves or suction.
Before you order
Compare this guide with the specifications for your exact product, selected option, water supply and field conditions. Your equipment requirements take priority over a general example.
Compare irrigation products