Corn Irrigation Systems: Plan Seasonal Drip Around Field Operations
Map planting, cultivation, harvest crossings and line retrieval before buying seasonal surface drip for a corn field.
Published by IrriNex Store
Corn irrigation systems should be chosen around the work that must still happen in the field. A surface drip line that wets the intended strip is useful only if planting equipment, cultivation passes, harvest traffic and crop-residue handling can coexist with its route. Before comparing rolls or fittings, mark where the lines could run, where vehicles must cross and how the equipment would be disconnected and recovered.
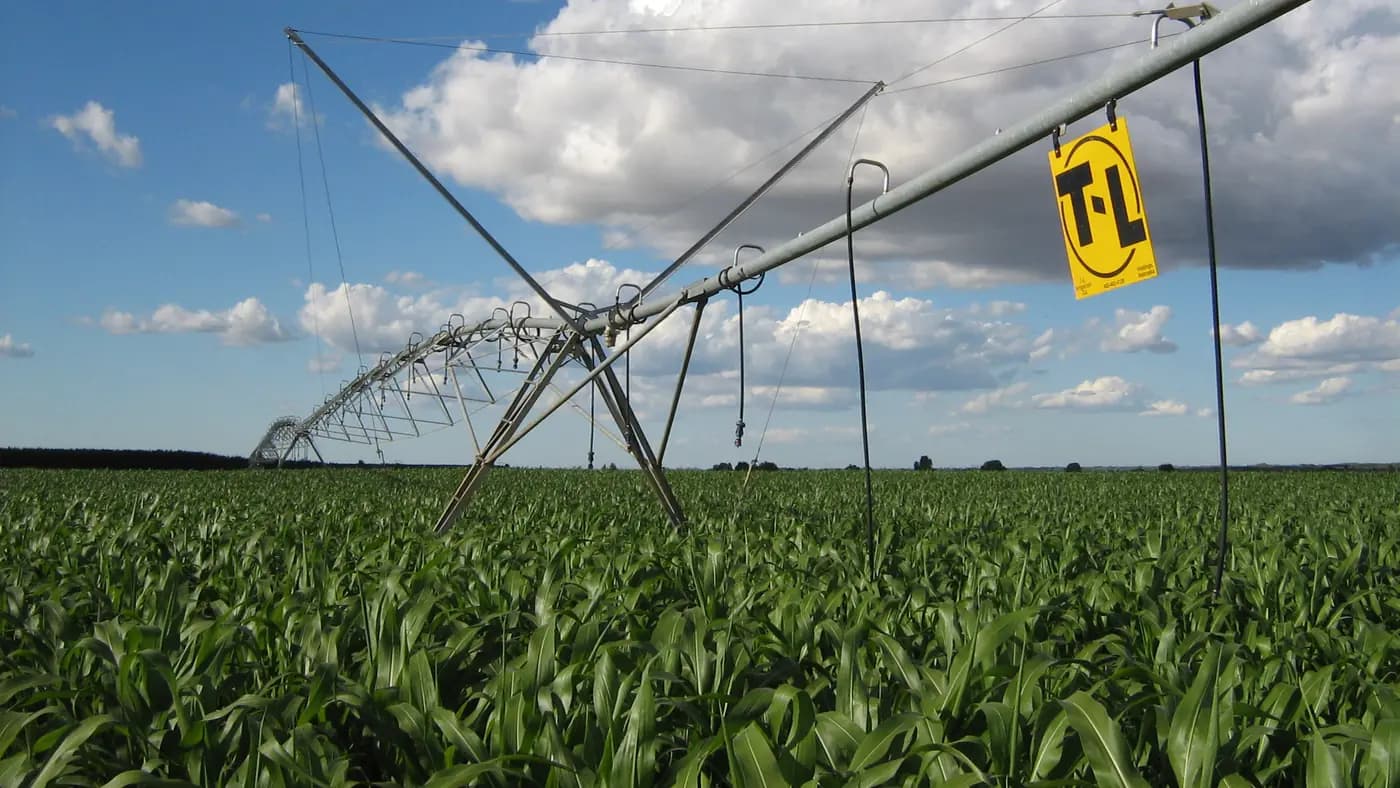
This guide is for a grower considering seasonal surface drip for sweet corn, grain corn or silage corn. The opening photograph shows a real centre pivot over a maize field. It supplies crop and field context; it does not show surface drip, a conversion or an IrriNex product. A permanent buried subsurface drip irrigation (SDI) project is a separate engineering decision. The practical question here is whether an accessible surface route can survive one crop cycle without blocking the farm's normal work.
Plan the corn field calendar before placing surface drip laterals
Begin with the actual crop and operation, not a generic corn diagram. Sweet corn may be picked in several passes; grain corn and silage corn bring different machines and residue handling. Note planting date, cultivation or spraying access, expected harvest method, possible re-entry and the next field operation. The schedule can change, so record the access that must remain available even if harvest is delayed. A corn surface drip irrigation route should name the planting, cultivation and harvest passes that still need room after the line is laid.
Ask the people who drive each machine where wheels, implements, turning arcs and loading equipment travel. A drip route outside the planted strip can still cross the headland used by trucks. A collector who enters from another gate may need a path that the irrigation sketch overlooked. Mark gates, drains, steep shoulders, road crossings and places where a temporary line can be safely protected or removed before traffic.
Make a simple dated table with one row per operation: the likely machine path, the irrigation parts in its way, the action required and the person who confirms completion. For planting, the answer may be to install some parts afterward. For in-season work, it may be a protected crossing and a visible marker. For harvest, it may be a documented disconnection and retrieval window. These are site decisions, not universal instructions to lay tape before or after planting.
Choose both the watering route and the lateral recovery route
Draw the supply entry, header, proposed lateral starts and row ends on the same map as machinery routes. Distinguish a route that stays in place from a hose or branch moved between blocks. Mark any place where a line passes a gate, a turning area or a drain. A shorter water route may cost more work if it must be lifted repeatedly for every cultivation or harvest pass.
Now draw a second route for retrieval. Where can a crew approach the far end, release the line and bring it out without dragging it under crop residue or across an active vehicle lane? Identify a clean area for inspection and collection. If the crew cannot reach a termination after the crop is tall, move that termination on the sketch before buying fittings. A line that can be installed but not found or removed at the right time is a poor seasonal choice.
For a hypothetical two-block field, Block A may have an open headland beside the supply point while Block B has its only gate at the opposite end. Do not copy one connection count to both blocks. Draw starts, ends, crossings and recovery direction separately, then measure the installed path. This example explains the record, not a recommended number of rows, lines or metres for corn.
Decide which parts remain during field work
Colour the map by role: protected supply pipe, accessible branch connection, exposed surface lateral, removable crossing and end closure. State which parts are disconnected for a machine pass and which remain. Give the crew a way to identify the right branch; a row number on a plan is more useful than an unmarked identical fitting in tall plants.
Keep connectors out of expected wheel tracks and identify supports or protection for any unavoidable crossing. A nominal 16 mm or 20 mm connector does not by itself prove that a particular wall thickness, tape profile, tube outside diameter or header takeoff will fit. Check both sides of every proposed joint and the permitted installation method. The agricultural fittings guide helps name the connection details to ask about.
Document how the line will be isolated and confirmed depressurized before any planned disconnection. Follow the actual equipment instructions. Do not ask a field crew to improvise a separation under pressure so that a vehicle can pass. If access depends on many repeated disconnections, compare that work with a different protected route while the design is still on paper.
Test the wetted strip rather than assuming one line per row
Corn row centres alone do not settle lateral placement. Soil texture, surface condition, slope, seedling establishment, root spread and the chosen outlet spacing all affect the observed wetting pattern. Record where the crop strip needs water and where the soil actually becomes wet during a representative trial. Inspect both ends of a proposed run and a point between outlets; a wet patch near the inlet does not prove the far end is adequately served.
Do not turn a supplier photograph into a universal one-line-per-row or one-line-for-two-rows rule. A trial on the grower's soil can reveal whether the candidate lateral position serves the intended strip and whether water ponds, runs off or remains too narrow. If the crop is already established, avoid damaging plants while testing placement. Any irrigation timing or agronomic target should follow local soil and crop advice rather than a fixed number in a product listing.
For flow, pressure, zone count and field uniformity questions, use the farm drip design guide alongside the exact selected product data. This article's role is to keep the lateral route workable through the field calendar, not to declare a hydraulic design from roll dimensions.
Compare complete, unchanged product variants
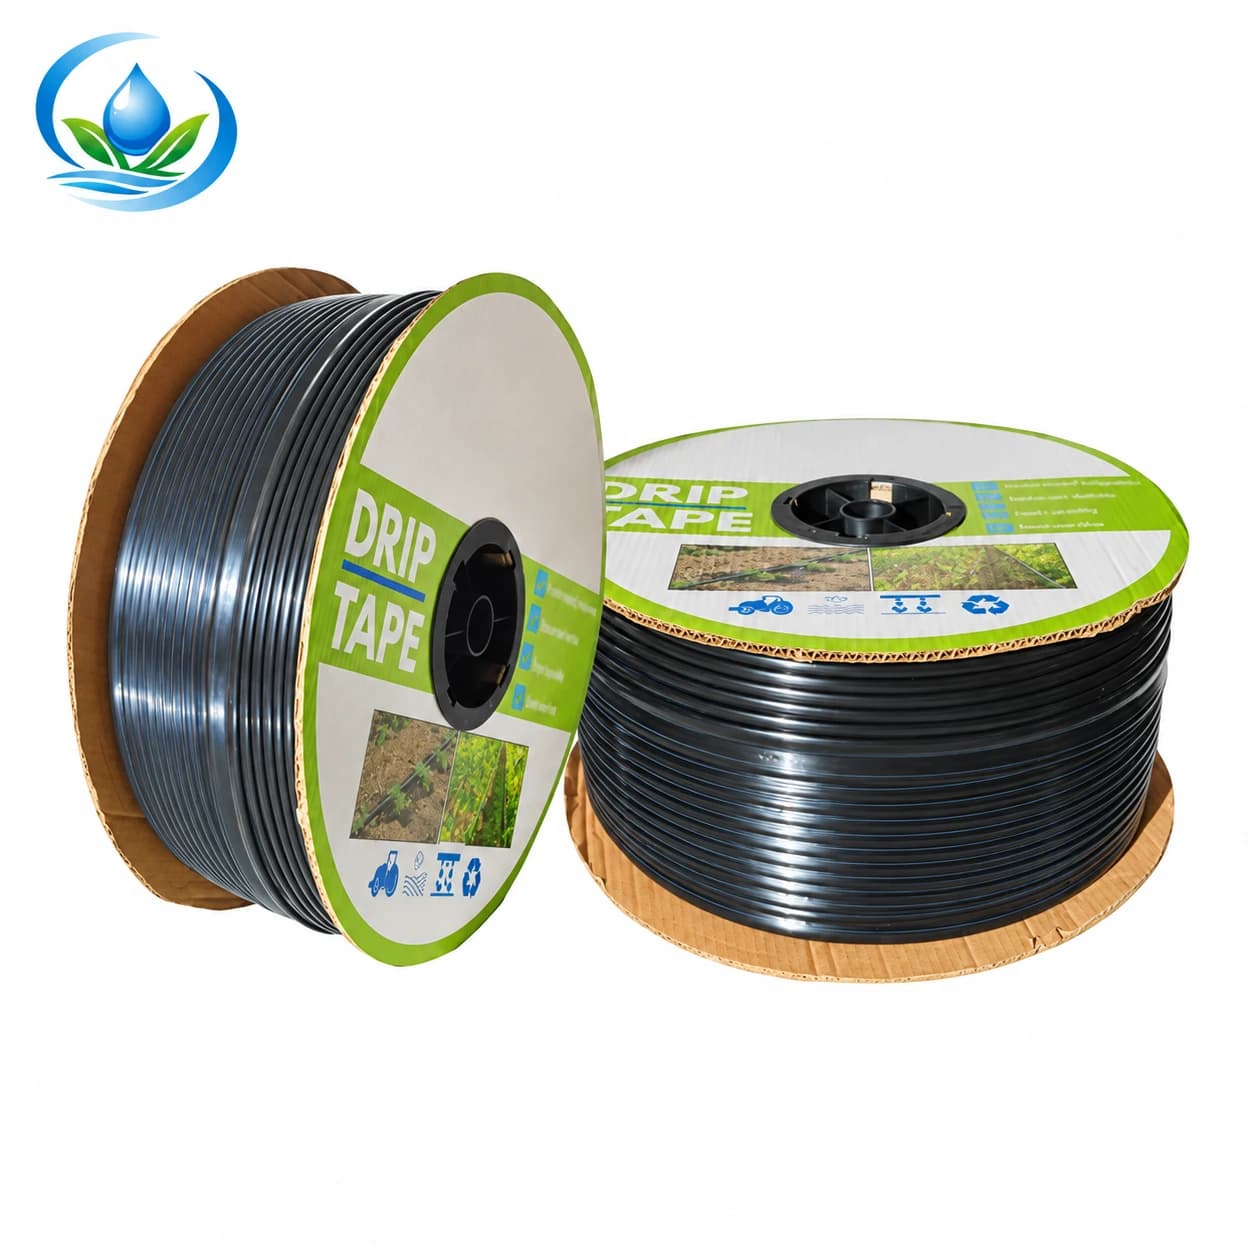
The flat drip tape and inline emitter pipe offer two material choices to investigate. One example of each is shown below so a request can identify an exact variant. These entries are not a recommendation that either will suit every corn field.
| Current variant | Recorded dimensions and outlet entry | What still needs confirmation |
|---|---|---|
| Flat tape, IS-2-4F08BF82DC | 16 mm; 0.15 mm wall; 30 cm outlet spacing; 3000 m roll | Exact outlet discharge, operating range, permitted run length, handling and retrieval suitability |
| Inline pipe, IS-3-8CDA6B18CD | 500 m roll; nominal 16 mm; 0.8 mm wall; outlet spacing 30 cm; 2 L/h per outlet | Pressure/discharge behavior across the proposed run, permissible length, handling and retrieval suitability |
A roll length is a packaging length, not the allowable length of a single irrigated lateral. Confirm the selected tape's outlet discharge before estimating zone flow. The selected inline row states 2 L/h but is not established as pressure compensating or protected against root intrusion. Use data for the exact SKU and request a current technical sheet and layout review for the chosen row, slope, zone and water supply.
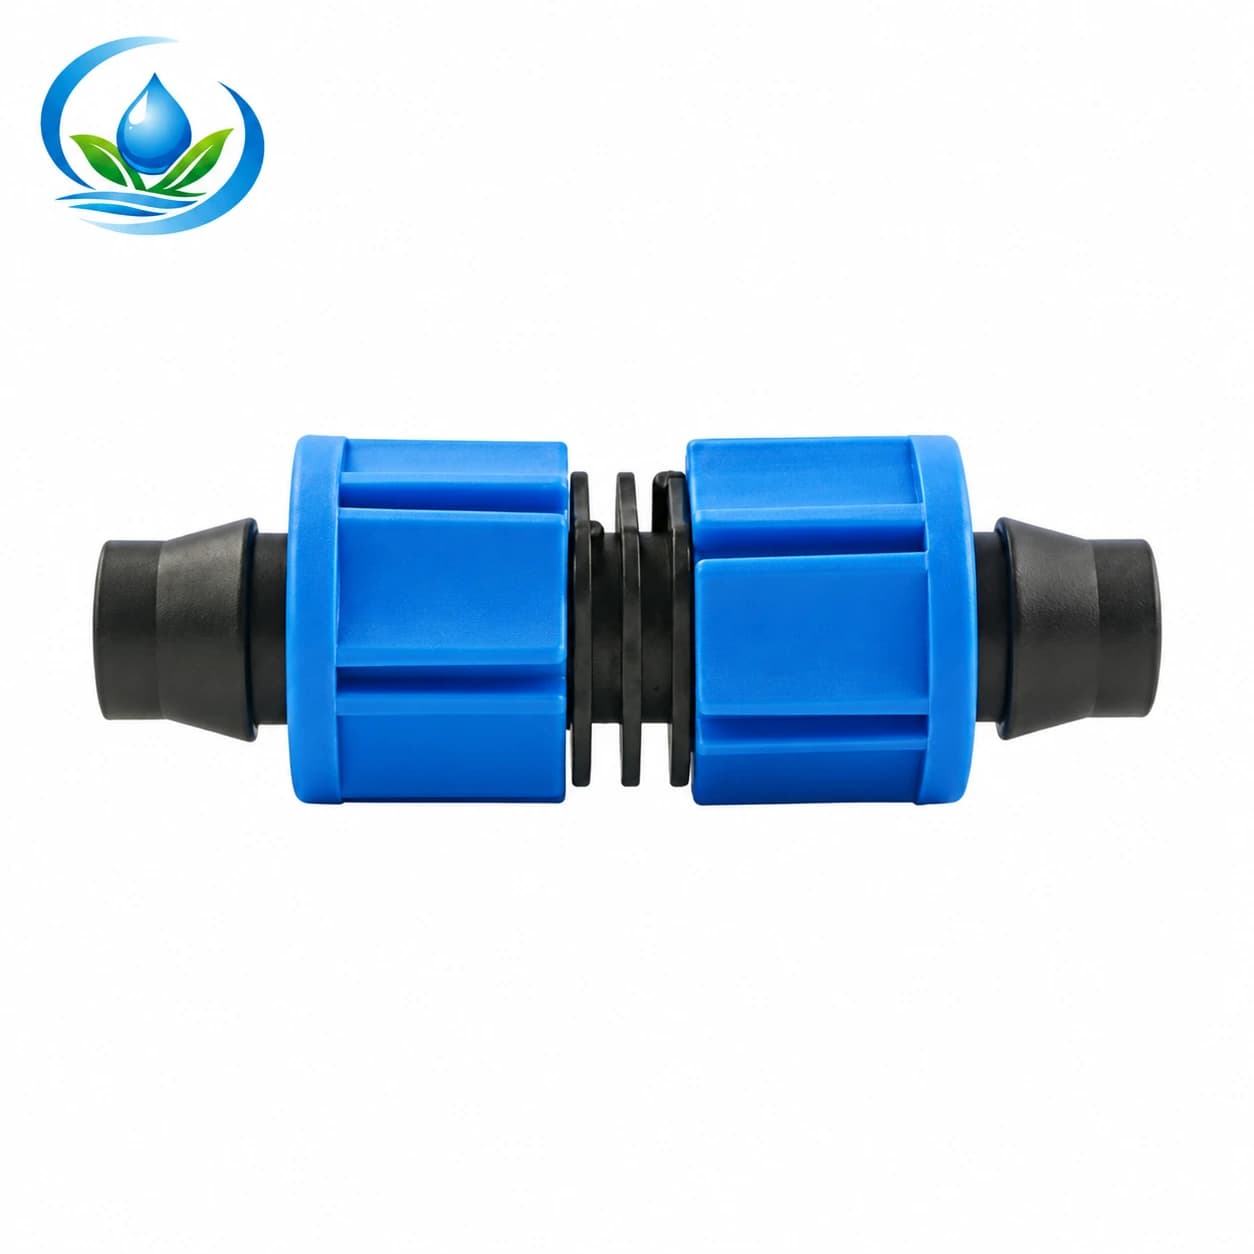
The lock-nut coupling lists LC0117 for 16 mm and LC0120 for 20 mm. That identifies nominal choices, not a certified match to every tape wall or header connector. Confirm the material profile, sealing method and both mating sides before ordering. Request a current quote, available quantity and delivery terms for each exact SKU in the proposed arrangement.
Check water quality and hydraulic limits at the proposed route
Provide the supplier with source-water details, the measured route lengths, elevation changes, chosen outlet model and the number of laterals that would run together. Ask for the allowable operating range, total zone flow, filtration grade, flushing arrangement and performance at the most demanding position. A calculation based only on the headland connection can hide a weak far end or a short uphill branch.
Identify where a pressure reading would be taken while the zone is flowing and where discharge can be checked. An isolated static pressure number does not prove delivery at the selected outlets. If a longer route needs a different diameter, zone split or supply arrangement, revise the map before converting it into an order. The filtration buying guide
Include an accessible way to inspect and flush the lines under the final design. Do not bury a problem under residue or place a service point where harvest equipment will make it unreachable. Keep the hydraulic check tied to a named block and exact variant so a later substitution does not silently invalidate the trial.
Run a small operational trial before ordering the whole field
Choose a representative strip that includes a real machine approach, a proposed connection, a far end and the soil conditions that concern you. Install the exact candidate components using their instructions. Record the date, selected SKU, source condition, measured running pressure, observed discharge and wetting at several points. Revisit the strip after the normal field pass to see whether connections, tape or pipe were disturbed.
Trial the work sequence as well as the water: identify a line, isolate it, release pressure, disconnect where planned, allow the machinery route, reconnect and inspect for leaks. Follow site and manufacturer procedures. Record how long the work takes and whether the parts are easy to find after plants grow. A system can pass an early wetting test and still fail the labour and access test in mid-season.
Near harvest, review the collection path again. Decide when irrigation ends, who removes exposed lateral sections, where they are inspected and whether any material can actually be reused under the selected product's instructions. Do not promise repeated use from wall thickness alone. Keep disposal or recycling plans local to the material and service available to the farm.
Build the order from the checked route
After the route and trial are accepted, count measured lateral lengths by block, exact roll variants, accessible starts and ends, compatible connectors, protected crossings, isolation points, inspection parts and an agreed repair allowance. Keep reusable protected supply components separate from exposed seasonal material. The drip tape kit checklist
Attach a one-page route drawing and an operation table to the quote request. Label every unverified value as a question: exact flow and run length for tape, connection compatibility, filtration, available inventory, price and expected delivery. If the quote changes an emitter spacing, wall, diameter or hose route, repeat the relevant checks instead of assuming the original wetting and access trial still applies.
Before the next planting, compare the delivered parts with the approved SKUs and revise the field map to match any change. After the crop, record which crossings worked and where retrieval was difficult. The field-parts storage guide
Before you order
Compare this guide with the specifications for your exact product, selected option, water supply and field conditions. Your equipment requirements take priority over a general example.
Compare irrigation products