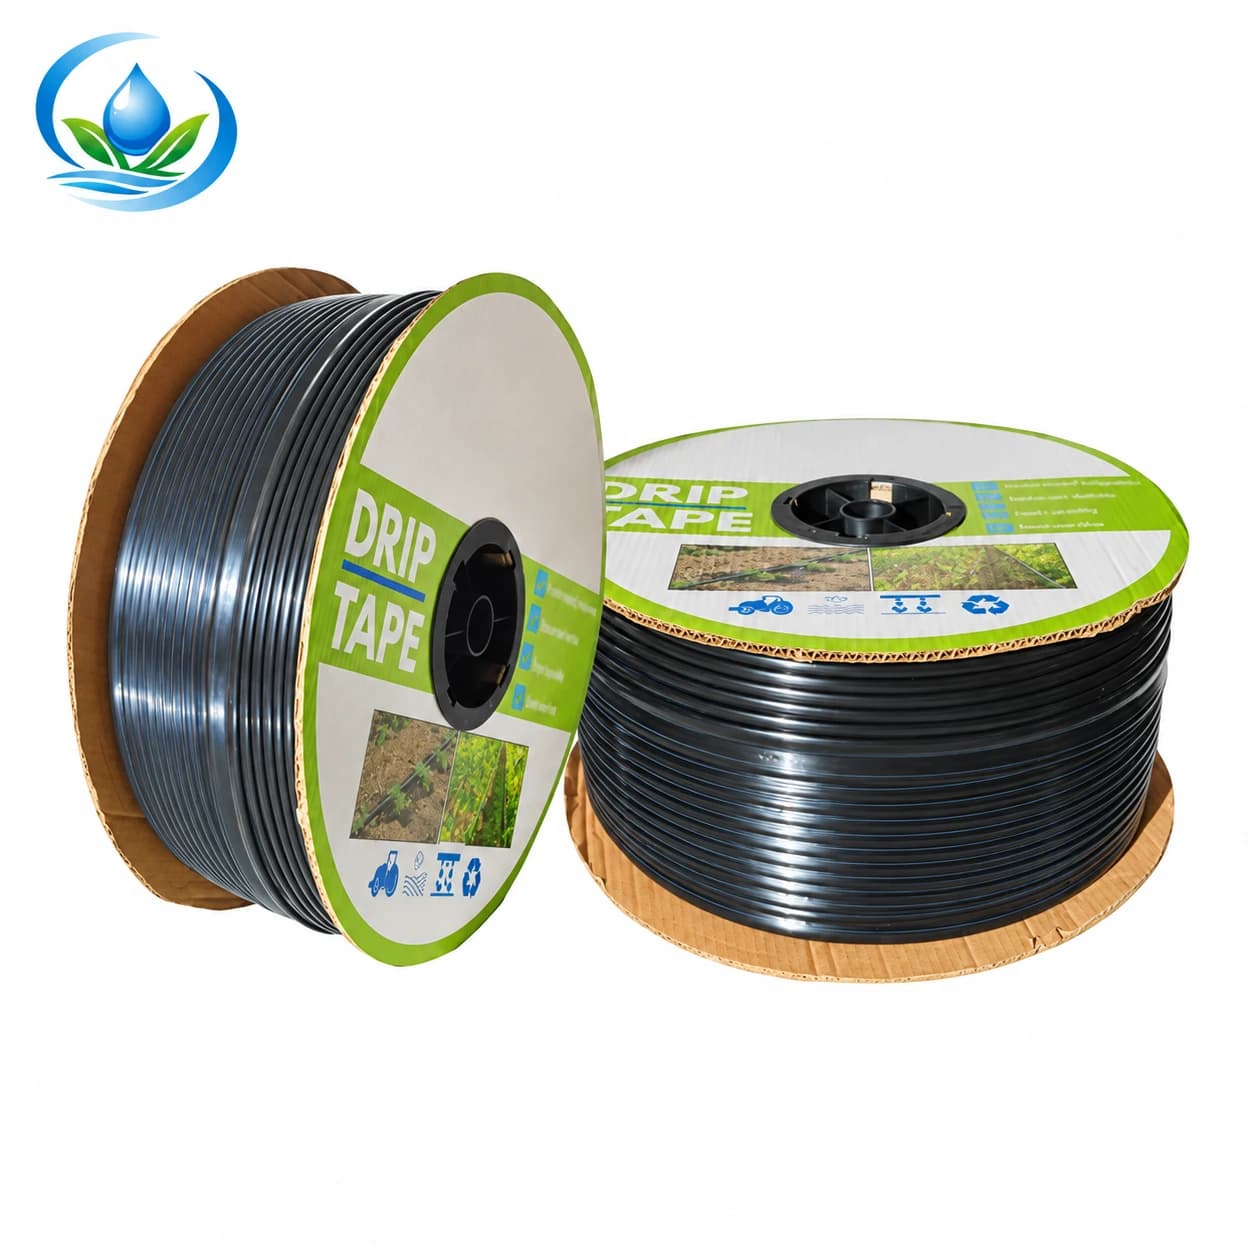
Drip Irrigation: Check Repeated Animal Damage Before Replacing a Line
Map repeated punctures and verify the cause, sound length and exact line variant before choosing a local repair or replacement.
Published by IrriNex Store
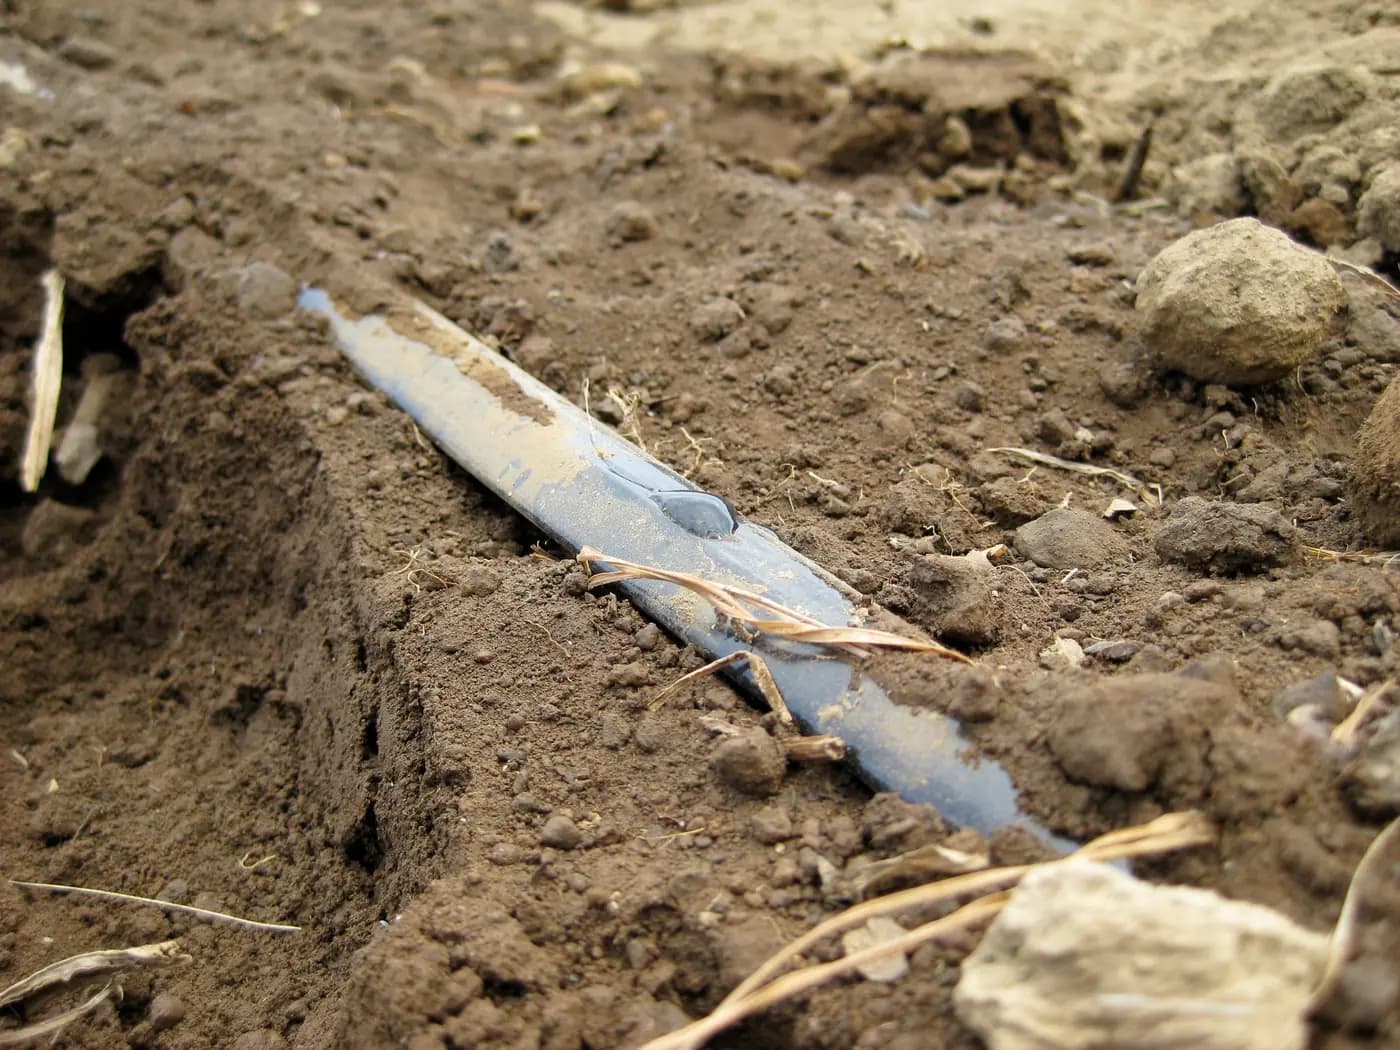
A drip irrigation row that develops fresh punctures beside the same crop edge after every repair needs a location and cause record before another roll is ordered. An animal may be involved, but a hole alone does not identify a species or prove chewing. Harvest tools, stones, foot or machine traffic, a strained fitting and excessive operating pressure can produce recurring water loss too. Map where and when each failure appeared, identify the actual tape or pipe, and compare the damaged area with the rest of the running block. The aim is to choose a supported local repair, a replacement section or a revised route that can be checked at normal operation. Keep the damaged sample and note whether the same side of the line was exposed at each incident; a repeated pattern deserves evidence before another roll is ordered. A repeated drip-line puncture pattern becomes useful when every damaged sample carries its row and date.
Separate this decision from the first search for a wet spot. The pipework leak-location guide helps trace an escape point and identify its interface. Here, repeat incidents at one row or edge are the evidence to organize. A quick repair that stops today's spray can still leave the line in the same damaging position. Conversely, buying a whole new line because of one isolated opening may waste sound material. Preserve enough detail from each event to show whether the failure pattern is expanding, remaining local or moving with field work.
Map repeated drip-line punctures by row and date
Give each lateral a permanent field ID and mark its header end, downstream end, access track, crop rows and nearby obstacles. At a leak, measure its position along the line from the same fixed reference every time. Record the date, which valve group was open, the approximate stage of the run, and whether nearby cultivation, harvest, mowing, line retrieval or irrigation maintenance occurred. Take one wide photograph that locates the point and one close photograph of the wall or fitting before it is moved. If safe observation does not show the actual exit point, label the mark as a suspected area rather than a confirmed puncture.
Make a simple incident card with material and exact variant, location, visible wall condition, prior repair locations, operating pressure reading if a normal gauge is present, and the action taken. Record what happened on the next comparable run. Three marks clustered along the access-side entrance of one row tell a different story from three marks spread over many rows or three splits at the same header connection. The map need not diagnose the cause immediately. Its value is that another worker can revisit the same positions and compare like operating conditions instead of treating every new puddle as an unrelated event.
Keep the crop schedule beside the map. A line that fails just before a critical watering shift may need a prompt approved repair, while the longer-term prevention decision can be reviewed after delivery is restored. Record which outlets are downstream of the damaged point and whether the row received its intended water. Water accumulating around one plant is not evidence that the far plants were supplied adequately. If several rows share a header, name the exact affected group so a change in source level or filter loading is not mistaken for one lateral's recurring damage.
Animal damage or tool damage: which clues distinguish them?
Observe the row during a normal permitted run from a safe position, noting where water first leaves the line. A hole through the wall, a leaking emitter body, and a loose start fitting require different decisions. Once the section is shut down, isolated and depressurized by the installed system's procedure, inspect the accessible material and photograph both sides of the damage. Do not reach into a live line, pull a pressurized connector apart, or run a pump against an improvised closed outlet to make a suspected fault easier to see. The point of the inspection is to preserve evidence as well as water delivery.
Animal activity becomes a stronger hypothesis if independent observations place animals near the affected line or show a recurring interaction at that location. Tracks, crop feeding, a field camera used lawfully, or an experienced local crop or pest specialist may add context; none makes the shape of one hole a reliable species test. Record observed activity separately from the wall photograph. Do not label every round puncture as a bite mark. A pointed implement can leave a similar opening, and several animals can leave damage that looks alike after water has enlarged it.
Compare the pattern with non-animal exposures. A rubbed surface aligned with a stone, stake or repeated crossing suggests contact. A straight cut after cultivation suggests a tool route worth checking. A stretched mouth or tear next to a lock connection raises a fit or strain question. Multiple long splits after a changed valve arrangement call for a pressure and control review against the exact line's limits. Weak downstream emitters without escaping water may point instead to filtration, a kink or source conditions. None of these clues by itself certifies a cause; the combination of position, timing, physical evidence and operating record is what narrows the response.
Ask whether the damage appears only after the row is moved or recovered. A line that remains dry during normal running but leaks on the next installation may be folded, snagged or pulled at a fitting during handling. Mark storage and re-laying dates on the same incident sheet. The used-roll assessment is relevant when a recovered roll must be allocated to new rows; repeated in-place damage is a different question. Do not assign a newly observed puncture to animals simply because the field has had animal activity in another season.
Decide what remains sound before cutting or buying
Identify whether the affected run is flat tape, round inline drip pipe, or another line before considering a coupling. Read the roll label, a retained order, and markings on sound material away from a stretched or crushed point. Note diameter, wall, emitter spacing, actual outlet-flow basis, operating-pressure limits and the installed connector family. If identity is uncertain, keep that uncertainty visible. The tube-family comparison helps distinguish the materials, but a shared 16 mm description does not establish the same wall, fitting seal or permitted hydraulic duty.
Mark the complete visibly damaged region and the nearest sound material on each side without applying a universal cut-back distance. Check for another opening, a cracked integral emitter, a crushed section or a connector already under tension. Measure the available length after a proposed removal: can sound ends meet with the maker-approved connection without pulling the row start or moving outlets away from their intended positions? If a replacement piece would be inserted, it creates two new joining points that must also be compatible and accessible. Do not treat a repair coupler as permission to shorten the lateral beyond its planned crop coverage.
A limited repair is plausible when one clearly bounded defect sits in identified, otherwise sound material and an approved connection can restore the designed row. After the repair, test the normal whole group and watch the repaired point as well as representative downstream outlets. A dry fitting while only part of the zone runs does not prove delivery under the intended demand. If the wall opens again nearby, if several integral emitters are damaged, or if sound length is insufficient, evaluate replacing the repeatedly affected section rather than adding another joint. No fixed hole count, number of seasons or repair-time promise decides every farm's case.
Distinguish replacement of a short affected stretch from replacement of the entire lateral or roll. A cluster limited to the first few metres near a regularly used track may leave the rest serviceable if its identity and condition are confirmed. Damage scattered along the full run, brittle wall, or repeated failure between apparently sound cuts can make continued local work unattractive. Compare material cost with actual labour, crop access and the number of supported joints required. Keep the decision tied to named lengths and conditions; a 2,000 m sale roll is a package quantity, not the installed length of one permitted lateral.
Compare the exact new line options, not a toughness label
Among the flat drip tape options, SKU IS-2-C526AC2D85 is packaged in a 2,000 m roll. Its outlet spacing is 30 cm; the wall is 0.2 mm and the nominal diameter is 16 mm. Its exact option record does not give a verified emitter discharge, so a replacement design cannot borrow a flow number from another spacing or tape family. For round inline drip pipe, SKU IS-3-8CDA6B18CD comes as a 500 m roll. It lists 2 L/h emitter discharge at 30 cm spacing, with a 0.8 mm wall and 16 mm diameter. These are two identifiable purchase choices, not a claim that the second resists chewing or that either will solve an unconfirmed cause.
A thicker wall may change handling and connection requirements; it is not evidence of animal resistance. Switching from flat tape to round inline pipe also changes the connector family and can change operating pressure, emitter delivery, line loss and the allowed route. Review those conditions for the intended zone, along with the actual mating dimensions and maker's connection instructions. The fitting-family guide helps identify whether a proposed repair joins tape to tape or round pipe to round pipe. Do not force a near-size barb or lock collar onto an unconfirmed wall simply because both product names contain 16 mm.
Use the precise new length needed for the named affected section and count only verified matching joining parts. If a revised route is proposed, measure it before assuming the old length still reaches; a route around a track can add length and pressure loss. Check the full proposed zone against its actual flow, source and downstream pressure requirements. A spool size does not certify lateral length, and the 2 L/h inline rating needs its stated operating basis before it can be used in a zone total. For a retail order, choose the exact product-page variant and confirm sale unit, current price, availability and delivery. Ask support about an unresolved fit rather than substituting a familiar-looking part.
Change the exposure only after the evidence points to it
If repeated contact with tools or traffic is documented, make the line route visible to the crew and review whether the affected reach can be protected or moved without compromising crop wetting, service access or hydraulics. Marking an established crossing, changing the working path, or supporting a line at an approved point may address a specific exposure. The PE routing guide covers avoiding twist and sharp bends when a compatible line is relaid. Any change near machinery or a crop edge needs to be checked in the real field; there is no universal depth, cover material or support spacing that prevents all future holes.
If animal interaction is supported by more than the wall damage, ask a qualified local crop or pest specialist to assess the species and a site-appropriate response consistent with the crop and local rules. Record their recommended change and monitor whether the pattern actually changes. Burial is not a universal cure: it can hide leaks and some animals disturb soil. Nor does a thicker wall guarantee protection. Avoid applying oils, glues or unverified chemical products to a line used to water crops, and do not choose a replacement on an unsupported “rodent-proof” label. The irrigation purchase should follow the confirmed line duty while prevention addresses the actual field exposure.
Pressure or control evidence needs a different response. Compare a reading taken with the same valve group, source level and filter condition as an earlier healthy run. If a split follows a newly opened valve or changed regulator, check the exact tape or pipe limits and the installed control arrangement through the responsible equipment instructions. Do not increase pump output, bypass regulation, or shut off all outlets against a running pump to provoke another failure. Repairing the wall without correcting an incompatible operating case can recreate the leak in new material.
Check the next run and keep the right spares
After an approved isolated repair or replacement, restore the system by the installed procedure and observe a normal irrigation shift. Inspect both join locations if a patch was inserted, the nearby old wall, and downstream crop outlets. Where the system permits it, compare equal-time samples from representative near and far outlets with the accepted delivery record. Note the pressure-gauge location, active valves and source level. A sealed wall is one result; adequate delivery along the row is another. If an outlet remains weak without visible escape, investigate that delivery problem rather than repeatedly cutting the repaired section.
Add the accepted SKU, length, joint positions and test result to the row map. At the next routine inspection, check the former cluster and the new route if one was made. If another failure appears, mark its precise relation to the old points: directly beside a joint, at a different crop edge, or on an untouched length. That observation can overturn an early hypothesis and prevent more misplaced spending. Keep photographs of a sound reference point as well as the failures; later crews need to know which part of the line has already been checked.
Restock only parts matched to the installed material and the approved repair method. The field-spares ledger can carry exact option, sale unit and withdrawals, but frequent use of the same spare in one position should trigger a cause review before a bigger bin order. Keep tape fittings separate from round-pipe fittings even when they share a nominal diameter. For the next purchase, the useful list is a measured replacement length, exact line option, verified connectors and a record of the operating test. That lets the farm restore water promptly without treating each repeat puncture as either an unavoidable animal problem or proof that every line must be discarded.
Before you order
Compare this guide with the specifications for your exact product, selected option, water supply and field conditions. Your equipment requirements take priority over a general example.
Compare irrigation products