How Long to Run Drip Irrigation for Shrubs in a Nursery Block
Set a field-nursery shrub irrigation duration by checking wetting in the original rootball and adjoining soil during and after a representative run.
Published by IrriNex Store
How long to run drip irrigation for shrubs depends on where the water reaches in a real nursery row, not on a fixed number of minutes. Newly planted field-grown shrubs may still rely heavily on the original planting rootball, while older stock draws water from a wider area of field soil. Check both places during a representative event, and use the crop's local moisture target to decide when that event is complete. The same emitter label can produce a different useful result as the shrubs establish. Record the observation time beside both rootball and field-soil checks; wet outer soil alone does not show that a newly planted shrub's original rootball received enough water. Nursery shrub rootball wetting must be checked alongside the surrounding soil in the same irrigation event.
Consider two neighbouring field-nursery rows connected to one water source. One contains recently planted liners; the other contains shrubs that have grown in place through more of the production cycle. Both can have functioning drip outlets, yet a wet patch beside each plant says little about whether the relevant roots have water. The practical job is to establish an operating duration for each controllable group, document the soil response, and decide whether a different outlet arrangement is needed. A nursery should not copy a landscape watering chart or keep a timer unchanged merely because its old setting is familiar.
How long should one nursery shrub drip event run?
Make a short field record before running water. Identify the block and row, shrub species or production group, planting date, spacing, soil differences, slope, mulch or cover, valve arrangement and the date of the last irrigation or useful rainfall. Mark which plants arrived with a confined rootball and which have been growing in the field long enough to require a broader inspection. Age is a clue, not a measured root boundary. Plant size, establishment, local soil and weather may make plants of the same nominal age behave differently.
For a newly planted liner, inspect the original rootball and the soil immediately beside it as separate places. The planting material can lose water faster than the surrounding soil or accept water differently across their interface. For a more established shrub, choose observations in the field soil that the current roots are expected to use, as guided by the nursery's crop knowledge. Do not prescribe one depth or a fixed circle around every stem. An inspection at a convenient dry path is not a substitute for one in the area the emitter is meant to serve.
Oregon State University's nursery irrigation scheduling guidance describes changing water use across the production cycle and identifies field soil-moisture monitoring as a scheduling method. Its regional crop table and numeric depletion example are not settings for another nursery. The transferable decision is to compare current rooted-soil water and crop demand before choosing the next event. Keep a local adviser or established nursery method responsible for the actual moisture target.
If young liners and established shrubs are tied to one valve, note that physical limitation. A row label alone does not create independent irrigation time. The guide to separating differently staged rows explains the wider valve question; here the field trial asks whether one existing runtime can serve these particular shrubs without leaving one rooting stage dry or keeping another excessively wet.
Compare rootball and surrounding soil during the same event
Choose several representative plants before water starts: an inlet-side plant, a plant farther along the lateral, and one in a soil or exposure condition likely to differ. Include a weak-looking area only after checking that it is safe and representative of a real group, not merely an isolated damaged outlet. Give each plant a simple position ID. At a new planting, record the rootball observation and the adjoining soil observation under the same ID so they cannot be mistaken for interchangeable readings.
At each position, note initial moisture using the nursery's accepted probe, sensor or careful soil-inspection method. Preserve the same measurement location and interpretation method for later comparison. Surface colour, a puddle at one dripper and a single leaf symptom cannot tell you the depth or lateral reach of water. Avoid damaging the root system or an unseen line to obtain a sample. Where measurements conflict or a plant looks stressed despite moist soil, have the crop team investigate before adding more water.
Draw the actual emitter position beside each inspected shrub. A point emitter may serve a planting ball directly, while a factory-emitter line releases water at regular positions whether or not each opening is beside a plant. Neither arrangement proves that moisture crosses the original ball-to-field-soil boundary. Record where it is observed, and where it is missing. A useful trial has an intended receiving area for every observation point rather than an arbitrary instruction to make the whole surface dark.
Keep rainfall and prior irrigation in the record because the starting condition matters. The post-rain block check can help decide whether this trial should run at all after a storm. If the field is already adequately wet under local criteria, a new timed run would test an unnecessary event rather than establish a good routine. Do not subtract a fixed number of minutes from a rain gauge reading.
Verify that the outlets deliver before testing time
Trace the normal water route through the source, filter, valve, header and shrub lateral. Confirm the intended active group and an allowed operating arrangement. Observe the line during normal safe operation for leakage, a kink, a closed branch or a dripper that has stopped delivering. Record running pressure where the installation has suitable gauges and the time at which representative near and far outlets begin steady discharge. A timer command and a static gauge reading with no flow do not establish what a distant shrub received.
Compare representative outlet delivery with the exact installed product and pressure range. An isolated low outlet is a fault to investigate, not a reason to extend the entire row's event. If many downstream outlets are weak, examine the supply, filtration, active group and line before changing duration. The uneven emitter-flow guide treats that diagnostic task in depth. Keep the diagnosis separate from the shrub's moisture target: even a perfectly flowing emitter can be poorly placed for the plant it is supposed to water.
If a line has been changed recently, the runtime guide after emitter replacement shows how to recalculate a volume from measured discharge. This nursery trial assumes the active hardware is identified and operating as intended. Its unresolved question is spatial: when does water actually serve the rootball and adjoining soil for this shrub group? Increasing the clock to compensate for one missed plant can make the well-served plants too wet.
Run a representative event and watch the wetting sequence
Choose a trial on a day and source condition that resemble the normal irrigation case. Use the nursery's local agronomic method to decide that water is needed and to define an acceptable moisture response. Start the permitted group using the installed system's normal procedure. Record the start, the arrival of stable flow at the observation positions, and the actual valve state. Clock time can include filling before the far outlet is delivering; do not assume every shrub has received equal application simply because the control opened at one time.
Check the chosen soil points during the event at intervals suited to the soil and crop team, then again after the water has had time to redistribute. Write actual elapsed times on the sheet, but do not turn one trial's inspection interval into an instruction for every field. At the new shrubs, note whether the rootball responds, whether the neighbouring field soil responds, and whether water accumulates at the surface. At established shrubs, compare the expected rooted soil at the same labelled positions. The point is to see the sequence, not just take one photograph when the line is turned off.
A rootball that becomes wet while adjacent soil stays dry is a different finding from a dry rootball beside wet soil. Longer running may not fix either pattern. In the first case, extra water could move below the ball or pond near the outlet before crossing into the soil the roots are approaching. In the second, water may be delivered beyond the currently active planting material. Review the outlet position, the contact between planting material and field soil, local infiltration and the selected watering arrangement with the nursery specialist before changing hardware or time.
Stop the trial according to the approved crop target and the observed response at the representative plants. If one area still needs water but another is already outside its acceptable wetness condition, record a conflict rather than choosing an average number of minutes. The next decision may be a different controlled group, an approved distribution change or a closer agronomic diagnosis. Running the whole valve longer is not a neutral correction. Likewise, stopping at the first dark surface mark can leave the relevant soil unchanged below it.
After the event, repeat the checks at the same rootball and adjoining-soil points at a locally useful later time. Water can move after the valve closes, and some installed lines may drain at particular positions. Record that later observation beside the event-end result. A line that looks successful at shutoff may leave a persistent saturated pocket, or water may redistribute into a previously less-wet part of the root area. The accepted duration should survive this later check rather than depend only on a wet surface seen during operation.
Read two nursery rows as different cases, not two preset timers
Imagine a trial sheet for row N, planted recently, and row E, established in the same general field. The names are illustrative; no minutes or moisture thresholds are being recommended. In row N, the original planting balls start drier than the adjacent field soil. During the event, the balls respond at the inspected plants but one downstream ball remains dry because its outlet is restricted. Correct and retest that outlet before deciding a row-wide duration. An extra hour for every liner would hide a local delivery fault.
In row E, the existing outlets operate normally, yet an inspection beside a vigorous shrub shows water reaching a narrow strip while the locally identified active root-bearing soil remains less responsive. This is a distribution question. A longer common event might deepen the narrow strip without reaching the neighbouring target area. Mark the missed location and discuss a compatible line or point-emitter arrangement. Do not borrow the young row's runtime simply because its plants responded sooner or later in a different soil condition.
At the next irrigation decision, inspect both rows again rather than automatically repeating the test event. Weather, recent rain and plant growth can change the starting soil condition. A recorded successful event tells the crew what happened under that measured condition; it is not a season-long calendar. If the rows share one valve, the nursery must resolve any persistent difference within its approved hydraulic and control arrangement before promising separate durations that the existing connection cannot supply.
Choose line or point outlets from the observed shrub spacing
When the wetting map shows that existing equipment is unsuitable, compare a line with regular factory outlets against point emitters whose locations can be specified for the actual plants. The IrriNex inline drip pipe option IS-3-8CDA6B18CD is sold as a 500 m roll. Its pipe is nominally 16 mm in diameter with a 0.8 mm wall. Each integrated emitter has a nominal 2 L/h listing, and the openings repeat every 30 cm. These figures identify a product option; 30 cm is not a shrub-spacing recommendation, and 500 m is not a permitted one-piece lateral length. Count the outlets in the installed length and check the chosen variant's pressure and run-length information before comparing its group demand.
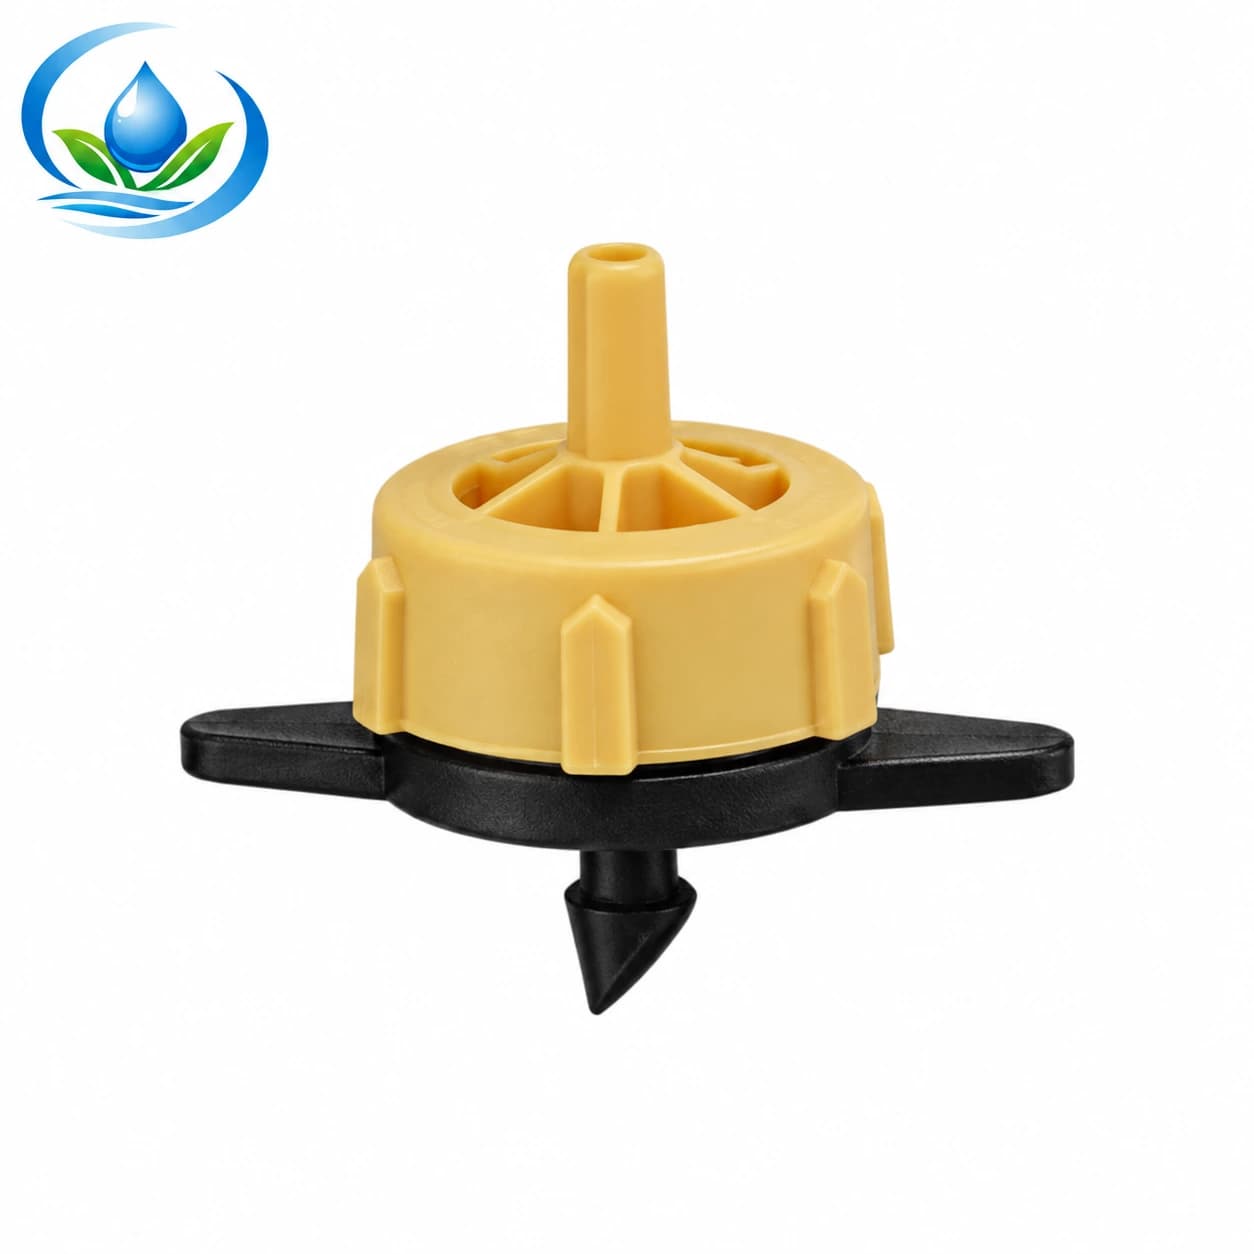
For irregularly spaced shrubs, the IrriNex pressure-compensating emitter family lists TANDPCD02, TANDPCD04 and TANDPCD08 at nominal 2, 4 and 8 L/h. Pressure compensation applies only within the exact model's working range. It does not guarantee a wetting radius, a pressure range for the whole row or direct fit with an unverified tube opening. Keep the number and position of outlets at each plant separate from their nominal flows. A second outlet can change distribution as well as total active demand.
A point outlet can be useful when one plant requires a deliberately positioned application while regular line spacing would release water between widely separated shrubs. It can also add more connections to inspect. A factory-emitter line can be practical along a uniform row, but a visible outlet every 30 cm does not prove that the original rootball or later field roots are wet where needed. Neither product family is an automatic cure for dry adjoining soil. Test one exact assembly at the intended positions and inspect the rooted soil after an actual event before repeating it across a nursery block.
If changing outlets alters their number or output, recalculate simultaneous flow and review the accepted operating case with the farm zone-planning guide. Do not change all emitters and the runtime in one unrecorded step; the team needs to know which change improved the result. Confirm the selected fitting, filtration requirement, pressure range and mating tube with the manufacturer or supplier. Do not punch an integrated emitter pipe to accept a point dripper unless that exact product explicitly allows the modification.
Keep an event record the next crew can actually use
Write the accepted group name, crop stage, active valve state, emitter models and positions, starting soil condition, representative outlet observations, trial duration, event-end soil response and later redistribution check on one dated sheet. Mark any unresolved dry plant or excessively wet pocket by row and position. Record who will check it and what condition will trigger a new trial. A setting without the associated field condition can be copied long after the shrubs and roots have changed.
When buying replacement line or emitters, order from the tested arrangement: exact product option, measured installed length, active outlet count, correct connection parts and a separately identified spare allowance. Before ordering, review today's displayed price, package unit, stock status and delivery terms for the chosen variant. If a listed emitter has no direct purchase option, ask IrriNex Store support how to order that exact model before committing to related parts. Do not assume a product-family photograph includes the connecting tube, punch, filter or valves.
The answer to “how long” is the event duration that meets a locally defined shrub-root moisture goal at the checked positions without creating an unacceptable wet area elsewhere, under the actual operating configuration. Revisit that answer as planting material establishes in field soil, weather changes or the outlet layout changes. A nursery gains a repeatable row decision, and the next purchase addresses a measured delivery gap rather than a timer guess.
Before you order
Compare this guide with the specifications for your exact product, selected option, water supply and field conditions. Your equipment requirements take priority over a general example.
Compare irrigation products