Drip Tape Irrigation System: One Line or Two per Vegetable Bed?
Test where one and two tape lines wet a vegetable bed, then count the extra tape, starts and ends before ordering.
Published by IrriNex Store
A drip tape irrigation system can use one lateral or two in each vegetable bed, but the useful question is whether water reaches the intended plant rows at the depth those plants need. A second tape changes where water enters the bed and how much the zone may discharge. It is justified when a representative field test shows a real coverage problem that one properly positioned line cannot solve under workable irrigation conditions. Start with the bed and the crop, compare the two layouts at measured water volumes, and then count the tape and fittings that the chosen layout actually requires.
Put the crop rows on the bed plan first
Measure the cropped bed length, top width, shoulder positions and distance between plant rows. Mark where seeds or transplants will sit, including any staggered rows. A bed with one centered crop row presents a different placement problem from a bed with two rows near opposite shoulders. Do not decide from bed width alone: the distance from each proposed tape to each plant row is what the water must cross. Make a simple cross-section sketch and mark candidate positions for one tape and for two tapes before buying material for the whole block.
Check whether each proposed position can actually be installed and protected. Leave room for planting tools, cultivation, harvest traffic and any mulch or cover that will be laid over the bed. Mark where the tape can enter from the header and where each end will finish, rather than placing a line on paper through a stake, wheel track or bed shoulder that will be disturbed. If one tape can be shifted closer to the intended crop rows without conflicting with field work, include that sensible one-line position in the test. A poorly placed center line should not be used to prove that every one-line layout fails.
Different vegetables and growth stages can change the target. A newly planted row needs moisture where the seed or transplant root ball is, while an established plant may draw from a broader and deeper part of the bed. If germination is the immediate concern, separate that question from the season-long tape count; the raised-bed seed-row germination guide explains how to check moisture at seed depth. Record the intended crop and stage for this bed, and revisit the layout if the next crop uses a different row pattern. A single line that serves established roots may still need a separate establishment plan for widely spaced seed rows.
Set up a small trial that represents the field
Use a short, workable segment of the actual bed type, with the planned crop-row marks and the same tape positions proposed for the block. If the field contains visibly different soil textures or bed construction, test a representative segment of each important area. Sandy, fine-textured, compacted and layered ground can move water differently; a wetting result from one patch is not a fixed radius for the farm. A hard layer, a loose bed shoulder, mulch and the condition of the soil before irrigation can also affect the shape of the wet zone. Write down these conditions before turning on the water.
Prepare comparable one-line and two-line segments. Adjacent beds with similar soil and initial moisture are useful; a second test in the same soil is possible only after the starting condition is comparable again. Running the two-line case immediately after the one-line case in already wetted soil would give the second layout an unfair advantage. Mark the intended tape and crop-row positions in both segments, note the tape option and outlet spacing used, and keep the test lengths comparable. Test with the same source, filter arrangement and practical operating setup intended for the field, because delivery at a short isolated trial may differ when the whole zone is opened.
Record the initial soil condition at the plant rows and below them, the operating pressure at the test header and, where practical, toward the line end. Measure water actually delivered to each isolated test segment with a meter or a reliable collection method suited to the setup, allowing the system to fill and stabilize before timing the measured discharge. Check for leaks, blocked outlets and uneven discharge before treating a wetting difference as a placement result. The University of Florida's on-farm wetting test guidance likewise emphasizes local conditions, water volume and observations across and down the bed. The point of this small trial is a usable field decision, not a borrowed spread distance or operating time.
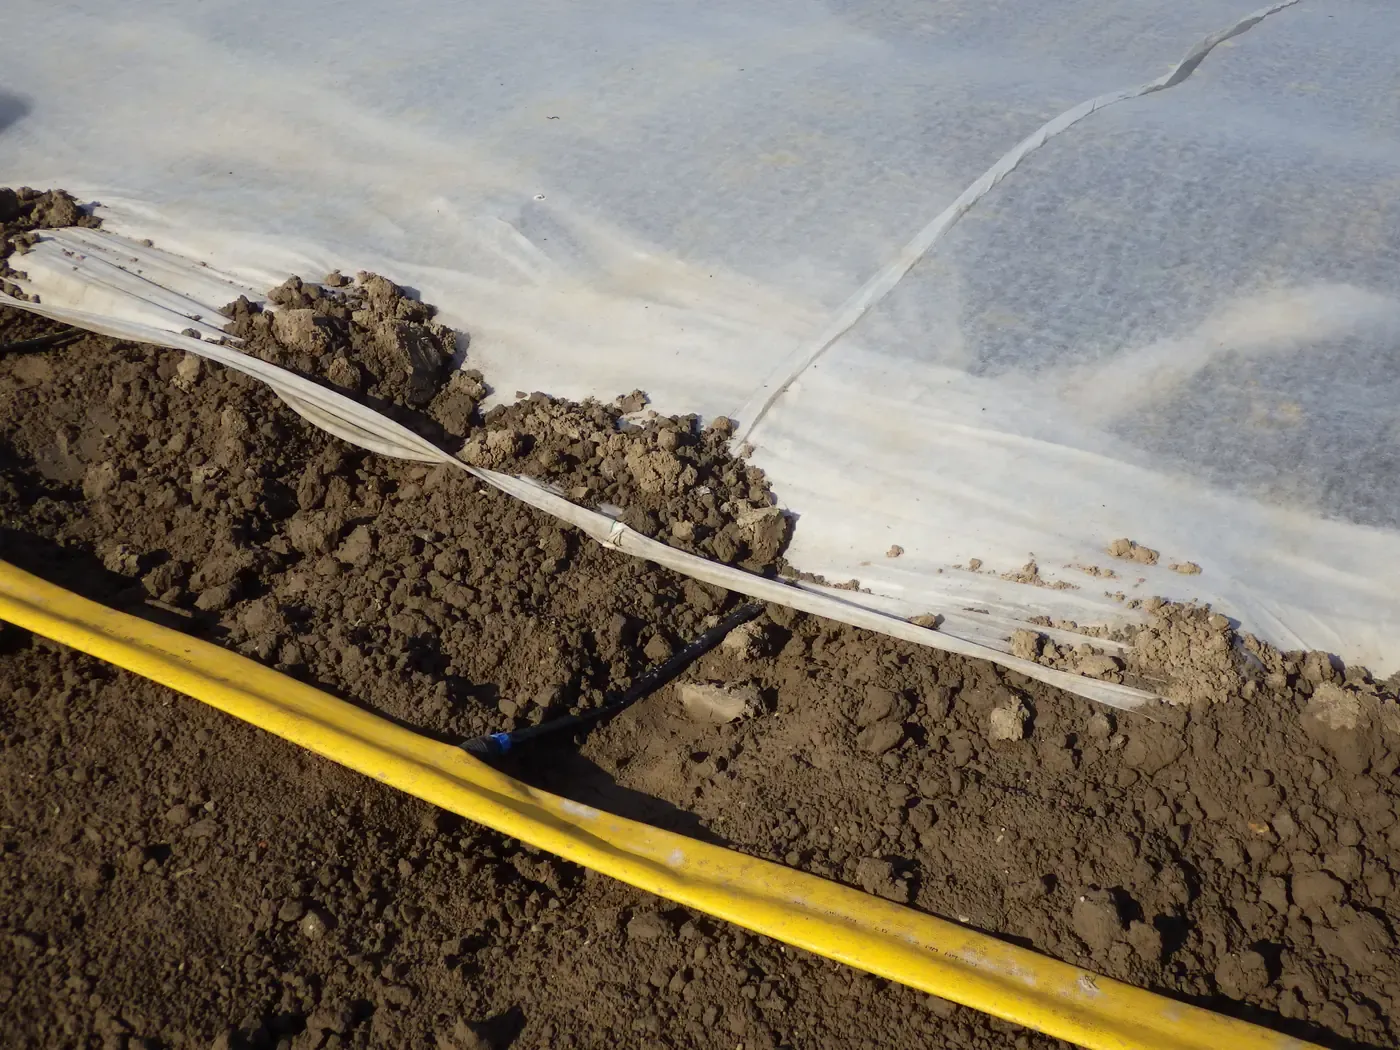
If the production beds will be covered, inspect the soil before the cover makes access difficult and retain a way to check moisture later. A surface that looks damp at a slit in mulch does not reveal the whole root zone. The strawberry and mulch trial guide discusses that crop's pre-cover checks; for these vegetable beds, use the same practical principle of measuring the proposed positions before an installation becomes hard to adjust. Keep the crop-row marks visible until the test result is recorded.
Compare equal time and equal water for different reasons
First, a same-duration run is a useful hydraulic diagnostic. If comparable lines and outlets operate at the same pressure, two active lines should discharge more water into a bed than one over the same number of minutes. Measure it rather than assuming the total exactly doubles. A pressure drop when the second line opens, a restricted header, leaks or a different tape configuration can change the actual ratio. The same-time result tells you what the proposed layout asks of the source and what the zone delivered during that run; it cannot by itself show that two tape positions distribute a given amount of water better.
Next, compare the layouts at the same total volume applied per bed. This is the more useful test of placement. Set a trial volume that is appropriate to the local crop and soil assessment, measure the one-line discharge and the combined two-line discharge under their actual test conditions, and calculate each runtime as target bed volume divided by measured bed flow. The two runtimes will usually differ. Do not replace measured flow with a generic figure for a tape family, and do not treat the trial volume as a universal crop dose. Weather, crop stage, soil storage and the irrigation schedule determine the water requirement locally; line count determines where and how quickly the chosen volume enters the bed.
Keep a record for each run: starting moisture, line positions, active length, pressure, measured flow, total applied volume, runtime and time between shutoff and inspection. If two adjacent segments begin with different moisture, an equal water application still will not make their final patterns strictly comparable. Repeat on a better matched pair or use the difference as an uncertainty in the decision. If pressure changes when both lines operate, recalculate the two-line runtime from its newly measured flow and repeat the wetting observation at that condition. The second line is part of a larger hydraulic load, not merely a second mark on the bed.
Inspect the profile at the plant rows, not just the surface
After each test, open a careful cross-bed section or use a sequence of soil checks across the bed at the same documented interval after irrigation. Look at the soil below each intended plant row, midway between tapes and near the shoulders. Record how far moisture moved laterally from the tape and vertically below it, with the plant-row positions shown on the sketch. Check enough depth to see whether water reaches the relevant root zone or seed depth and whether it extends well below the zone you meant to irrigate. A dark surface stripe can be wide while the soil at a row's actual root depth remains dry; the opposite pattern can also occur beneath a surface that looks little changed.
Inspect along the bed as well as across it. A short section near the header that wets well does not prove that the far end receives the same delivery. Check representative positions toward the inlet and outlet, especially if the final bed run is longer than the trial. If the end stays dry while the inlet is wet, investigate line length, pressure, slope, blockage and supply before adding a parallel tape as a supposed cure. The drip line length calculator guide addresses the separate question of whether an individual lateral is hydraulically workable. Roll length and allowable operating length of one installed line are different quantities.
Read the profile as a shape, not as a single "wetting radius." Water can move down faster than across in one soil and spread across a compacted layer in another. The pattern can also change as an initially dry bed wets up and after the line is shut off. Note whether the wet zones from individual outlets connect along the crop row, whether one plant row remains outside the useful moist strip, and whether the two-line trial adds useful coverage or simply wets a strip that one line already served. Use the crop's locally assessed rooting depth and soil moisture target when interpreting those observations; the deepest visible wet soil is not automatically a successful irrigation.
Choose one line, two lines or another test
Choose one line per bed when a feasible one-line position, at a locally suitable applied volume and manageable runtime, places moisture at all intended plant rows and relevant depths without an unacceptable dry gap or excessive movement below the target zone. The two-line layout then adds tape, connections and instantaneous demand without solving a demonstrated spatial problem. Keep the tested position and operating notes with the crop plan so installation crews do not move the line later.
Choose two lines when the equal-volume comparison shows that one line cannot reach the separated plant rows at the needed depth from any practical position, while two properly placed lines do. Make sure the improvement comes from distribution, rather than giving the two-line bed twice as much water or masking a poor pressure condition. Some beds may need two lines during early establishment and a different operating pattern after roots expand; record the reason for the purchase and reassess the schedule as plants develop. Two lines are a placement decision, not an instruction to double the crop's water supply.
Leave the line count unresolved when the source cannot hold a stable test condition, the one-line and two-line segments start at very different moisture levels, the field has untested soil zones, or neither layout gives the intended row and depth response. Correct leaks or clogs, measure pressure and flow again, or repeat on another representative bed before committing to twice the tape. If both arrangements miss a plant row, first revisit tape position, bed geometry and the locally chosen volume; buying more of the same layout may simply repeat the miss. A trial that identifies its uncertainty is still useful because it prevents a full-block order based only on a surface stain.
Turn the chosen count into a 12-bed worksheet
Consider a fictional block of 12 straight cropped beds, each 40 m long. At one line per bed, the cropped tape length is 12 × 40 m = 480 m, with 12 line starts and 12 line ends. At two lines per bed, it is 12 × 2 × 40 m = 960 m, with 24 starts and 24 ends. These are straight cropped lengths and connection counts, not an order quantity that already includes routing around obstacles, cutting allowance, spare fittings or the supplier's sales unit. Draw the actual header and count its takeoffs before finalizing the list. The drip tape kit shopping-list guide can help organize those components once the bed-line geometry is settled.
For flow arithmetic only, suppose each 40 m line in that fictional block measures 0.5 L/min under the tested operating condition. If all 12 one-line beds run together, the measured-rate sum would be 12 × 0.5 = 6 L/min. If all 24 lines run together at that same per-line condition, the sum would be 24 × 0.5 = 12 L/min. For an illustrative equal application of 24 L per bed, one 0.5 L/min line needs 24 ÷ 0.5 = 48 minutes, while two such lines together deliver 1.0 L/min and need 24 ÷ 1.0 = 24 minutes. The 24 L is an arithmetic target, not a recommended vegetable irrigation dose, and 0.5 L/min is not a rating of any Store tape.
Opening twice as many lines simultaneously can lower pressure or change delivered flow, so the 12 L/min and 24-minute two-line figures hold only if the stated tested per-line condition still holds. Measure again with the intended zone active; use its actual combined flow to size the runtime and to judge whether the source and header can serve that zone. If they cannot, a different zone split or operating schedule may be needed even though the soil test supports two tape positions. Do not use the total tape on a roll as evidence that any single 40 m, or longer, lateral is hydraulically acceptable. Check the selected tape's applicable operating data and the real field run separately.
Match the tape, starts and ends to the tested layout
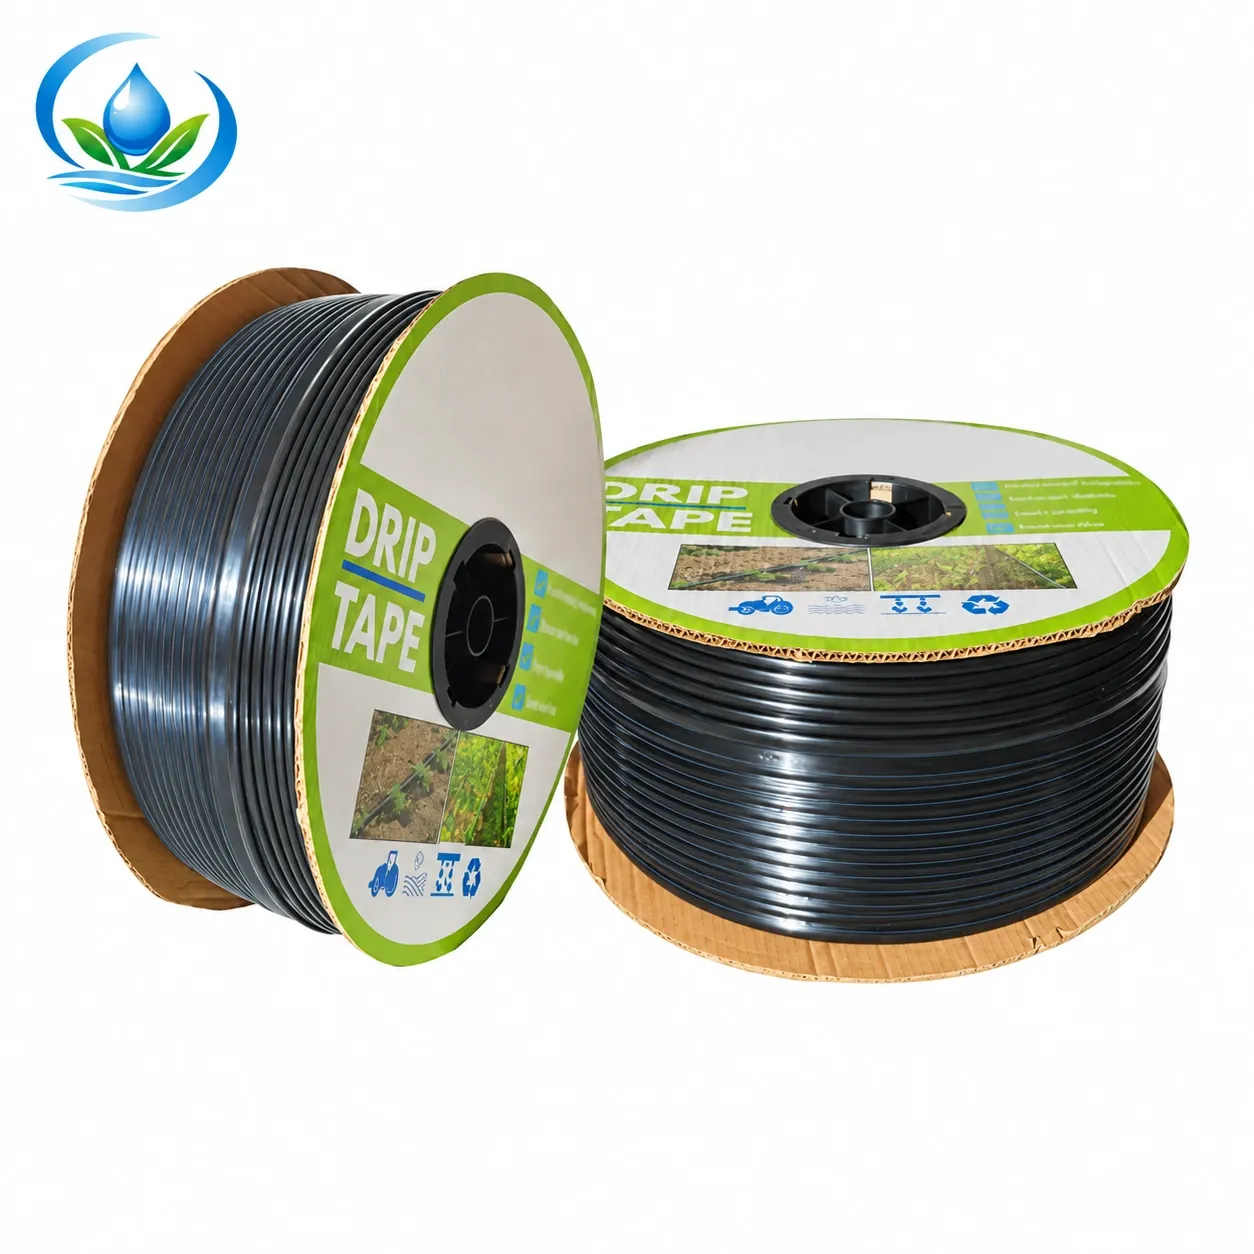
The flat drip tape listing contains multiple dimensions and outlet spacings, so select an actual option rather than treating the family name as one specification. One catalogue option is nominal 16 mm diameter, 0.2 mm wall, 30 cm outlet spacing and a 2000 m roll. That row does not establish a paired emitter flow, an operating pressure or a maximum individual lateral run. Its 2000 m figure describes a roll, not the length to install as one line. Use the option that matches the tested geometry and verified operating data, and recheck wetting if a different outlet spacing or tape construction is chosen. The tape label guide helps distinguish wall, spacing and roll-length information when comparing options.
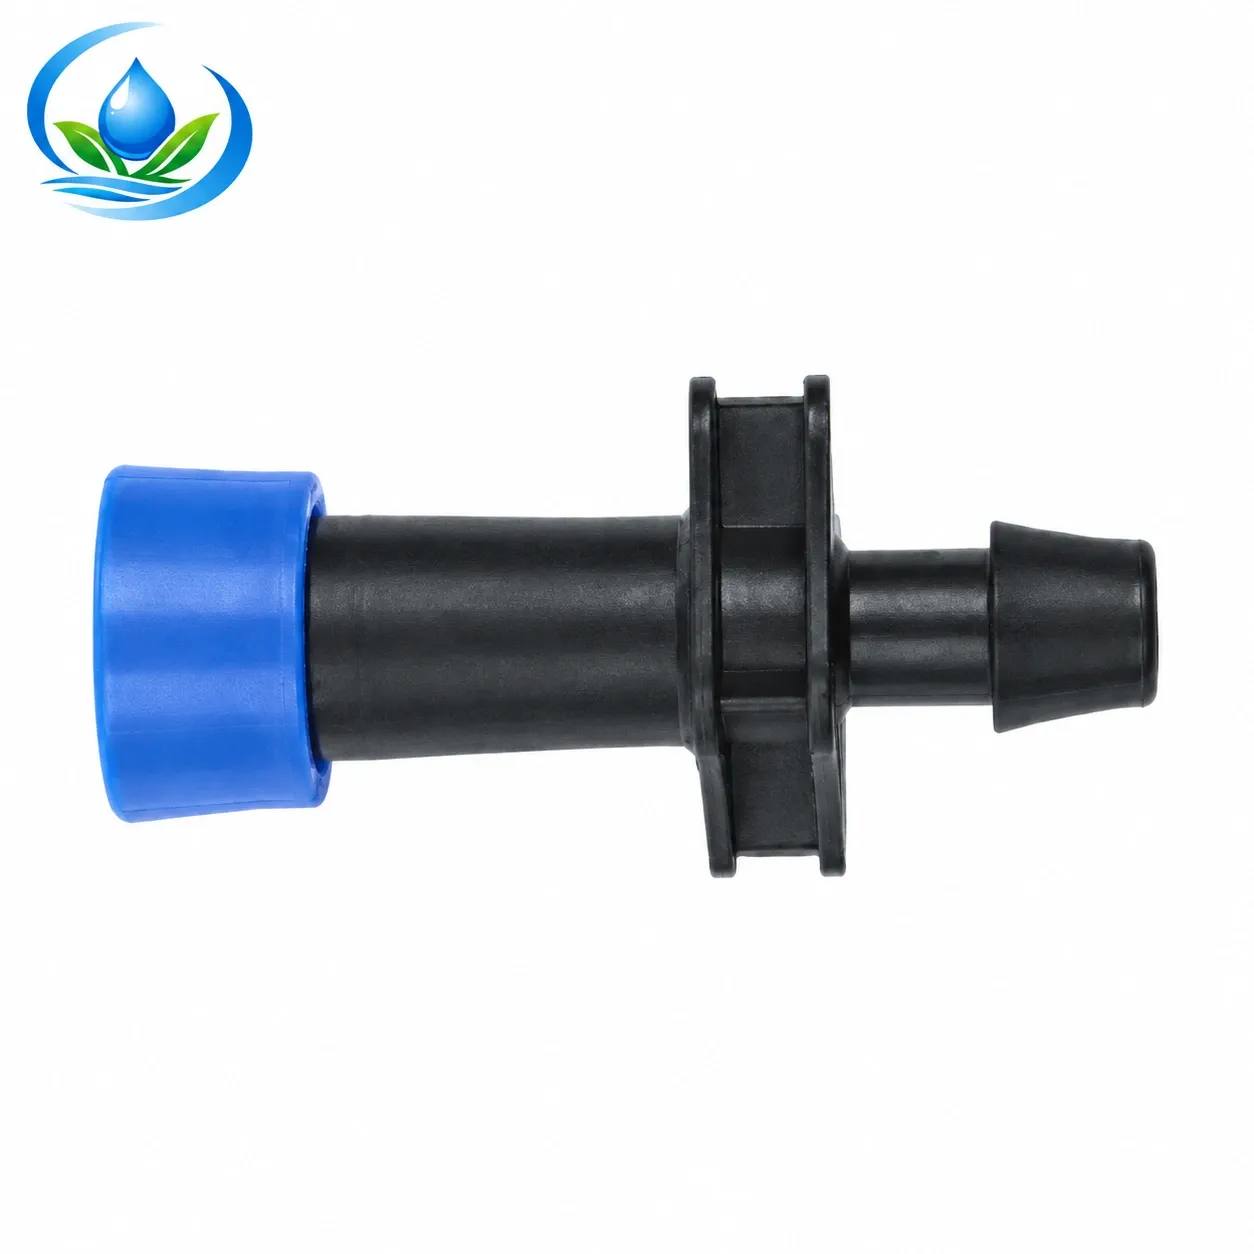
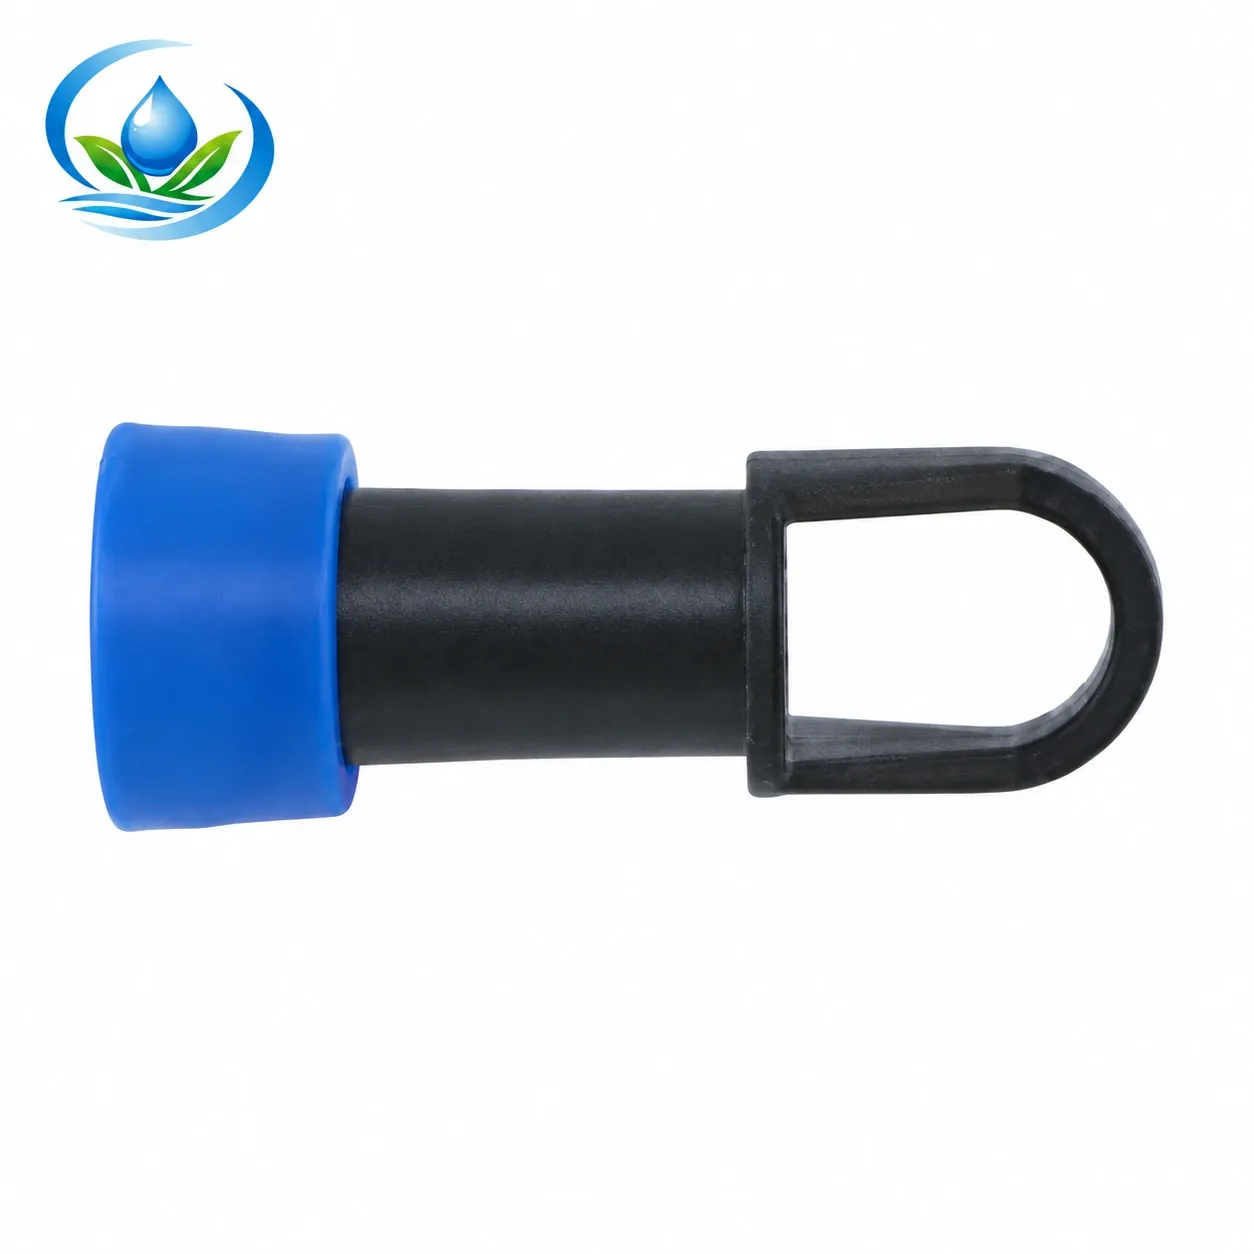
Each lateral needs a suitable start at the header and a serviceable finish. The catalogue identifies the lock-ring start offtake as nominal 16 mm, code T0021712, and the lock-ring end cap as nominal 16 mm, code LE027. Those labels alone do not prove a seal with every nominal 16 mm tape. Match the selected tape wall and connector interface, check the header material and thickness, and verify the existing hole size and takeoff shank where a header has already been drilled. Assemble and pressure-test a sample connection under the intended operating condition before making all the header holes or cutting all the tape.
Translate the field result into a purchasing line by line count: tape length for each planned lateral, one compatible start and one compatible end per lateral, and enough header takeoffs for the selected layout. Check the listing's exact selected size, sales unit or pack quantity, and current availability and delivery details before placing the order. If the trial calls for two lines, also verify the source and header against their combined measured demand and revise zone timing from the actual flow. The purchase result is a tested one-line or two-line bed layout with the matching tape, starts and ends counted; any unresolved soil or supply condition remains a reason to repeat the small test before ordering the full block.
Before you order
Compare this guide with the specifications for your exact product, selected option, water supply and field conditions. Your equipment requirements take priority over a general example.
Compare irrigation products