Stake Drip: Check Nursery Pot Drainage Before Changing Emitters
Measure water entering and draining from representative nursery pots before replacing a stake emitter or microtube.
Published by IrriNex Store
Stake drip can leave a nursery pot draining freely even while part of its root ball stays dry. Before buying a larger outlet or adding another branch, identify the pot, its stake, the water delivered during one normal irrigation event, and the drainage that actually left that same container. Those observations separate an outlet problem from water bypassing the substrate, a displaced stake, a poor collection setup, or a schedule that needs review. Label the collection vessel with the exact pot and event; drainage from a shared trough cannot be assigned to one stake without a separate collection method. Nursery pot drip drainage measurement pairs one identified container with the water applied and collected in the same event.
Work with a representative group of commercial container plants of the same crop, pot, substrate, stage, and irrigation shift. Include a visibly troublesome pot as a separate diagnostic case, rather than allowing it to stand for the whole bench. The goal is a small evidence record that tells the buyer whether to keep the existing outlet, correct its position, investigate the pot or schedule, or specify a different component. A nominal discharge printed on a product listing is a starting description, not the volume this pot received today.
Does nursery-pot drainage belong to the same pot's drip event?
Water in a common bench channel may come from several pots, a leaking feed line, a spray that missed its pot, or a recent washdown. Mark an individual container and trace the path from the identified stake to that container's base. Check whether the outlet discharges into substrate, onto foliage, along the rim, or outside the container. A stream running down the inner wall can leave quickly without wetting the intended root volume. A puddle on the bench beside a pot is not drainage through that pot.
Record pot size, crop stage, substrate type, stake position, feed tube route, and the active irrigation shift. Photograph the inlet and the space below the pot. Note whether the container is raised enough to let its drain holes release water into a clean collector without the bottom sitting in collected drainage. Do not move a stake just before the baseline run and then describe that run as the old configuration; make the as-found observation first.
For assembly and connection choices, see the arrow stake and microtubing guide. It helps identify an endpoint and route. Here the added question is whether the water crossing that endpoint remains in the container long enough to serve the crop, so the measurement boundary must be the individual pot.
Measure applied and drained water for one identified container
Use two volumes with the same units. Applied volume is the water actually discharged by the identified outlet into the pot during the recorded event, not the zone meter total divided by the number of pots. Drainage volume is water that exits that pot during the corresponding collection period. The nursery leaching fraction for this event is drainage divided by applied water. It describes one water-balance observation; it is not a direct measurement of plant uptake, root oxygen, nutrient loss, or overall system efficiency.
A catch of an emitter can interrupt delivery to its pot. One workable diagnostic arrangement is to measure the identified outlet under the same operating configuration in a separate, comparable run, then use that measured discharge to estimate the applied volume for a documented pot event. Another uses a representative neighbouring outlet only after checking that its discharge is comparable to the test pot's outlet under the same conditions. Record which route was used and what could make it unrepresentative. If flow or pressure changes between runs, a nominal rating cannot repair the comparison.
Collect drainage from the marked container alone. Keep overhead irrigation, nearby pot drainage, splash from tubing, and rain out of the collector. Start with a clean, empty measure and note the start and end of irrigation and drainage collection separately. Let drainage finish according to this container and the nursery's measurement protocol; there is no fixed waiting period that fits all pot sizes and substrates. Note any water that remains in the saucer or is reabsorbed by the pot, because it changes what the collector shows.
The University of Florida's container-nursery leaching-fraction guide describes measuring applied water and drainage separately. It is a useful method reference for the ratio. Crop-specific drainage targets, event duration, and maintenance decisions still belong to the nursery's own programme.
Make a one-event calculation that can be checked
Suppose a hypothetical nursery record shows 600 mL discharged into one marked pot during a particular event and 150 mL collected from its base after that event. The event leaching fraction is 150 ÷ 600 = 0.25, or 25%. Write both raw readings beside the result. The number does not say that 25% is desirable, that the remaining 450 mL reached roots, or that every pot on the bench behaves the same way.
Now suppose a collector reads 200 mL but also caught an unmeasured amount from an adjacent pot. The true numerator for the marked pot is unknown until the collection is repeated correctly. Calling 200 ÷ 600, or about 33%, the marked pot's leaching fraction creates a persuasive but false reason to change irrigation hardware. Similarly, a stake that discharged partly onto the bench makes the nominal or measured outlet volume larger than the water applied to that pot. In either case, fix the boundary and repeat the observation before comparing parts.
Use a volume measure that resolves the amounts being collected, and record any spill, overflow, delayed drainage, or partly blocked outlet. Keep the actual event duration, active zones, source condition, and operating pressure if measured with approved instruments. Compare like with like: a morning event and an afternoon event may differ when the feed pressure, substrate starting moisture, or adjacent demand changes. Repeat enough representative pots for the decision at hand without calling one number a greenhouse-wide average.
Read the pot and substrate alongside the ratio
High collected drainage can coexist with a dry part of the root ball. Water may run along a coarse channel, a shrinkage gap, or the pot wall instead of spreading through the active substrate. Inspect moisture at more than one relevant point using the nursery's established method, and record whether water first emerged from a single edge or across the base. That pattern changes the next question: a faster stake is unlikely to solve bypass that already sends water out of the pot.
Little or no collected drainage has several meanings. It may indicate water retained in the pot, an outlet delivering less than expected, a collector that missed the drain holes, or an event too small for this starting substrate condition to produce outflow. It does not prove that the roots received enough water. Pair the collection record with substrate moisture and plant observations, not a zero-drainage target. If salinity or nutrient management requires a particular leaching programme, use the crop and water-quality assessment prepared for that operation.
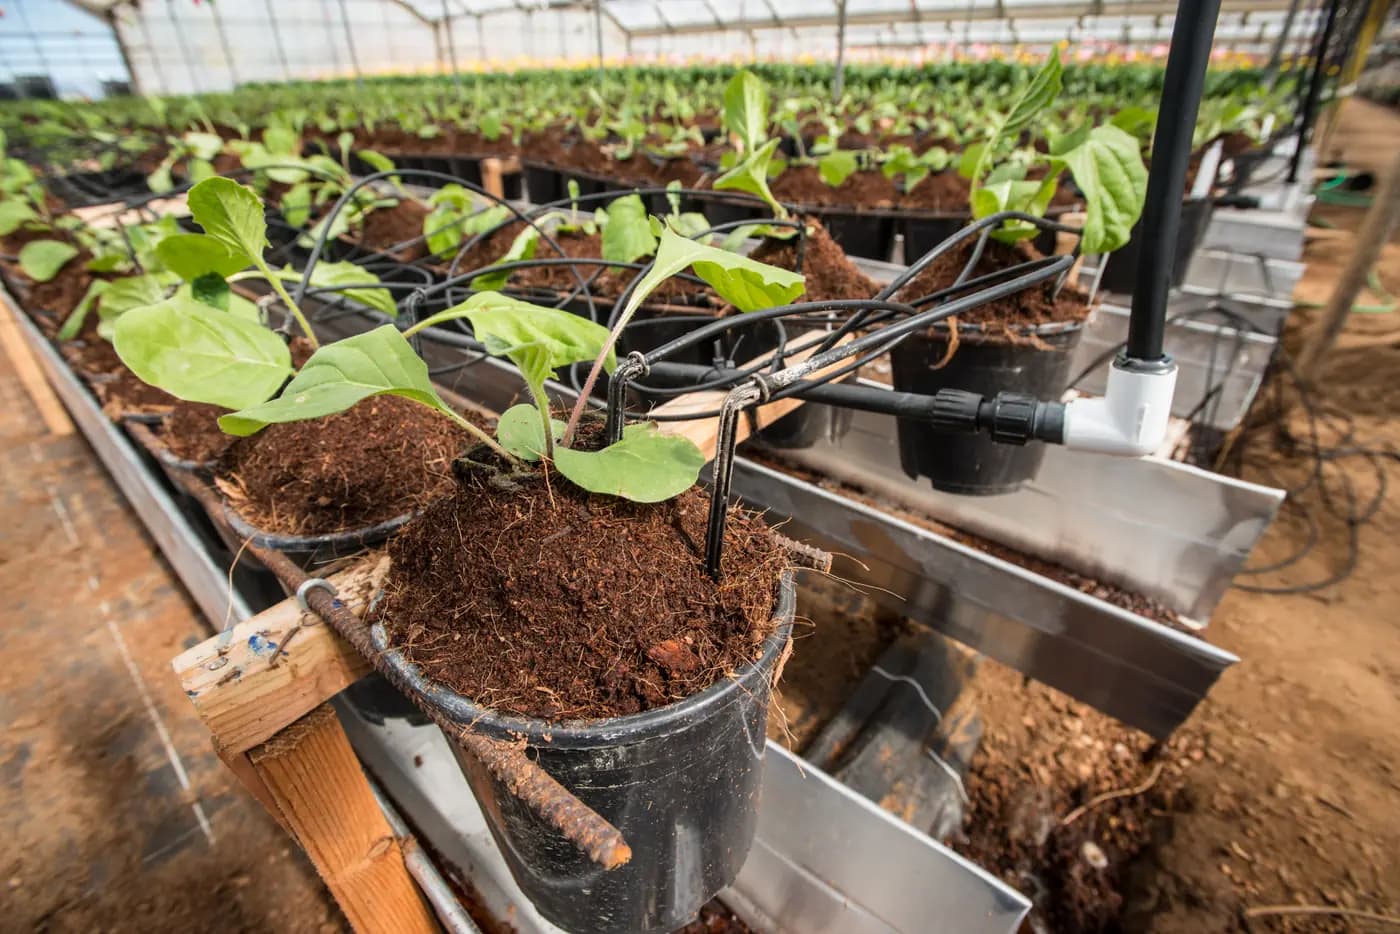
Where the issue is a spray landing outside the intended pot rather than a point stake, the nursery drip-sprayer footprint guide addresses that distinct hardware choice. For the present point outlet, trace its actual stream and pot response first. The photograph above shows a commercial container irrigation scene with stakes and channels; it does not show this calculation or prove any product's drainage performance.
Decide whether an outlet, position, or schedule needs attention
If measured outlet volume is low compared with the same selected outlet's prior baseline or comparable nearby units at the same operating condition, inspect the feed path and emitter using the equipment's service guidance. A weak stream may follow a kink, dislodged tube, obstruction, or changed zone pressure. The uneven-emitter-flow check helps separate a local fault from a block-wide pattern. Do not order a higher-flow stake merely because the pot is dry; first establish whether its current outlet is working as intended.
If delivery at the stake is consistent but water falls at the pot edge, position is the first correction to evaluate. Mark the original location, move or secure the stake only by the approved method for that assembly, then repeat the same pot observation. A feed tube should not tug the stake when benches move or lines cycle. The guide to resetting irrigation after moving pots covers the broader route and active-endpoint count; use the pot-level record here to judge the outcome at the container.
If an appropriately placed outlet delivers a repeatable volume but drainage and substrate moisture show that the event or substrate management needs change, review the nursery's crop programme before buying another outlet. Changing runtime can change both delivered and drained volume, while adding a branch also changes zone demand and the water arriving elsewhere. The two- versus four-branch assembly comparison is useful only after the pot evidence shows why a branch count is relevant.
Use the listed parts only after defining the actual replacement
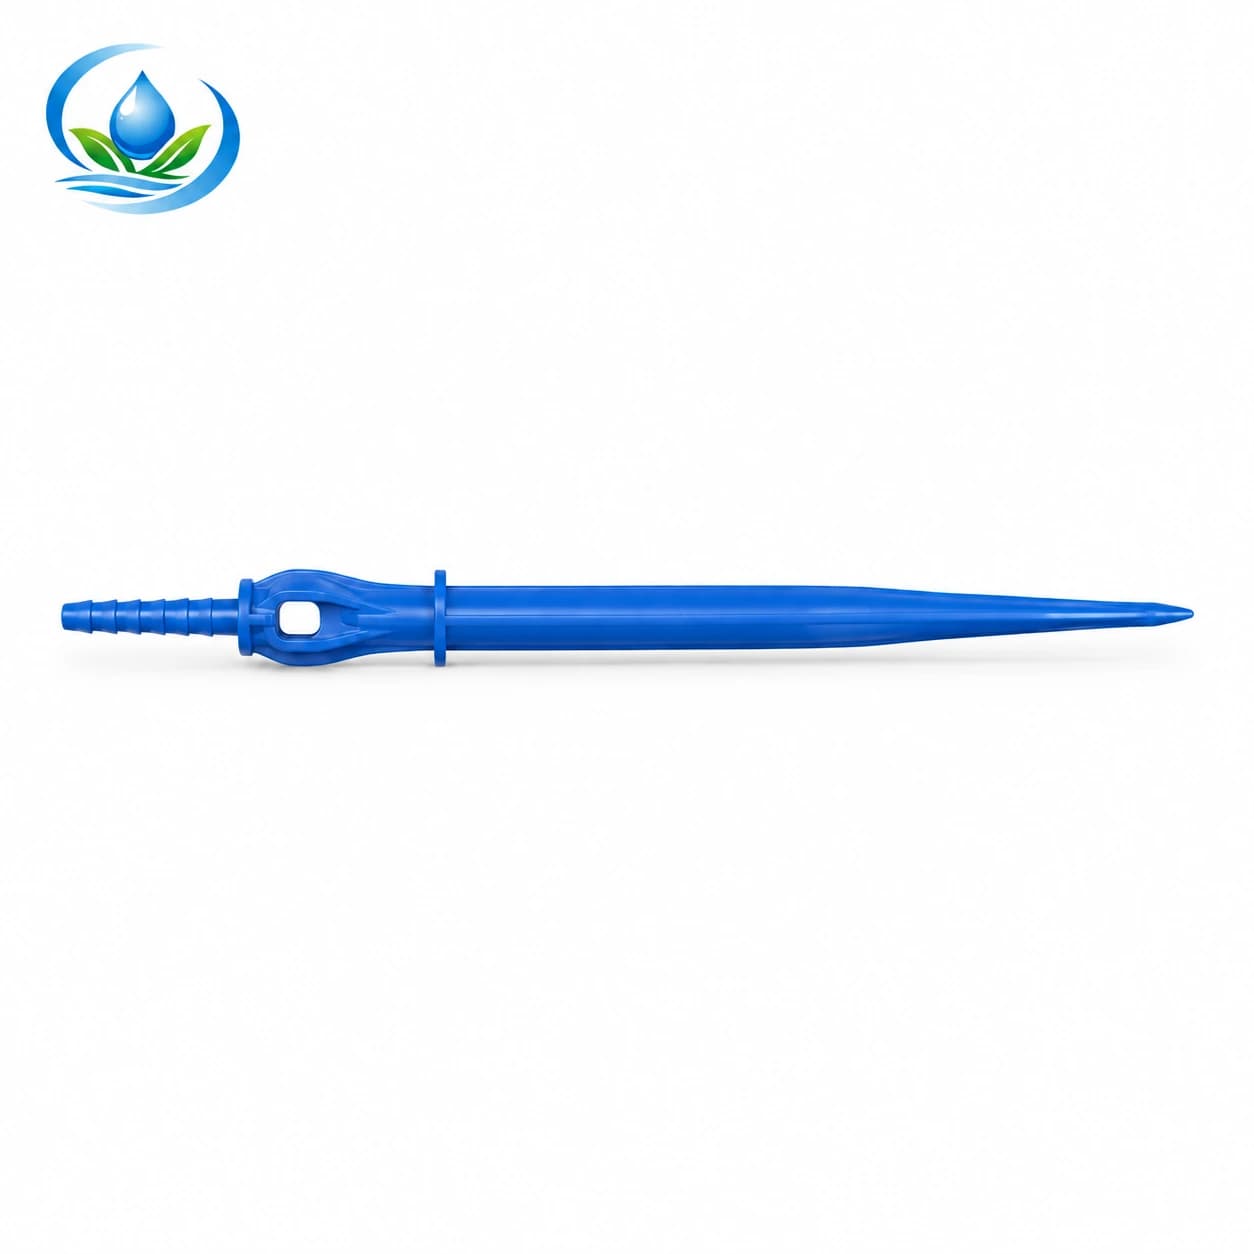
The 2101 straight arrow dripper is listed as one blue straight outlet with nominal discharge of 2 L/h. That catalogue figure identifies a product option; it is not a measured discharge at your pot and does not establish pressure compensation. Compare its exact model, connection, package quantity, and current availability with the component already installed. A replacement decision should state which failed or mismatched part it replaces and what pot-level result will be checked afterward.
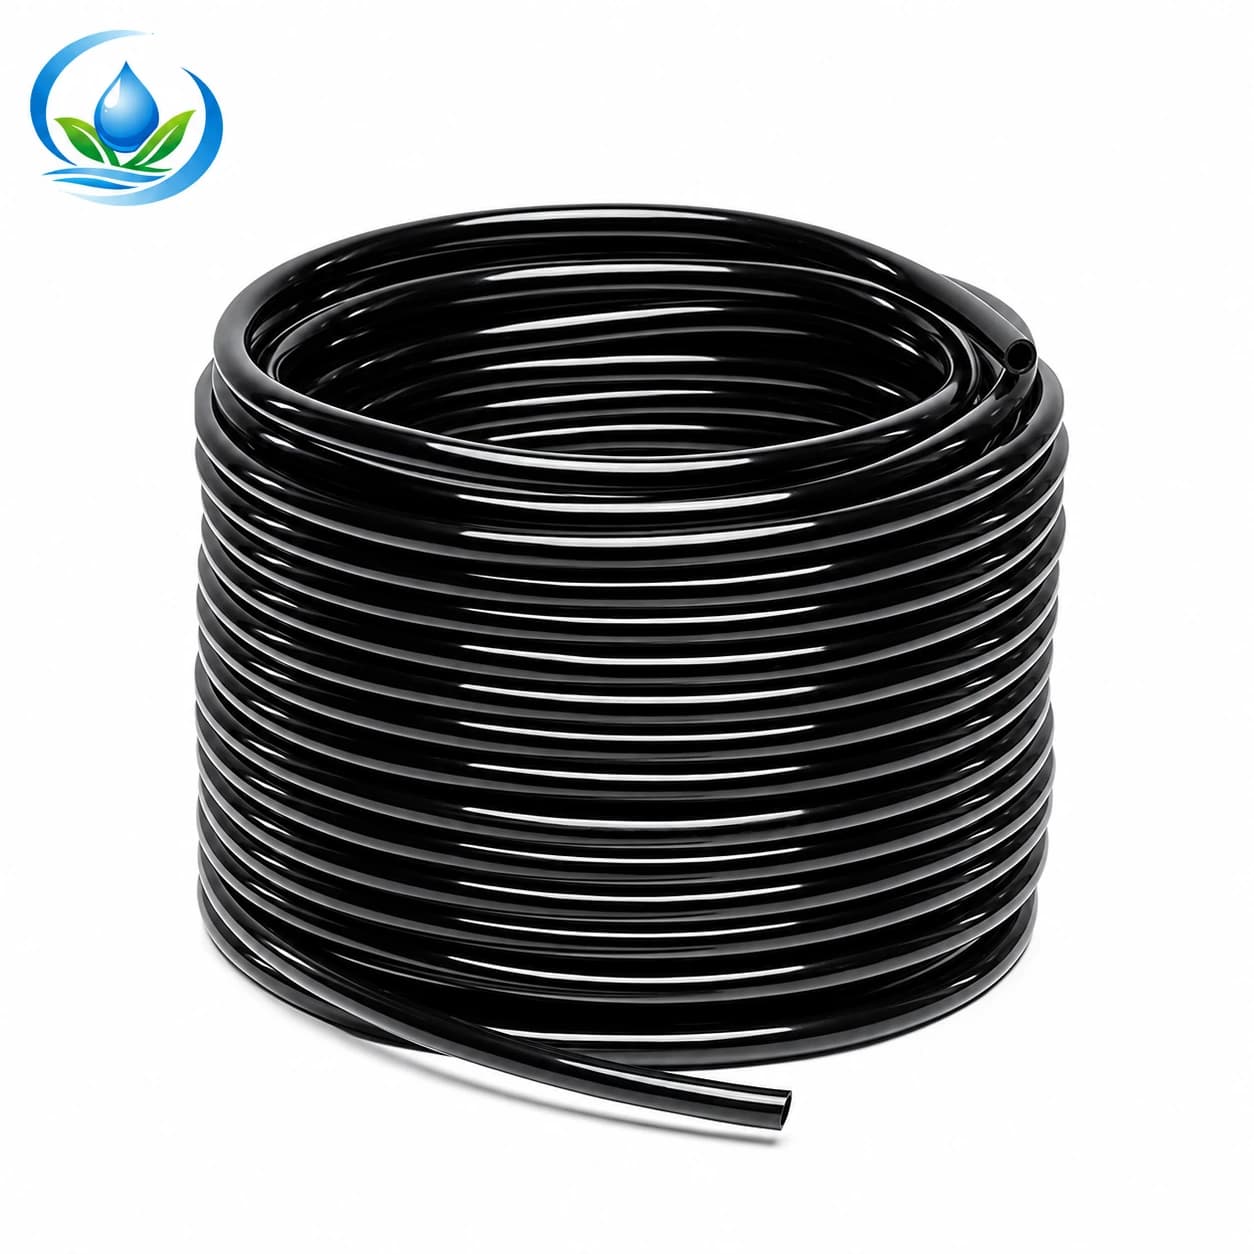
The micro-distribution tube has listed diameter pairs of 3 mm inner by 5 mm outer, 4 by 7 mm, and 8 by 11 mm. These are separate size options. A shared nursery application does not prove that any one tube fits the 2101 arrow or an existing connector. Keep the current tube's inner and outer measurements, stake connection details, route length, and selected variant together when checking fit. If the exact joint remains uncertain, obtain the matching part information before ordering and cutting tubing.
Check the selected product page for the actual variant, unit, pack quantity, current price, and delivery information. If a component is unavailable or compatibility cannot be established, ask support with photographs and measurements of the existing endpoint. Do not improvise an unsupported tube-to-stake joint. A pot with bypass or a displaced stake may need no new part after the original position or substrate issue is corrected.
Keep a short record for the next irrigation shift
Use one line per marked pot: crop and stage, pot and substrate, stake model if known, tube size if known, outlet position, normal active zones, event start and duration, measured or defensibly estimated applied volume, collected drainage, collection end, and visible moisture pattern. Include the person, date, measurement method, and any limitation. This is enough to compare the same pot after a targeted correction; it is more informative than a photograph of a wet bench alone.
After one change, rerun the same question under comparable operating conditions. If the stake was repositioned, compare where the water entered and where drainage emerged. If an outlet or tube was replaced, check both its measured delivery and the pot's response; matching the old nominal 2 L/h label is not a field measurement. If the schedule was changed, note the new event interval and starting moisture, because the resulting leaching fraction cannot be attributed to hardware alone.
For a separate field-grown shrub block, use the shrub root-ball wetting guide to assess soil outside a container. A pot has drain holes and a recoverable outflow volume, so this nursery method makes a different purchasing decision possible. Keep the representative pot records and the affected component details together; then purchase only the outlet or tubing whose role in the observed problem is established.
Before you order
Compare this guide with the specifications for your exact product, selected option, water supply and field conditions. Your equipment requirements take priority over a general example.
Compare irrigation products