Drip Irrigation System Parts: Match a Header Grommet to the Existing Offtake
Identify an existing header hole, rubber ring and takeoff shank before ordering a seal, connector or header repair.
Published by IrriNex Store
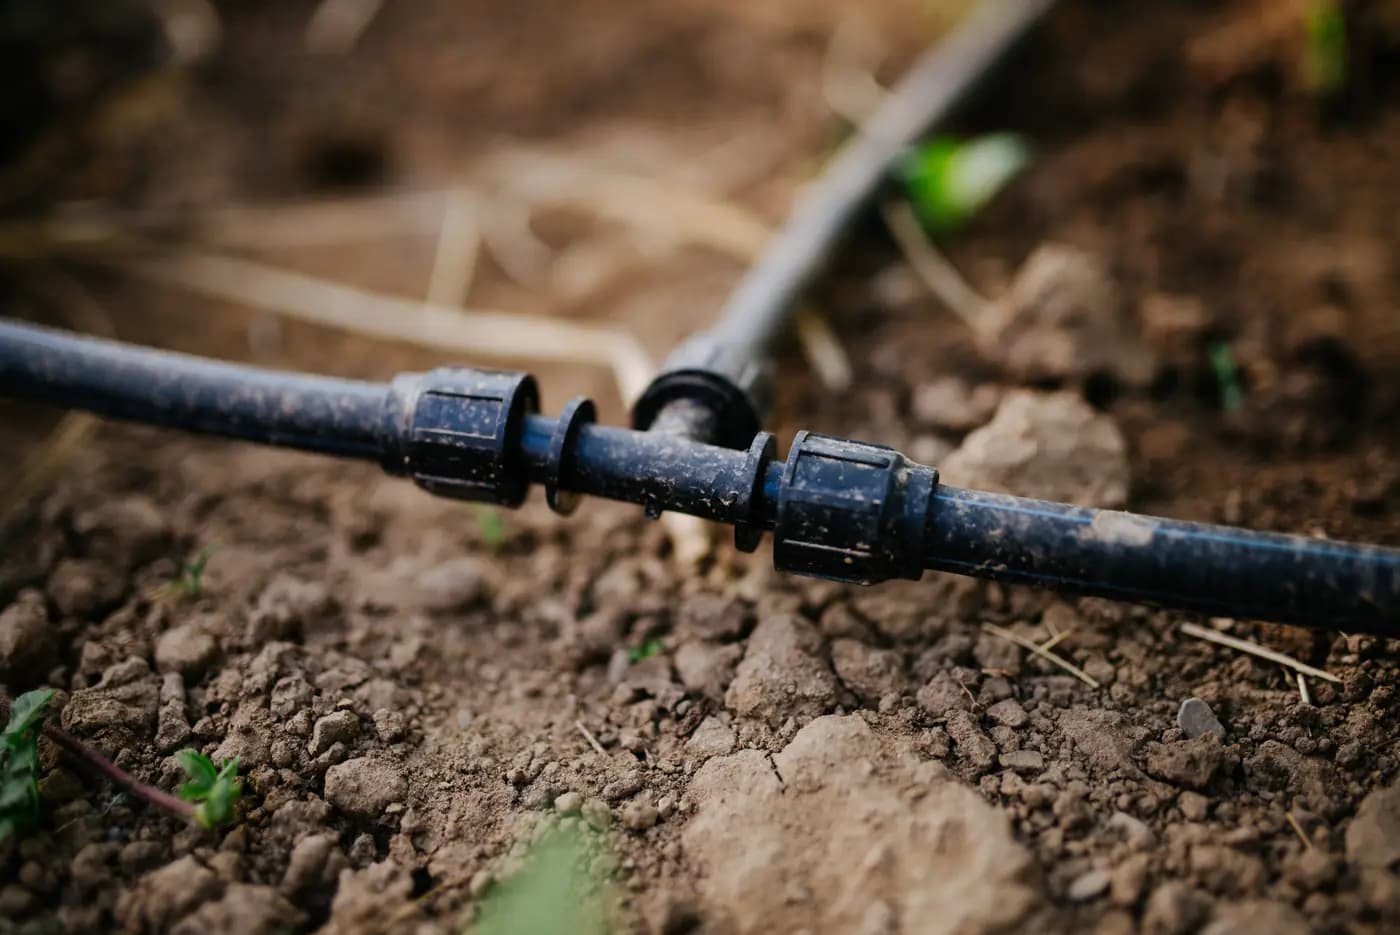
Drip irrigation system parts around a leaking header takeoff are easy to mistake for one interchangeable fitting. A branch may have a rubber ring seated in the distribution pipe, a connector or valve inserted through that ring, and another connection to the lateral. Water on the outside does not identify which interface failed. Before ordering a replacement, record the existing hole, the header wall, the seal, the inserted shank and the branch end as separate facts. That record lets you decide whether a matched ring is enough, the takeoff assembly needs replacement, or the header itself needs attention. After isolating and relieving pressure, label the ring, existing hole and inserted shank separately on the repair card; changing parts without identifying the failed interface loses useful evidence. Drip header grommet leak diagnosis separates the ring, existing hole and inserted shank before a replacement part is chosen.
Work from the existing connection. A row-start leak is a different job from punching a new emitter outlet in blank tubing or joining two cut PE pipe ends. If the header opening has stretched, torn or become out of round, a new ring of the same apparent colour may not restore it. Keep the branch identified, inspect from a safe position during ordinary operation, and arrange reliable upstream isolation and pressure release before touching the joint.
Where does a leaking drip-header offtake first release water?
Mark the affected block, header and branch. Photograph the whole connection while it is still assembled, with a second view showing the branch route and any support. During a normal permitted run, observe from a safe position whether water starts at the rim where a ring meets the header, at the junction between the ring and inserted takeoff, at the downstream hose-to-fitting connection, or at a valve body. A wet patch underneath can collect water that travelled along the outside of the pipe from another point. Wipe and reobserve only where doing so is safe; do not handle a pressurized joint.
Record whether the branch moves when the system starts, whether it is being pulled by a taut lateral, and whether the leak appears only when another zone is operating. Movement can load the penetration even when the parts were initially seated. A dry-looking takeoff after shutdown does not prove it sealed during flow. A valve that allows water through when closed is a separate question from a valve that leaks externally around its header entry. For the former, use the manual drip-valve leak and closure check; for an uncertain wet location along the pipe, use the zone restart observation method to record the fault under a known operating arrangement.
Do not assign every symptom to the rubber ring. Water can emerge from a split in the header beside the hole, run down a takeoff shank from an upper joint, or escape at the flexible branch connection. Identify the first visible escape point and retain photographs before disturbing the evidence. If the source cannot be localized safely, leave the branch out of service and describe the uncertainty to the installer or supplier.
Rubber ring, inserted shank, or branch end: which interface failed?
Locate a dependable upstream shutoff that does not rely on the suspect branch valve. Follow the installed pump and pipework procedure to stop flow, prevent an automatic restart where applicable, and release pressure through an approved route. Confirm the section to be handled is depressurized. Do not pull a takeoff, pry out a ring, loosen a retaining part, or cut pipe while water may still be pressurized. If a header has multiple supplies or a raised tank, account for those feeds before opening it.
Photograph the assembled joint beside a ruler and note every visible code or moulded mark. Record which side faces the header and which side grips the lateral. If removal is allowed by the actual header and fitting instructions, keep the ring, fitting and any valve together in a labelled bag. Photograph both sides of each part before cleaning it. A torn seal or abraded shank can lose its diagnostic marks when wiped or forced out. If the maker requires a special removal method, use that method; a screwdriver used as a lever can damage the hole edge that a replacement must seal.
Do not assume a part can be reused because it still looks round. Check its maker's service rule, age and visible compression, cuts or swelling. Also examine the header surface for a crease, crack or unsupported bend near the penetration. A sound ring cannot seal a damaged wall by itself. If the pipe is distorted or the opening is inaccessible, stop the small-part order until the header repair route is established.
Build an as-found fit card for this hole
A useful fit card has one line for each physical interface. Identify the header material and exact pipe series or wall information from a marking, original order or manufacturer record. Note its outside diameter and the local curvature if the fitting instructions use them. Record the original opening's measured size at several directions only after safe removal, with its edge condition and distance from nearby joints or damage. An opening may be nominally circular but locally torn; one caliper number does not describe a ragged edge. Do not enlarge it to make a convenient standard bit fit.
Then record the ring's actual model or readable code, lip or flange orientation, external shape and observed condition. Separate that from the takeoff's inlet shank or barb identity. Finally record the branch-side connection: the tube or tape type, its actual mating dimensions, and whether a valve is part of the takeoff. A label such as “16 mm” may describe the branch-side connection or a product family. It is not automatically the drilled-hole diameter, the ring's outside diameter, or the inserted shank's exact dimension.
| Fit-card field | What to retain | Why it changes the order |
|---|---|---|
| Header | Material, model or pipe series, wall, local shape | Seal designs may permit different wall and curvature ranges |
| Existing opening | Size in two directions, clean or damaged edge, nearby crack | A deformed hole may rule out a small-part replacement |
| Ring | Code, profile, flange direction and condition | A ring label alone does not identify its mating shank or hole |
| Takeoff | Code, inlet shank and branch-side connector | The inlet and outlet serve different dimensions |
| Operating record | Active zone, first leak point and normal pressure record | Distinguishes a seal problem from movement or another leak |
For example, a field note might say “header H3, branch B7; ring code unreadable; water begins at the header rim; hole oval after safe removal; branch tube marking retained.” That is a useful hold record, not proof that a larger ring should be purchased. A second note might identify an intact header opening, readable maker and part numbers, and a documented manufacturer pairing for a replacement ring; only then does a ring-only order become a reasonable candidate. No example number here replaces the selected manufacturer's fit table.
Separate the three Store product routes
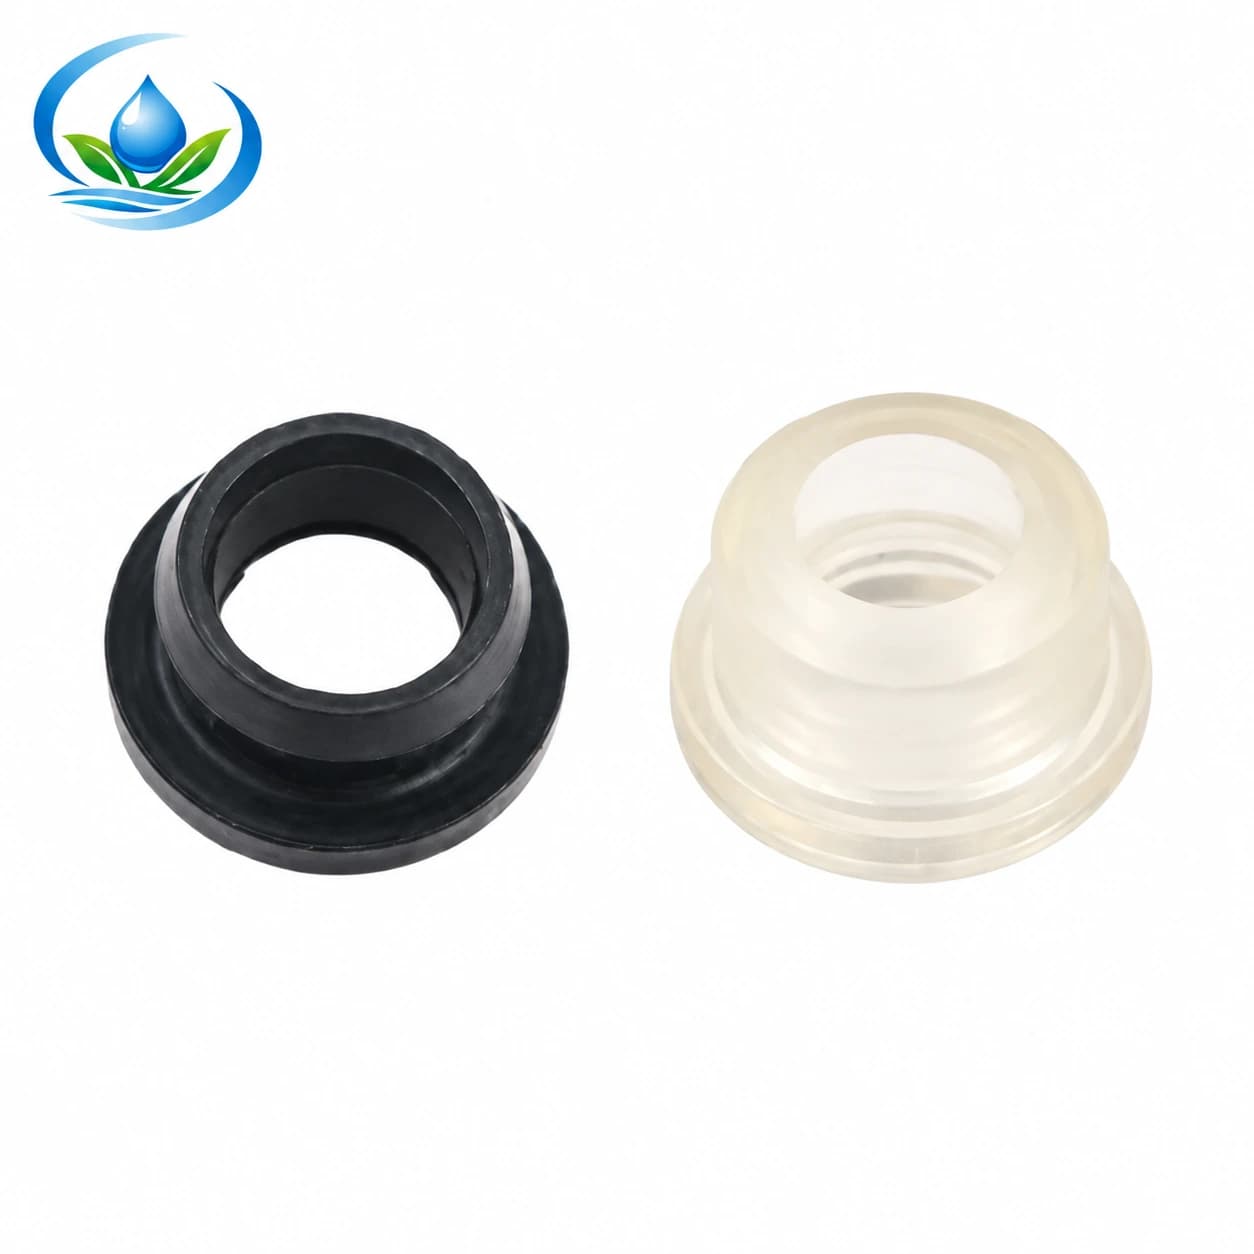
The rubber-ring options list RR0116, RR0120 and RR0125 under nominal 16, 20 and 25 mm labels. This is the sealing insert route. Those listings do not state an existing-hole diameter or certify that a ring will fit a particular takeoff or header. A request for RR0116 should include the installed component identity and the fit-card evidence, not only a photo of a black ring.
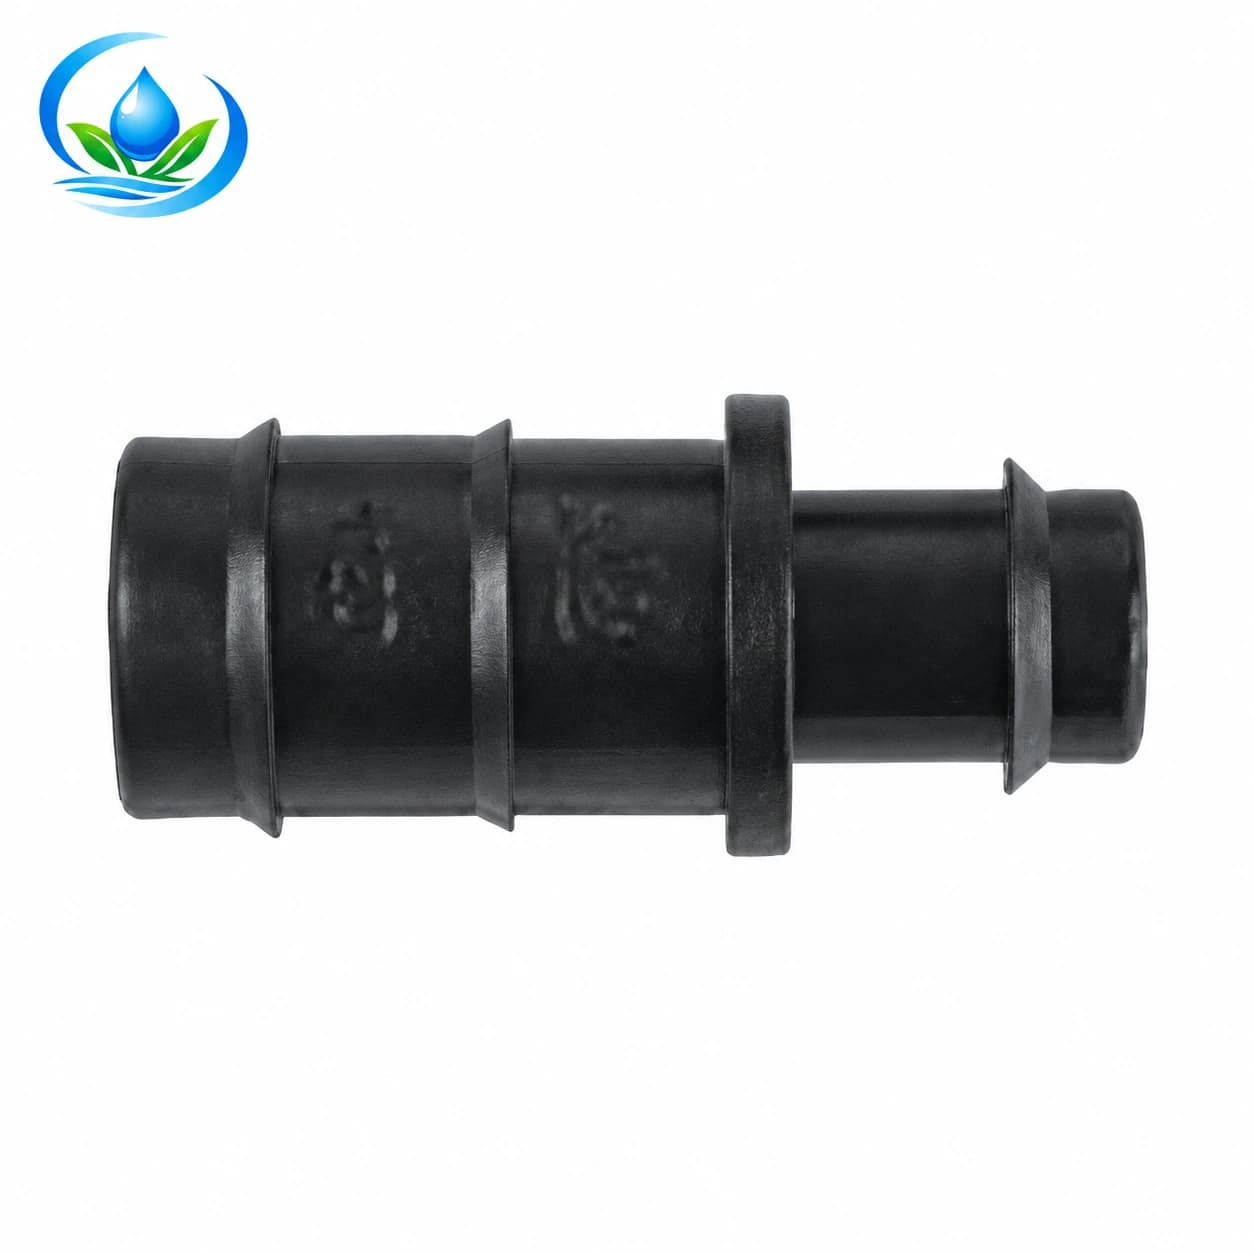
The barb-offtake connector options list OP0116, OP0120 and OP0125 under 16, 20 and 25 mm labels. They are separate parts for taking a branch from a main or header. A matching numeral on OP0116 and RR0116 is a useful catalogue clue for an enquiry, but it does not establish an approved seal-and-shank pair or a hole size. The branch-side barb must also match the actual lateral. If a connector shank is scratched, bent or unknown, ordering a ring alone may leave the original defect in place.
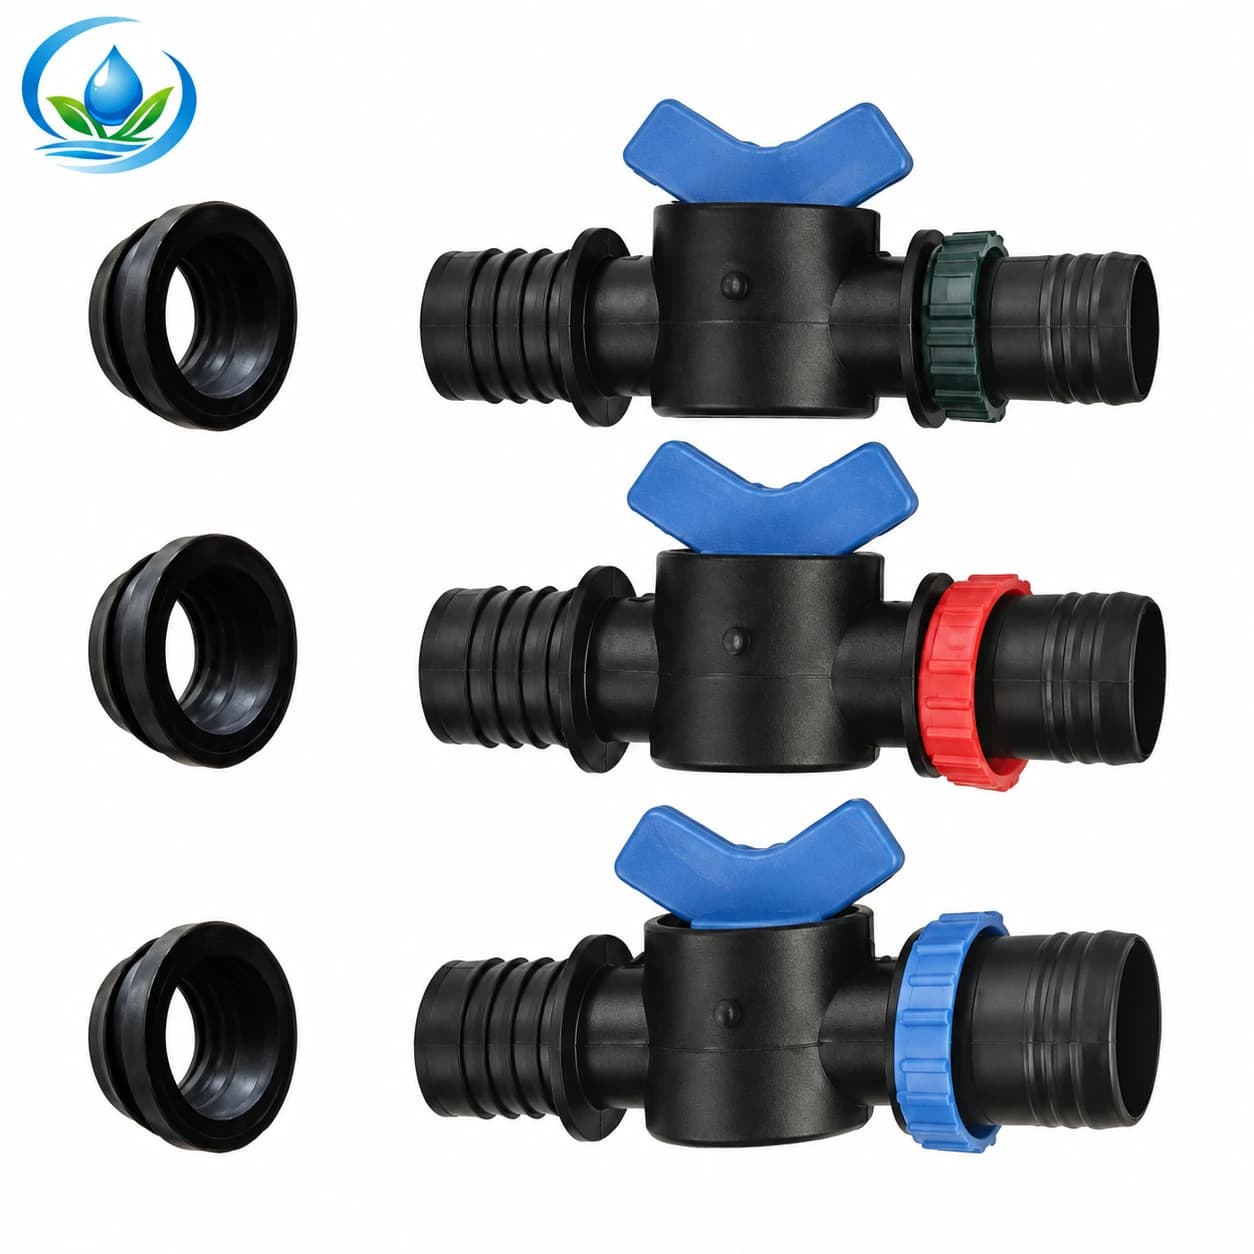
The offtake valve for PE pipe lists V25E, V28E and V32E options. Its valve function and body make it a different purchase from a loose ring or plain barb takeoff. The 25, 28 and 32 mm labels do not tell you the drill diameter, prove an RR ring pairing, or prove which rings are included in a selected package. Confirm the exact selected valve's inlet interface and included parts before putting it in the cart. If the valve itself leaks or fails to close, investigate that function separately from the header penetration.
For context on other connection jobs, the agricultural fitting-family guide distinguishes branch, coupling and repair connections. The barbed connector guide helps with the flexible lateral side. Neither turns a branch barb into a certified header-hole seal. A compression coupling between two PE ends solves a different interface if the eventual repair requires cutting out a header section.
Decide whether a ring, a paired assembly or header repair is needed
Ring-only candidate: the header opening is sound under the relevant maker's inspection rule, the inserted fitting is undamaged and positively identified, and the exact replacement ring is documented for that same header wall and shank. Ask whether the selected ring is sold individually or in a stated pack. Do not infer a compatible replacement from colour, softness or a common nominal number. If an original maker's ring is unavailable, hold the order while checking a complete documented takeoff system.
Takeoff or valve candidate: the ring and opening are sound or serviceable by the actual instructions, but the shank, branch barb or valve body is damaged or unidentifiable. Select the complete documented part and every required matching seal; verify what the listing actually includes. A plain offtake connector cannot perform a needed shutoff, and a valve may change the lateral-side connection. Keep the old part until the replacement's inlet, outlet and retention method have all been checked. If a downstream tube end is enlarged or split, include that tube repair in the plan instead of asking a new barb to grip damaged material.
Header-repair candidate: the opening is elongated, cracked, gouged or placed in a distorted pipe wall, or a repeated replacement leaks at the same damaged edge. A larger seal or more force is not a documented repair. Ask the header maker or a qualified installer whether that section can be repaired with an approved component or should be replaced. The work may need isolation of neighbouring branches and sufficient sound straight pipe for a different joint. The drip-line plugs guide explains why a small point-emitter hole plug or row-end cap is not a remedy for a header takeoff opening. Do not use a plug meant for a tiny punched emitter hole as a patch for a larger structural penetration.
If several nearby takeoffs fail after the same start event, examine the common header support, pressure history and operating change before ordering a bag of rings. If just one old hole repeatedly fails, preserve that site's measurements. The decision is about the condition of the complete connection, not the number of leaks alone. Correcting an overloaded route or unsuitable part family can be more effective than replacing the same piece repeatedly.
Check a claimed match without borrowing another product's dimensions
A useful supplier answer names the exact header type and wall range, permitted hole geometry, ring model, takeoff inlet model, branch-side connection and approved assembly method as one combination. Ask for the document or drawing that ties those fields together. Two separate product pages carrying “16 mm” do not supply the missing pairing. A photographed fit in another manufacturer's pipe is likewise insufficient for the hole already in your field.
For an uncut spare section of the same identified header, a maker-approved trial assembly can reveal handling or seating problems before repeated field work. It does not certify an old worn hole, and one good sample does not authorize different wall thicknesses or branch parts. Preserve the old opening until the maker's specified acceptance criteria are known. Do not re-drill a leaking hole, heat the header or ring, add glue to an unknown elastomer, wrap the shank with tape, or force a bigger fitting into the opening to create a temporary seal.
Also check operating conditions without confusing them with geometry. Record the intended zone and pressure at a meaningful location, plus any observed startup movement. A matched joint still needs an operating condition within every installed component's documented limits. Conversely, a low gauge reading does not prove the ring is the wrong size. If the assembly shifts because the lateral pulls sideways, correct the support and route under the installed system's design before relying on a new seal. For new point-emitter outlets elsewhere, the blank-tubing punch guide addresses that separate small-hole operation; do not apply its punch dimensions to this header takeoff.
Order the exact parts and retain the unresolved fit question
Start the cart with the selected model and selling unit for each positively identified piece. Compare the selected listing's current price, pack quantity, available quantity and delivery details. A ring, connector and valve are different product lines; the photograph beside one listing does not guarantee that every visible loose piece ships with it. If the chosen pairing is still unclear, send support the fit card and ask for the exact documented ring-to-shank-to-header combination before ordering. State which measurements are known and which remain inaccessible. Avoid buying three nominal sizes for trial-and-error insertion into one existing hole.
When an approved repair is completed, return the branch to service using the installation's normal restart procedure. Observe the header rim, inserted shank, branch connection and neighbouring takeoffs under the intended zone operation. Record whether the leak stopped and whether the lateral still moves or pulls on the joint. Check the downstream row's expected delivery; an externally dry fitting is not proof that every emitter is clear or that a shutoff valve works. If seepage remains, isolate and depressurize again before investigating. Do not live-tighten, hold the connector by hand during a run, or increase pressure to “prove” a replacement.
Keep a photograph of the final installed connection, the exact ordered codes, the supplier's fit drawing and the as-found card with the block map. At the next service, those records can distinguish the header hole size from the branch size and show why a particular ring was selected. The practical order is the smallest documented repair that fits a sound existing header opening; when the opening or pairing is unresolved, hold the small-part purchase and resolve that condition first.
Before you order
Compare this guide with the specifications for your exact product, selected option, water supply and field conditions. Your equipment requirements take priority over a general example.
Compare irrigation products