Lay Flat Hose at a Farm Pump: Build a Coupled Route That Drains and Moves
Plan a discharge-side hose run from pump to crop block, including exact joints, field access, controlled drainage and storage after a move.
Published by IrriNex Store
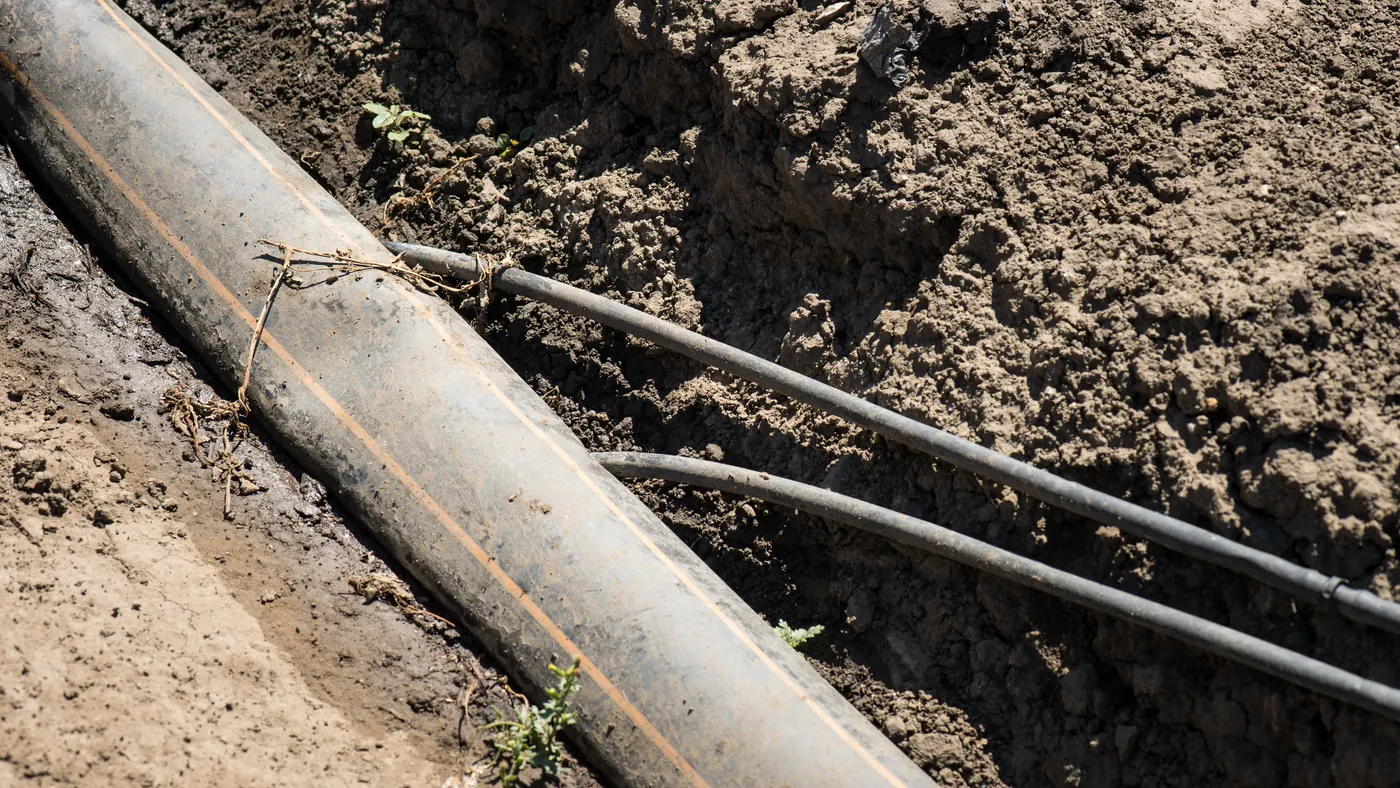
Lay flat hose can form a temporary water-delivery route from a farm pump to a crop block, but a good roll is only one part of a reliable run. The route also needs a confirmed discharge-side connection, enough correctly joined length, a way to keep joints accessible, an approved drain path and a handling plan for the next move. Sketch the complete path before buying rolls or couplings. A hose that reaches the field on a map can still be too short once it follows safe turns, or it can join with an unverified fitting that leaks at the first operating pressure.
Set the route from the pump outlet to the field inlet
Mark the exact pump discharge port, the first shutoff or protected connection, the field takeoff and the crop block's normal valve group. This is the pump's delivery side, not its suction intake. A hose that can deliver pressurized water above ground is not thereby rated to resist vacuum on the inlet side. The pump suction-hose guide handles that separate purchase. Do not put a flat discharge hose into an intake order merely because both ends are described by the same nominal size.
Walk the route while machinery, crop rows and access points are visible. Measure along the intended ground path, including turns around a building, canal, ditch or lane. Mark crossings where the hose needs an approved protective arrangement and the parts that must remain open for maintenance or harvest. Avoid a short straight-line estimate that requires the hose to cut through a gate, lie under a vehicle wheel or pull sharply against the pump connection. Give each route segment a length and an endpoint so the order can be checked on the ground.
Note the normal water source and the crop group's running demand. A pump nameplate maximum flow is not a dependable flow at the pressure needed by the outlets after the full hose route and elevation are included. The surface-pump comparison explains why maximum head and maximum flow are separate endpoints, while the crop-zone guide helps record which rows operate together. Keep the pump's exact curve and the measured operating case beside the hose sketch.
Choose sections, joints and lengths as one assembly
Count the hose lengths needed to reach the field without putting a joint at a wheel crossing, a low spot that floods, or a location hidden by mature crop. A first plan might use two full lengths and one shorter selected length; the actual package choices and permitted cut or joining method determine whether that plan can be purchased. The usable installed length can differ from the sum of roll labels because connections, turns and routing consume length. Do not add a universal allowance: measure the path and use the selected fitting's installation drawing.
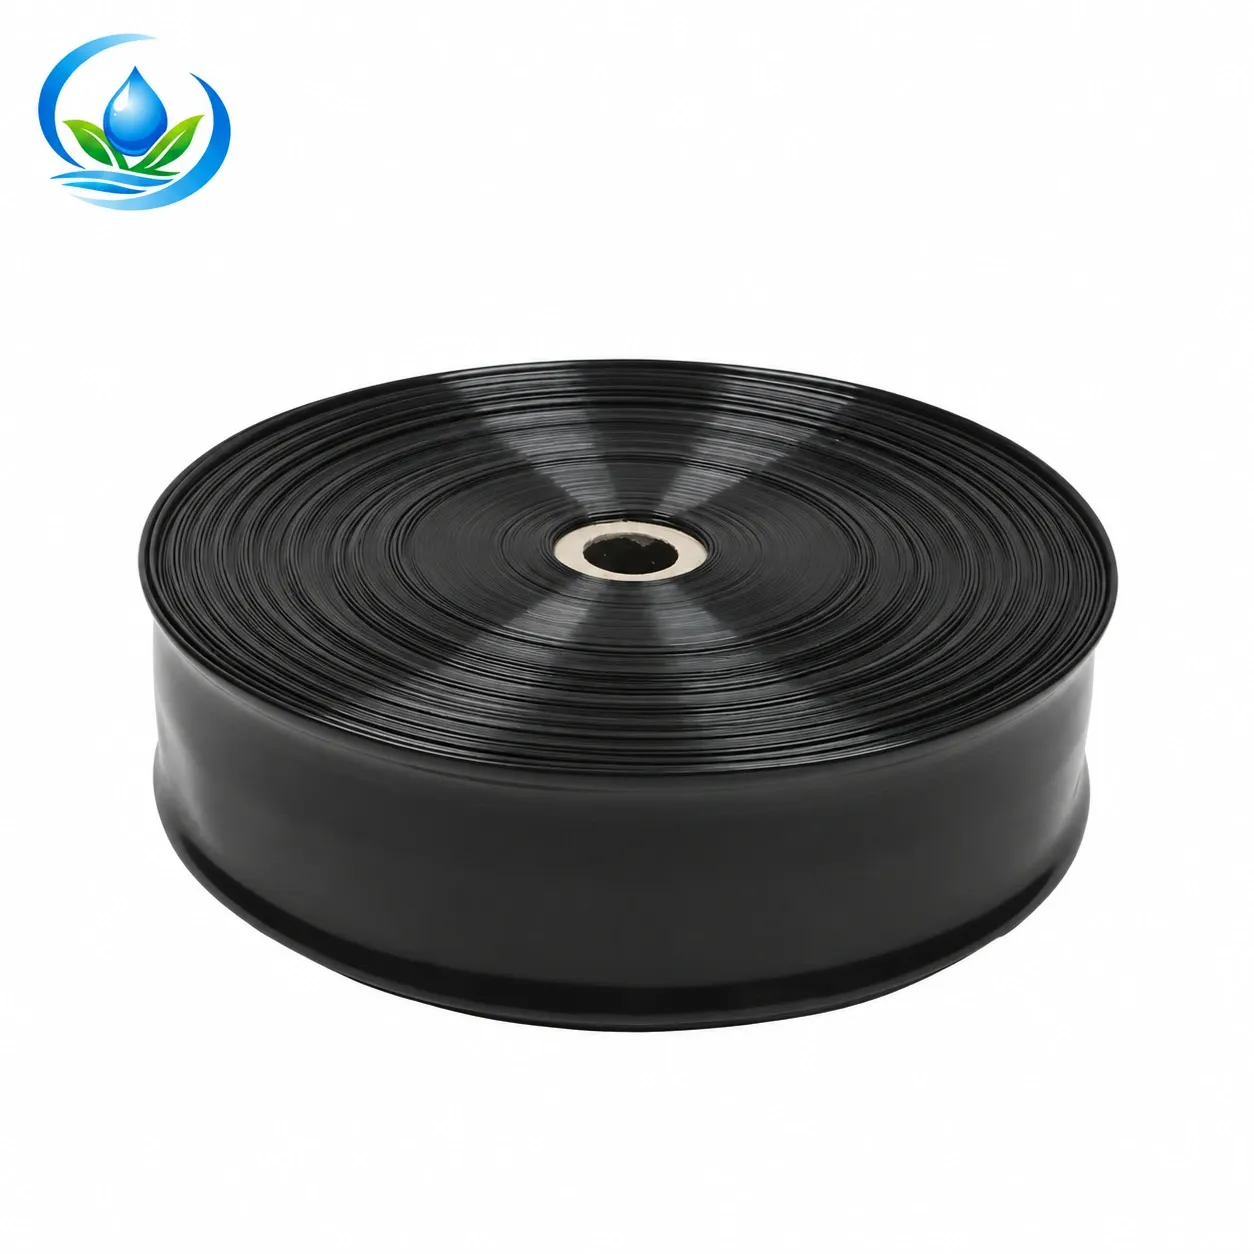
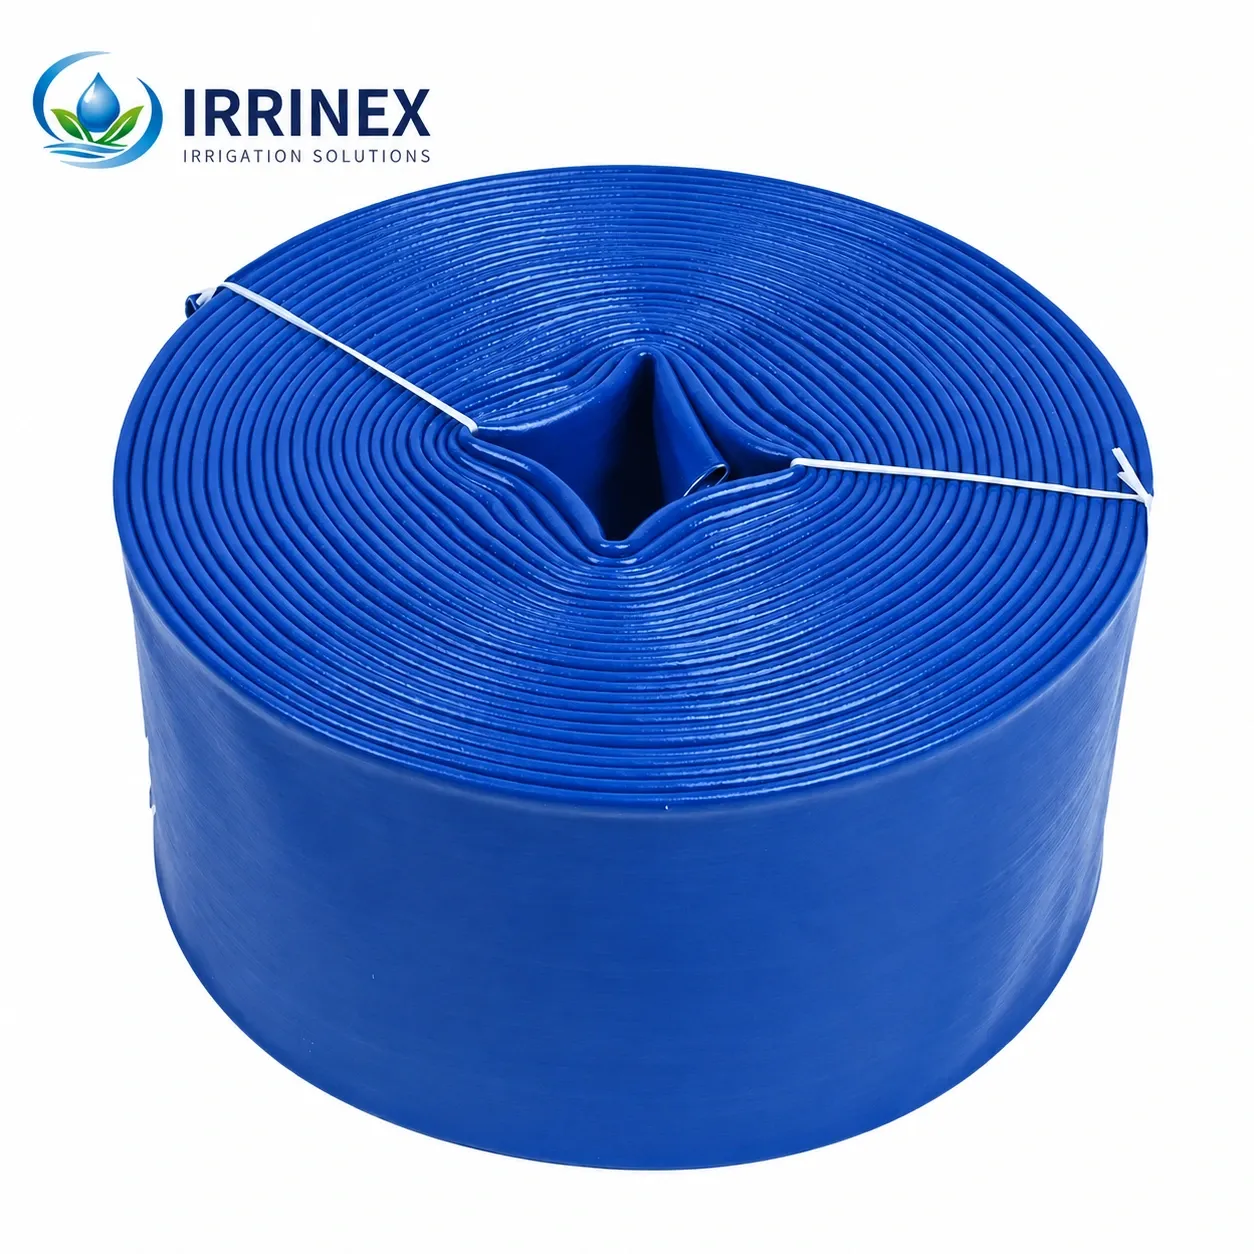
The listed PE layflat water-supply hose and PVC layflat hose are different material families. Confirm the actual variant's nominal bore, construction or wall, working-pressure designation, supplied length, permitted bend and handling instructions. Do not pair the smallest advertised size with the highest family pressure or longest roll as if all three describe one stock option. The PE page presents several sizes and ratings as family information; the PVC page needs an exact selected specification before its suitability can be judged. Colour and the way a drained roll lies flat do not identify material or rating.
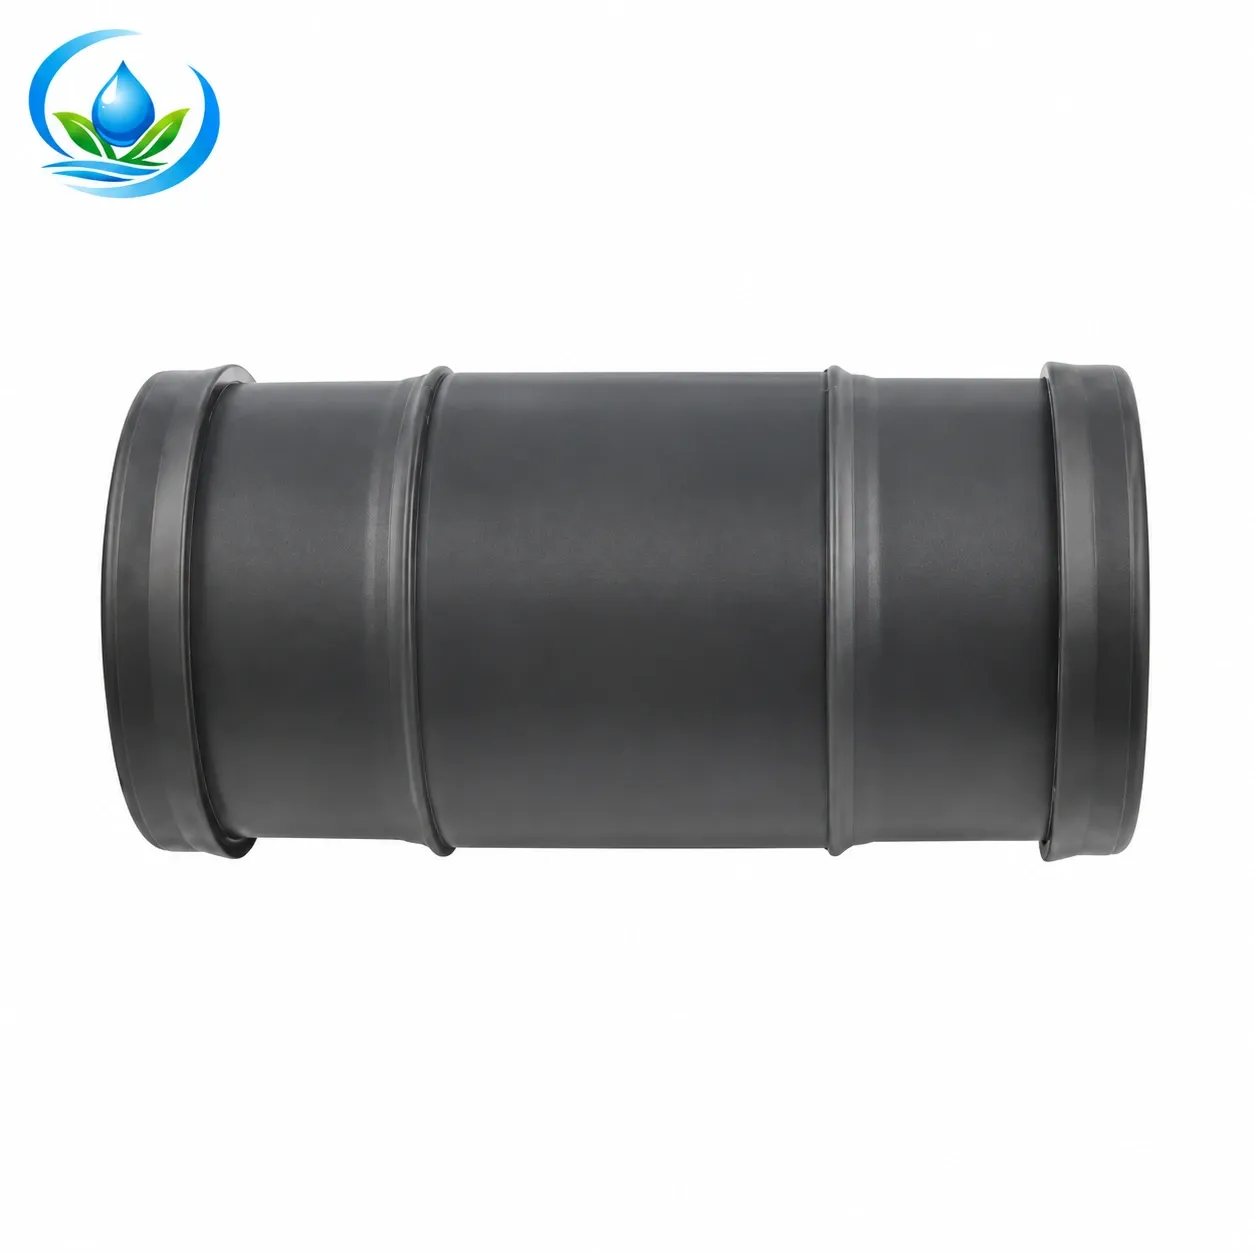
The hose-coupling family lists size codes such as 790032 at 32 mm and other separate references. Its catalogue image identifies a connector family, not a universal joint for every PE and PVC layflat wall. For each proposed join, identify both hose ends, their actual dimensions and construction, the fitting's permitted grip or retention method, seals and allowed operating condition. A connector that appears to enter an unpressurized hose mouth has not yet been shown to hold and seal in the working route. Do not call it a camlock or a quick-release fitting without the exact maker's document.
The flat-width guide is useful when an old or delivered roll is measured across its collapsed width. That width is an observation, not the nominal internal diameter to enter on a coupling order. A section cut from a different roll may have another wall even when the printed nominal size is the same. Label the intended new sections A, B and C and record the approved mating pair at each joint. Do not substitute a nearby fitting because its number resembles the width read from a ruler.
Keep joints where they can be seen and isolated
Place every planned coupling on the route map and photograph its position once installed. A joint should remain reachable for a safe visual check during the normal irrigation event. If the shortest line places a connection inside a deep crop canopy or under a temporary bridge, shift the section boundaries or select a different permitted length. Keep the pump-end transition and field-end transition distinct; the pump port may be threaded or flanged while the field header may have another connection form. Nominal diameter alone cannot prove either interface.
For a new assembly, confirm the exact manufacturer's method for preparing the hose end, inserting and retaining the connector, and testing the completed joint. This article supplies no universal clamp torque, insertion depth, heating step or adhesive method. Do not force a fitting into a wall that the maker has not approved, cut the hose under pressure, or tighten a live leaking joint. Isolate the dependable upstream source and release pressure according to the installed equipment's procedure before correcting any connection.
A soft hose can shift shape as it fills and drains. Observe whether the assembled joints remain supported without pulling on the pump outlet or field valve. A leak beside a joint could arise from the hose wall, the seal, a poorly matched connector or strain on the assembly. Locate the actual wet point before ordering another coupling. The PE routing guide covers sharp bends in round PE pipe; layflat hose has its own maker's bend and handling limits. Do not treat a round-pipe bend rule as the permitted fold for a drained flat hose.
Plan a controlled drain before the first move
A long above-ground run can retain water in low sections even after the pump stops. Mark high and low points along the actual terrain and identify the installed valves, drains or end-service route that the selected equipment allows. The line's appearance at one point does not prove that every section is empty. Plan where water may discharge without washing soil onto a road, affecting a neighbour or obstructing a work area. A single generic drain time cannot describe different lengths, slopes and diameters.
For the shutdown, stop the pump and prevent an unintended restart under the farm procedure, use a dependable upstream isolation, and release retained pressure and water through the approved path before opening a joint. If a shutoff valve leaks through, resolve that condition first. Do not unclip a live hose coupling, step on the line to force water out, or use compressed air without a documented procedure for the exact assembly. The low-point drainage guide covers a whole irrigation system's separate drain map; this purchase brief records the low sections and safe break points of one portable pump-to-field route.
Mark what will happen at the field end after drainage. If the hose connects to a header with crop-row outlets, removing the supply run does not answer how the header itself is closed or stored. The layflat row-outlet guide handles permanent holes and branch fitting selection. For a simple supply run, do not add punched outlets just because the hose material can serve as a header in another installation. Keeping a supply route unpunctured can make seasonal moves simpler when the field-end connection is planned separately.
Test the full coupled route under the intended crop load
Check the delivered roll labels, measured lengths and every fitting code against the order before assembly. Follow the exact hose and pump instructions for an initial water-only run. Observe the route from safe positions while the intended crop group is active: pump outlet, first joint, intermediate joints, field connection and representative downstream pressure or delivery points. Record actual flow and pressure at named locations if suitable approved measurement points exist. Static pressure or a bucket at an open hose end cannot establish the working behaviour of the complete coupled route.
Look for visible leaks, a hose section that twists or migrates, unusual tension at a joint and a crossing that becomes unsafe when the line fills. An apparently small leak at one connector can still change the route and damage the ground over a full irrigation event. Stop and isolate according to the equipment procedure before investigation. If delivery falls short, separate pump duty, filter loss, hose-route loss, joint leakage and field demand rather than immediately ordering a larger diameter. The pipe-leak tracing guide can help locate a changed wet area, while the actual hose maker determines the approved repair or replacement.
Repeat the observation after the first drained move if portability is part of the buying reason. A connector can pass the first run and be damaged by dragging or poor storage before the second. Keep the joining references with the route card. No single successful test certifies all possible water sources, pressures or slopes; it confirms the measured case. If the line will be used at another pump, treat that as a new connection and operating condition to verify.
Order the route and its storage method, not an isolated roll
List the exact hose sections and selected lengths, their material and documented operating rating, a matching connector and seal arrangement for each joint, the pump-end and field-end transitions, supported crossings and the approved drain and storage method. Keep any tool or spare specified by the maker on a separate line. Check the actual option, package unit, current price, availability and delivery for each item. Where a listed hose family has no direct purchase option or incomplete specification, request a model-specific quotation and drawing before ordering the rest of the assembly.
Plan how the drained route will be lifted, carried and stored. Label each section by its place in the run and protect the exposed ends. Follow its maker's rolling radius, temperature and storage instructions; do not tow a section by a coupling or fold it sharply merely because it packs flat. If a hose has already been punched for row outlets, use the existing-header moving guide for its outlet alignment and reuse decision. A new unpunctured supply run has a different parts and handling record.
The completed purchase is a route drawing with named sections and verified end interfaces. It reaches the field at the pump's actual operating point, can be observed while working, has an approved way to drain, and can be moved without losing the identity of its joints. If one interface or rating remains unknown, hold that component instead of making the field crew discover the mismatch after the hose is deployed.
Before you order
Compare this guide with the specifications for your exact product, selected option, water supply and field conditions. Your equipment requirements take priority over a general example.
Compare irrigation products