A Greenhouse Drip Irrigation System That Can Change With the Next Crop
Plan a greenhouse drip layout with a reusable backbone and replaceable crop lines. Measure routes, compare installation quotes and check exact product options before ordering.
Published by IrriNex Store
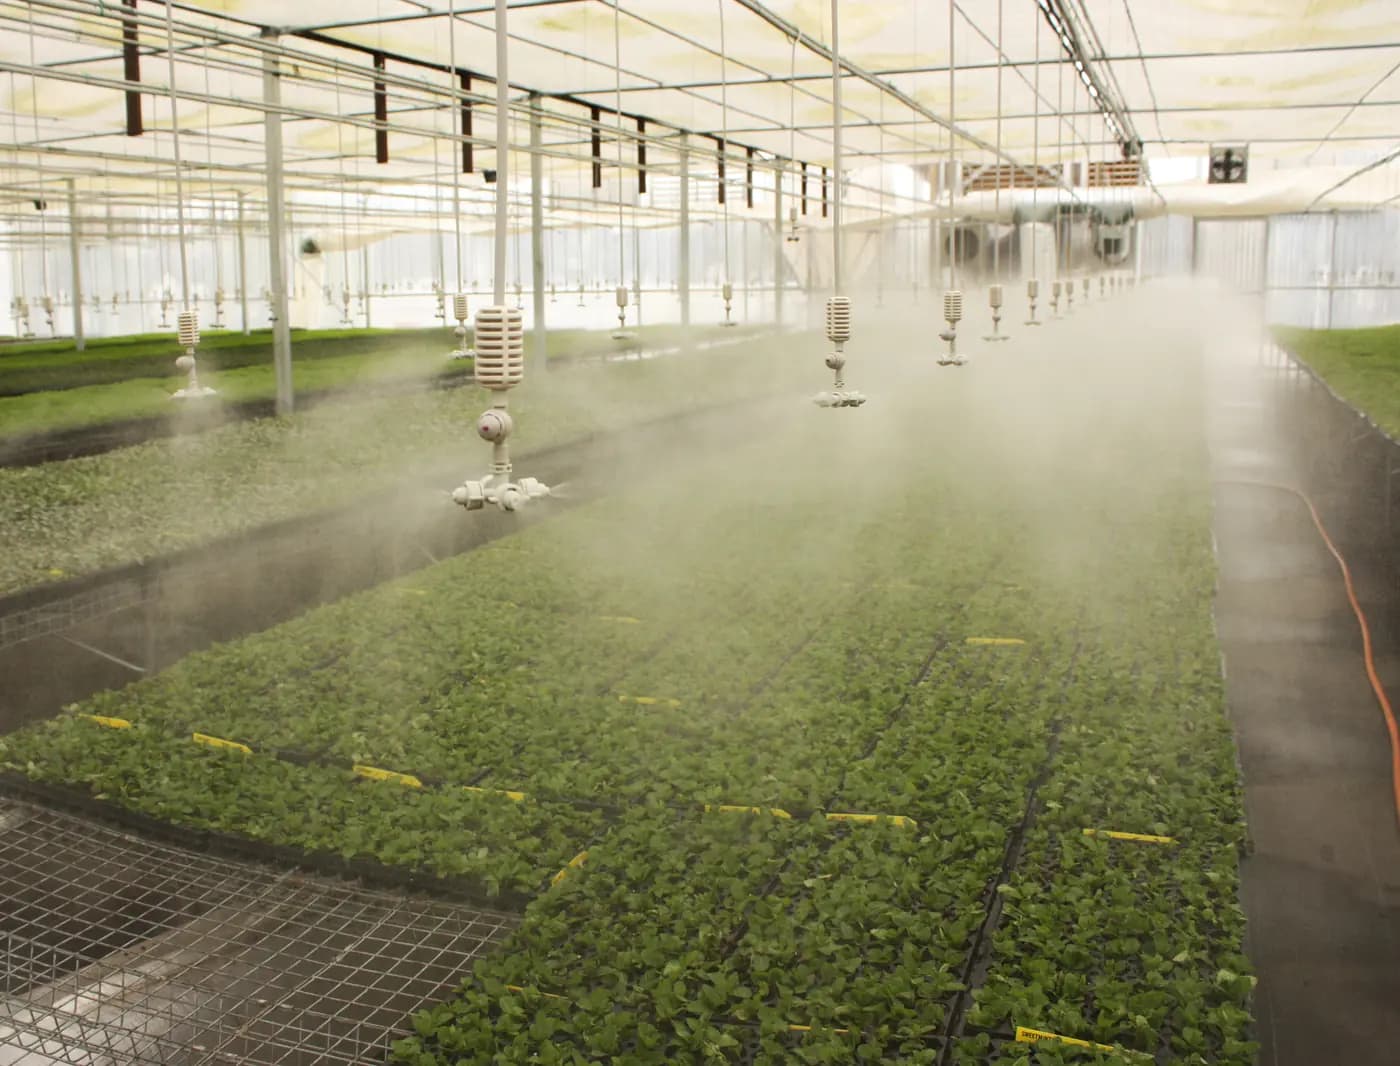
A greenhouse drip irrigation system is easier to live with when its layout can follow the next crop instead of locking every pipe and outlet into one season’s arrangement. Before buying, map what must stay fixed (water entry, filter position and main route) and what may move (beds, pot lines, branches and emitters). Then compare the cost of the reusable backbone separately from the crop-specific parts you may replace.
This guide shows how to turn a changing greenhouse into a measured shopping and quotation list. It does not prescribe a universal pipe size, pressure, discharge or spacing: those depend on the actual source, selected products, crop arrangement and design. The useful result is a drawing and a list precise enough to compare compatible options before anything is cut.
Start with the changes you expect, not a fixed pipe diagram
List the next two or three likely crop layouts. One season may use long beds with a single line; another may use containers, shorter beds or two lines per bed. Add the dimensions that drive plumbing: usable greenhouse length and width, aisle positions, doors, fixed benches, floor drains, posts and the location where water enters. Mark access paths that must remain clear for carts, harvest and sanitation.
Separate the installation into three layers. The source connection and primary route are usually the least crop-specific. A header or manifold distributes water to sections and may be reusable if its outlets can be isolated or adapted. Laterals, microtube lengths and emitters are closest to the crop and most likely to change. This distinction helps you avoid pricing every season as a complete rebuild or paying now for elaborate flexibility you will never use.
Make a change list beside the sketch: “bed count may change,” “container spacing uncertain,” “one zone may be divided,” or “seasonal lines will be removed.” A short statement of uncertainty is more useful than a guessed final layout. If the crop plan is not settled, quote a stable backbone plus separately priced alternatives for the movable portion.
For a broader inventory of the parts between the source and the crop, review the agricultural drip system components guide. It identifies the major component families; this article adds a way to decide which ones can remain in place when the greenhouse plan changes.
Measure the greenhouse and draw serviceable routes
Measure the actual route, not just the diagonal or the growing area. Record the distance from the water entry to each proposed header, the header length, and each lateral from its connection to its endpoint. Note vertical changes, door crossings, wall penetrations and places where a hose could be caught by equipment. These measurements become quantities on a quote request; they do not determine a pipe diameter by themselves.
Draw each route with simple symbols and label every branch. Give each proposed line a name such as G1-L1 or Bench B-west. Show where a line can be shut off, where it drains or is flushed under the selected design, and which connections need to be reached without moving a bench. If the layout changes later, labels make it easier to identify the branch that should be removed or tested.
Leave practical access around filters, valves and joints. A component hidden behind a fixed bench may be technically connected but difficult to inspect or clean. Put service points where a person can see them, isolate a section, and place a container or cloth during maintenance. If an aisle crossing cannot be avoided, show the protection or routing method as a separate design decision rather than assuming exposed tubing will remain safe.
Use the farm drip design guide for the relationship between flow, pressure, zones and row arrangement. Its sizing logic is important here because an adaptable drawing still has to work hydraulically. Count possible simultaneous outlets and verify the intended combinations against measured supply data and exact product specifications before treating a sketch as a finished design.
Choose a backbone that can accept a planned change
The fixed backbone commonly includes a source-side connection, filtration, the main route and one or more headers. The movable layer begins at the takeoffs and continues through crop lines to the outlets. Write down where that boundary sits. If a future crop requires only new laterals, the reusable header needs clearly identified, accessible connections. If the header itself must move, use a connection plan that permits removal and reinstallation without shortening every branch.
Do not assume “modular” means every fitting is interchangeable. List the pipe or hose material and measured outside or inside dimension as appropriate, then identify the connector type and joining method at each interface. A nominal diameter alone does not prove that two parts fit; thread form, wall construction, barb size, clamps and manufacturer-specific connection details may matter. Mark unknown interfaces for confirmation before placing an order.
Provide isolation by functional section where the design requires it. A valve can make crop changes and troubleshooting easier, but adding one at every outlet increases parts and possible leak points. Decide which sections need independent operation, then count only those valves. A greenhouse with one crop and one irrigation window may need fewer branches than a structure growing plants with substantially different water needs at the same time.
A rigid pipe, flexible hose or lay-flat section each brings different routing and storage implications. Select based on the route, exposure, movement, support and documented product use. Do not bury or leave a product outdoors simply because a similar material is used that way elsewhere. Record whether seasonal disassembly is expected and how removed components will be drained, labelled and stored.
Match the crop line to beds, pots and root zones
Choose the delivery layer after the crop arrangement is known. For continuous beds, a drip tape or dripline may be considered; for separated containers or plants, individual emitters and micro-distribution tubing may make it easier to place outlets at the root zone. These are product families, not a universal recommendation. Crop spacing, soil or media, water quality, line length, flow demand, pressure and maintenance practices all affect the choice.
On a bed sketch, mark each row and the intended line count. For container production, mark container centers and identify whether each plant needs one outlet or a different distribution arrangement. Check that a later shift in spacing can be handled by moving the line or changing branch lengths. If holes or emitters are integral to a line, changing their position may require replacement rather than simple adjustment.
The drip tubing buying guide compares tube and emitter considerations for crop rows. For a product example, the published flat-emitter drip tape range includes listed options with documented diameter, wall thickness, emitter spacing and roll length. The actual option page is the place to confirm the selected combination; the family name alone does not establish flow, operating pressure, row length suitability or compatibility with a greenhouse header.
Where plants are separated, the published micro-distribution tube range is another relevant product family. Check its available option details and the exact interface needed for the chosen emitter or stake. Do not infer that a tube connects directly to a main pipe or that every emitter fits every tube. The order list should name each part at each end of the connection.
Emitter spacing should follow the crop and wetting pattern, not merely the spacing that happens to be available on a roll. Think about how roots occupy the bed or media, how many outlets are required, and whether moving plants will leave unused outlets. Make a small test layout if the growing medium or plant arrangement is unfamiliar, then inspect distribution at the actual operating setup before expanding it.
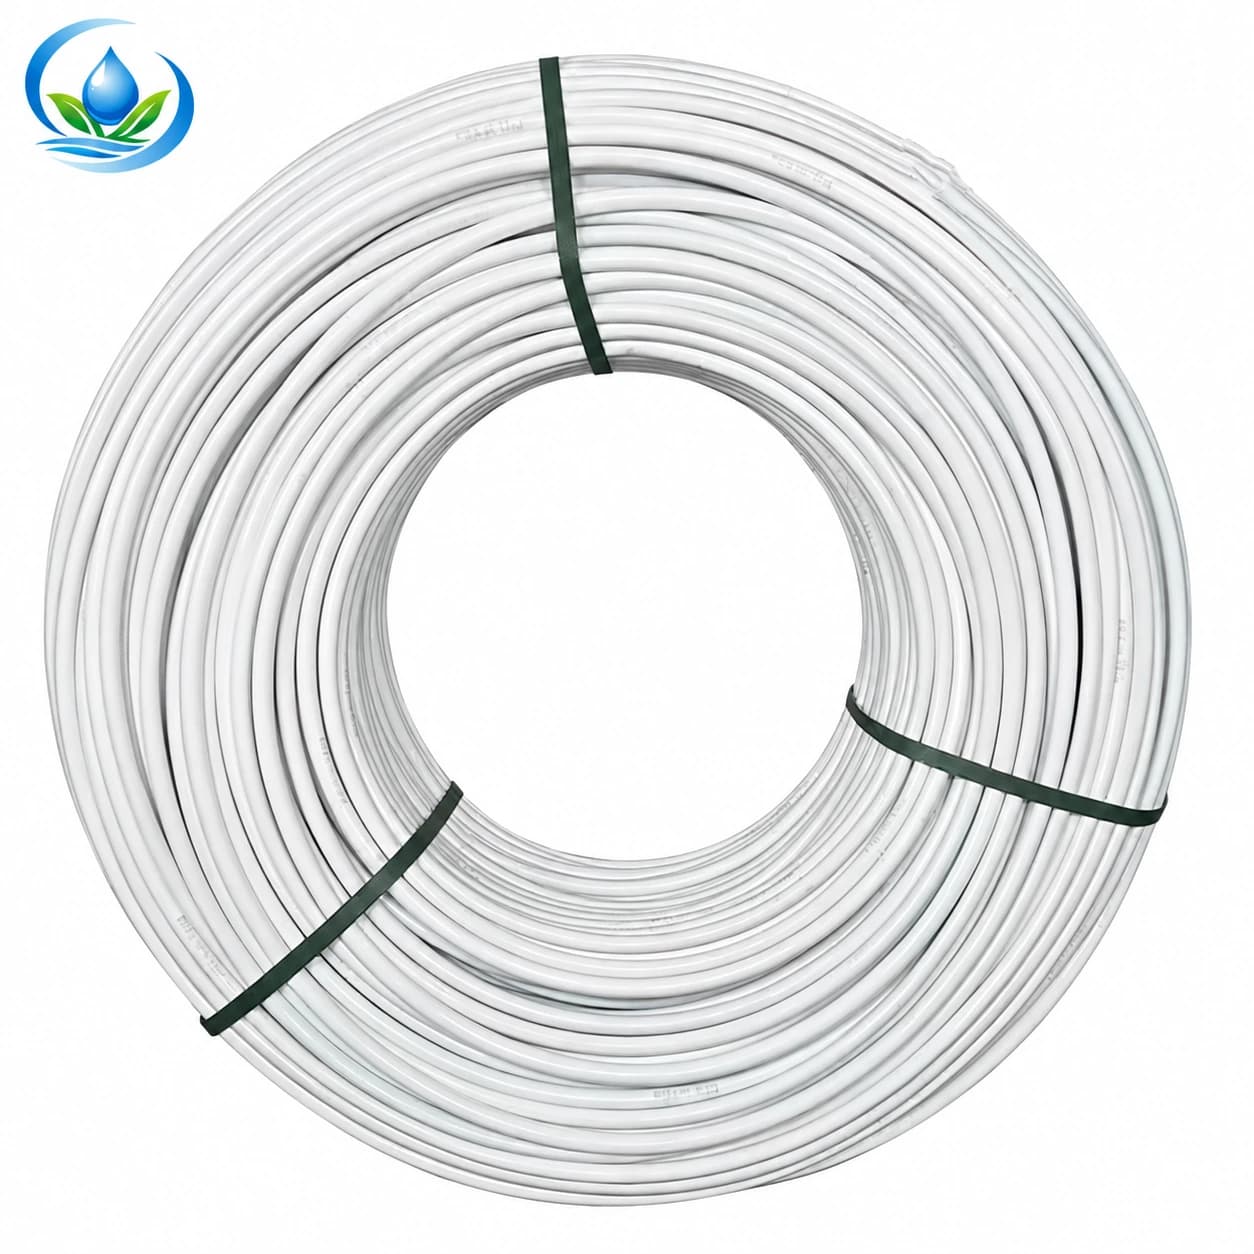
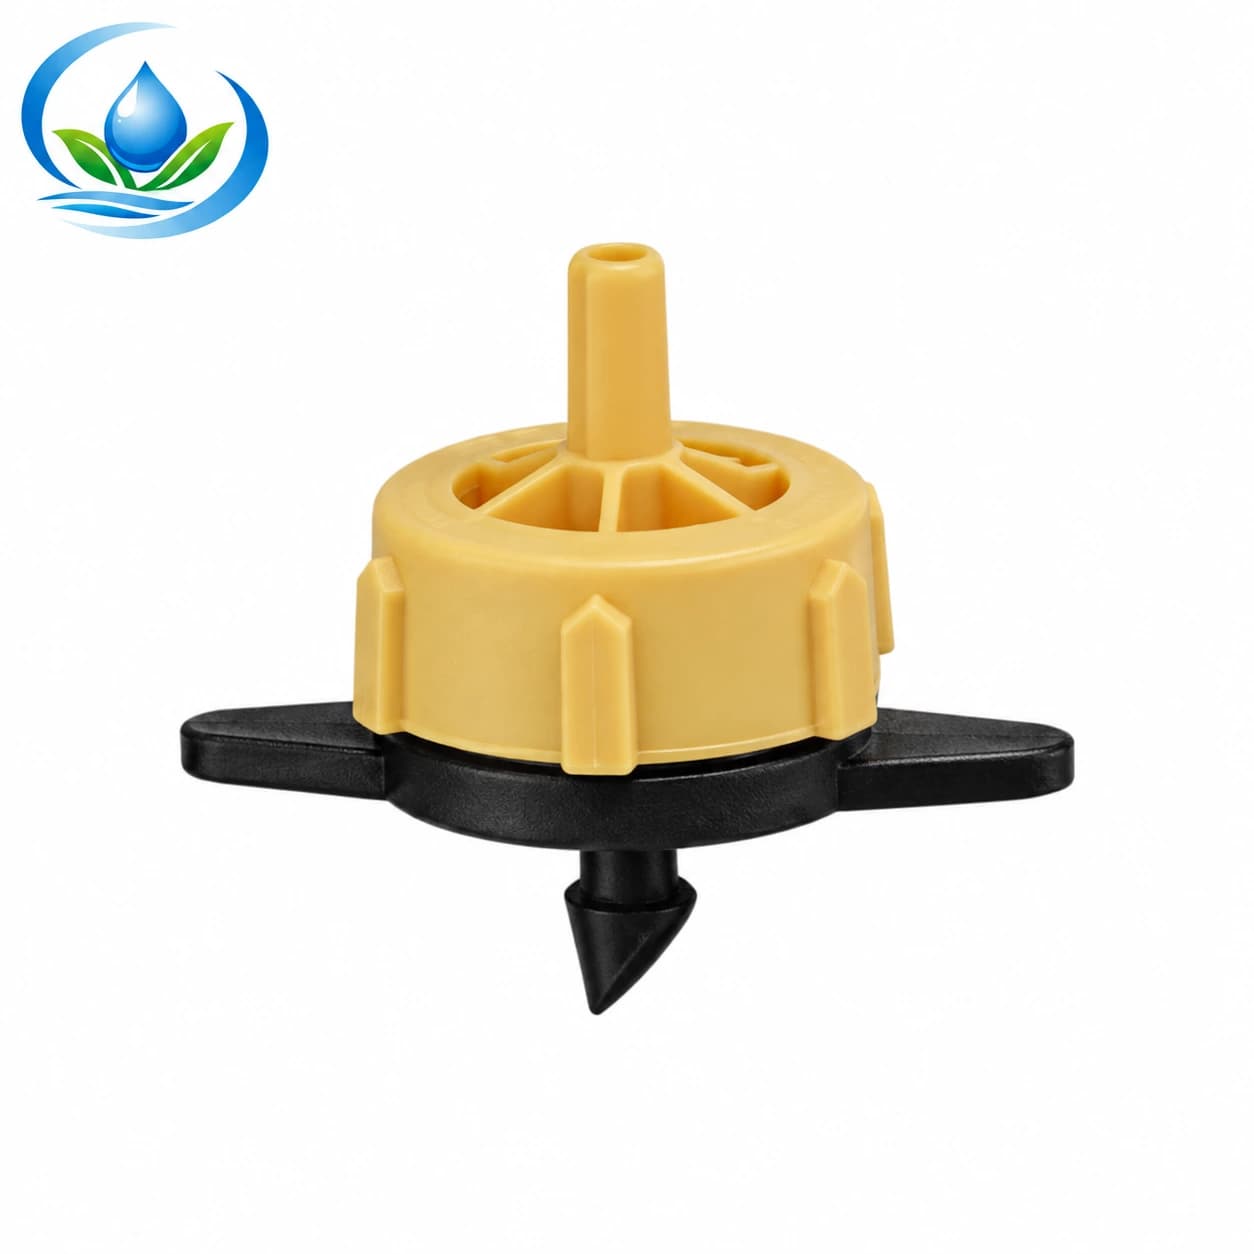
The published white PE irrigation pipe is a candidate for a measured reusable route, but its exact selling option, dimensions, pressure suitability and support still need confirmation for this installation. Where movable microtubes feed individual plants, the published pressure-compensating dripper family offers listed 2, 4 and 8 L/h options. Those labels do not prove a complete connection to the selected tube or uniform output in every greenhouse pressure case; the listing is currently not directly purchasable. Put both exact interfaces and the selected emitter option on the quote, rather than treating the greenhouse diagram as a product specification.
Keep water treatment and controls tied to the real source
Record where the water comes from and what is known about sediment, algae, dissolved minerals and seasonal variation. Filtration choice depends on water quality and the smallest passage in the downstream equipment; it should not be selected solely because the package is described as a drip filter. The irrigation filtration guide explains the selection questions. Have the filter requirement and service capacity checked against the actual emitter and line data.
The store’s published Y-body disc filter page lists specific options and their recorded connection, mesh, maximum flow and pressure information. Those values belong to the stated options, not to every greenhouse or every water source. Compare the exact option to the system’s expected flow and required filtration, and confirm connection interfaces before buying. A filter that is too small for the intended operation or hard to access for cleaning can undermine an otherwise flexible layout.
Pressure control and measurement also need to suit the actual system. Identify where pressure is measured and regulated in the proposed design, and use exact selected line data to determine acceptable operating conditions. Do not treat one greenhouse pressure value as universally correct. If the source pressure varies or multiple sections may run together, have the design checked under those intended combinations.
Plan controls around meaningful crop groups. Independent sections help when crops, media or schedules differ, but each section adds valves, connections and a need for clear labels. If fertigation or chemical treatment is contemplated, treat it as a separate engineered and locally compliant design question: verify compatible materials, required backflow protection, safe handling and applicable rules. A product page for a filter or emitter is not a statement of regulatory compliance.
Make the quote comparable with a change-ready parts schedule
Ask for separate lines for the source connection, filter, pressure control and measurement, fixed main route, header, branch valves, crop laterals, outlet components, fittings, supports and end closures. Add quantities and exact option descriptions. Where a design decision remains open, ask for alternatives: for example, a fixed header with replaceable crop lines versus a header that can be divided into sections. Keep the alternatives separate so the total does not quietly include both.
Separate materials from installation tasks. Labour may include mounting and supporting the fixed route, making connections, laying laterals, labelling zones, leak checks and a handover. State which of these are included. If trenching, electrical work, structural work or changes to the source are outside the quote, show them as exclusions or separate allowances. The point is not to demand a particular contractor’s format; it is to ensure that two quotations cover comparable work.
Also list delivery, unloading, taxes where applicable, tools or equipment hire, commissioning and any service visit as distinct lines. Ask whether parts are supplied in the stated quantities or in package units, and note any minimum purchase that creates spare stock. A total without scope, date, currency and exclusions cannot be compared reliably with a second total.
The older crop-row irrigation budget article works through measured line quantities and purchase units. This guide extends that thinking to the cost of future changes: identify what is reusable, what becomes crop-specific, and whether the quote includes removing or reconnecting seasonal components. Avoid a generic spare percentage; list a reason for every reserve item.
Evaluate flexibility as a lifecycle choice
A reusable header may cost more initially than a simple arrangement, yet it may be worthwhile if crop layouts actually change and the components can be reused safely. The comparison should include the expected number of changeovers, labour to disconnect and reconnect, storage needs, replacement parts, cleaning and the possibility that a future crop needs a different outlet family. Avoid assigning a made-up payback period. Use local quotations and your own likely crop sequence.
Make a simple two-column worksheet. In the fixed-layout column, list the lower-cost starting configuration, crop-specific parts that would be discarded or replaced, and labour for a change. In the adaptable-layout column, list the extra backbone components, removable branches, storage provisions and the parts that still need replacement. Compare totals for a realistic number of crop cycles, using actual prices where available and clearly marked estimates elsewhere.
Consider repairability as well as reuse. If one branch leaks, can it be isolated and replaced without taking down the entire header? Are compatible couplings available for the line you selected? Can staff identify a section from its label? Will dismantling damage a thin wall, seal or threaded interface? Those questions can distinguish useful flexibility from a complicated layout that only works on paper.
Keep one labelled sample or record of the exact selected fittings and options when permitted by your purchasing process. Photograph labels and store the drawing with the component list. This reduces uncertainty when ordering replacements, but it does not guarantee future availability or unchanged product specifications. Recheck the option page at the time of purchase.
Commission the first layout and document the next conversion
Before routine irrigation, inspect each connection and run the intended sections in the actual configuration. Check for leaks, uneven delivery, blocked outlets and movement of unsecured lines. Record source conditions and which zones ran together. Compare the ends and the farthest points with the design requirements for the chosen products. If performance differs, investigate the cause before increasing pressure or changing schedules.
Flush or clean components only according to their product instructions and the water-treatment design. Do not apply acids, chlorine or other treatment based on a generic online recipe. Water chemistry, crop safety, worker protection, materials and local rules matter. If chemical treatment is needed, use an appropriately qualified source for the exact system and substance.
When changing crops, isolate the relevant section, label removed parts, inspect seals and connection surfaces, and store reusable components clean and dry as their instructions allow. Replace damaged or visibly worn items rather than assuming they will seal again. Update the drawing with the new bed count, lateral lengths and outlet positions before ordering additional fittings.
For delivery inspection before assembly, use the irrigation supply delivery checklist. Confirm that the received option labels match the quotation, keep dissimilar parts separated and resolve mismatches before cutting pipe or tape. Record the final installed arrangement and the specific changes needed for the next crop so that adaptability becomes a measured maintenance practice rather than a vague promise.
What to confirm on the option page before ordering
Use a final line-by-line review: chosen crop-line family; exact size, spacing, wall or roll option where specified; exact fittings at both ends; compatibility with the header; documented flow and pressure data for the intended design; filter requirement; quantities and sale units; delivery scope; and any valves or accessories needed for the drawing. If an item does not state a required dimension or performance value, keep that value unresolved and obtain primary product documentation before relying on it.
A greenhouse drip irrigation system can adapt across crops when its fixed and replaceable parts are deliberately separated, measured and documented. The best quote is therefore not simply the lowest number: it is the one that states what is installed, which exact options are supplied, what remains reusable, what work is excluded and how a future layout change would be handled.
Before you order
Compare this guide with the specifications for your exact product, selected option, water supply and field conditions. Your equipment requirements take priority over a general example.
Compare irrigation products