Drip Irrigation for Tomatoes: Keep Lines Clear of Stakes and Harvest Traffic
Route tomato drip lines around support stakes, tying and repeated picking; verify wetting, reachable valves and ends, and exact repair parts before buying.
Published by IrriNex Store
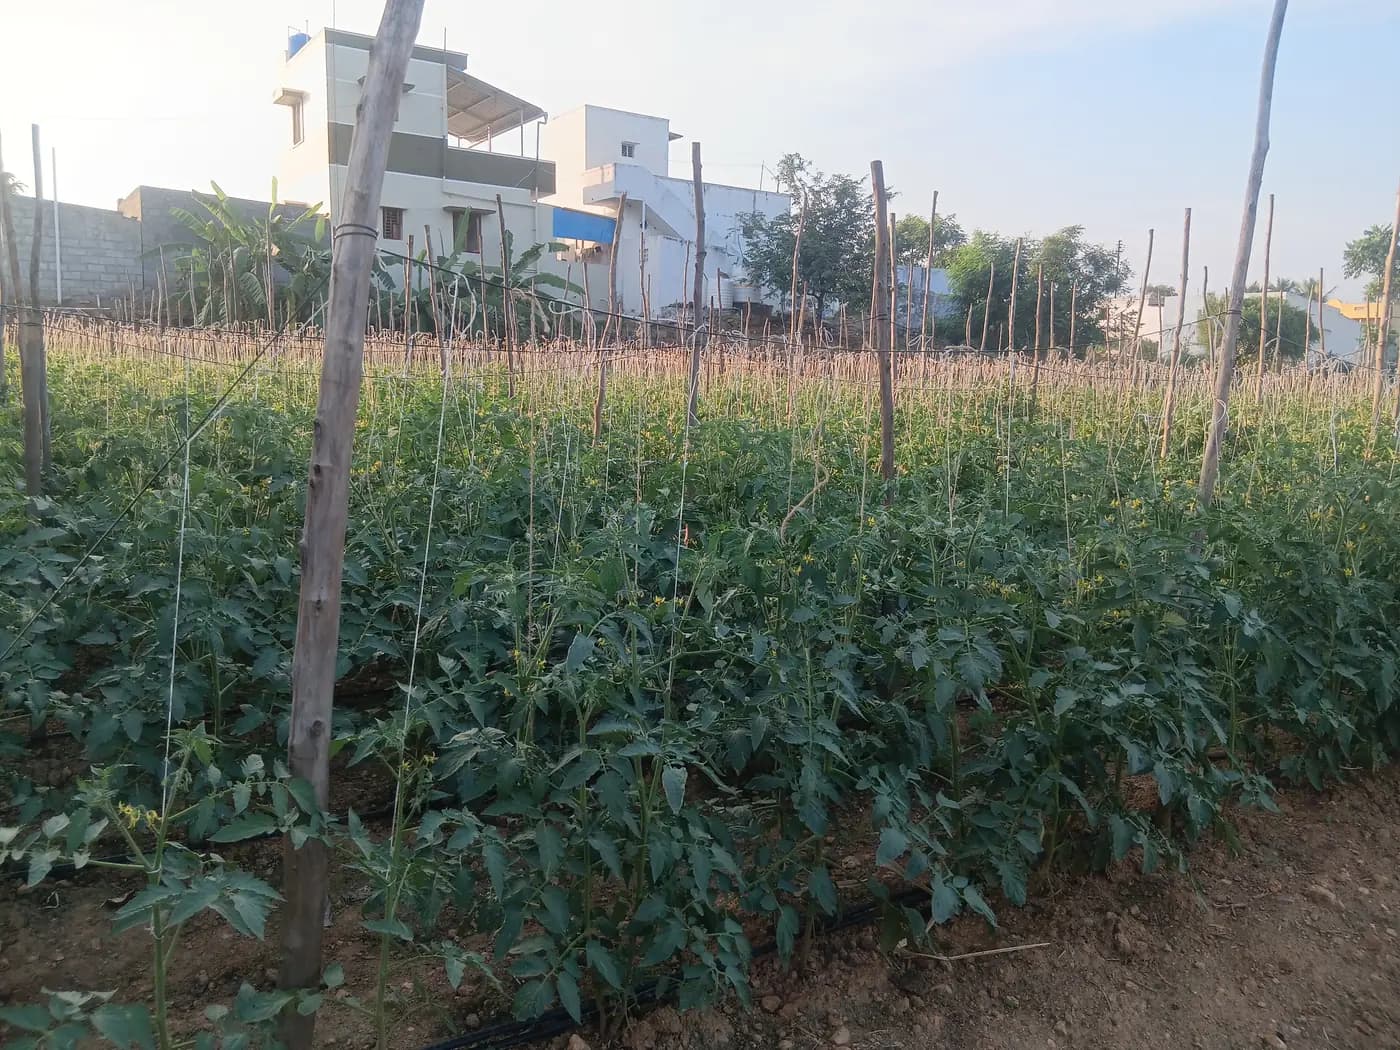
Drip irrigation for tomatoes in staked soil rows has to coexist with support posts, plant ties and repeated harvest visits. A line can deliver water at planting and still be punctured by the next stake, pulled sideways by a tie, or crushed where pickers carry bins. Before buying a roll, mark the support work and the walking routes on the same drawing as the water route. Then test a short section with the intended tubing, connections and soil rather than treating tomato plant spacing as an automatic emitter specification. Tomato drip line harvest access is easier to preserve when stakes, worker paths and service ends are mapped before laying the row.
For field or protected soil-grown tomato rows, build the order around the tested wetted strip, the agreed support positions, reachable inlet and end fittings, and the access workers will need throughout picking. Record the selected line and its connections so a damaged section can later be isolated, flushed and repaired with material that actually matches.
Where do tomato stakes and harvest paths cross the drip route?
Start with one representative block. On a simple plan, mark the soil beds or ridges, tomato planting positions, end posts, intermediate stakes or trellis feet, supply entry, row ends and the aisle used by people and bins. Mark places where a cart turns or workers step into the row for tying, pruning and picking. Ask the crew where supports really land; a post drawn at the bed edge may be installed closer to the wetting strip if its placement has not been agreed.
Next draw the proposed lateral separately from the support line. It should be possible to identify the planned post insertion zone before anyone drives a stake. A visible mark at the head and tail of a trial row helps, but a dated sketch and a handover to the support crew are more reliable than memory after canopy develops. When supports are already installed, locate their buried bases and existing irrigation tube before shifting the line. Do not infer an all-purpose safe distance from a catalogue photograph. The clearance depends on the stake design, insertion method, soil, cultivation and the location where water needs to reach tomato roots.
Think about plant ties as well as posts. A tie that gathers foliage above the line can be harmless, while a tie, hook or loose end hanging to the soil may snag tubing during adjustment. Do not fasten a flexible irrigation line tightly to a moving plant or load-bearing trellis wire merely to make the layout look tidy. Allow the crop support to carry plants and the irrigation layout to retain its own protected route. A small trial can show whether the line shifts when workers perform the actual tying motion.
Will the drip-line ends remain reachable after the canopy closes?
Mark the inlet valve, each lateral start and the end that will be opened for inspection or flushing. A connection that is easy to see at transplanting may disappear beneath leaves, mulch or a cluster of fruit. Place identifiers and service access where a worker can find the correct row without tugging stems or stepping on an adjacent tube. Where a header lies across several beds, label the branch and keep the handle reachable from a safe working position.
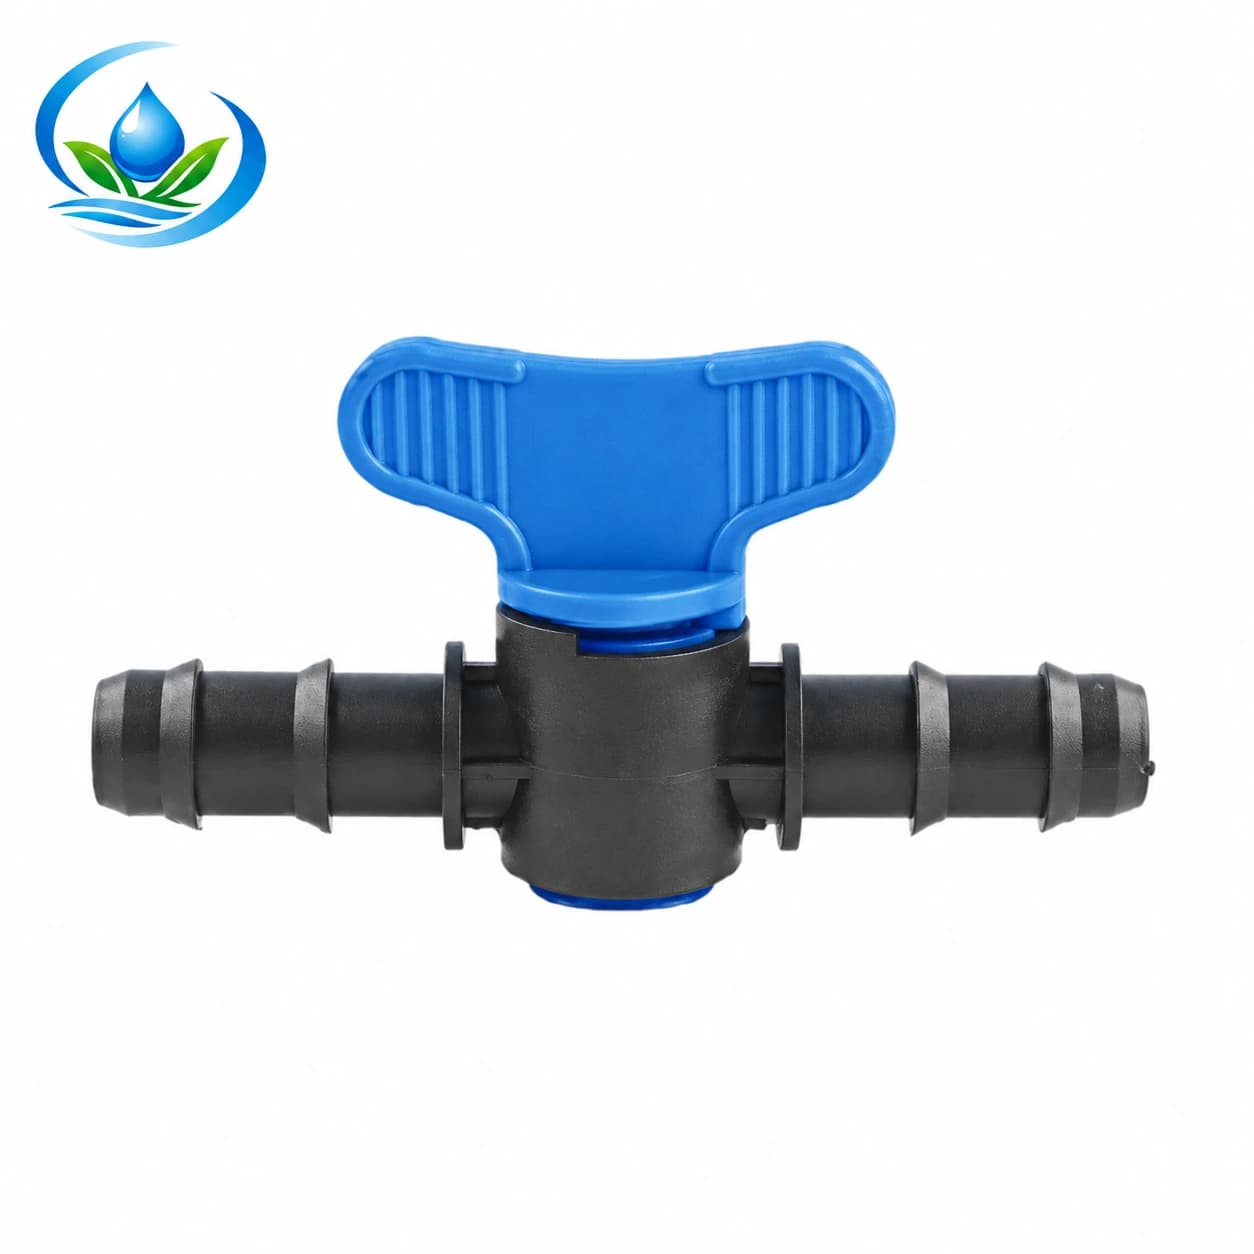
Follow the system's instructions for isolation and depressurization before opening a connection. An in-line valve is useful only if its exact connector fits the chosen lateral and there is a separate safe way to isolate a faulty part upstream. The Maxi Valve with blue handle is listed as V16A1 and V20A1 nominal connection options with a double-barbed layout. It should be considered only after confirming the actual tube's mating dimensions and the manufacturer's method; a nominal 16 mm tape and a nominal 16 mm round pipe are not automatically interchangeable at a barb.
Plan the end as carefully as the start. Leave room to identify the end fitting and carry out the maker's required flushing without releasing water onto an electrical installation, blocked path or neighbouring crop. The guide to drip-line ends and hole repairs distinguishes a reachable end closure from a puncture repair. Do not bury an unidentified end beneath a permanent support base just because the first season's plants are small.
Choose tape or round dripline using the route and the exact option
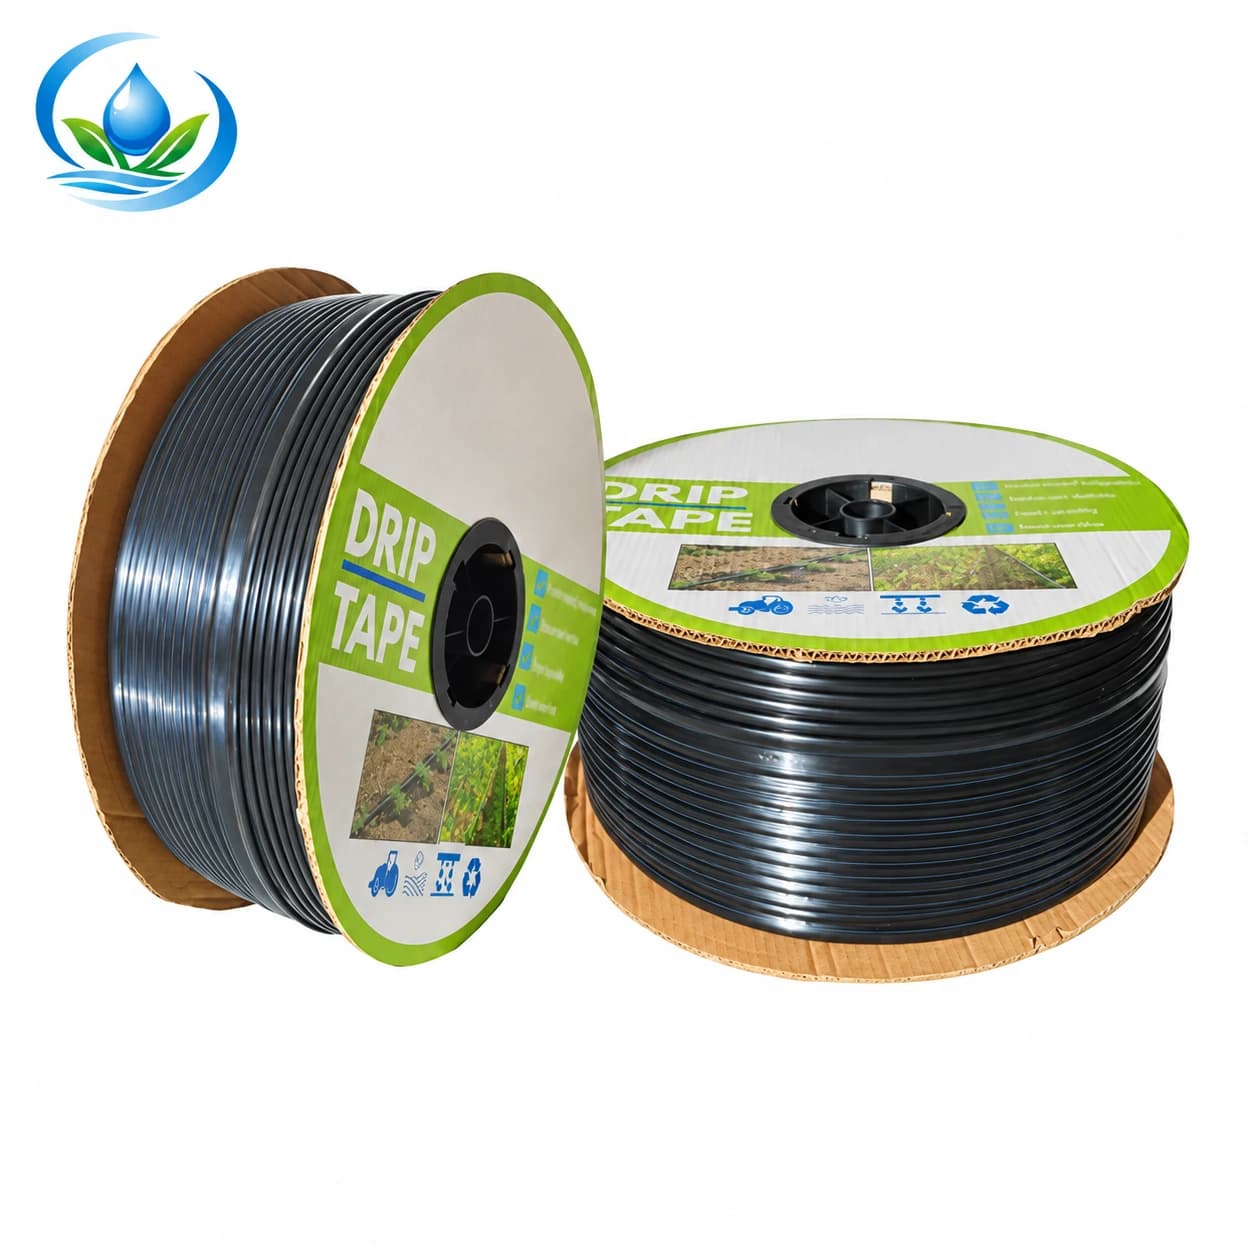
Flat-emitter drip tape may suit a defined soil-bed run when its placement and handling can be protected. The current listing includes the distinct option IS-2-4F08BF82DC: nominal 16 mm, 0.15 mm wall, 30 cm emitter interval and 3000 m roll. Those four fields belong to one option. These dimensions do not specify its emitter discharge, and the roll length is material supplied, not a permitted 3000 m irrigated run. Confirm the exact option's outlet flow, operating limits, filtration and connector fit before calculating a zone or ordering for every row.
Inline emitter pipe is another route to evaluate where a round line and its matched connections better fit the planned handling. The current option IS-3-8CDA6B18CD is supplied as a 500 m roll of nominal 16 mm round pipe. Its selected wall is 0.8 mm; outlets are spaced 30 cm apart and their stated nominal discharge is 2 L/h each. That combination does not establish pressure compensation, a 500 m allowable lateral, or guaranteed survival under a stake or cart. It is a named candidate for checking, not a universal tomato prescription.
Different wall, spacing and flow entries are separate purchasing options. Do not merge a tape wall with a pipe outlet rate, or assume a thicker wall proves several seasons of reuse. The comparison should include how the product is laid, secured, accessed, repaired and possibly removed. Retain the exact SKU on the row plan so a crew does not substitute a similar-looking roll halfway through installation. The fitting-family guide helps name both sides of a joint; the final fit must be confirmed for the selected material and wall.
Test the soil wetting without equating outlets with plants
Choose a trial row with representative soil, grade, stake positions and supply conditions. Put the proposed line where workers expect it to remain, not temporarily in the middle of an empty aisle. Operate it under the intended group of open lines and record the running condition. Examine moisture at several tomato planting positions, between outlets, and toward both ends of the run. Do so carefully enough not to damage roots or tubing. A wet stripe on the surface does not by itself show that the useful root area has received water.
One emitter per plant is not an automatic rule, and equal distances between tomato stems and outlets are not mandatory. Water spreads through soil according to its condition and structure; the line pattern should be accepted from observed wetting and the crop's actual root zone, with appropriate local agronomic advice where needed. If a planting position remains dry, first examine outlet position, blocked delivery, line pressure and soil distribution. Adding time to every irrigation event without identifying the cause can overwater one section while leaving another short.
The operating-pressure checklist explains why a reading with the selected group flowing matters more than an isolated static value. For total demand, use the selected product's confirmed outlet rate and actual outlet count with the simultaneous-flow calculation guide. Do not calculate tape demand from the pipe's 2 L/h example. Neither product page supplies a universal tomato irrigation duration, and this guide does not create one from an unrelated garden calendar.
Protect crossings used by pickers, carts and field operations
In a staked tomato crop, harvesting often repeats many times. Walk the proposed route carrying the size of bin or cart that will actually be used. Notice where a person turns, sets a container down or reaches into the plant. An exposed line that lies in that footprint may survive one careful inspection yet fail during a busy picking pass. Reroute the water supply along a safer edge, use an approved protected crossing designed for the site, or arrange a documented removable section. Do not declare a universal burial depth or promise that a thin tape can withstand a wheel merely because it looks protected by soil.
Keep the distinction between a supply crossing and a plant-side lateral. A protected supply pipe may cross a route where an exposed emitter line should not. The chosen cover or crossing needs to preserve access to both ends and must not pinch the tube when loaded. If a path cannot be avoided, record how it will be marked, inspected and maintained. For a broader field-traffic map that includes machinery and line retrieval, see the seasonal corn field-access guide.
After installing stakes, tying a new tier or changing the picking route, make a short inspection of the lines and the first and last outlets. Look for a new kink, stretched start, rubbed junction, wet spot near a stake, or unexpected dry plants beyond a crossing. Record the location by row and support number. That location record is especially useful once foliage hides the damaged point.
Respond to a stake puncture or a crushed crossing with the right material
When a wet spot follows support work, do not immediately blame an emitter or buy another roll. Stop the affected zone in the site's normal safe sequence, isolate upstream with a reliable separate control and relieve pressure according to the equipment instructions before touching the line. Trace the first escape point. Is it a stake hole through tape, a split round pipe, a failed start connector, or water that has run along the outside from farther uphill? The pipework leak-location guide helps trace a less obvious wet path.
Retain a clean offcut or photograph of the actual failed material with its roll label. A tape hole and a round pipe split need different compatible repair methods. Confirm the damaged line's diameter, wall, profile and connection method before requesting a joining piece or replacement length. Do not push an arbitrary plug into an emitting section, stretch thin tape over an unknown barb, or apply solvent-weld directions meant for PVC. If the support must remain in place, agree on a new route that keeps the repair joint free from its point or repeated movement; a repair in the same pinch point will remain vulnerable.
After a manufacturer-directed or qualified repair, bring the zone back under its normal operating conditions and compare the repaired section with an unaffected section. Inspect the joint while running, then check delivery beyond the repair and at the row end. A sealed wet spot is only part of acceptance: a crushed tube can stop leaking while still restricting flow to the remaining tomatoes. Keep the repaired row's component and location in a simple service log so the next picker or irrigation operator recognizes it.
Count an order from the accepted route and service points
Measure the installed lateral path for each row, including turns around agreed support positions. Multiply only after the trial has shown how many laterals a bed actually needs. Add the measured header or branch route, compatible starts, one serviceable ending per independent run, reachable isolation points and the protected crossings shown on the drawing. Keep spare repair lengths and connectors separate from installed quantities. A roll's remainder may not be long enough for another full row, even when the total unused metres look generous.
Make a receiving sheet with the selected full tape or pipe option, the connection model, required end pieces and the row labels. Ask for current price, available quantity, delivery and exact package unit for each SKU. Do not infer that the valve, filter, regulator, end cap or repair fitting is included with a roll. Where an exact component is unknown, write the required mating details as a supplier question instead of inventing a fit. The cucumber trellis and bed guide offers another example of mapping a vegetable support route beside its water outlets.
Accept delivery and revisit the route during harvest
Before cutting all rolls, compare their printed diameter, wall, outlet spacing, stated flow and roll length with the approved option. Sample the proposed connectors on the actual supplied material under the manufacturer's method. Run one representative row, check its inlet and end, compare wetting near the first and far positions, and perform a normal support and picking pass. If a tie catches, a bin rests on the lateral or the line cannot be flushed without climbing into the plant, revise the route before scaling it.
Return during later tying and picking rounds. Plant growth changes visibility and reach even if the pipe has not moved. Check that identifiers remain visible, valves turn within their normal range, ends can still be found, and repair supplies still match the installed roll. The strawberry tape-placement guide is useful when planning a route that will be covered by plastic mulch. Keep the tomato block's final drawing and variant codes with the irrigation operator so a damaged row can be isolated and repaired accurately through a dense canopy.
Before you order
Compare this guide with the specifications for your exact product, selected option, water supply and field conditions. Your equipment requirements take priority over a general example.
Compare irrigation products